White Pumpkin Painting Ideas: 25 Elegant No-Carve Designs
White pumpkins are the blank canvas of fall decorating. Their smooth, pale surface makes every brushstroke pop, and unlike their orange cousins, they fit effortlessly into modern, farmhouse, and elegant autumn decor. If you are looking for white pumpkin painting ideas that go beyond basic orange Halloween crafts, you are in the right place.
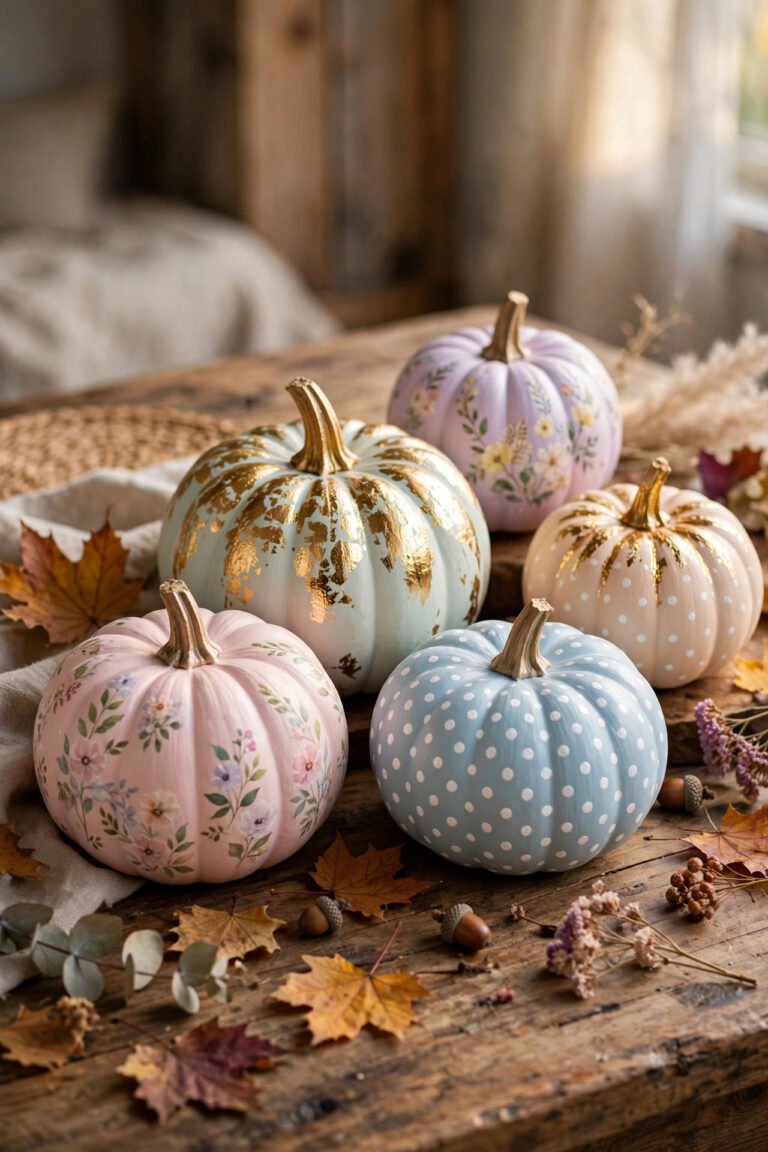
Below you will find 25 white pumpkin painting ideas ranging from chic metallic monograms to kid-friendly polka dots. Every design is no-carve, beginner-friendly, and tested for real homes — each with materials, cost, a pro tip, and a fun variation. These white pumpkin painting ideas work on both real and faux pumpkins. For even more inspiration, browse our full collection of pumpkin painting ideas.
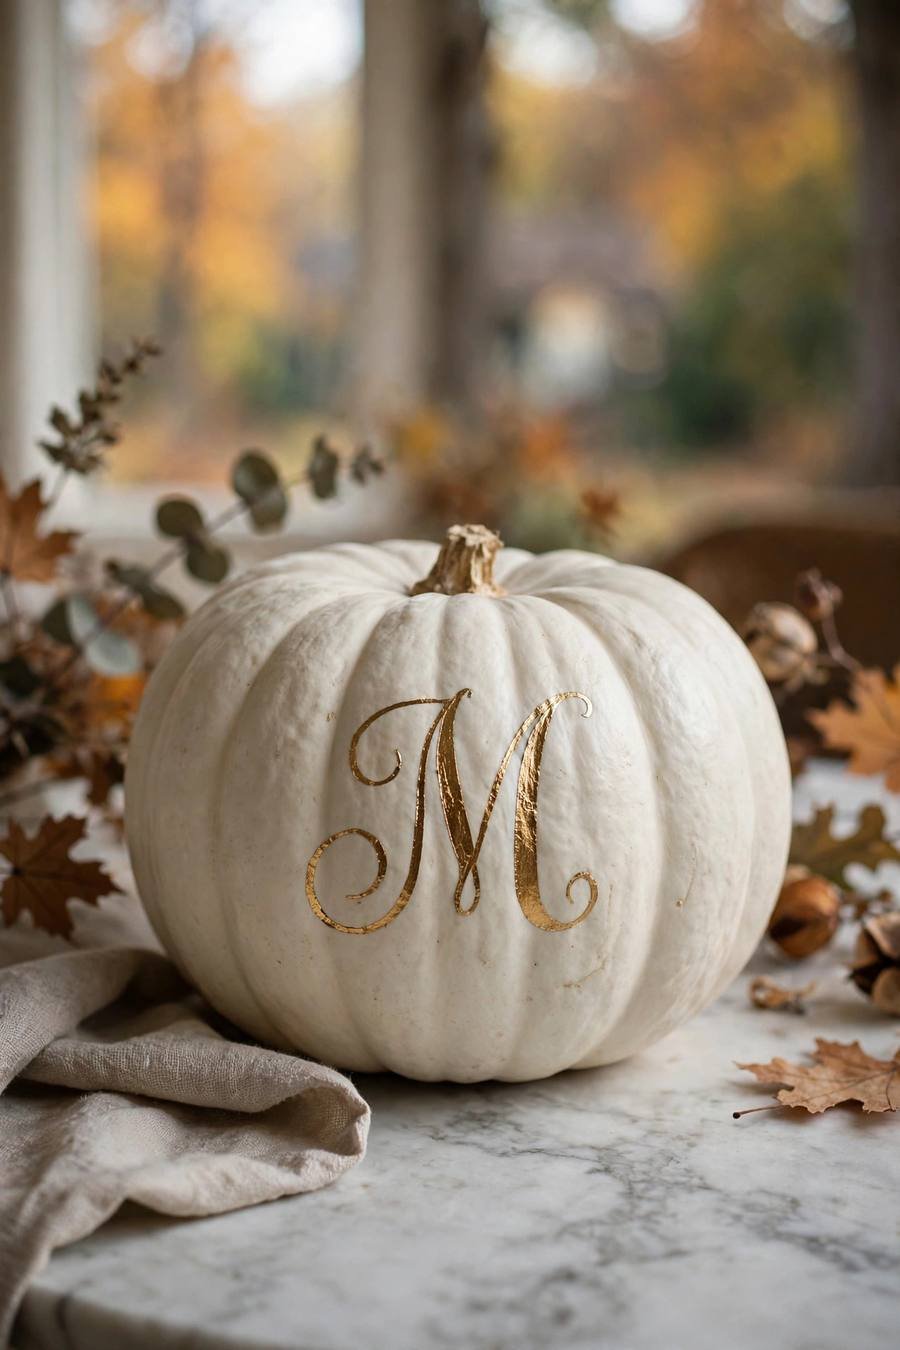
1. Gold Leaf Monogram
A single elegant initial in shimmering gold leaf turns a plain white pumpkin into a personalized showpiece for your entryway or Thanksgiving table. This is one of the most elegant white pumpkin painting ideas for a custom, high-end look.
Materials + cost: White craft pumpkin or real white pumpkin, gold leaf sheets, adhesive size, soft brush, sealant — about $12.
Brush adhesive size over a stenciled or freehand initial, wait until tacky, then press gold leaf sheets gently with a soft dry brush. Brush away the excess and seal with a clear matte topcoat so the gold survives the season.
Tip: Work in small sections — gold leaf tears easily and sticks to everything, including your fingers.
Variation: Do the whole family’s initials on mini white pumpkins for Thanksgiving place cards.
2. Midnight Black Lace Stencil
Delicate black lace patterns over crisp white create a dramatic, high-contrast look that works for both Halloween and elegant fall dinners.
Materials + cost: Lace stencil or real lace trim, black acrylic paint, stencil brush, painter’s tape — about $9.
Tape the lace or stencil snugly around the pumpkin’s curves, then pounce black paint straight up and down with a nearly dry stencil brush. Peel back while wet for the crispest edges.
Tip: Keep the brush almost dry — excess paint bleeds under lace and ruins the delicate pattern.
Variation: Try deep navy or forest green instead of black for a softer take.

3. Blue and White Chinoiserie
Hand-painted blue florals in the style of Chinese porcelain turn a white pumpkin into a timeless accent that looks straight out of a designer showroom.
Materials + cost: Cobalt blue acrylic paint, fine detail brushes, white pumpkin — about $8.
Sketch loose floral sprays and vines lightly in pencil, then paint with thinned cobalt blue, varying pressure for thick-and-thin brushstrokes. Add tiny dots and leaves to fill gaps.
Tip: Thin your paint slightly — it flows like ink and gives that authentic porcelain feel.
Variation: Add a blue band around the stem for a ginger-jar effect.

4. Buffalo Check in Black
The classic farmhouse plaid looks even better on white than orange — bold, graphic, and perfect for porch displays.
Materials + cost: Black acrylic paint, wide flat brush, painter’s tape, ruler — about $7.
Tape off even vertical stripes, paint them black, let dry, then tape horizontal stripes and paint again. Where the stripes overlap you get that signature darker check.
Tip: Measure twice, tape once — uneven stripes are the only way to mess this up.
Variation: Swap black for cranberry red for a Christmas-ready version.

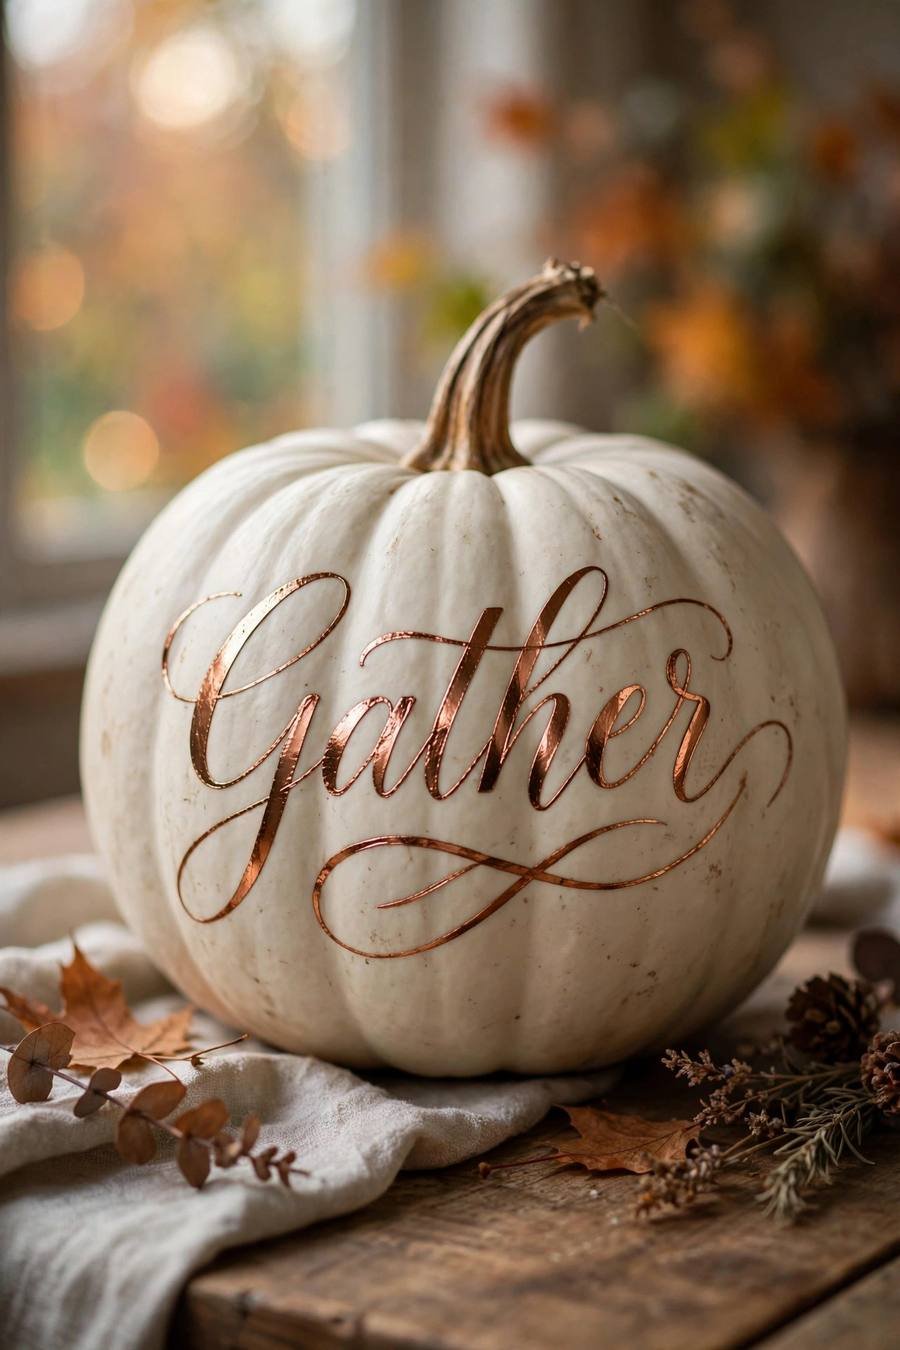
5. Copper Calligraphy “Gather”
Flowing copper script on matte white is the ultimate Thanksgiving centerpiece — warm, welcoming, and ridiculously easy.
Materials + cost: Copper metallic paint pen, white pumpkin — about $6.
Lightly pencil your word (“gather,” “thankful,” “blessed”), then trace with a copper paint pen using slow, confident strokes. Let dry completely before handling.
Tip: Practice on paper first — paint pens can’t be erased, so get the letterforms right beforehand.
Variation: Write your family name and established year for a custom heirloom look.
6. Pastel Watercolor Wash
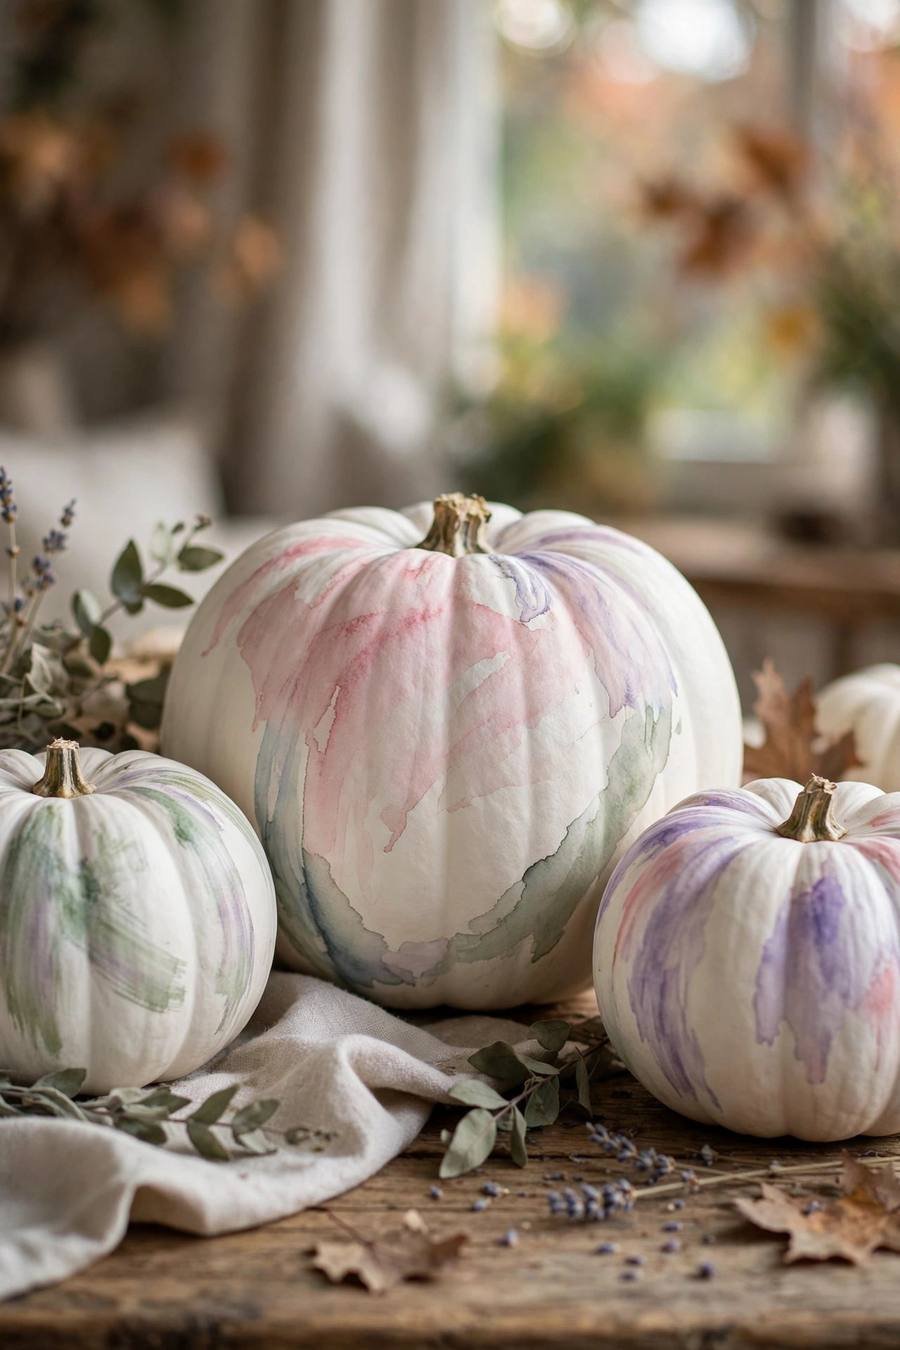
Soft washes of blush, sage, and lavender give white pumpkins a dreamy, watercolor-art effect that suits spring-through-fall transitional decor.
Materials + cost: Pastel acrylics or watercolors, wide soft brush, spray bottle — about $8.
Mist the pumpkin lightly with water, then brush on diluted pastel colors, letting them bleed into each other. Add a second layer once dry for depth.
Tip: Less is more — pale, translucent layers look artistic; heavy paint looks muddy.
Variation: Add fine gold speckles with a toothbrush flick for a starry finish.
7. Polka Dot Party
Cheerful, kid-approved, and impossible to mess up — colorful dots on white never fail to make people smile.
Materials + cost: Assorted acrylic paints, round sponge dotters or pencil erasers — about $6.
Dip a dotter in paint, press firmly, and lift straight up. Vary dot sizes and colors randomly, or plan neat rows for a more polished look.
Tip: Reload paint every 2–3 dots to keep them plump and even.
Variation: Metallic gold dots only, for an elegant New Year’s-ready pumpkin.

8. Pressed Flower Decoupage
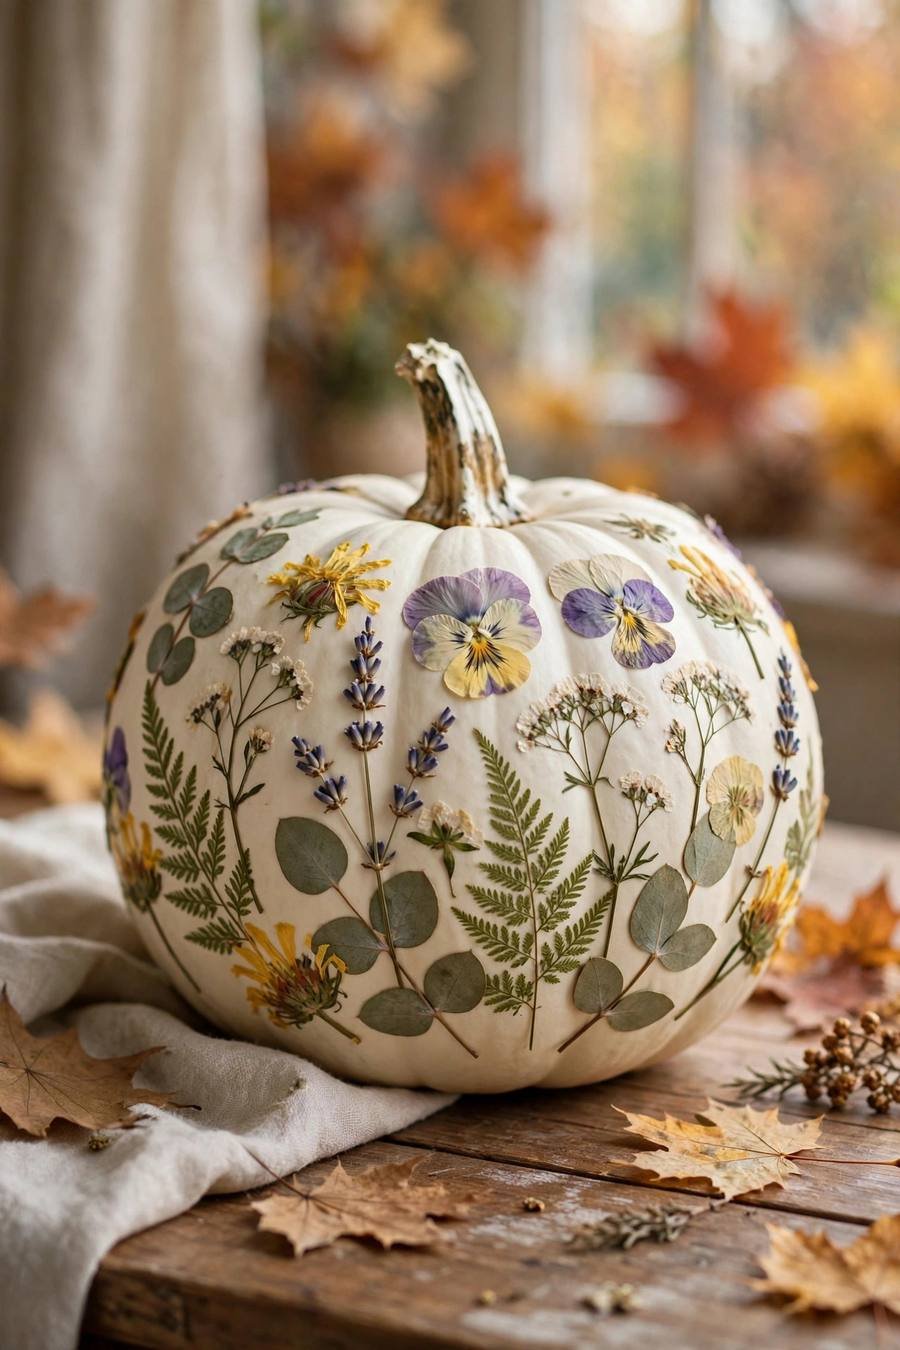
Real pressed blooms sealed onto white pumpkins look like botanical art — delicate, romantic, and totally unique.
Materials + cost: Pressed flowers, Mod Podge, foam brush, white pumpkin — about $10.
Arrange pressed flowers on the pumpkin, then brush a thin layer of Mod Podge over each to adhere. Once dry, add one full sealing coat over the whole pumpkin.
Tip: Seal in thin coats — thick Mod Podge turns milky and hides the flowers.
Variation: Use pressed autumn leaves for a seasonal twist.
9. Striped Ticking Fabric Look
Thin charcoal stripes mimic classic ticking fabric — a subtle, tailored pattern that fits any neutral fall scheme.
Materials + cost: Charcoal gray acrylic, thin flat brush or paint pen, ruler — about $6.
Draw evenly spaced vertical stripes following the pumpkin’s natural ribs, keeping lines thin and consistent. A paint pen makes this nearly foolproof.
Tip: Follow the ribs — the pumpkin’s grooves are your built-in guides.
Variation: Add a second thin stripe in mustard between the charcoal ones.

10. Metallic Gold Dipped Bottom
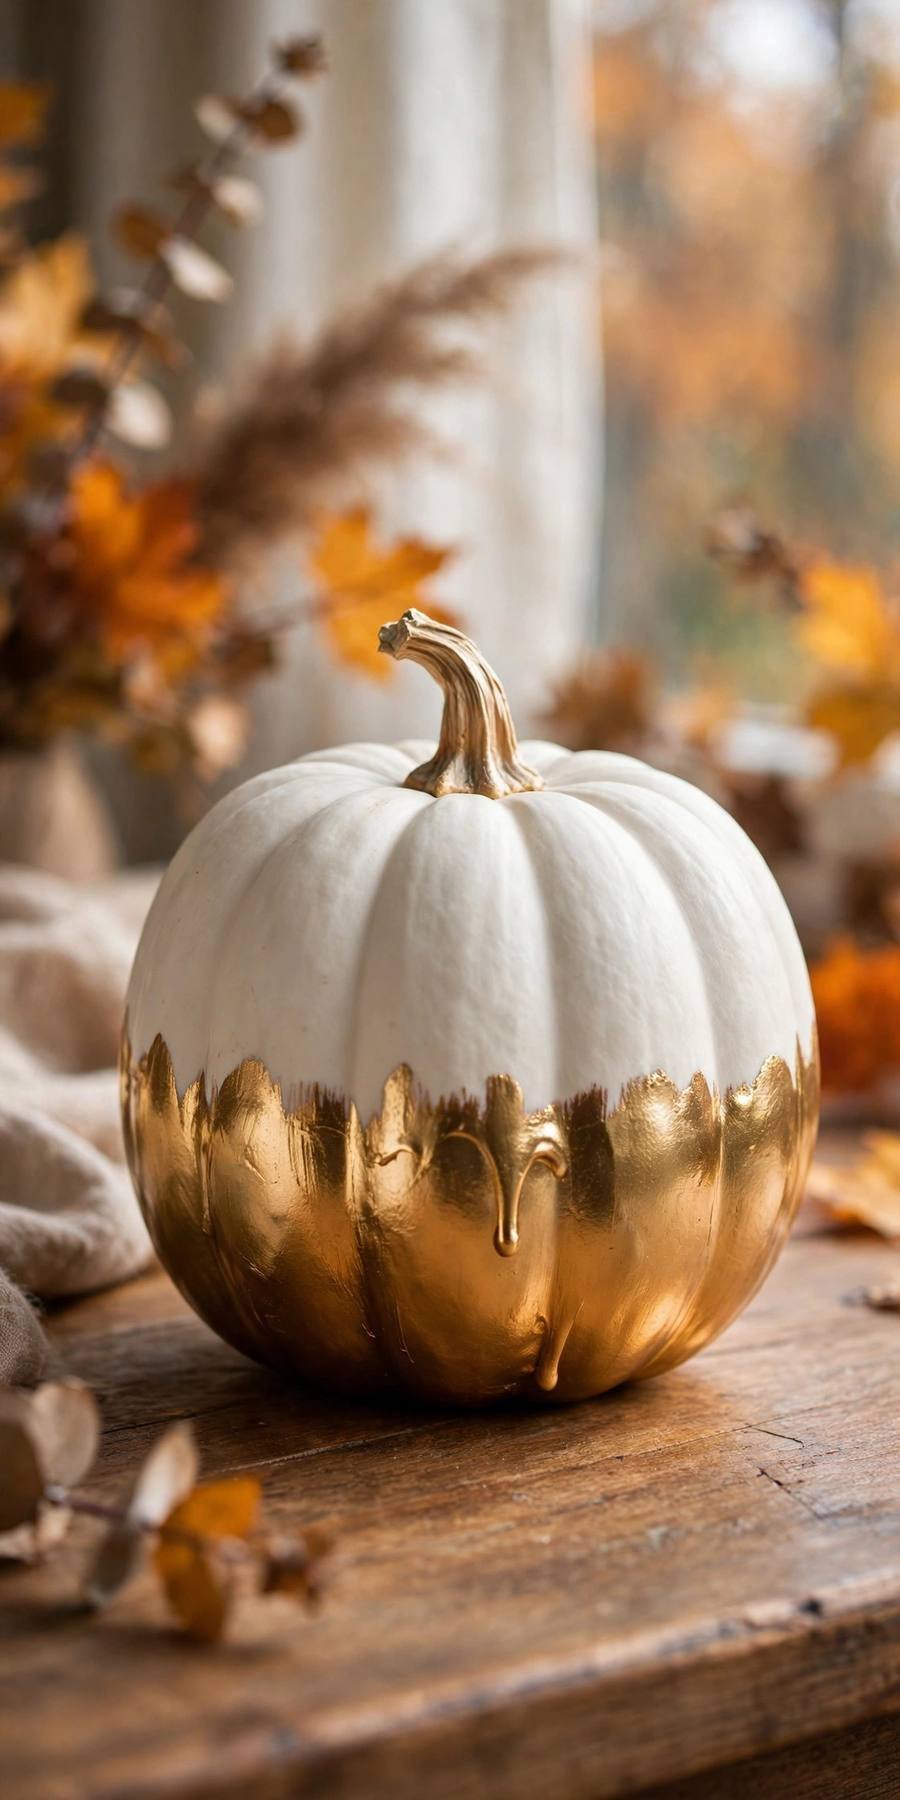
A dipped, two-tone effect — matte white on top, gleaming gold below — looks expensive and takes ten minutes. Among metallic white pumpkin painting ideas, this dipped look is the fastest showstopper.
Materials + cost: Metallic gold spray paint or acrylic, painter’s tape — about $8.
Tape a clean line around the pumpkin’s middle (slightly wavy looks organic), then paint or spray the bottom half gold. Remove tape while the paint is slightly tacky.
Tip: Two thin coats beat one thick coat for a smooth, drip-free metallic finish.
Variation: Dip in copper or rose gold to match your table decor.
11. Spooky Black Cat Silhouette
A sleek black cat silhouette with glowing eyes on white is Halloween-chic rather than Halloween-cheesy.
Materials + cost: Black acrylic paint, detail brushes, chalk pencil — about $7.
Sketch the cat in chalk, fill in with black paint, then add amber or green eyes with a tiny brush. A thin tail curling around the side adds movement.
Tip: Chalk first, paint second — chalk wipes off, so you can perfect the silhouette before committing.
Variation: Add a crescent moon behind the cat for a storybook scene.

12. Eucalyptus Sprig Wreath
A hand-painted eucalyptus wreath in soft greens frames the pumpkin like a botanical emblem — fresh and modern.
Materials + cost: Sage and eucalyptus-green acrylics, round brush — about $7.
Paint a loose circle of small oval leaves, alternating shades of green. Don’t aim for perfection — loose and airy reads more realistic.
Tip: Load two greens on one brush for natural color variation in every stroke.
Variation: Add tiny white berries with the brush tip for contrast.

13. Chalkboard Message Board
Paint a white pumpkin with chalkboard paint (yes, it works on white too with a twist) — or keep the white and frame a chalk-style message in black.
Materials + cost: Black chalkboard paint or black acrylic + chalk pens — about $8.
Paint an oval or arched “board” shape in black, let cure 24 hours, then write your message — “Happy Fall,” the menu, or a welcome note — in chalk or chalk pen.
Tip: Let chalkboard paint cure fully before writing, or the chalk will ghost permanently.
Variation: Update the message weekly through the season.

14. Terracotta Geometric Triangles
Boho triangles in terracotta, mustard, and clay on white feel warm and current — a nice break from traditional fall orange.
Materials + cost: Three earth-tone acrylics, painter’s tape or stencil — about $8.
Map a repeating triangle band around the pumpkin’s middle with tape, then fill alternating triangles in your three colors. Crisp tape lines do all the work.
Tip: Pull tape at a 45° angle while paint is barely dry for razor-sharp edges.
Variation: Add thin gold lines between triangles for a luxe finish.

15. Vintage Botanical Prints
Old botanical illustrations — ferns, mushrooms, herbs — painted in muted greens and browns give white pumpkins an antique naturalist charm.
Materials + cost: Muted green, brown, ochre acrylics, fine brushes — about $8.
Paint simple fern fronds or mushroom clusters with thin stems and detailed caps. Label them with tiny script like vintage plates for extra charm.
Tip: Keep colors muted — dusty, desaturated tones sell the vintage look; bright colors break it.
Variation: Add a thin double border line around the design like a real botanical plate.

16. Candy Corn Stripes
White pumpkins are perfect for candy corn stripes — the white tip is already done, just add orange and yellow bands.
Materials + cost: Orange and yellow acrylics, painter’s tape — about $6.
Tape horizontal bands around the pumpkin, painting the middle band orange and the bottom band yellow, leaving the top white.
Tip: Make the orange band widest — like real candy corn proportions.
Variation: Do vertical stripes for a totally different look.

17. Halloween Spiderweb
White spiderwebs on white pumpkins sound invisible — but in pale gray with a black spider, they’re subtly spooky and chic.
Materials + cost: Light gray and black acrylics, liner brush — about $6.
Paint radiating lines from the top, connect with curved cross-lines for the web, then add a small black spider hanging from one thread.
Tip: Use pale gray, not white — the web needs to show against the pumpkin.
Variation: Add tiny bats flying around the web.

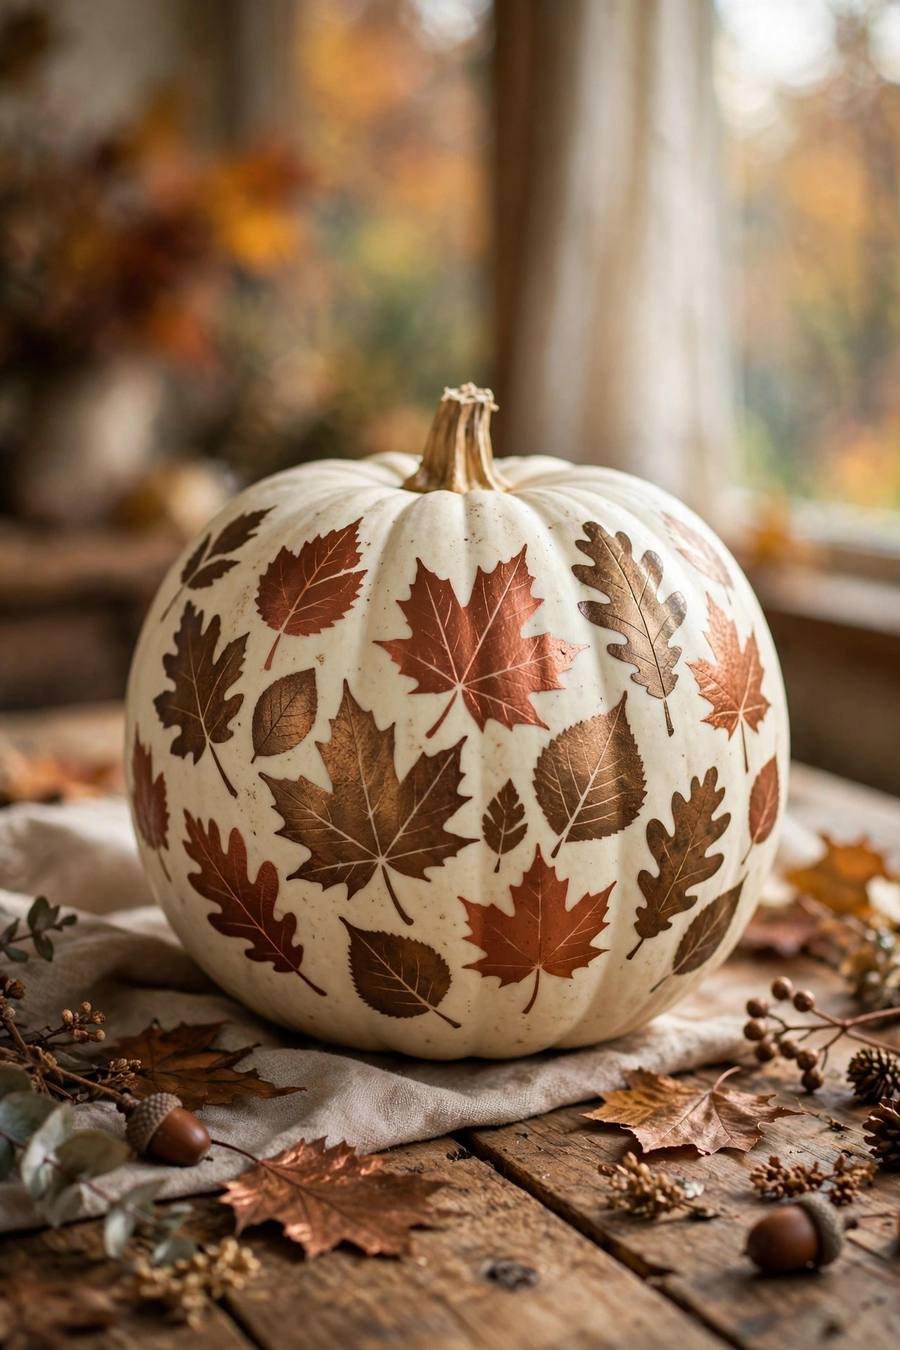
18. Fall Leaf Silhouettes
Real leaves as stencils create perfect autumn silhouettes in copper and bronze on white.
Materials + cost: Real fall leaves, copper/bronze acrylics, sponge — about $7.
Press a leaf flat against the pumpkin, sponge metallic paint around its edges, then lift the leaf to reveal the silhouette.
Tip: Hold the leaf firmly — any shifting blurs the silhouette edge.
Variation: Layer different leaf shapes overlapping for a collage effect.
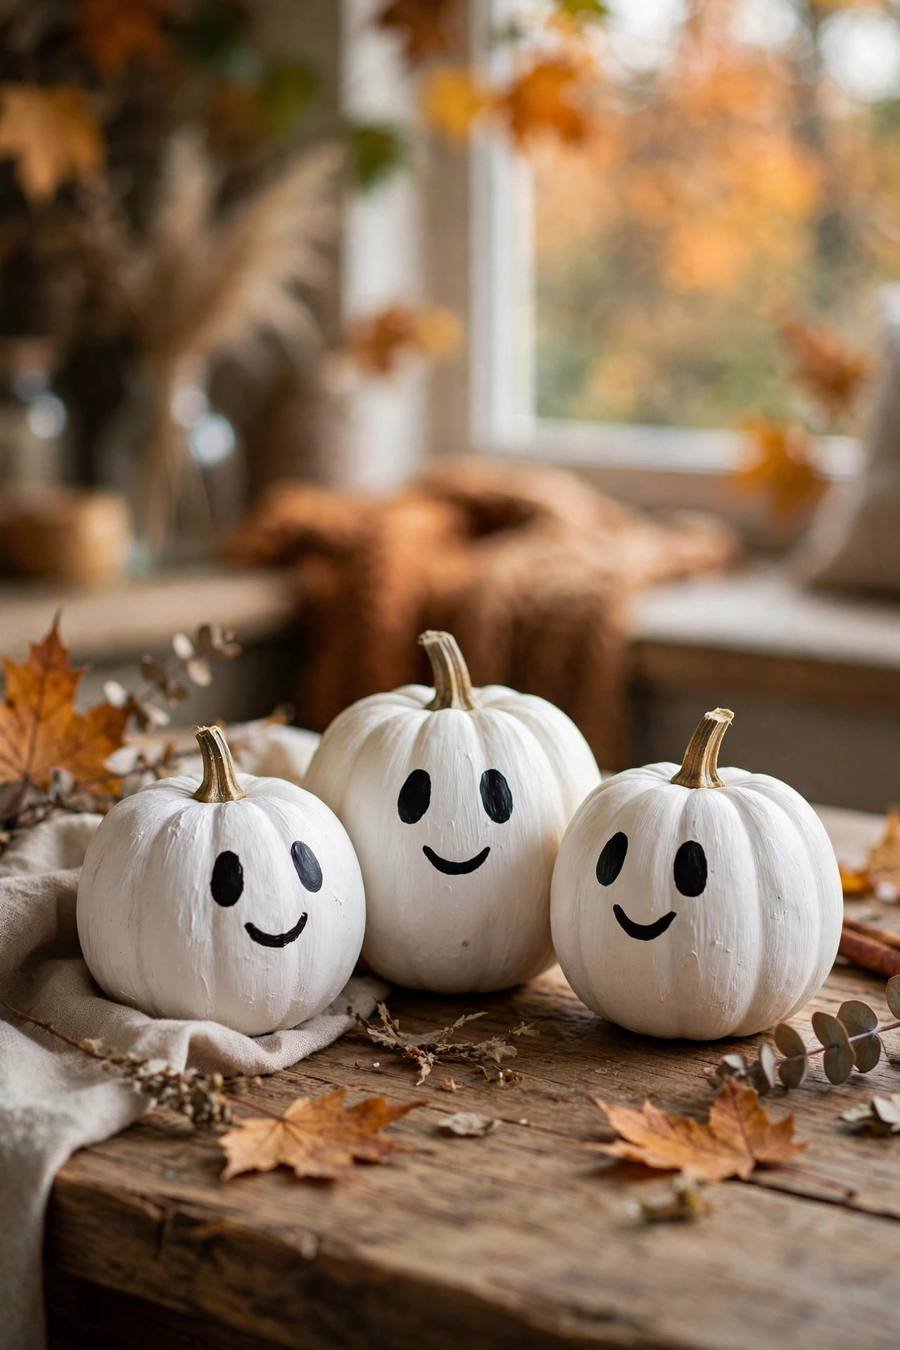
19. Cute Ghost Faces
White pumpkins ARE ghosts already — just add faces. The easiest Halloween craft in existence, and the simplest of all white pumpkin painting ideas for kids.
Materials + cost: Black acrylic paint or paint pen — about $4.
Paint two oval eyes and a wavy or “ooh” mouth. That’s it. Cluster three pumpkins of different sizes for a ghost family.
Tip: Vary the expressions — happy, surprised, and sleepy ghosts together are adorable.
Variation: Add tiny pink cheeks for extra cuteness.
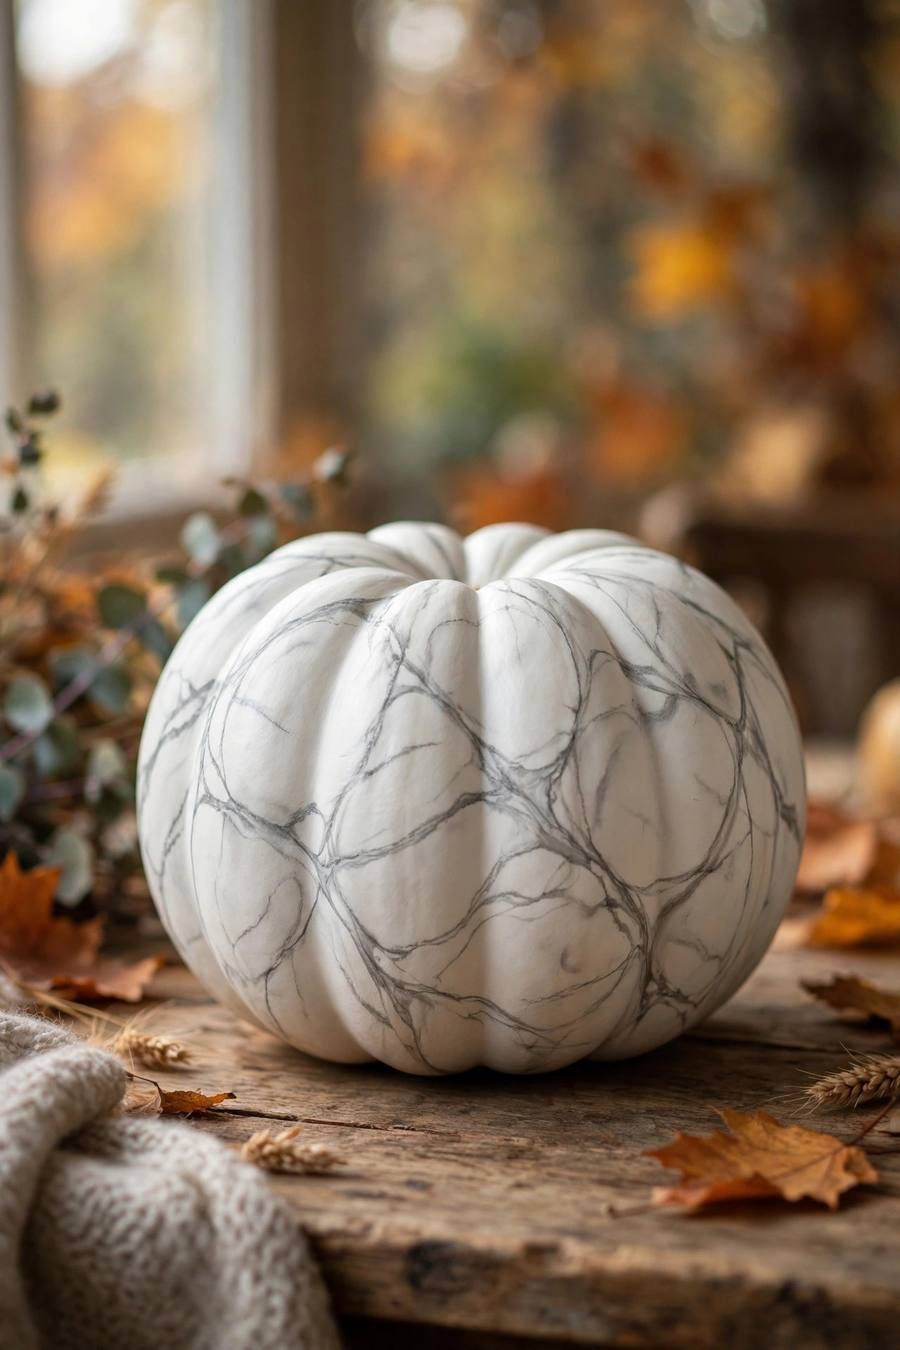
20. Elegant Marble Effect
Gray veining on white mimics Carrara marble — stunningly elegant and surprisingly easy with a feather.
Materials + cost: Gray acrylic, water, feather or fine brush — about $6.
Drag a feather lightly loaded with thinned gray paint in wandering veins across the surface. Add a few bold veins, then many faint ones.
Tip: Less pressure, more veins — real marble has many fine lines, not few thick ones.
Variation: Add gold veins alongside gray for a luxe Calacatta look.
21. Scarecrow Face
A friendly stitched scarecrow face — triangle nose, stitched smile — is pure fall charm on white.
Materials + cost: Black, orange, brown acrylics, brushes — about $6.
Paint triangle eyes and nose, then a wide smile with vertical stitch marks across it. Add rosy cheeks and a few “straw” strokes at the top.
Tip: Keep stitches uneven — hand-stitched charm comes from imperfection.
Variation: Add a tiny painted straw hat on top.

22. Blue Porcelain Dots
Tiny cobalt dots in neat rows echo fine porcelain — minimalist, elegant, and meditative to paint.
Materials + cost: Cobalt blue acrylic, dotting tools — about $6.
Paint rows of evenly spaced dots, keeping them small and consistent. A ruler-marked guide line helps keep rows straight.
Tip: Breathe and dot slowly — this is a mindfulness craft as much as decor.
Variation: Graduate dot sizes from tiny to large down the pumpkin.

23. Thankful Wreath
A painted wreath of fall leaves encircling the word “thankful” — the quintessential Thanksgiving pumpkin.
Materials + cost: Fall-color acrylics, brushes, chalk pencil — about $7.
Paint a loose leaf wreath in oranges, reds, and golds, then letter “thankful” in the center in dark brown script.
Tip: Paint leaves first, lettering last — it’s easier to fit text into the space than vice versa.
Variation: Use “gather” or your family name instead.

24. Starry Night Sky
Deep navy with gold stars turns a white pumpkin into a slice of night sky — magical for evening porch displays.
Materials + cost: Navy acrylic, gold paint pen, sponge — about $7.
Sponge navy over most of the pumpkin leaving some white “clouds,” then dot gold stars and paint a crescent moon.
Tip: Vary star sizes — a few big stars among many tiny ones looks like a real sky.
Variation: Add tiny constellation lines between stars.

25. Minimalist Line Faces
Single-line abstract faces in black — trendy, artistic, and impossibly chic on white.
Materials + cost: Black paint pen, white pumpkin — about $5.
Draw continuous-line faces without lifting the pen — one flowing line forming eyes, nose, and lips. Imperfect is perfect here.
Tip: Don’t overthink it — the charm is in the loose, sketchy quality.
Variation: Do a series of three with different expressions as a set.

Tips for the Best White Pumpkin Painting Ideas
The secret behind the best white pumpkin painting ideas is prep: wipe each pumpkin with a damp cloth, let it dry fully, and use quality acrylics. These white pumpkin painting ideas look even better in groups — cluster three to five painted pumpkins of varying sizes for a styled mantel or porch. For more no-carve inspiration, see Apartment Therapy’s painted pumpkin ideas and our full pumpkin painting ideas collection.
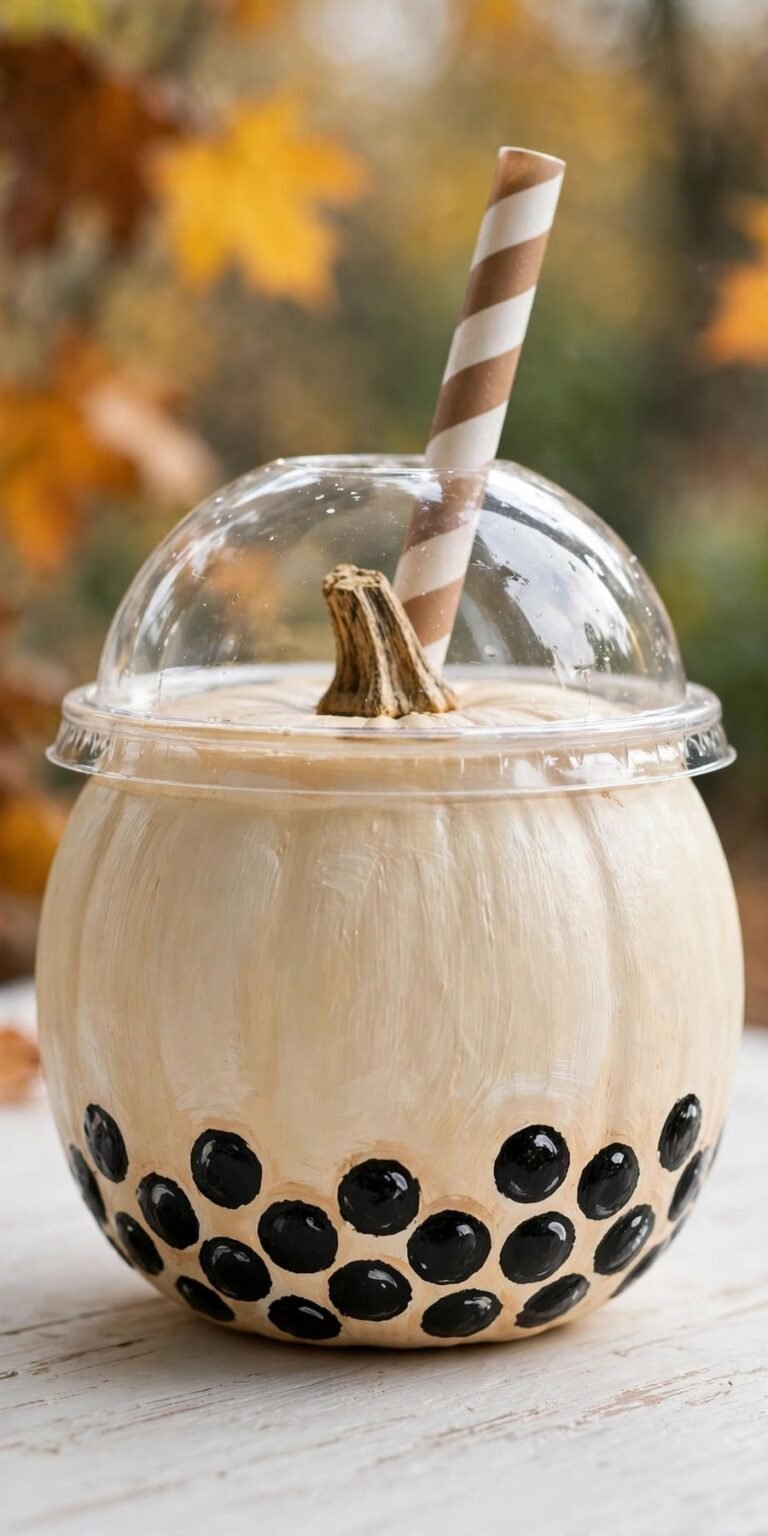
Love a no-carve project? Don’t miss these ceramic pumpkin decor ideas for a polished, reusable alternative, and the playful boba pumpkin painting ideas for a totally different look.
Frequently Asked Questions
What kind of paint works best on white pumpkins?
Acrylic craft paint is the best choice — it adheres well, dries fast, and comes in every color. For fine details, use paint pens. Both work beautifully for white pumpkin painting ideas. Always clean the pumpkin with a damp cloth first so paint grips properly.
Do I need to prime a white pumpkin before painting?
Usually no. White pumpkins (real or craft) already have a light base that paint covers easily. If you’re doing very pale designs, a coat of white gesso helps colors stay true.
How long do painted white pumpkins last?
Real painted pumpkins last 2–4 weeks indoors, less outside in rain. Craft pumpkins decorated with these white pumpkin painting ideas last for years — paint them once and reuse every fall.
Can kids paint white pumpkins?
Absolutely — white pumpkins are ideal for kids since mistakes blend in. Use washable tempera for under-5s and acrylics (with supervision) for older kids. The polka dot and ghost face white pumpkin painting ideas above are perfect starters.
How do I seal a painted white pumpkin?
Use a clear matte acrylic sealer spray (2 light coats) for real pumpkins displayed outdoors, or brush-on Mod Podge for craft pumpkins. Avoid glossy sealers unless you want a shiny finish.