
20 Ceramic Pumpkin Decor Ideas
Faux pumpkins have come a long way — today’s ceramic and foam pumpkins are the perfect blank canvas for elegant fall decorating. These ceramic pumpkin decor ideas prove that a little paint, gold leaf, or decoupage can turn a plain white pumpkin into a boutique-worthy showpiece.
Below are 20 ceramic pumpkin decor ideas for real homes, from hand-painted chinoiserie to modern terrazzo speckle. Every idea includes materials, cost, a pro tip, and a variation — most cost under $12 and all of them last for years since there’s no real pumpkin to rot.
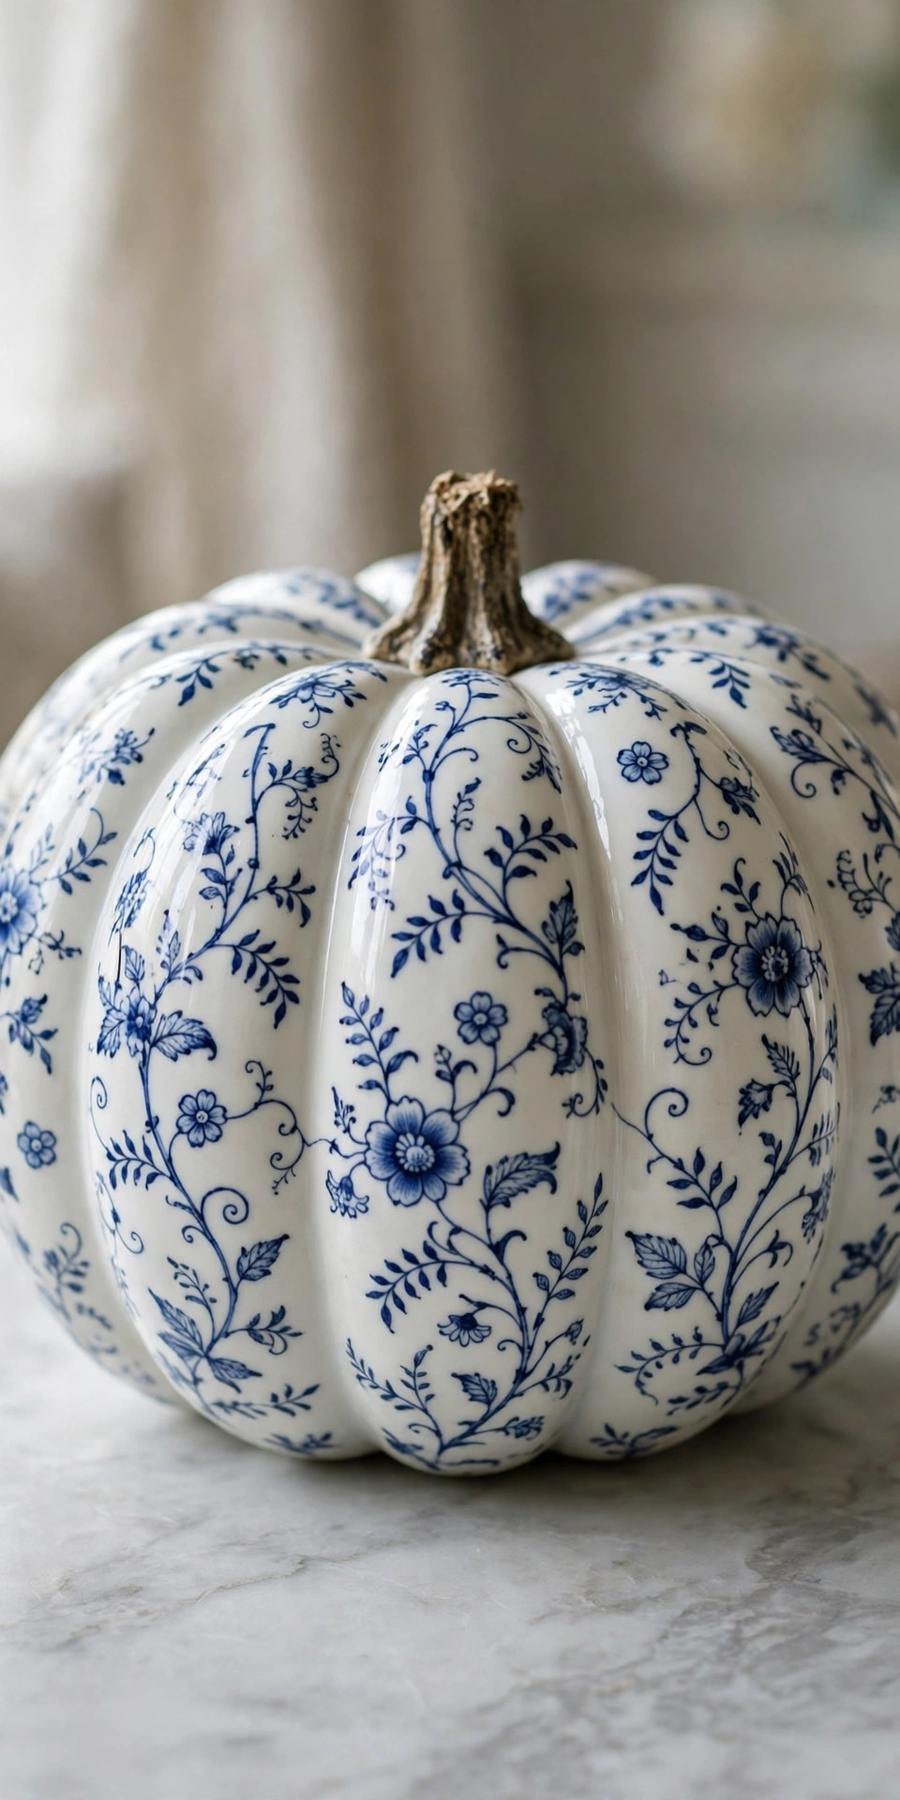
1. Blue Willow Porcelain
Paint your ceramic pumpkin in classic blue-and-white porcelain style — delicate vines, tiny flowers, and simple borders. This timeless ceramic pumpkin decor ideas look suits both traditional and coastal fall tables.
Materials + cost: White ceramic pumpkin, cobalt blue acrylic paint, fine liner brush — about $11 (pumpkin $8, paint $3).
Base-coat white if needed. With the liner brush, paint flowing vines around the pumpkin, adding small five-petal flowers and dot clusters. Keep the pattern airy — porcelain style is about negative space.
Tip: Work in sections, rotating as you go — painting one “panel” at a time keeps the design balanced all around.
Variation: Add a blue rim band at the top and bottom for a ginger-jar effect.
2. Gold Leaf Gilded Pumpkin
A few sheets of imitation gold leaf turn a plain white pumpkin into pure luxury — one of the most elegant ceramic pumpkin decor ideas for a candlelit tablescape. The irregular gilded patches catch candlelight beautifully on an evening tablescape.
Materials + cost: White ceramic pumpkin, gold leaf sheets + adhesive, soft brush — about $14.
Brush adhesive onto random patches — about 60% coverage — and press gold leaf sheets on with a soft dry brush. Let cure, then buff gently and seal with clear coat.
Tip: Don’t aim for full coverage — patchy gold over white looks expensive; solid gold looks gaudy.
Variation: Use copper leaf instead of gold for a warmer, autumnal glow.

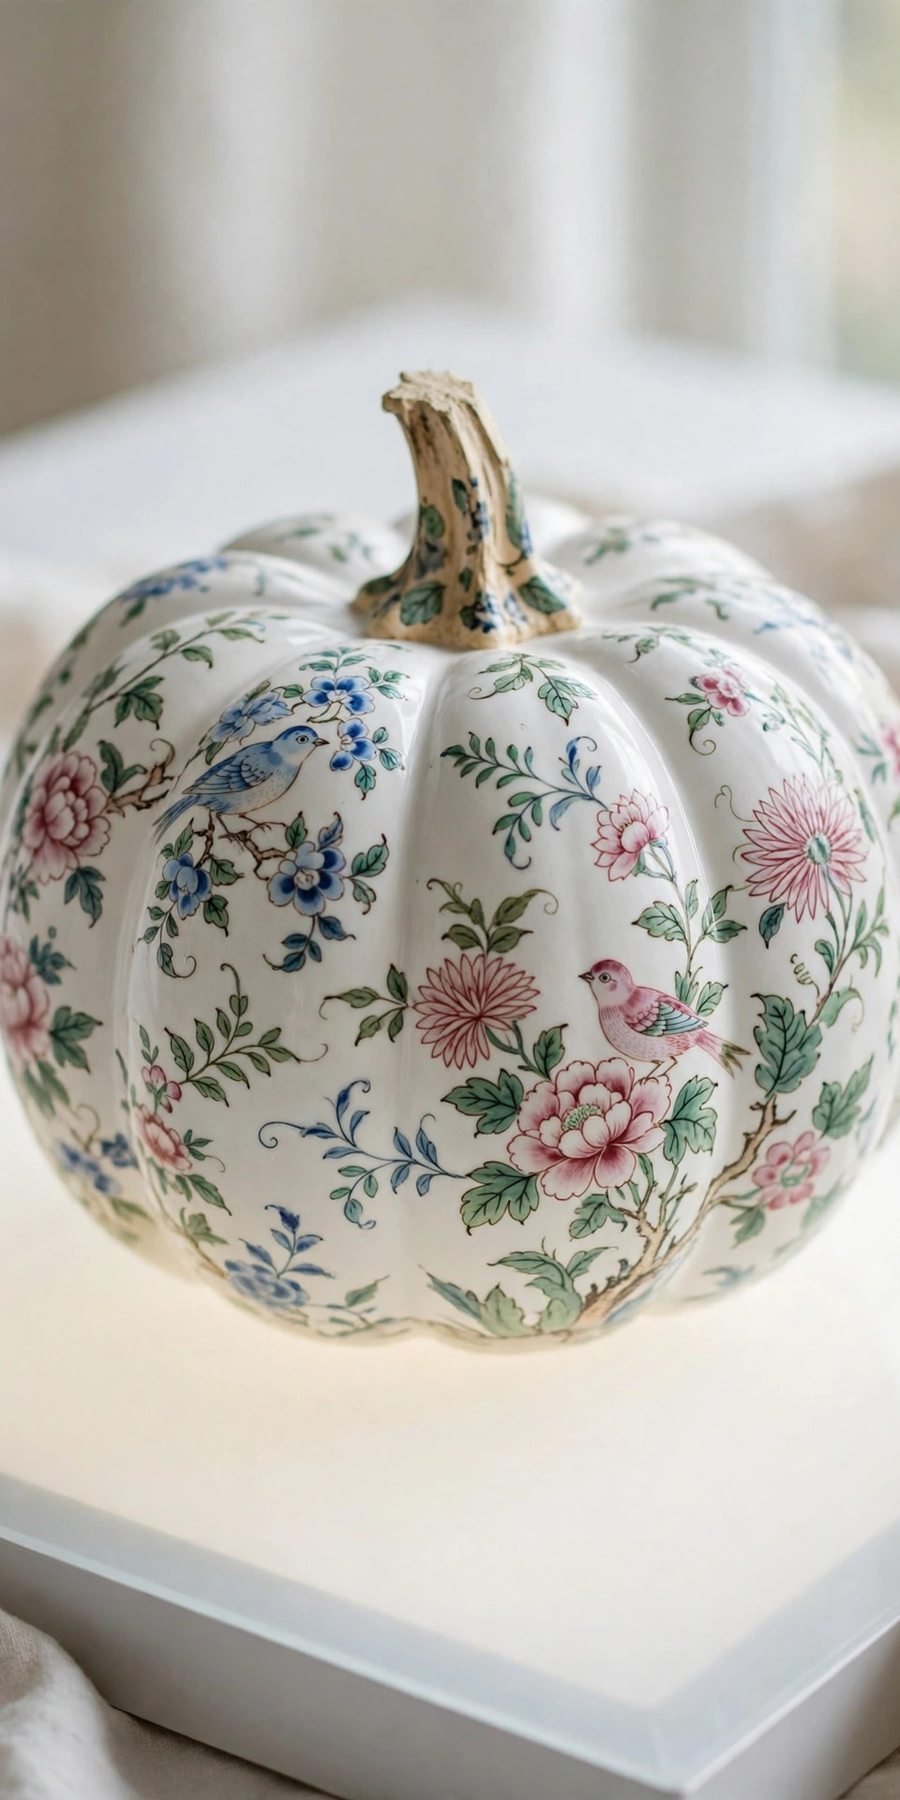
3. Chinoiserie Floral
Hand-painted chinoiserie — pagodas optional, florals essential — gives ceramic pumpkins an heirloom feel. Pink peonies, blue leaves, and tiny birds on white are endlessly charming.
Materials + cost: White ceramic pumpkin, pink + blue + green acrylic paint, detail brushes — about $12.
Paint large peony blooms in layered pink strokes, add blue-green leaves and curling stems, then dot in two tiny birds. Keep brushwork loose — chinoiserie should feel painterly, not precise.
Tip: Load two colors on one brush — a pink-and-white loaded brush paints peonies in a single stroke.
Variation: Paint the pumpkin pale celadon green first for an authentic antique ground.
4. Botanical Decoupage
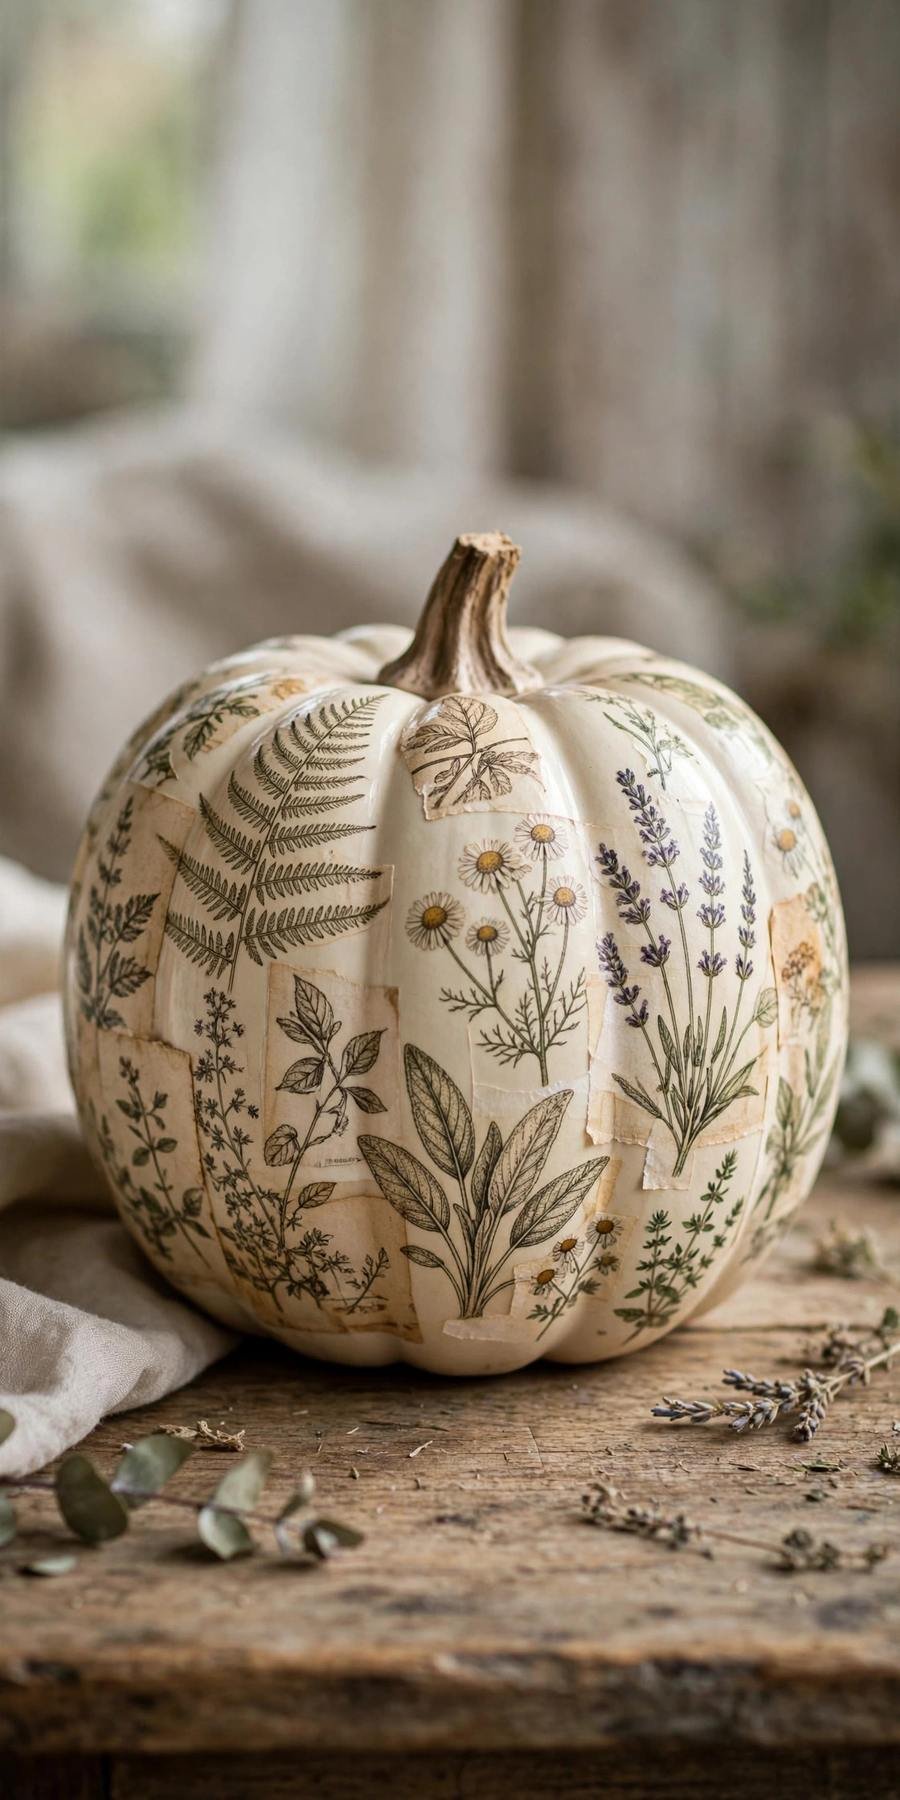
Vintage botanical prints decoupaged onto a cream pumpkin look like they came from a French flea market. This is one of the easiest ceramic pumpkin decor ideas — no painting skill required.
Materials + cost: Cream ceramic pumpkin, vintage botanical napkins or prints, decoupage glue — about $11.
Cut out botanical motifs, brush decoupage glue on the pumpkin, lay each print down, and seal with two more glue coats. Smooth gently — wrinkles are the enemy.
Tip: Tear, don’t cut, the print edges — torn edges blend invisibly; cut edges show a hard line.
Variation: Use old book pages of herb illustrations for a sepia-toned version.
5. Matte Black with Gold Drips
Modern, moody, magnificent — matte black ceramic with molten gold drips from the crown is the boldest pumpkin on the block. It anchors a Halloween tablescape like nothing else.
Materials + cost: Ceramic pumpkin, matte black spray paint, gold acrylic paint — about $12.
Spray the pumpkin matte black in two light coats. Once cured, drip slightly thinned gold paint from the top, letting it run naturally down the ridges.
Tip: Thin the gold just enough to flow — too thick and it blobs; too thin and it runs straight off.
Variation: Swap gold for copper drips on a forest-green base for a subtler take.

6. Terrazzo Speckle
Terrazzo’s playful speckles bring modern-art energy to fall decor. White base, random chips of black, grey, and beige — effortlessly chic and very now.
Materials + cost: White ceramic pumpkin, black + grey + beige acrylic paint, stiff brush — about $10.
Keep the white base. Dip a stiff brush in paint and flick it at the pumpkin for small speckles, then add a few larger hand-painted chips in each color for the terrazzo look.
Tip: Flick from 8 inches away — closer gives blobs, farther gives a fine, even speckle.
Variation: Use terracotta and rust chips on cream for a warmer, autumnal terrazzo.

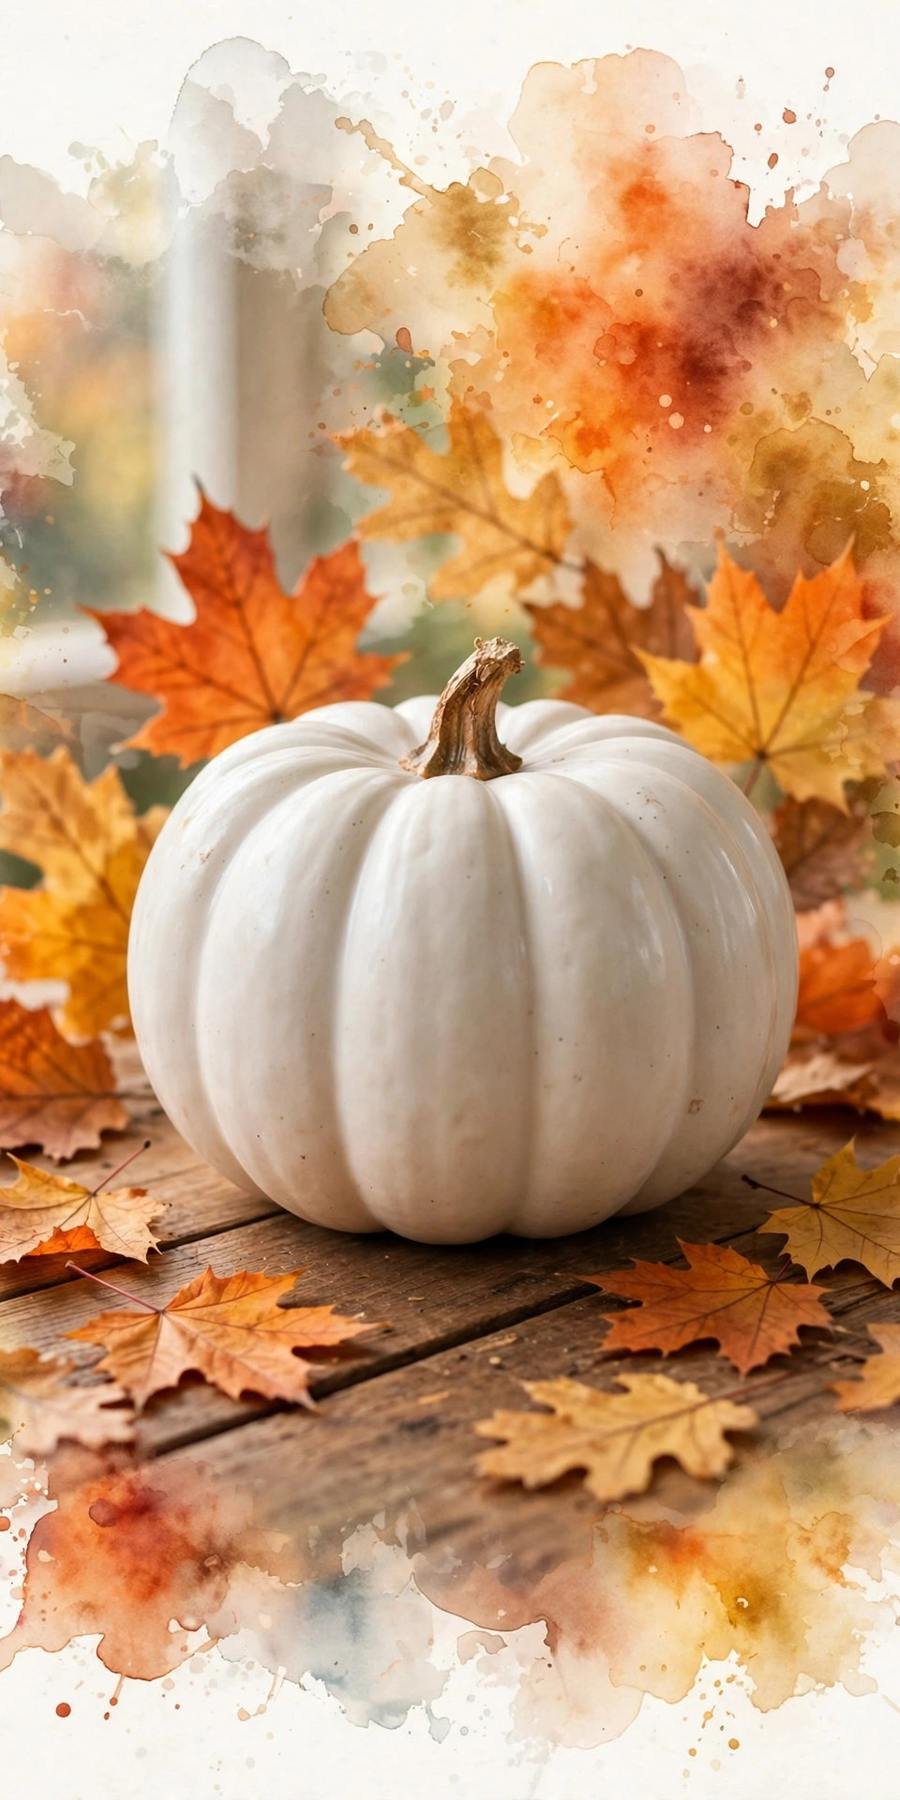
7. Watercolor Autumn Wash
Soft watercolor leaves in rust, gold, and amber wash across white ceramic like an autumn sky. Among ceramic pumpkin decor ideas, this artistic finish feels the most handmade.
Materials + cost: White ceramic pumpkin, watercolor-style acrylics or fluid acrylics — about $11.
Wet the surface lightly, then drop in fluid acrylics in fall tones and let them bleed together. While damp, paint a few simple leaf silhouettes over the wash.
Tip: Let the paint do the work — watercolor effects come from flow, not brushwork; resist overpainting.
Variation: Add fine gold pen outlines around the leaves once dry for definition.
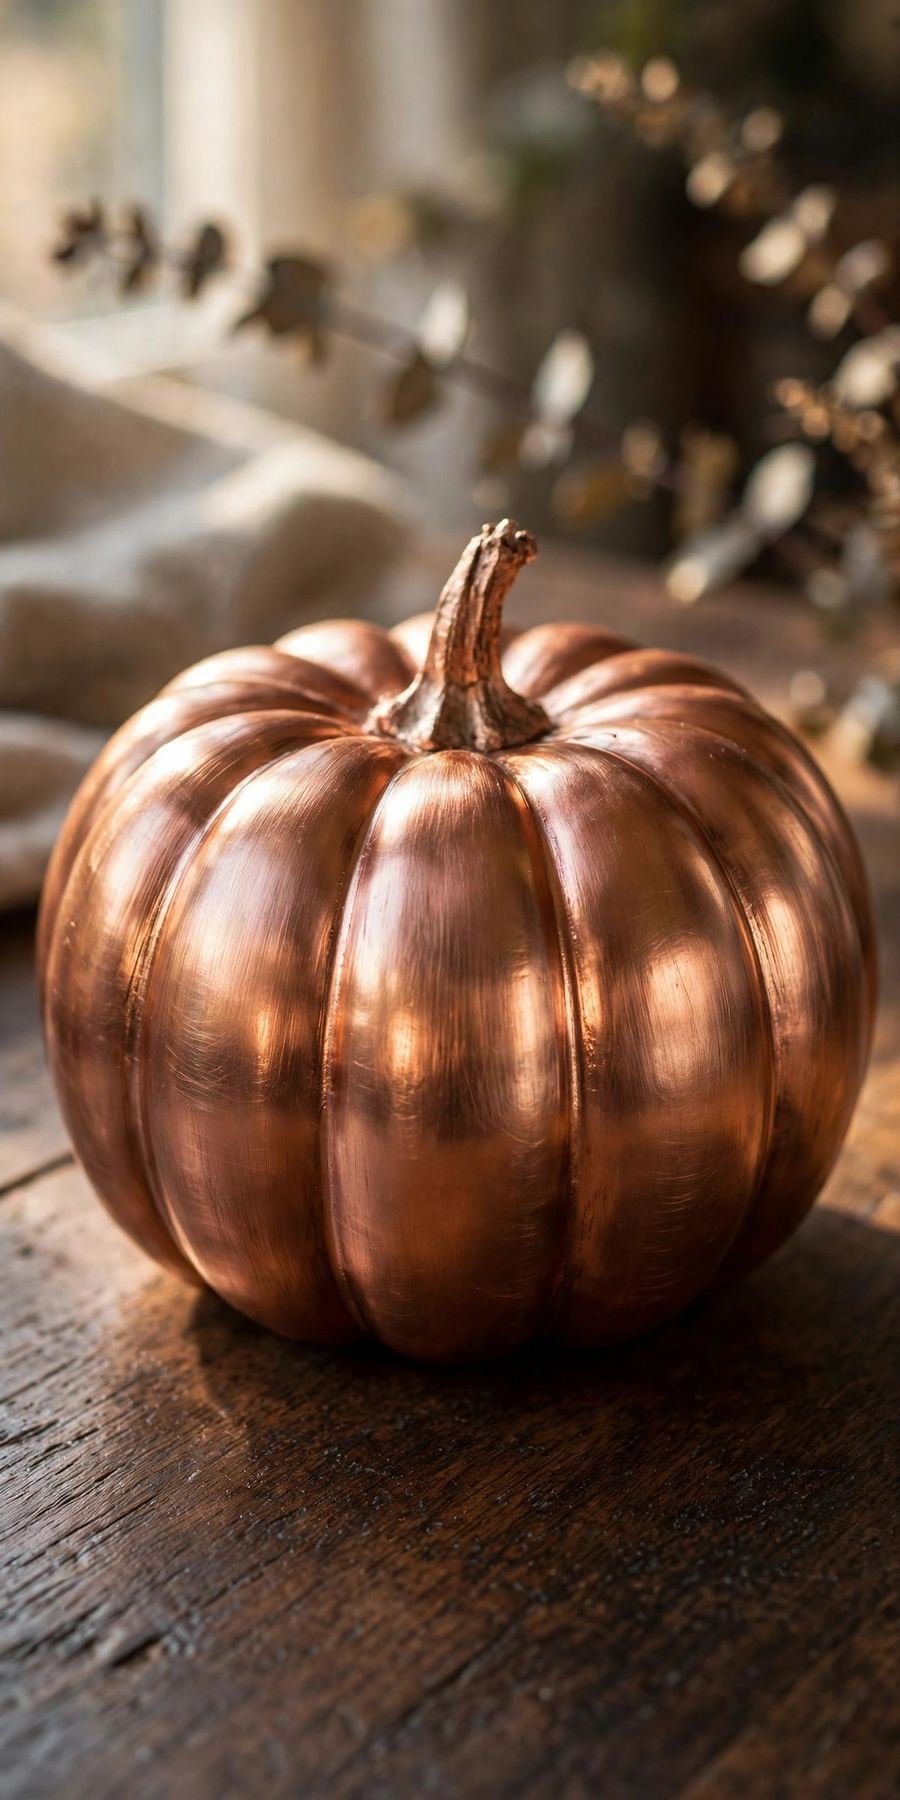
8. Brushed Copper Metallic
A full brushed-copper finish makes a ceramic pumpkin glow like harvest sunlight. It pairs perfectly with deep greens and warm wood tones.
Materials + cost: Ceramic pumpkin, copper metallic spray paint, fine steel wool — about $12.
Spray two coats of copper metallic, then lightly buff with fine steel wool in one direction for a brushed effect. Seal with a clear satin coat.
Tip: Buff in vertical strokes only — one-direction brushing creates the authentic brushed-metal grain.
Variation: Leave the stem natural dark brown for contrast against the copper.
9. Lace Stencil Overlay
Drape real lace over your pumpkin and sponge paint through it — the lacy imprint left behind is pure shabby-chic romance. Ivory on ivory keeps it subtle and sophisticated.
Materials + cost: Ivory ceramic pumpkin, white acrylic paint, lace fabric scrap, sponge — about $9.
Pin lace snugly around the pumpkin. Sponge white paint lightly through the lace, lift carefully, and let dry. Two lace layers in different patterns add depth.
Tip: Use barely any paint on the sponge — overloaded sponges bleed under the lace and blur the pattern.
Variation: Try grey lace pattern on white for higher contrast, or gold on cream for glam.

10. Harvest Calligraphy
A single elegant word — “grateful,” “harvest,” “gather” — hand-lettered in black script turns a plain pumpkin into meaningful decor. This minimalist ceramic pumpkin decor ideas classic never goes out of style.
Materials + cost: Cream ceramic pumpkin, black acrylic paint pen, pencil — about $10.
Sketch the word lightly in pencil, then trace with a paint pen in flowing script. Add two small wheat sprigs flanking the word for a finished composition.
Tip: Practice the word on paper three times first — muscle memory makes the final lettering confident.
Variation: Letter a family name and year for a personalized keepsake pumpkin.

11. Mosaic Tile Pumpkin
Glue small mosaic tiles across the surface for a jewel-like pumpkin with real texture and weight. Blue and white tiles give a Mediterranean feel that stands out in fall displays.
Materials + cost: Ceramic pumpkin, mosaic tile pieces, tile adhesive + grout — about $16.
Glue tiles in sections with tile adhesive, leaving small gaps. Once set, grout the gaps, wipe clean, and seal. Work in small areas — adhesive skins fast.
Tip: Start at the widest middle band — establishing the equator first keeps rows even toward top and bottom.
Variation: Use mirror mosaic pieces for a disco-ball pumpkin that throws light everywhere.

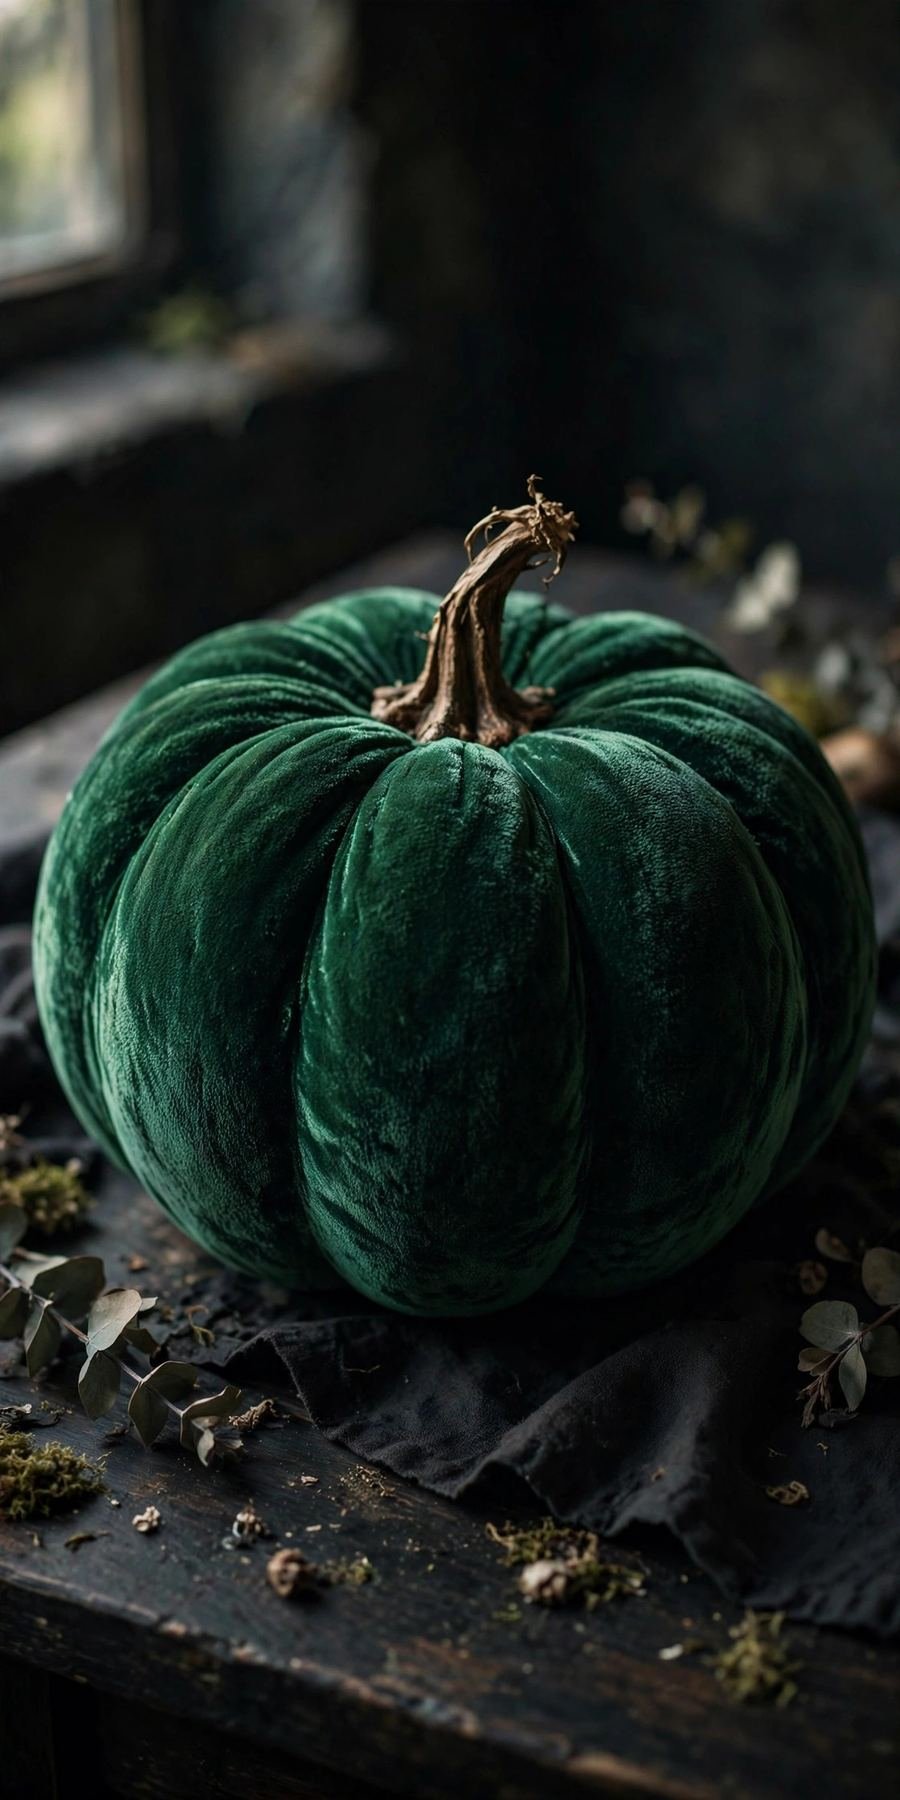
12. Velvet Flocked Pumpkin
Flocking powder gives ceramic pumpkins a soft, velvety nap in deep jewel tones. An emerald flocked pumpkin looks like it belongs in a boutique window.
Materials + cost: Ceramic pumpkin, flocking powder + adhesive (craft kit) — about $15.
Brush on the flocking adhesive evenly, then puff flocking powder over the whole surface. Tap off excess and let cure overnight before handling.
Tip: Work over a tray — flocking powder goes everywhere; a tray catches it for reuse.
Variation: Flock in burnt orange for a velvet pumpkin that still reads “fall.”
13. Crackle Glaze Antique
Crackle medium creates a web of fine antique cracks over your base color — instant heirloom. This vintage finish fools everyone into thinking it’s a real antique.
Materials + cost: Ceramic pumpkin, base paint + crackle medium + topcoat paint — about $12.
Paint the base color (try warm taupe), apply crackle medium per instructions, then brush the topcoat (cream) over it. Cracks appear as it dries — don’t touch them.
Tip: Brush the topcoat in ONE direction, once — rebrushing disturbs the crackle formation.
Variation: Rub dark wax into the cracks after drying to deepen the aged effect.

14. Pearl Lustre Finish
Iridescent pearl medium brushed over white gives a magical color-shifting sheen — pink in one light, blue in another. It’s subtle, luminous, and utterly unique among ceramic pumpkin decor ideas.
Materials + cost: White ceramic pumpkin, iridescent pearl medium — about $11.
Brush two thin coats of pearl medium over the white base, following the ridges. The effect builds with light — check it under a lamp as you go.
Tip: Thin coats are everything — thick pearl medium goes milky; thin layers stay luminous.
Variation: Add pearl medium only to the top half for an ombre shimmer effect.

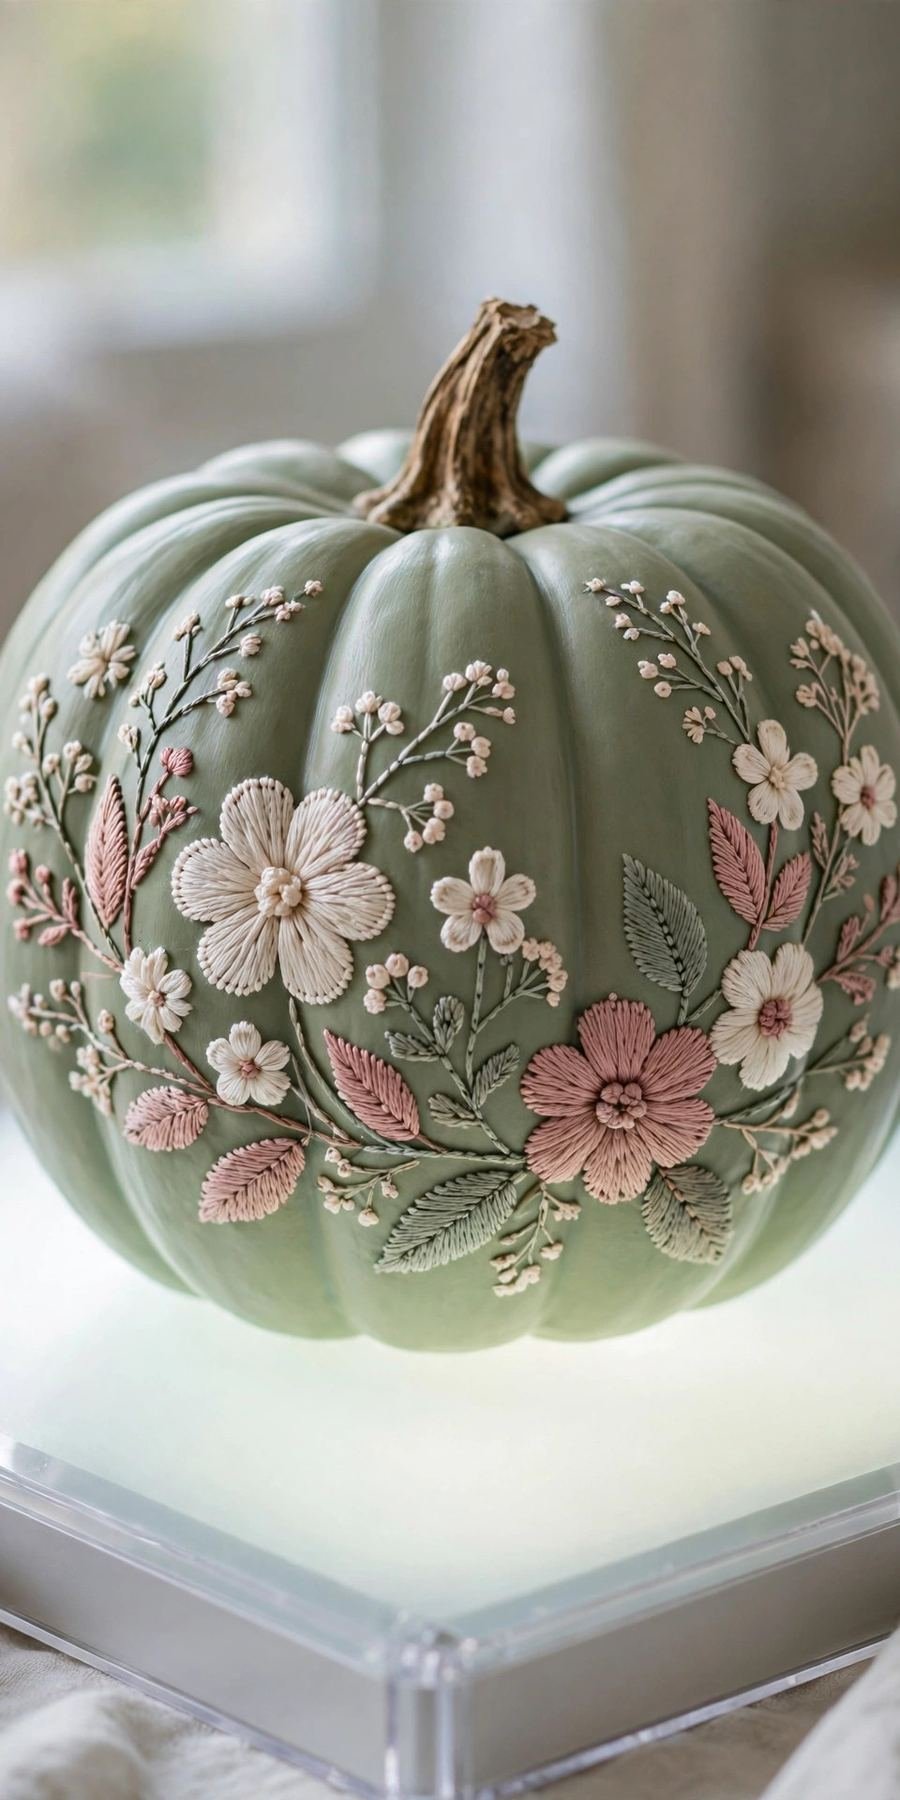
15. Embroidered Floral
Paint florals that mimic embroidery — French knots, lazy-daisy petals, stem stitches — in thread-like colors on sage ceramic. It looks stitched until you touch it.
Materials + cost: Sage ceramic pumpkin (or painted sage), cream + dusty rose + mustard acrylic paint — about $11.
Paint daisy chains and French-knot dots in embroidery patterns, keeping strokes short like real stitches. A stem-stitch vine winding around ties it together.
Tip: Keep every stroke short — embroidery is built from tiny stitches; long brushstrokes break the illusion.
Variation: Add a painted “hoop frame” circle around one floral cluster like real hoop art.
16. Faux Concrete
Raw concrete texture on a pumpkin is peak modern minimalism. Grey, matte, and architectural — it lets your colorful fall foliage do all the talking.
Materials + cost: Ceramic pumpkin, grey chalk paint + texture paste — about $11.
Spread a thin layer of texture paste with a palette knife, then paint over in matte grey chalk paint. Sand lightly once dry for a weathered concrete feel.
Tip: Less paste is more — a skim coat reads as concrete; thick layers look like stucco.
Variation: Stamp a house number into the wet paste for a personalized porch pumpkin.

17. Marbled Ink Swirl
Black and gold marbling swirled across white ceramic is pure drama. No two marbled pumpkins are alike, which makes each one feel like art. A showpiece among ceramic pumpkin decor ideas.
Materials + cost: White ceramic pumpkin, black + gold fluid acrylics — about $12.
Drop fluid acrylics onto the surface and tilt the pumpkin to let them run and marble. Work fast — fluid acrylics set quickly — and seal with gloss varnish.
Tip: Tilt, don’t brush — gravity makes better marble veins than any brush ever will.
Variation: Marble in navy and copper for a completely different mood.

18. Gingham Check
Classic orange-and-white gingham is farmhouse fall in a nutshell. Crisp checks on a ceramic pumpkin look cheerful on porches and kitchen tables alike.
Materials + cost: White ceramic pumpkin, orange acrylic paint, painter’s tape — about $9.
Tape off a grid of squares and paint alternate rows orange, let dry, then tape the perpendicular rows and paint again — the overlaps create the gingham check.
Tip: Let each layer dry fully before re-taping — wet paint plus tape equals a smeared mess.
Variation: Try black-and-cream buffalo check for a bolder farmhouse statement.

19. Beaded and Jeweled
Glue on pearls, beads, and gold gems for a pumpkin that’s basically jewelry — the most glamorous of these ceramic pumpkin decor ideas. Clustered densely, it becomes a glittering centerpiece for formal fall dinners.
Materials + cost: Ivory ceramic pumpkin, pearl beads + gold gems, strong craft glue — about $15.
Plan a pattern — radiating from the stem works beautifully — then glue beads on one section at a time. Mix bead sizes for a rich, textured surface.
Tip: Use tweezers for placement — fingers are too clumsy for precise bead patterns; tweezers give control.
Variation: Cover only the top half in beads, leaving the bottom smooth for contrast.

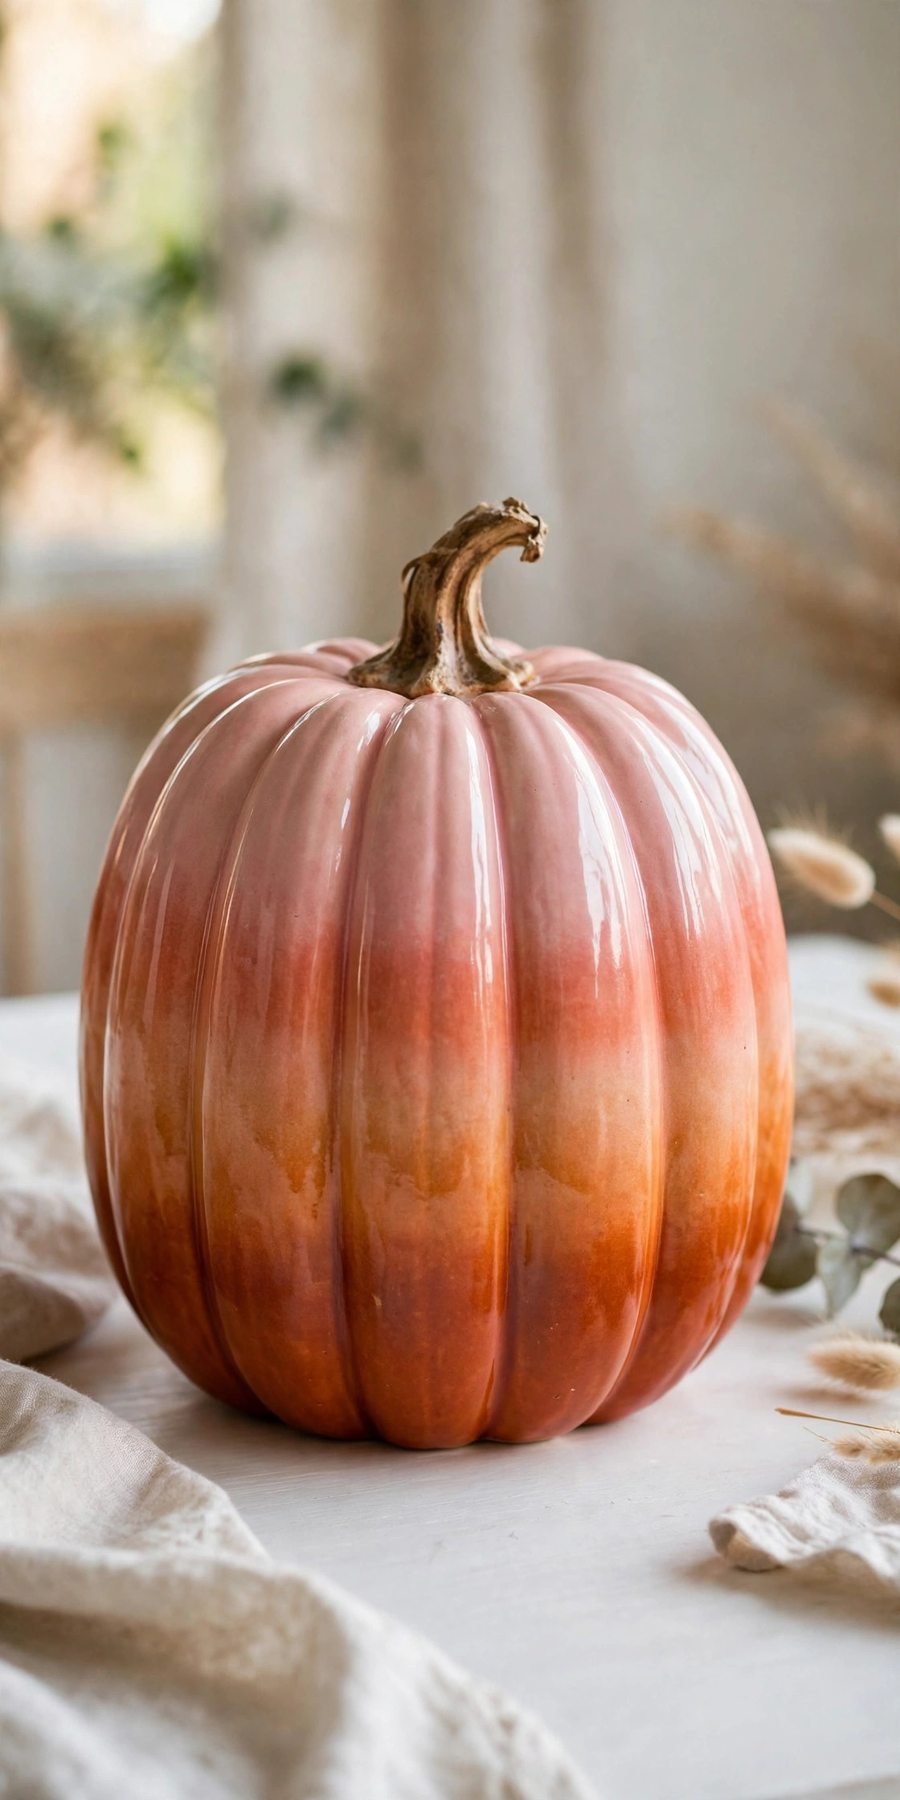
20. Ombre Sunset
Blend deep burnt orange at the base into soft blush pink at the crown for a sunset ombre. It’s the dreamiest of these ceramic pumpkin decor ideas — and surprisingly easy with a sponge.
Materials + cost: White ceramic pumpkin, burnt orange + blush pink acrylic paint, sponge — about $10.
Sponge burnt orange on the lower third, blush pink on the upper third, then blend the middle with a dry sponge until the transition melts together.
Tip: Blend with a clean, dry sponge — a paint-loaded sponge muddies the transition instead of softening it.
Variation: Add a thin gold band at the color break for a jewelry-like detail.
Tips for the Best Ceramic Pumpkin Decor Ideas
The best ceramic pumpkin decor ideas start with a clean, grease-free surface — wipe every pumpkin with rubbing alcohol before you begin. Work in thin coats, let each layer dry fully, and always seal your finished piece. These ceramic pumpkin decor ideas last for years on faux pumpkins, so invest the extra hour to make each one perfect. For more fall inspiration, see our pumpkin painting ideas and white pumpkin painting ideas for even more seasonal projects.
Ceramic Pumpkin Decor Ideas FAQs
What kind of paint sticks to ceramic pumpkins?
Acrylic craft paint adheres well to ceramic and foam pumpkins, especially over a primer coat, making it the go-to choice for ceramic pumpkin decor ideas. For glazed ceramic, scuff lightly with fine sandpaper first — and always finish with a clear sealer.
Can I use real pumpkins for these ceramic-style finishes?
Most of these finishes work on real pumpkins too, but they won’t last — real pumpkins decay in weeks while the paint stays perfect. Faux pumpkins are the whole point of ceramic pumpkin decor ideas: decorate once, display for years.
How do I apply gold leaf to a pumpkin?
Brush gold-leaf adhesive onto the areas you want gilded, wait until tacky, then press the leaf sheets on with a soft dry brush. Work in small sections — gold leaf tears easily but patches invisibly, which makes gilding one of the most forgiving ceramic pumpkin decor ideas.
Where can I buy inexpensive ceramic pumpkins to decorate?
Craft stores stock white ceramic and foam pumpkins every fall for $5–$10, and thrift stores are full of them after Halloween. Buy in bulk when you find a good shape — you’ll want to try several of these ceramic pumpkin decor ideas.
How do I store decorated pumpkins so they last?
Wrap each finished pumpkin in tissue paper and store in a sturdy box in a dry place. Keep beaded or gold-leafed pieces from touching each other — a little separation prevents chips and scratches year after year, so your favorite ceramic pumpkin decor ideas return looking perfect every fall.


One Comment