
If you have ever unpacked a box of tiny ceramic houses and wondered how to turn them into the glowing winter town in your head, these christmas village display ideas are your answer. A great village is not about owning the most pieces — it is about height, light, and a little storytelling, and every idea below works with pieces you may already own.
Below you will find 36 christmas village display ideas for every space and budget, from a classic three-level mantel and a $25 tiered tray village to a 5-minute glass cloche scene and a DIY cardboard town for under $10. Most use battery lights, faux snow, and things from around the house, so you can start tonight. Pick one idea, build it this weekend, and watch your living room turn into the coziest street on the block. For more seasonal inspiration, see our cozy christmas living room decor ideas and small apartment christmas decor.
1. Classic Three-Level Mantel Village
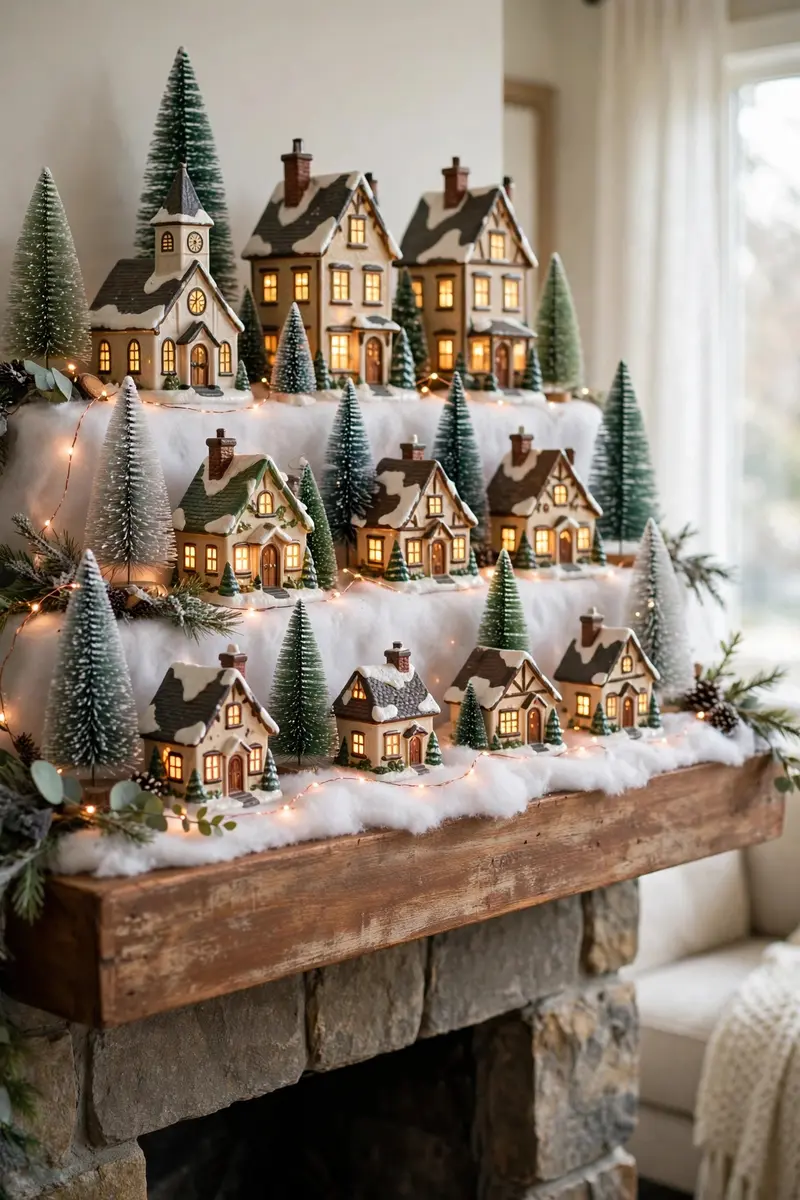
The mantel is the classic home for a christmas village display ideas collection, because the fireplace already draws every eye in the room. Building on three levels — back, middle, and front — stops the back row from hiding behind the front and makes even a small set of houses look like a whole town.
Materials + cost: faux snow blanket ($8–$12), wooden risers or stacked books (free from home), battery fairy lights ($6–$10), bottle brush trees ($8–$12).
Lay the snow blanket first, then place the tallest buildings at the back on risers, medium houses in the middle, and small cottages and figures at the front. Weave fairy lights through the snow so the glow comes from inside the scene, not from above it. Tip: leave one winding gap in the snow as a path down the middle — it makes the village feel walkable instead of lined up like a shelf. Variation: swap the snow blanket for a plaid runner for a rustic, lodge-style mantel. A lovely choice among christmas village display ideas.
2. Tiered Tray Tabletop Village
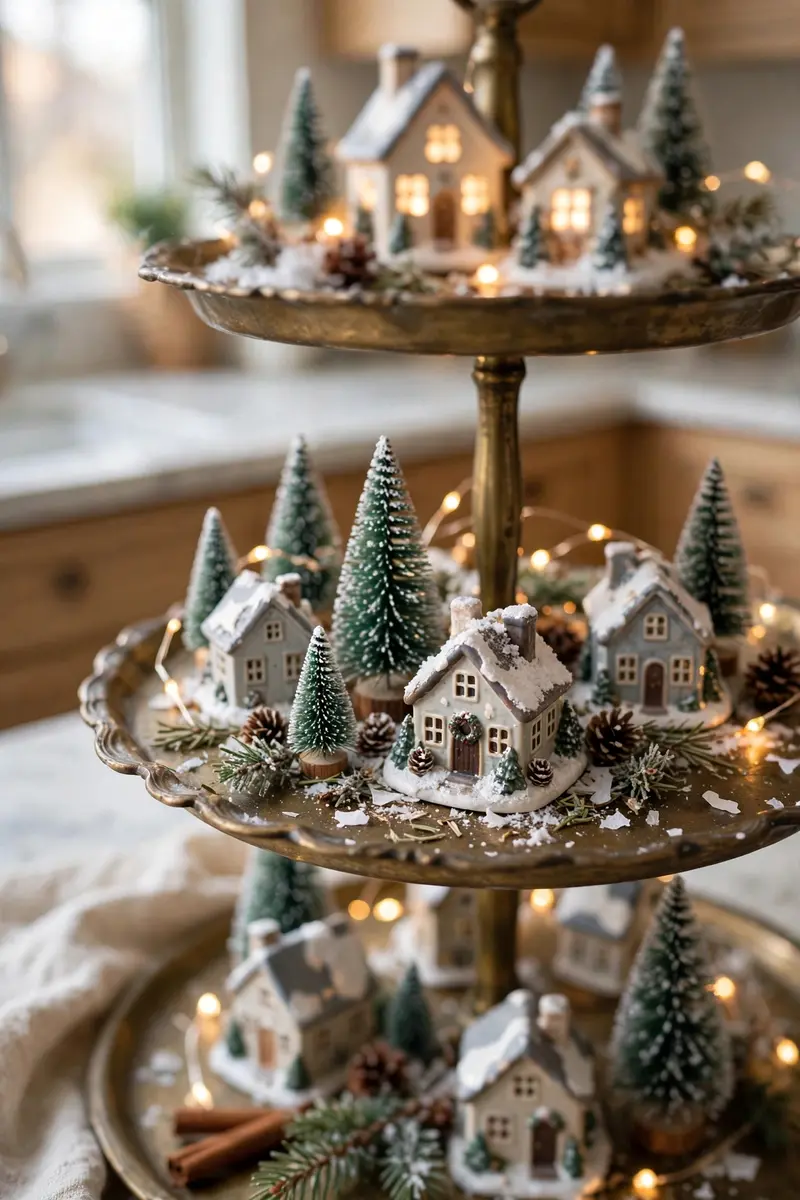
A two- or three-tiered tray turns a handful of houses into a complete village on a kitchen counter or coffee table, and it costs far less than a dedicated display table. Each tier becomes its own little neighborhood, so the whole scene reads as layered and intentional.
Materials + cost: tiered tray ($15–$25), faux snow or glitter ($4–$6), 4–6 mini houses ($10–$20), micro lights ($5).
Put the largest house and trees on the bottom tier, smaller houses above, and a single glowing cottage on top as the focal point. Tuck micro lights under the snow on each tier so every level glows. Tip: keep the tallest piece at least 2 inches shorter than the tier above it, or the scene looks cramped. Variation: use a cake stand and a couple of small plates as a DIY tiered tray for under $10. This remains a favorite among christmas village display ideas.
3. Bookshelf Neighborhood Village
Bookshelves are naturally divided into neighborhoods, which makes them one of the easiest places for christmas village display ideas that do not take over a whole room. Your books frame the scene, so the village looks like part of your home rather than a seasonal takeover.
Materials + cost: faux snow runner ($6–$10), battery puck light or fairy lights ($5–$8), houses and trees you already own.
Clear one shelf, lay the snow runner, and arrange houses in a loose cluster with books standing behind them like a skyline. Add a string of battery lights along the shelf edge and a tiny wreath on the shelf end for a finished look. Tip: remove a few books rather than cramming houses in front of them — breathing room is what makes it look styled. Variation: give each shelf its own theme, like shops below and homes above. A lovely addition to any christmas village display ideas collection.

4. Console Table Welcome Village
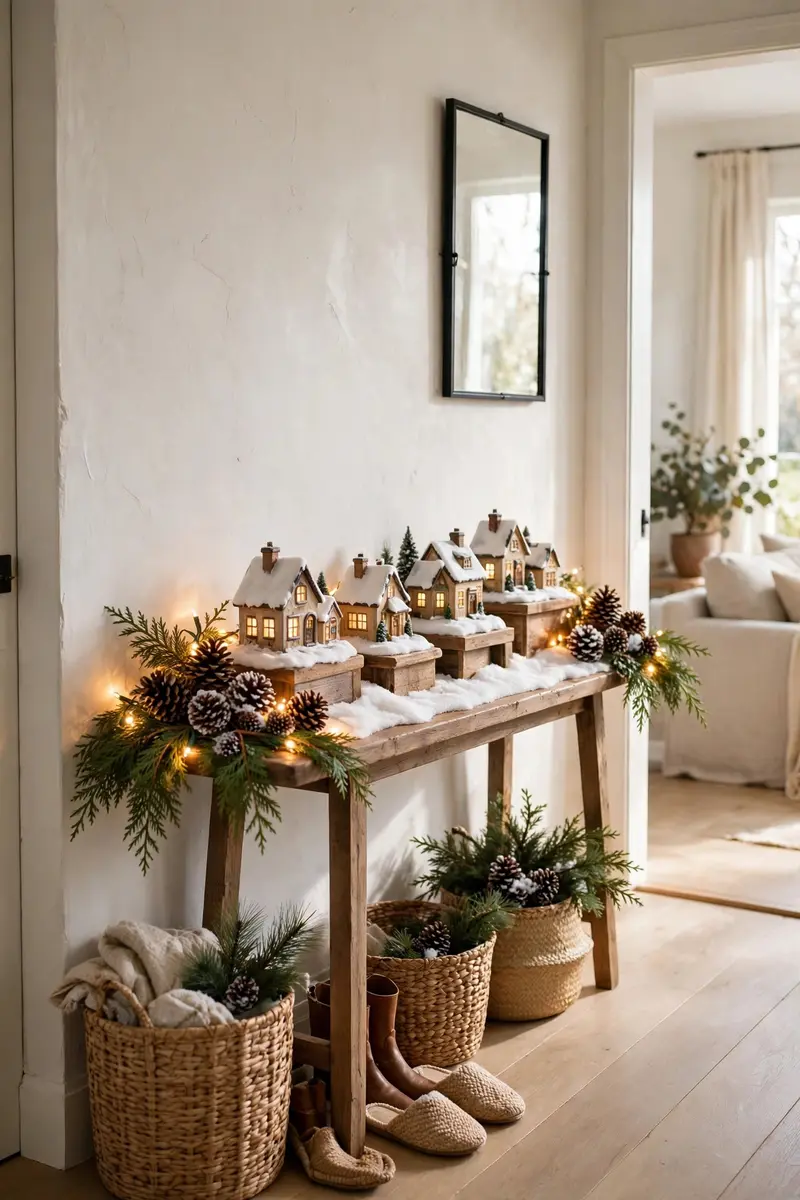
A console or entryway table gives guests a tiny glowing town the moment they walk in, and it is the first thing they see at a holiday party. Because the table is narrow, the scene stays shallow and easy to manage, even for beginners.
Materials + cost: neutral table runner ($8–$12), faux snow ($5), wooden risers ($6–$10), fairy lights ($6).
Lay the runner, build two height levels with risers hidden under snow, and angle the houses slightly instead of lining them up straight. Add pinecones and cedar sprigs at the ends to tie the scene to the rest of your entryway. Tip: keep flames far from cords and use LED candles only near fabric and greenery. Variation: add a small framed ‘welcome to our village’ sign for a personal touch. One of the most charming christmas village display ideas to try.
5. Dough Bowl Portable Village
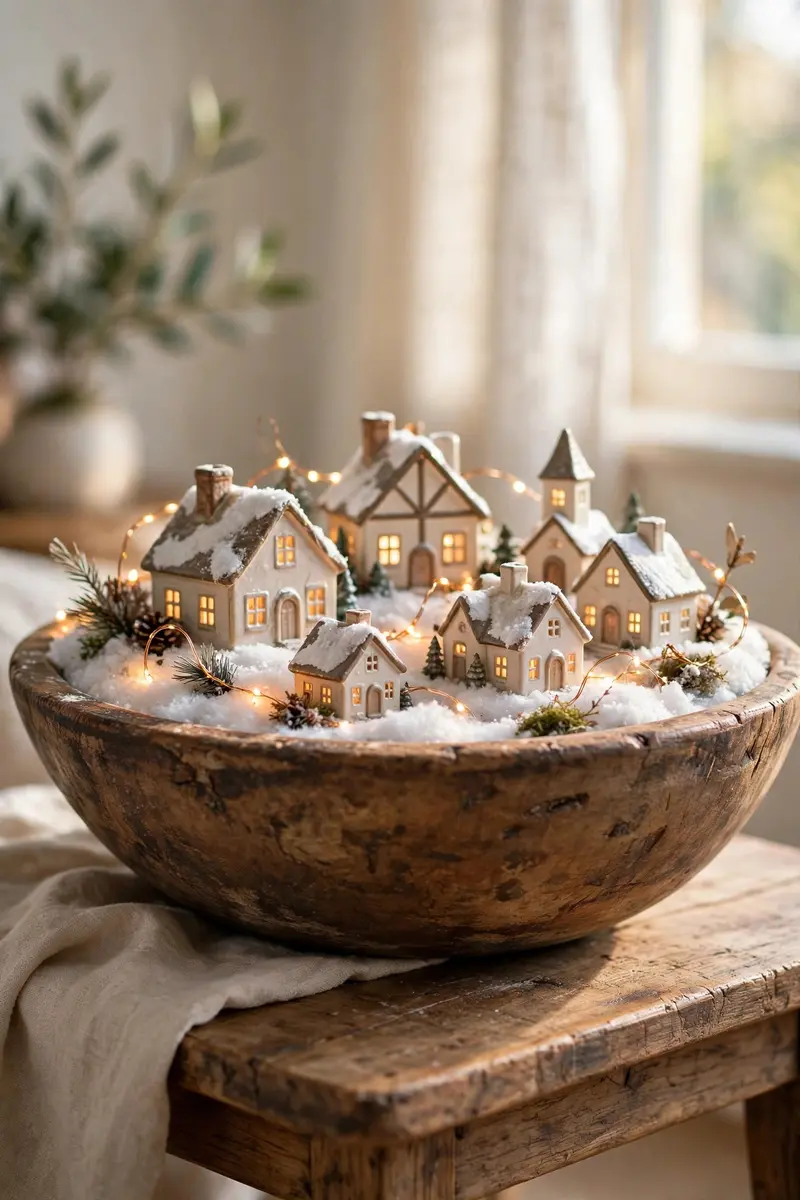
If you are short on space or hate committing to a big rearrangement, a large dough bowl or tray holds a whole miniature village you can move in one lift. It is perfect for renters, small apartments, and anyone who wants the magic without the mess.
Materials + cost: dough bowl or large tray ($10–$18 thrifted), faux snow or moss ($4–$6), 3–5 mini houses ($8–$15), fairy lights ($5).
Line the bowl with snow, nestle the houses in a loose group, and weave a strand of fairy lights through the middle so the glow spills over the rim. Tip: choose houses in one color family — all white, all red-roofed — so a tiny scene still looks cohesive. Variation: use a wooden bread box with the lid open as a shadow-box version. A simple favorite among christmas village display ideas this season.
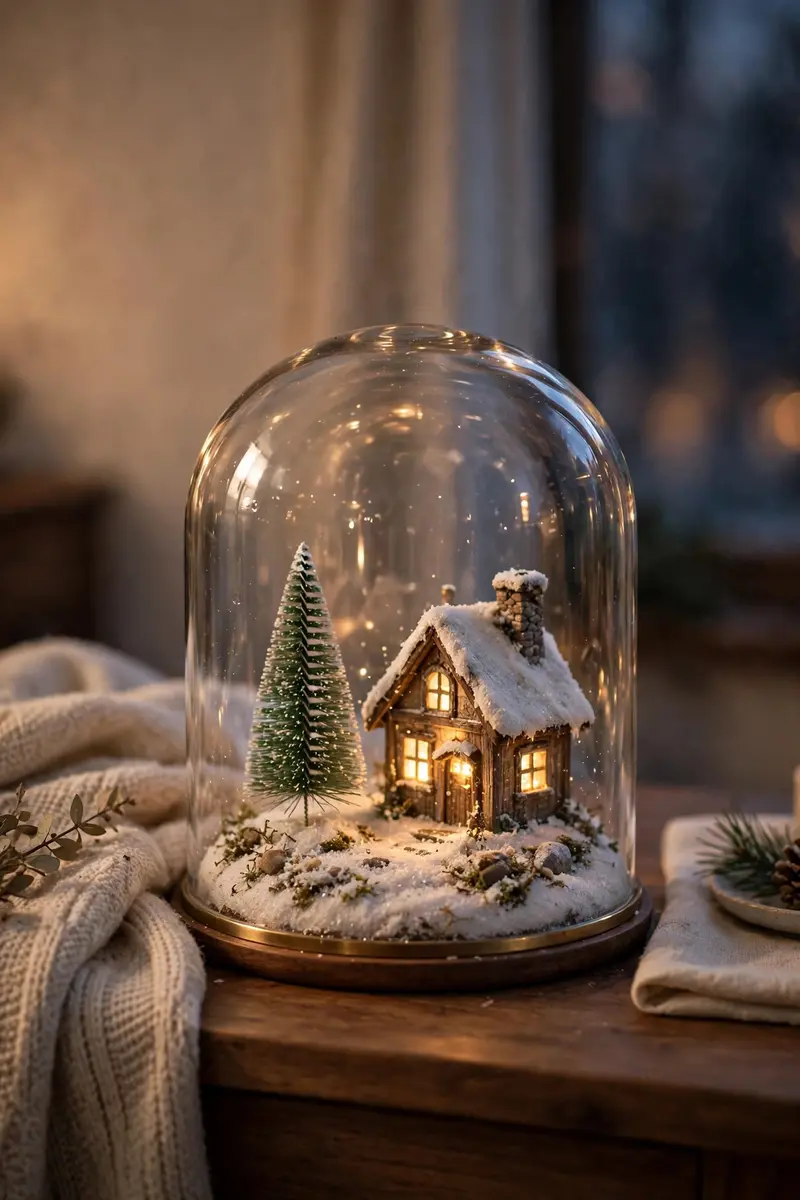
6. Glass Cloche Snow Globe Village
A single lit house under a glass cloche looks like a snow globe come to life, and it is the fastest christmas village display idea of all — five minutes, one house, instant magic. It works beautifully on a nightstand, a bathroom shelf, or a desk where a full village would never fit.
Materials + cost: glass cloche ($8–$15), one lighted cottage ($6–$12), faux snow ($3), battery tea light ($2).
Set the cottage on a small round of snow, place the tea light behind it, and lower the cloche over the top. The glass magnifies the glow and keeps dust off your prettiest piece all season. Tip: put a tiny bottle brush tree beside the house inside the cloche — one tree is all it takes to complete the scene. Variation: use a large mason jar turned upside down as a budget cloche. This remains a favorite among christmas village display ideas.
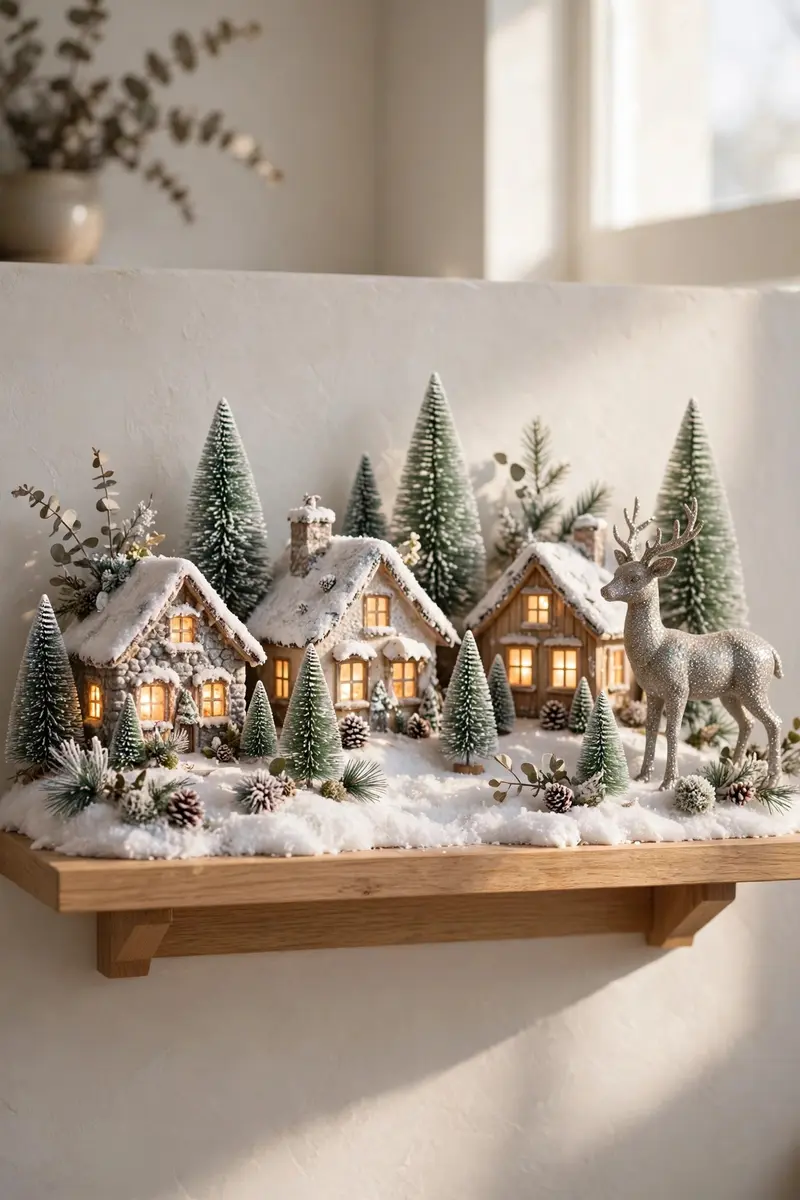
7. Floating Shelf Frosted Forest
A floating shelf lined with faux snow, bottle brush trees, and tea-light cottages feels like a scene from a storybook, and it uses wall space instead of table space. It is ideal for small rooms where every surface already has a job.
Materials + cost: faux snow strip ($5), bottle brush trees ($6–$10), 2–3 tea-light houses ($10–$18), battery tea lights ($4).
Run the snow strip along the shelf, cluster the houses toward one end, and scatter trees of different heights around them so the shelf reads as a forest clearing. Tip: mount a battery puck light under the shelf above to wash the scene in light without visible cords. Variation: add a glittery deer or two for an enchanted-forest feel. A lovely choice among christmas village display ideas.
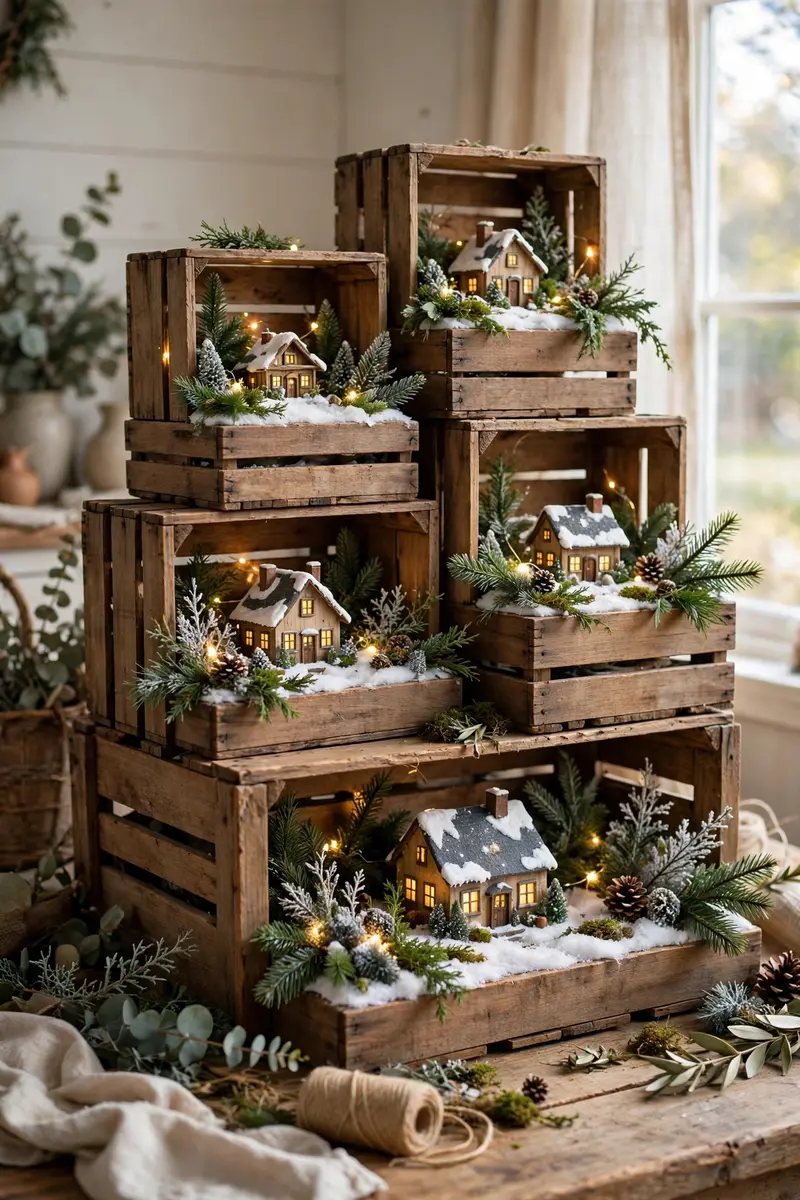
8. Wooden Crate Farmhouse Village
Stacked wooden crates give a village instant farmhouse charm, with each crate becoming its own cozy cabin corner. The wood warms up white snow and ceramic houses, and the whole display looks collected over years rather than bought in one trip.
Materials + cost: 2–3 wooden crates ($8–$15 each), faux snow ($5), fairy lights ($6), houses and greenery ($10–$20).
Stack crates vertically or side by side, leaving some openings forward-facing like little rooms. Arrange houses, figurines, and string lights inside each crate section, with snow on the crate floors. Tip: paint crates white or leave them natural — mixing painted and natural crates in one display looks messy. Variation: turn one crate on its side as a stable scene with a tiny manger. This remains a favorite among christmas village display ideas.
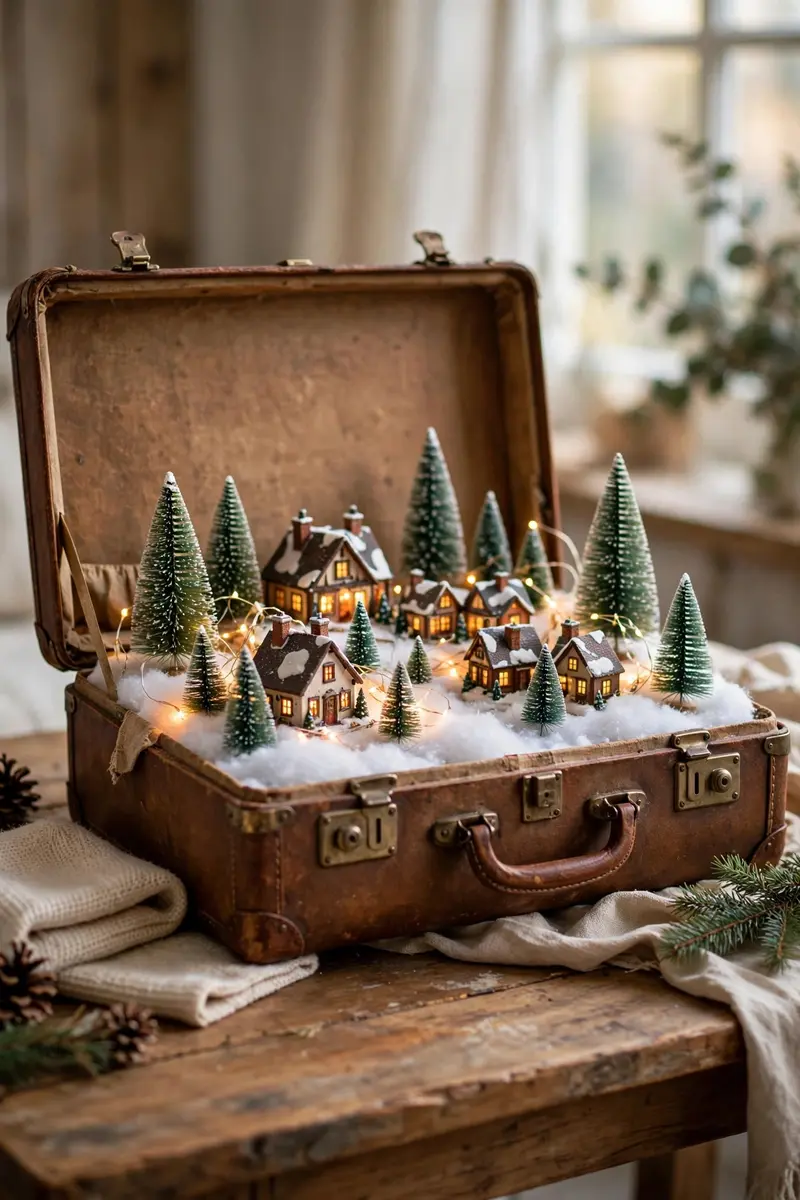
9. Vintage Suitcase Travel Village
An open vintage suitcase lined with fake snow becomes a portable, nostalgic village with a story built in — it looks like the town itself traveled to you. It is a wonderful way to display inherited pieces or a small collection with big sentimental value.
Materials + cost: vintage suitcase ($10–$20 thrifted), faux snow ($5), mini houses and trees ($10–$15), fairy lights ($5).
Open the suitcase flat, line the bottom half with snow, and arrange houses, trees, and lights inside, using the lid as a backdrop. Prop a tiny vintage postcard or old map behind the houses for extra nostalgia. Tip: keep the suitcase on a sturdy table, not the floor — guests need to see inside it to get the effect. Variation: use a train case or hatbox for a smaller, rounder version. A lovely addition to any christmas village display ideas collection.
10. DIY Cardboard House Village
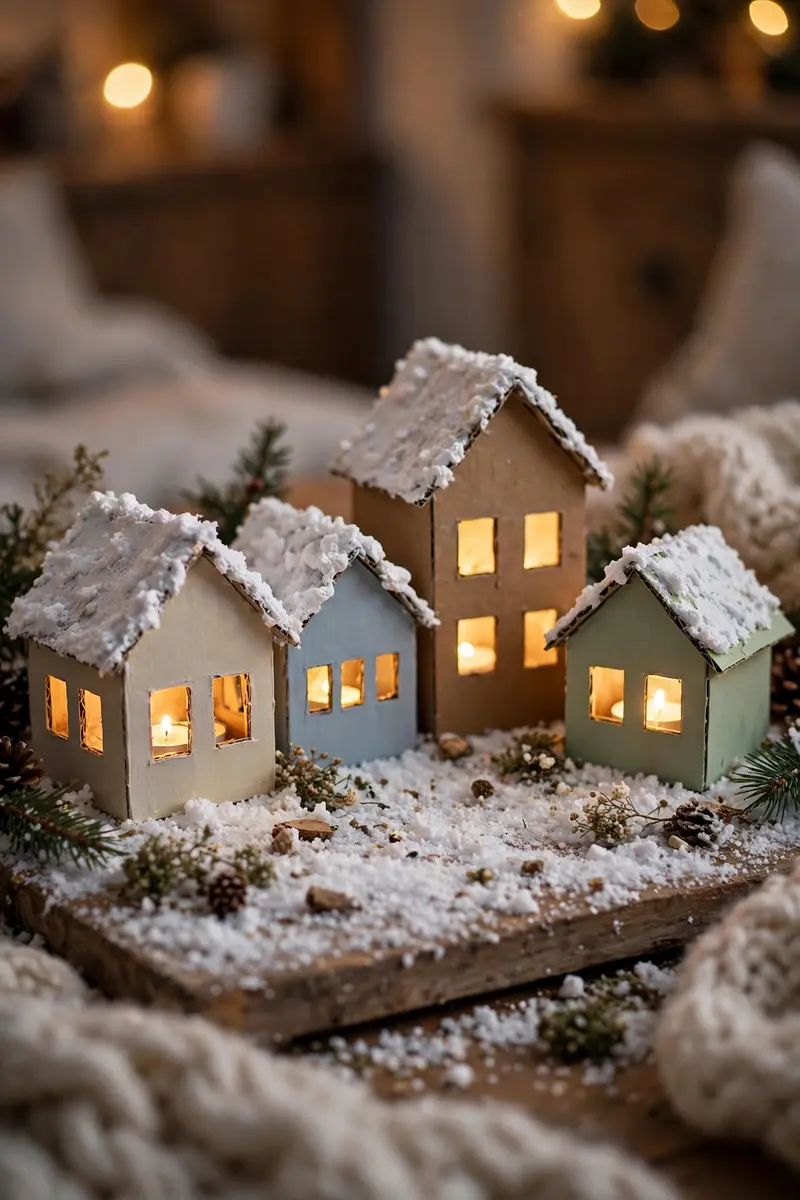
Cardboard houses are the budget hero of christmas village display ideas: for under $10 in craft supplies, you can build a whole glowing street in one afternoon. Kids love helping, and the handmade look is exactly what makes the scene charming.
Materials + cost: cereal boxes or shipping cardboard (free), acrylic craft paint ($5–$8), battery tea lights ($4), white puff paint ($3).
Cut house shapes with doors and windows, paint them in soft winter colors, and add puff-paint snow on the rooflines. Line the houses up along a snow-covered board and place a tea light behind each one so the windows glow. Tip: cut windows all the way through rather than painting them on — real light shining through is what sells the effect. Variation: make a gingerbread version with brown paint and white icing-style trim. One of the most charming christmas village display ideas to try.
11. Paper Bag Luminous Village
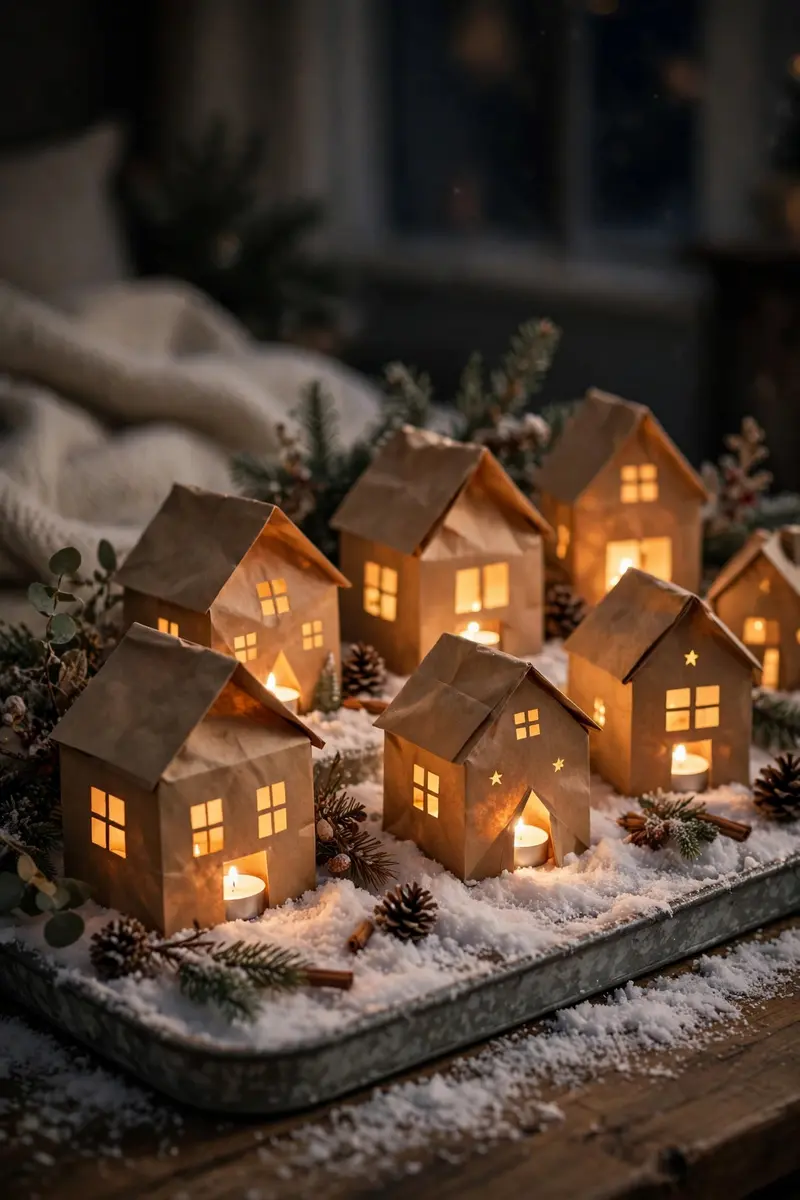
Brown paper bags cut into house shapes and lit from within make a warm, glowing village that costs almost nothing and looks far more expensive than it is. The paper diffuses the light beautifully, so the whole street glows like lanterns.
Materials + cost: brown paper bags (free), scissors, battery tea lights ($4–$6), faux snow ($3).
Cut simple house silhouettes with window and door cutouts, fold the bottoms to stand them up, and place a tea light inside each one. Arrange them on a snow-covered tray in a gentle curve rather than a straight line. Tip: double-bag each house for sturdiness, and never use real candles inside paper — battery lights only. Variation: paint the bags white for a snowy Scandinavian street. A simple favorite among christmas village display ideas this season.
12. Mason Jar Lantern Street
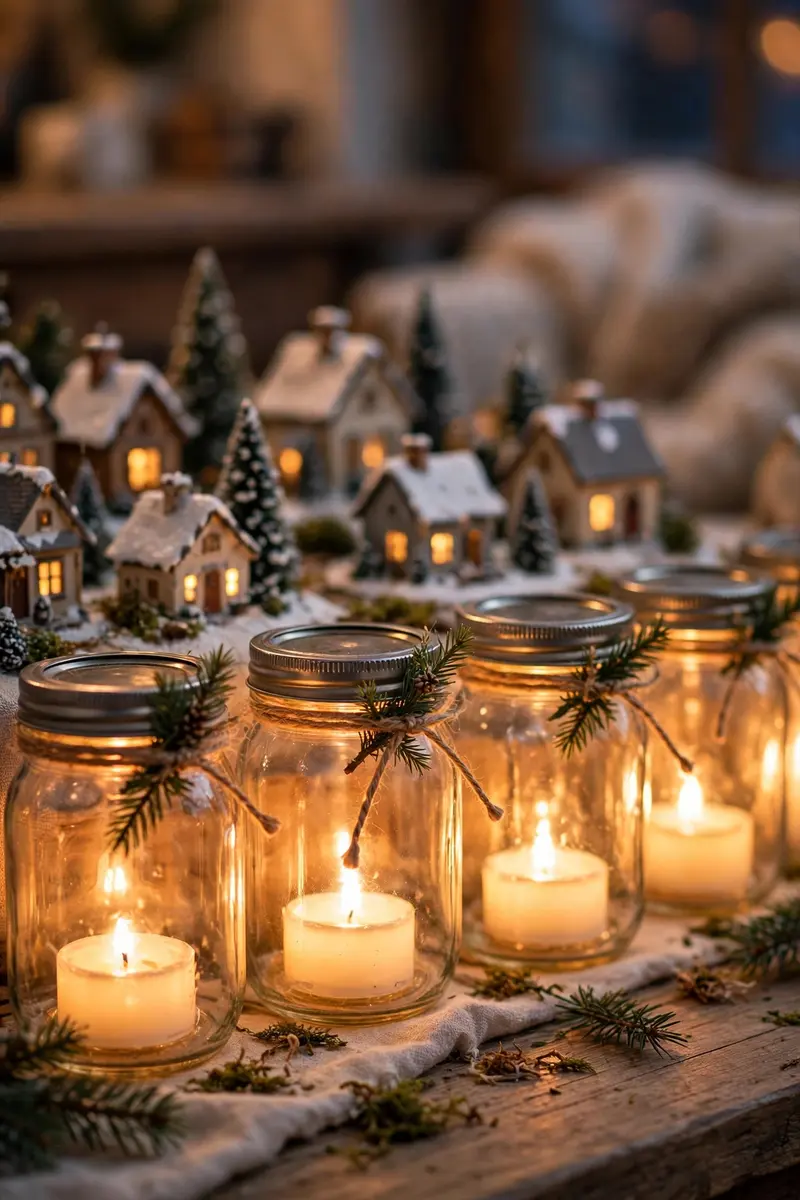
Mason jars turn into glowing street lanterns for your village, adding light at ground level where ceramic houses cannot reach. They look magical on shelves, windowsills, and table edges, and they cost just a few dollars each.
Materials + cost: mason jars ($1–$3 each), battery tea lights ($4), twine ($2), tiny evergreen sprigs (free or $3).
Place a tea light inside each jar, wrap twine around the lid, and tie a sprig of evergreen or a cinnamon stick to the twine. Line the jars along the front edge of your village like street lamps. Tip: use jars of different heights — the uneven glow looks like a real street, not a row of soldiers. Variation: thread a single string of fairy lights through several jars for a connected, wired-street effect. A lovely choice among christmas village display ideas.
13. Ladder Shelf Vertical Village
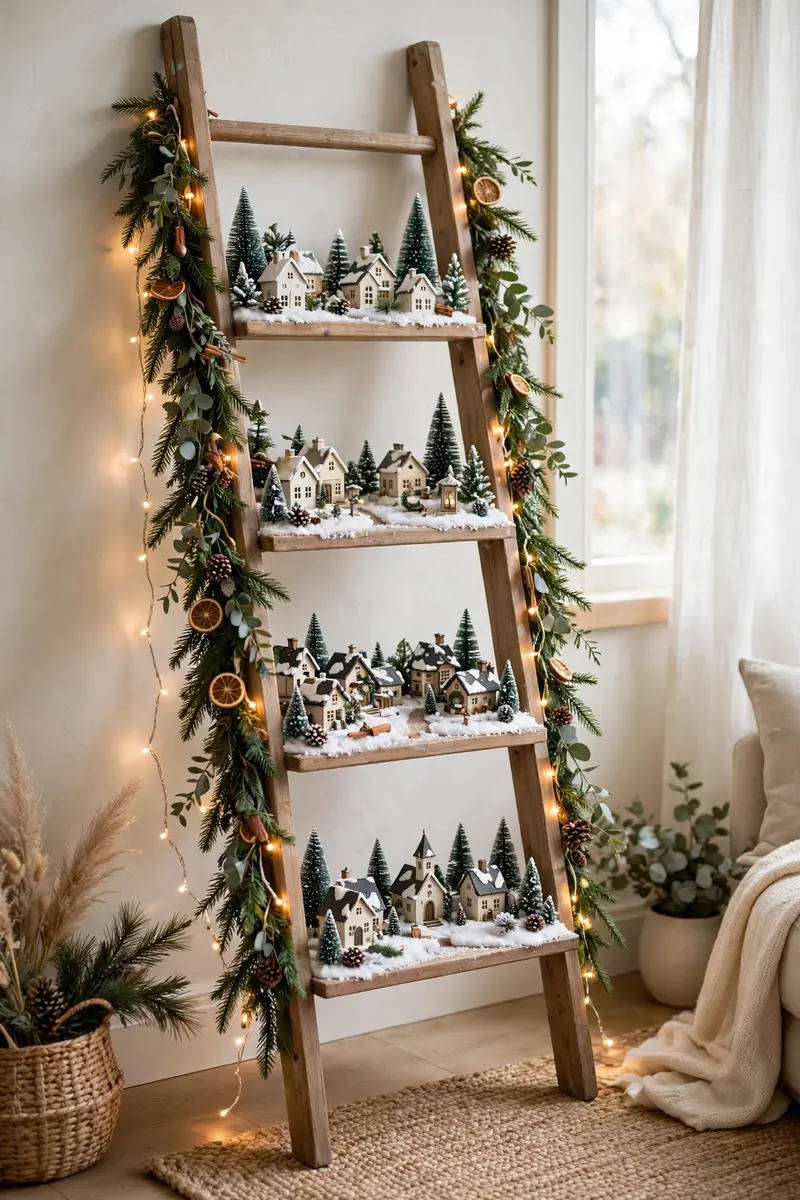
A leaning ladder shelf turns a small footprint into a tall village, with each rung holding a different section of town. It draws the eye upward and displays a lot of pieces without taking over a table — perfect for apartments.
Materials + cost: leaning ladder shelf ($25–$40 if you need one), faux snow ($5), fairy lights ($6), houses and trees ($10–$20).
Decorate each rung as its own scene — shops on one rung, homes on the next, a church at the top — and drape lights down the sides of the ladder. Tip: put the heaviest pieces on the lowest rungs so the shelf stays stable and safe. Variation: wrap garland around the ladder sides for a fuller, tree-like silhouette. A lovely choice among christmas village display ideas.
14. Corner Wraparound Village
Wrapping your village around a corner — across a corner desk, a sectional sofa table, or two joined shelves — makes it feel like an immersive little world instead of a flat display. The eye travels around the bend, which makes even a modest collection feel much bigger.
Materials + cost: snow blanket ($8–$12), extra houses or trees to fill the bend ($8–$15), fairy lights ($6).
Run a winding path of snow around the corner to connect the two surfaces, and place a feature piece — a church or train station — right at the bend where both sides can see it. Tip: keep the corner piece low and open on both sides so neither view feels blocked. Variation: add a tiny bridge or tunnel at the bend to mark the transition between neighborhoods. This remains a favorite among christmas village display ideas.
15. Diagonal Main Street Layout
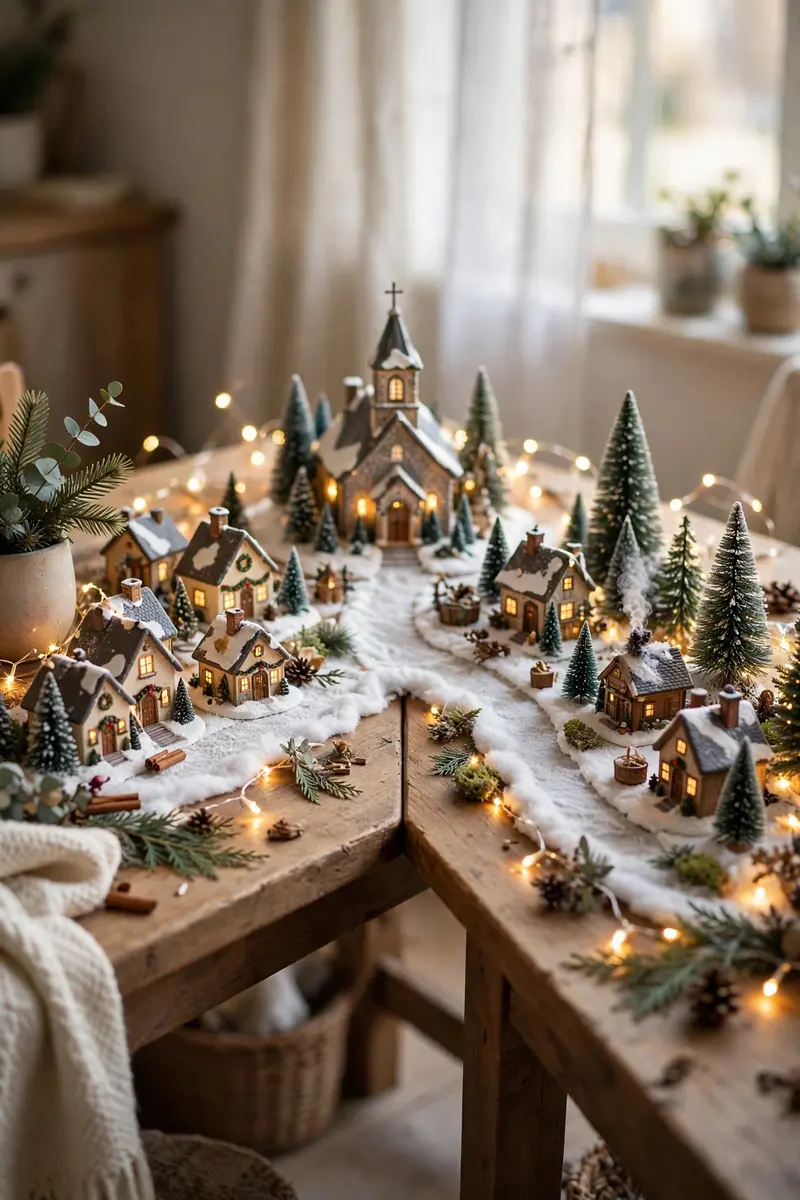
Running your main street diagonally across the display, from front-left to back-right, is the easiest trick for making a small collection look much larger. Diagonal lines create depth that straight rows never do, and they pull the viewer’s eye through the whole scene.
Materials + cost: grey felt strip for the road ($3–$5), snow blanket ($8), houses, trees, and figures you already own.
Lay the felt road diagonally, place shops along one side and homes along the other, and angle each building slightly toward the road. Add tiny figures walking the street and lampposts at intervals. Tip: never place buildings parallel to the table edge — even a slight angle breaks the flat, toy-soldier look. Variation: curve the road gently with two felt strips for a village-lane feel. A lovely addition to any christmas village display ideas collection.
16. Hidden Box Riser Hills Village
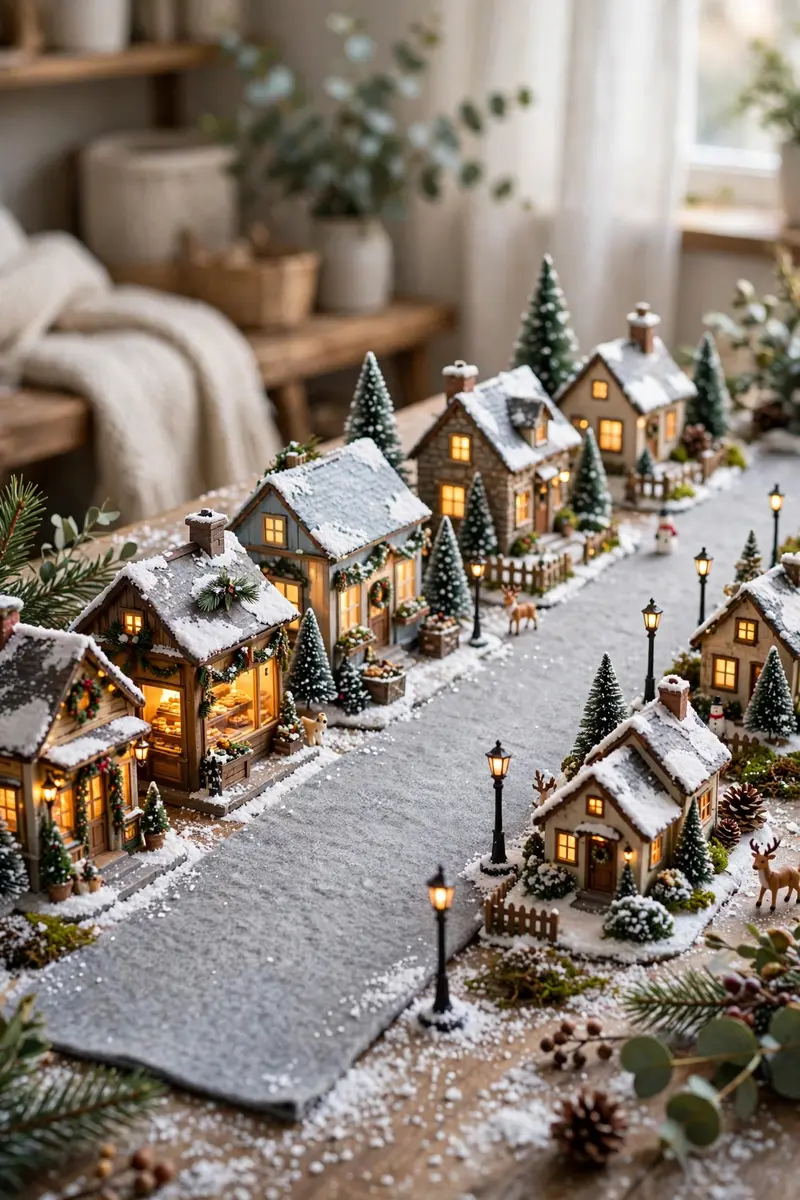
Empty shipping boxes hidden under a snow blanket create rolling hills for free, and they are the secret behind displays that look professionally landscaped. Different heights mean every house gets seen, even in a deep display.
Materials + cost: shipping boxes or plastic bins (free), white fabric or batting ($6–$10), fairy lights ($6).
Stack boxes in two or three heights, drape batting over them so no cardboard shows, and place houses on the slopes and peaks. Run lights underneath the batting edges so the hills glow softly. Tip: tape boxes together before covering them — a collapsing hill mid-season is heartbreaking. Variation: swap batting for a white felt runner for a smoother, more modern landscape. One of the most charming christmas village display ideas to try.
17. Mirror Ice Pond Village
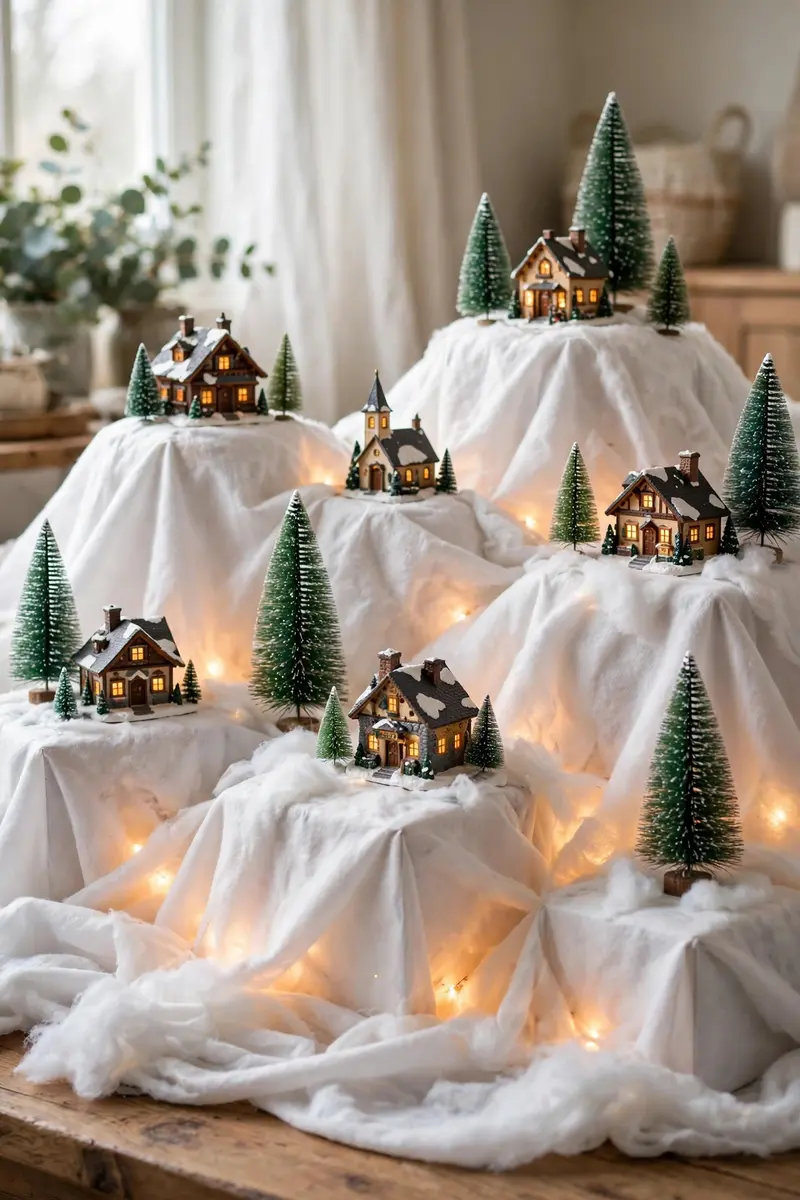
A mirror laid flat under your village becomes a frozen pond that doubles the sparkle, reflecting every light and window twice. It is a five-dollar trick with a hundred-dollar look, and it works in any size display.
Materials + cost: flat mirror or mirror tiles ($5–$10), faux snow ($5), tiny skaters or a bench ($4–$8), fairy lights ($5).
Place the mirror in front of the houses, edge it with snow so it reads as a pond rather than a mirror, and add tiny skater figures and a bench at the edge. Tip: use a mirror with no frame, or hide the frame under snow — a visible frame breaks the illusion instantly. Variation: use two small mirrors as twin ponds connected by a snow path. A simple favorite among christmas village display ideas this season.
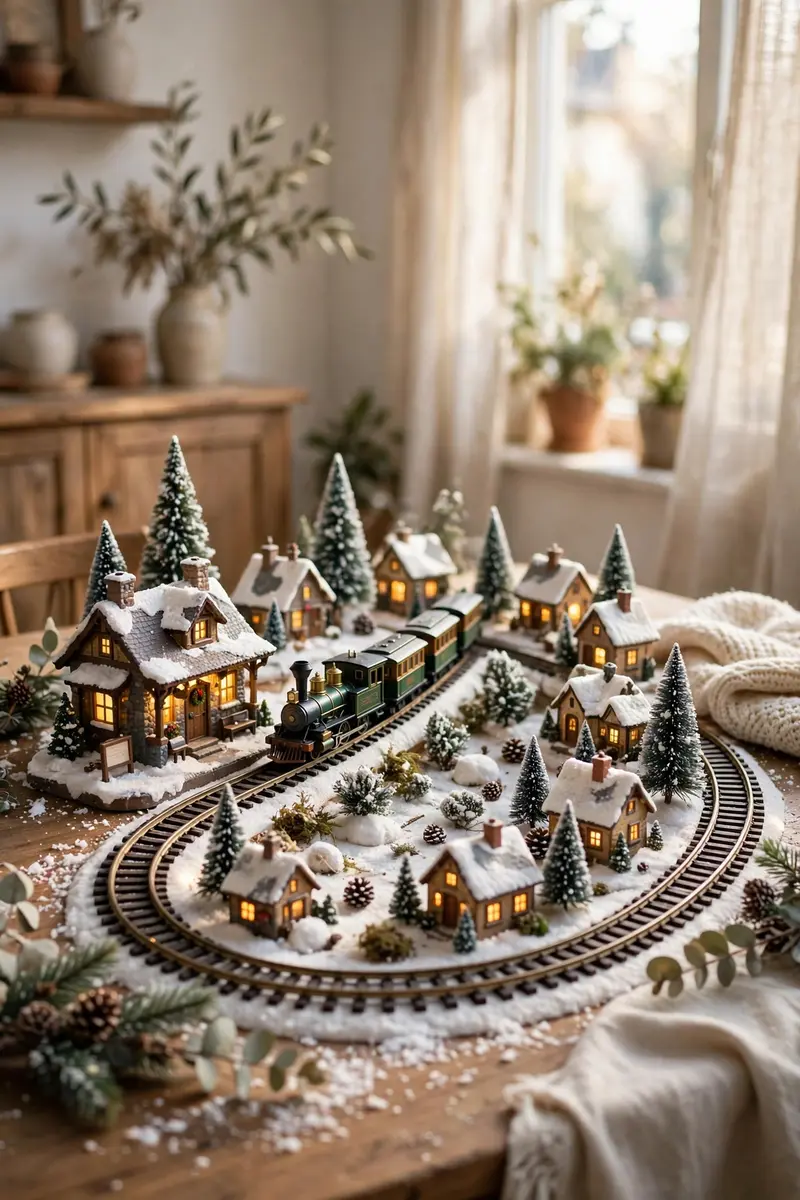
18. Train Track Loop Village
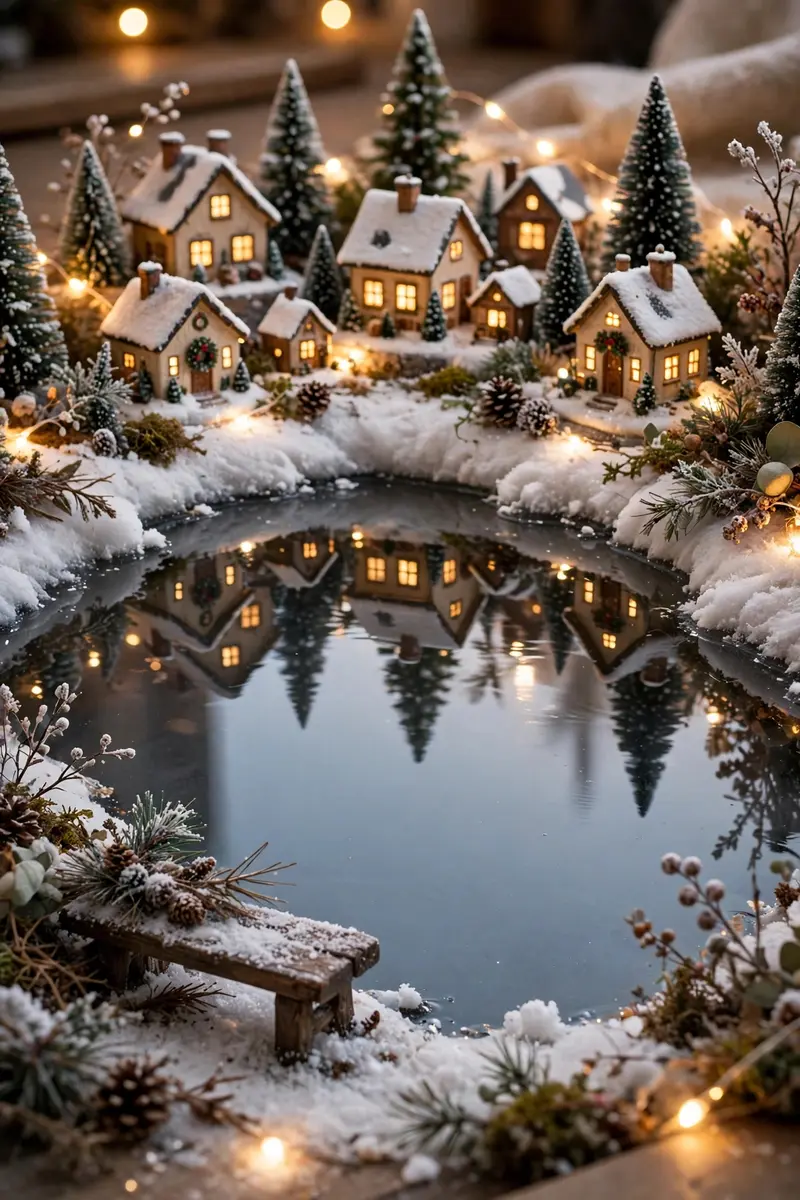
A miniature train looping through your village adds motion, sound, and story — it is the piece guests watch longest. Even a simple oval track transforms a static display into a living town with a reason for its streets to exist.
Materials + cost: miniature train set ($20–$40), track oval (often included), snow blanket ($8), tiny station house ($8–$15).
Lay the track oval first, then build the village inside and outside the loop, with the station near the front where the train pauses in view. Keep buildings at least an inch from the track so nothing snags. Tip: run the train on a timer with the lights so it starts when the village lights up each evening. Variation: use a battery train on a simple circle if a full track set feels like too much. A lovely choice among christmas village display ideas.
19. Church-Centered Town Square
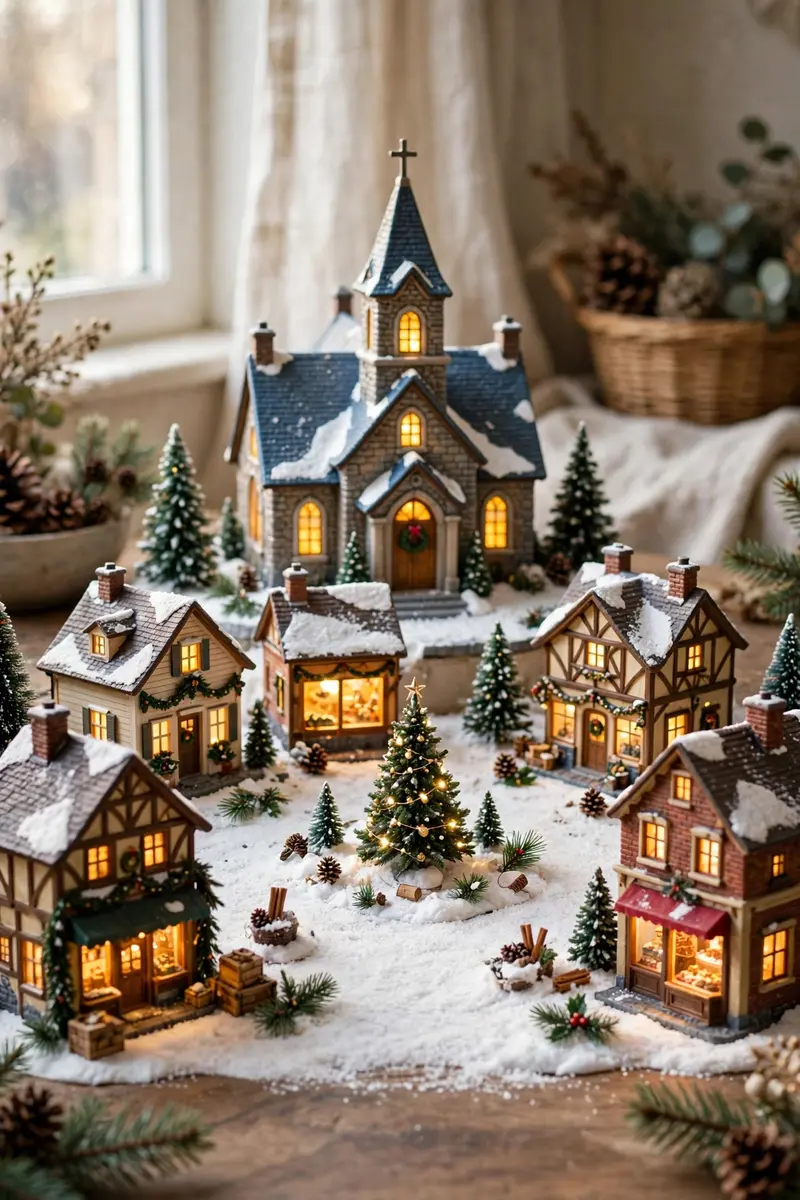
Organizing your village around a church or town hall at the center, with shops and homes radiating outward, gives the whole scene a believable town plan. It is how real towns grew, and your eye recognizes the logic even before you know why it looks right.
Materials + cost: church or town hall centerpiece ($10–$20), snow blanket ($8), small trees and lampposts ($8–$12).
Place the church slightly back from center, arrange shops in a loose arc in front of it, and homes behind and to the sides. Leave an open snowy square in front of the church for carolers or a tiny tree. Tip: keep the square genuinely empty — one open space makes the whole town feel real. Variation: center the square on a gazebo or bandstand instead for a summer-town-in-winter twist. A lovely choice among christmas village display ideas.
20. Ski Lodge Mountain Village
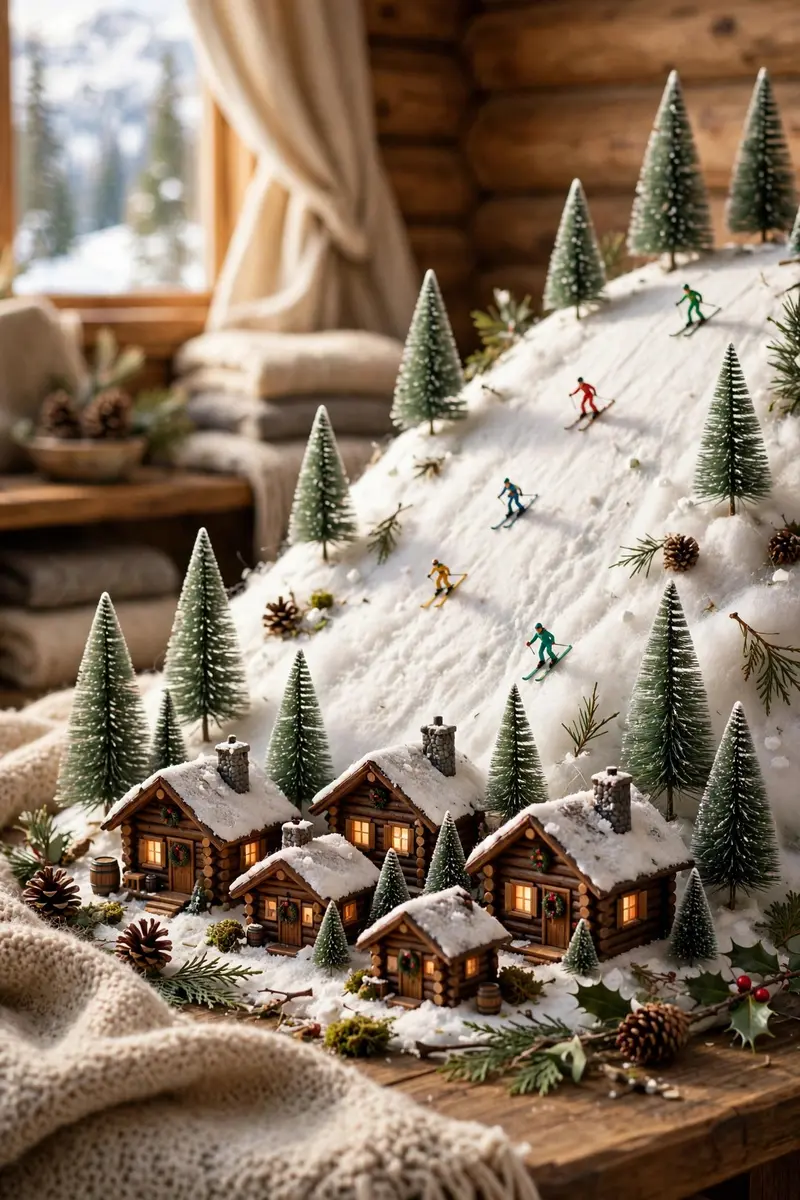
A ski lodge theme — log cabins, pine trees, a tiny ski slope — gives your village a mountain-resort feel that stands out from classic Main Street scenes. It is cozy, a little adventurous, and perfect if your home already leans rustic.
Materials + cost: log-style cabins ($10–$20), bottle brush pines ($6–$10), white batting for slopes ($5), tiny skiers ($4–$8).
Build a slope from a tilted board covered in batting at the back, place cabins at its base, and scatter pines and skier figures down the slope. Add warm window lights so the cabins glow against the white snow. Tip: angle the slope toward a corner, not straight at viewers, so it reads as a hillside rather than a ramp. Variation: add a tiny ski lift made from string and dowels for an extra storytelling detail. This remains a favorite among christmas village display ideas.
21. Ice Skating Pond Village
An ice skating pond at the heart of your village gives it a joyful focal point — tiny skaters, a warming hut, and strings of lights overhead. It is the scene kids point at first, and it photographs beautifully for holiday cards.
Materials + cost: mirror pond ($5–$10), skater figurines ($5–$8), string lights ($6), tiny bench and hut ($8–$12).
Set the mirror pond in front of the houses, place skaters in natural pairs and groups, and string lights above the pond between two trees or posts. Edge the pond with snow and a bench where ‘tired skaters’ rest. Tip: pose skaters mid-glide, not in a straight line — a scattered group looks alive, a row looks like a parade. Variation: swap skaters for a tiny ice-fishing hut scene on a second pond. A lovely addition to any christmas village display ideas collection.

22. Gingerbread Backdrop Village
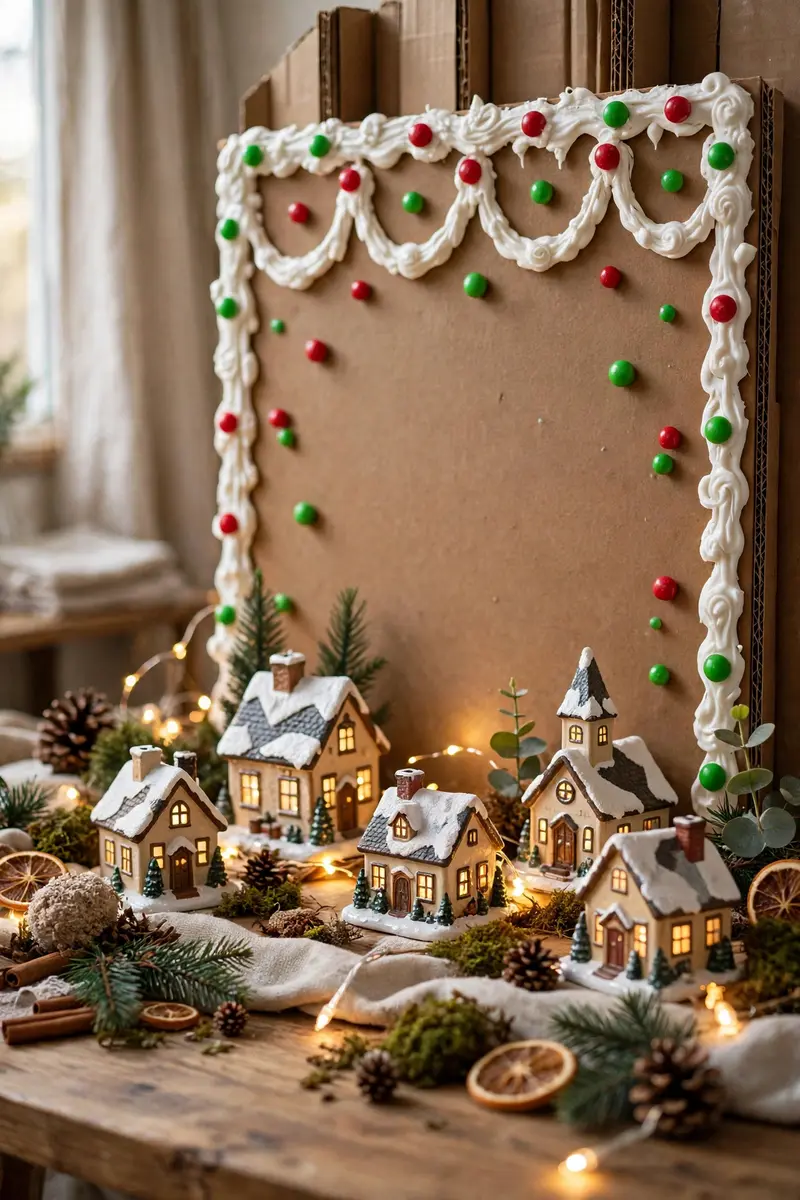
A gingerbread-style backdrop — brown cardboard walls with white puff-paint icing trim — turns your village into a sugar-cookie town. It is playful, warm, and a wonderful project to build with kids over a weekend.
Materials + cost: cardboard ($0–$3), brown paint ($4), white puff paint ($3–$5), fairy lights ($6).
Cut a low backdrop wall, paint it gingerbread brown, and pipe puff-paint windows, rooflines, and candy dots along it. Stand it behind your village houses so the scene has a storybook frame. Tip: keep the backdrop lower than your tallest house, or it swallows the village instead of framing it. Variation: add candy-cane striped poles at the backdrop ends for a North Pole border. One of the most charming christmas village display ideas to try.
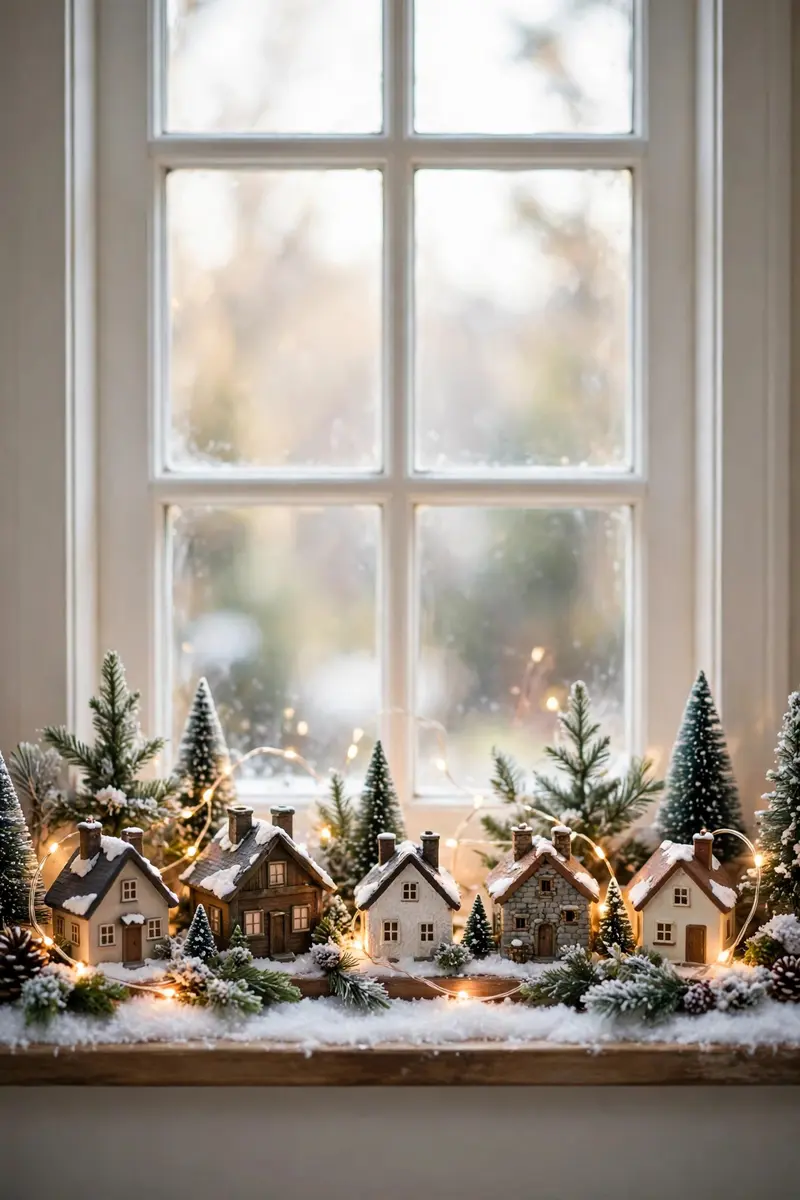
23. Snowy Windowsill Village
A deep windowsill is a ready-made village shelf with natural backlighting — daylight makes the snow glow by day, and your lights take over at night. Narrow buildings fit perfectly, and the window itself becomes the winter sky.
Materials + cost: snow strip ($4–$6), narrow houses ($8–$15), battery fairy lights ($5), tiny trees ($4).
Line the sill with snow, choose narrow buildings so there is still room for figures in front, and run battery lights along the back. At night, the lit windows reflect in the glass for a doubled glow. Tip: measure your sill depth before buying houses — buildings deeper than the sill overhang dangerously. Variation: add a sheer white curtain behind the village for a soft, snowy backdrop. A simple favorite among christmas village display ideas this season.
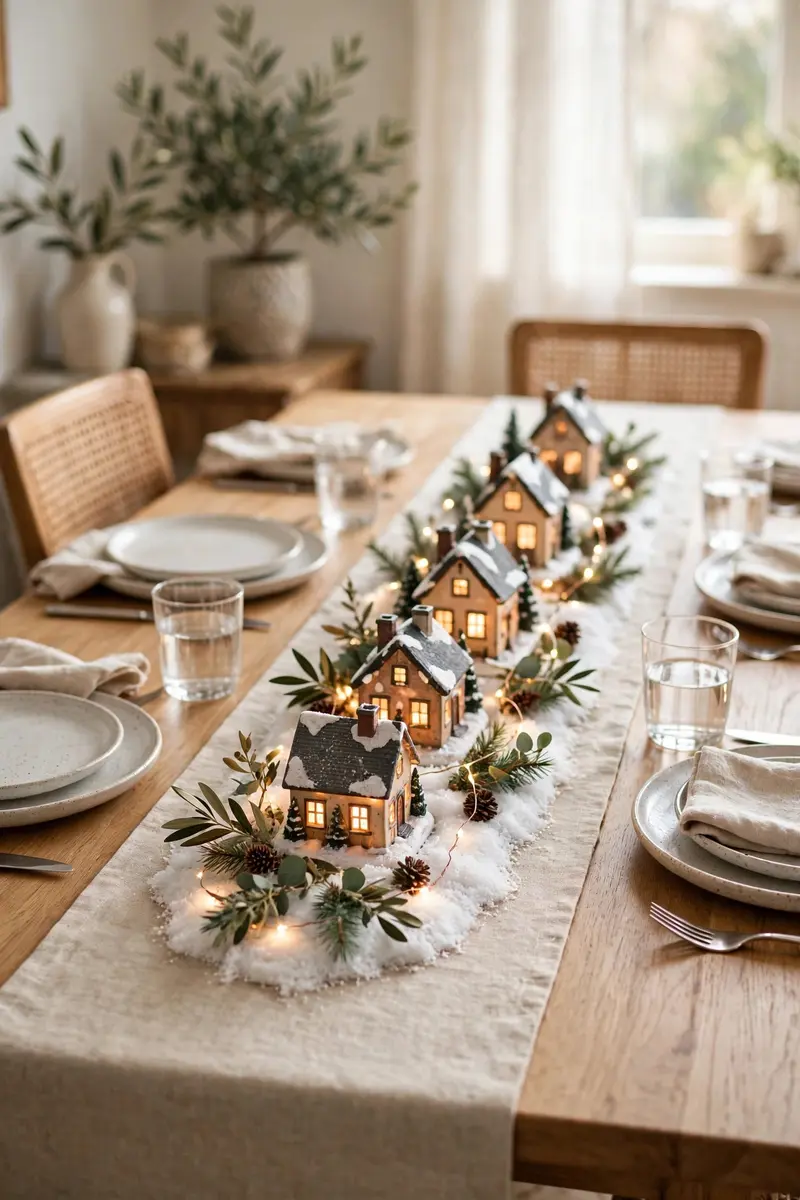
24. Dining Table Centerpiece Village
A village running down the center of your dining table turns every holiday meal into dinner in the town square. Kept low and narrow, it leaves room for plates and conversation while giving guests something magical to look at between courses.
Materials + cost: narrow snow runner ($6–$10), 5–7 small houses ($10–$18), battery candles or fairy lights ($6).
Build the village along a runner down the table’s center, keeping every piece below eye level so guests can see each other. Use battery lights only — real flames and a crowded table are a bad combination. Tip: leave a clear place setting’s width at each end so the village never crowds the host’s seat. Variation: build the centerpiece on a long tray so you can lift it off in one move when you need the table. A lovely choice among christmas village display ideas.
25. Entryway Bench Village
The top of an entryway bench or a small hall table is an overlooked village spot that greets everyone at the door without taking living-room space. A compact scene here sets the holiday tone for the whole house.
Materials + cost: snow mat ($5), 3–4 small houses ($8–$12), fairy lights ($5), small basket for cords ($3).
Arrange the houses in a tight cluster with one taller piece at the back, tuck the battery pack into a small basket or behind a house, and add a sprig of cedar at one end. Tip: choose shatterproof houses for an entryway — bags and keys swing dangerously close here. Variation: add a tiny mailbox or lantern post to mark it as the village entrance.

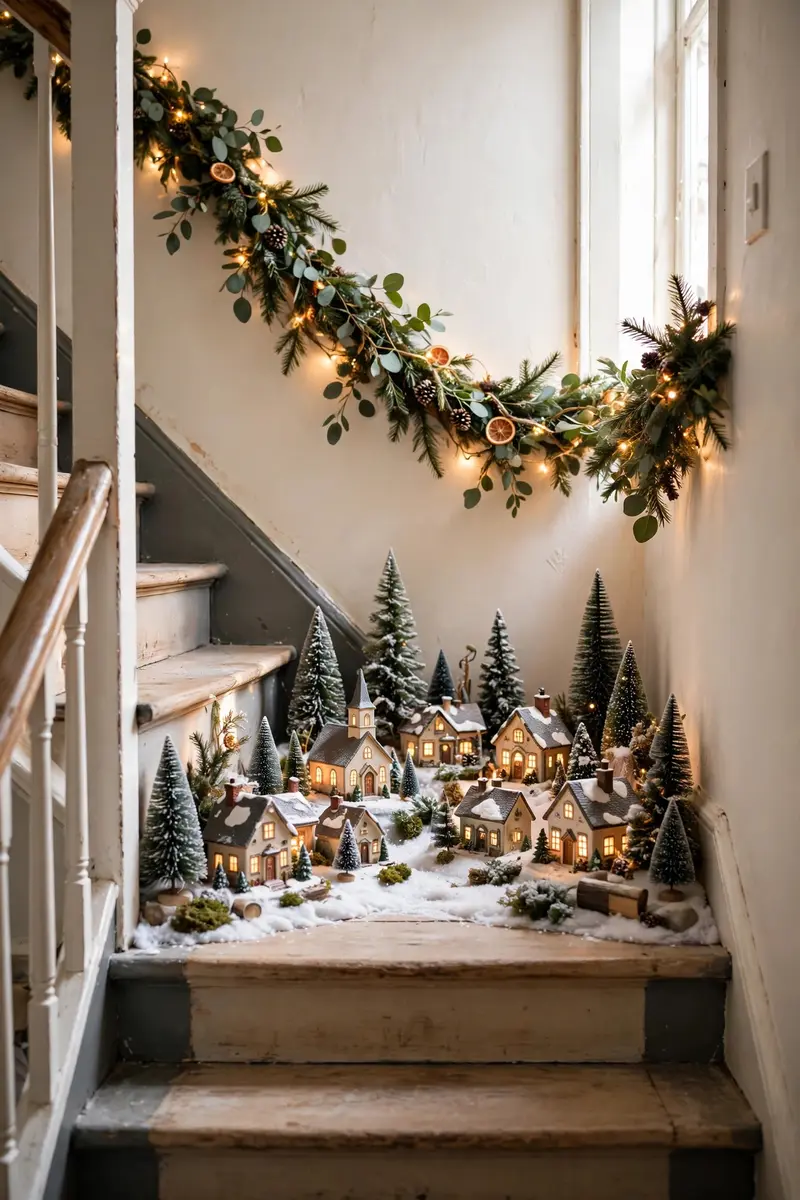
26. Staircase Landing Village
A staircase landing or a wide stair tread gives your village a dramatic, unexpected stage that guests discover as they move through the house. It feels like stumbling onto a secret town, which is exactly the charm.
Materials + cost: snow blanket piece ($5), 3–5 houses ($8–$15), battery lights ($5), non-slip mat ($3).
Place the village on the landing, not on a step people walk on, and secure the snow base with a non-slip mat underneath. Keep the display tight to the wall so the walking path stays completely clear. Tip: safety first — if anyone could trip on it, the landing is too narrow and the village belongs elsewhere. Variation: line the stair wall above the landing with a garland so the village feels connected to the climb.
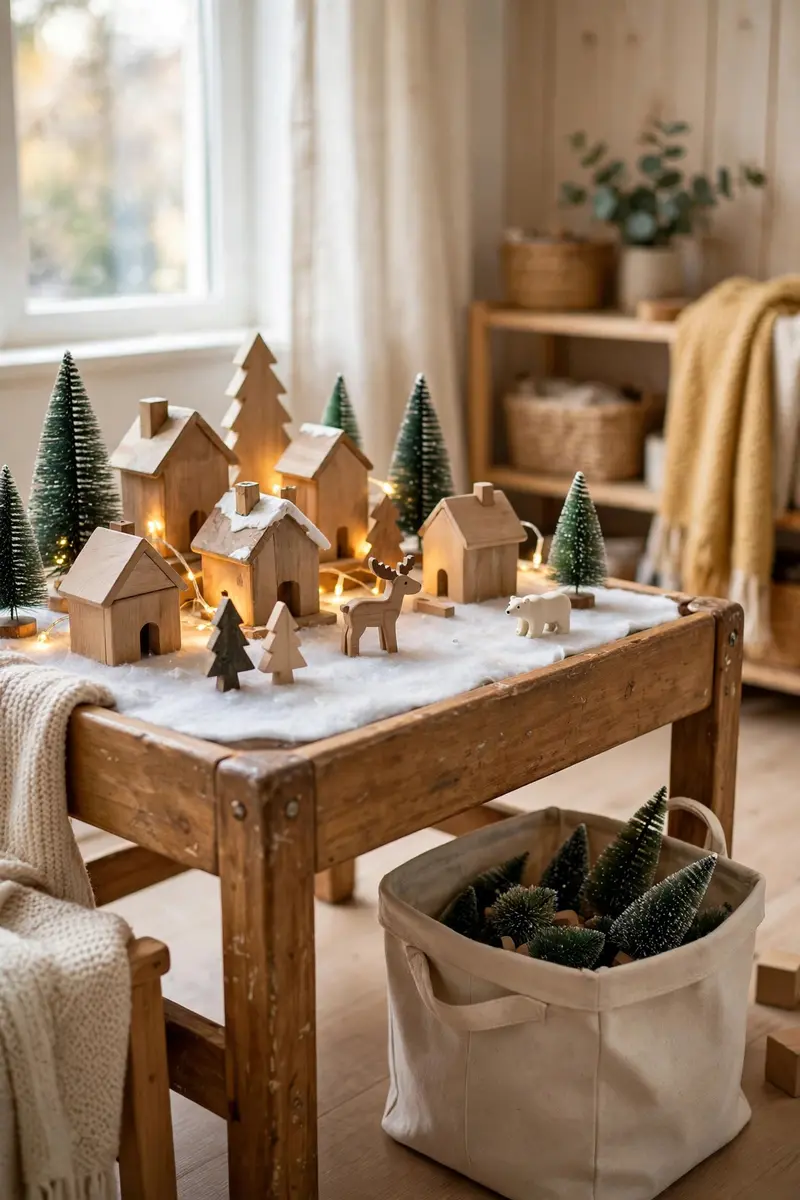
27. Kids’ Play Table Village
A play table village is built to be touched, rearranged, and played with — and that is the point. Using sturdy, inexpensive pieces means kids can build their own town all season, and the display gets better as they add their own ideas.
Materials + cost: sturdy plastic or wooden houses ($10–$20), felt snow mat ($5), battery lights ($5), small figures ($5–$8).
Set up a base village together, then let kids rearrange houses, add toy figures, and invent stories. Keep lights battery-powered and cords out of reach. Tip: buy a few duplicate houses so a broken one never ends the game — replacements keep the magic going. Variation: add a bin of spare trees, fences, and figures beside the table for endless rebuilding.
28. Vintage Book Stack Village
Stacking old books as mountains and hills gives your village a literary, collected feel — and the varied heights come free from books you already own. It is a beautiful use for worn hardcovers that never leave the shelf otherwise.
Materials + cost: old hardcover books (free), snow fabric ($5), houses and trees ($10–$15), fairy lights ($6).
Stack books in two or three uneven piles, drape snow fabric over them, and place houses on the peaks and in the valleys. Tuck lights into the fabric folds so the hills glow from within. Tip: put the largest, sturdiest books at the bottom — a toppling book mountain takes houses with it. Variation: use books with red or green covers as part of the color scheme.

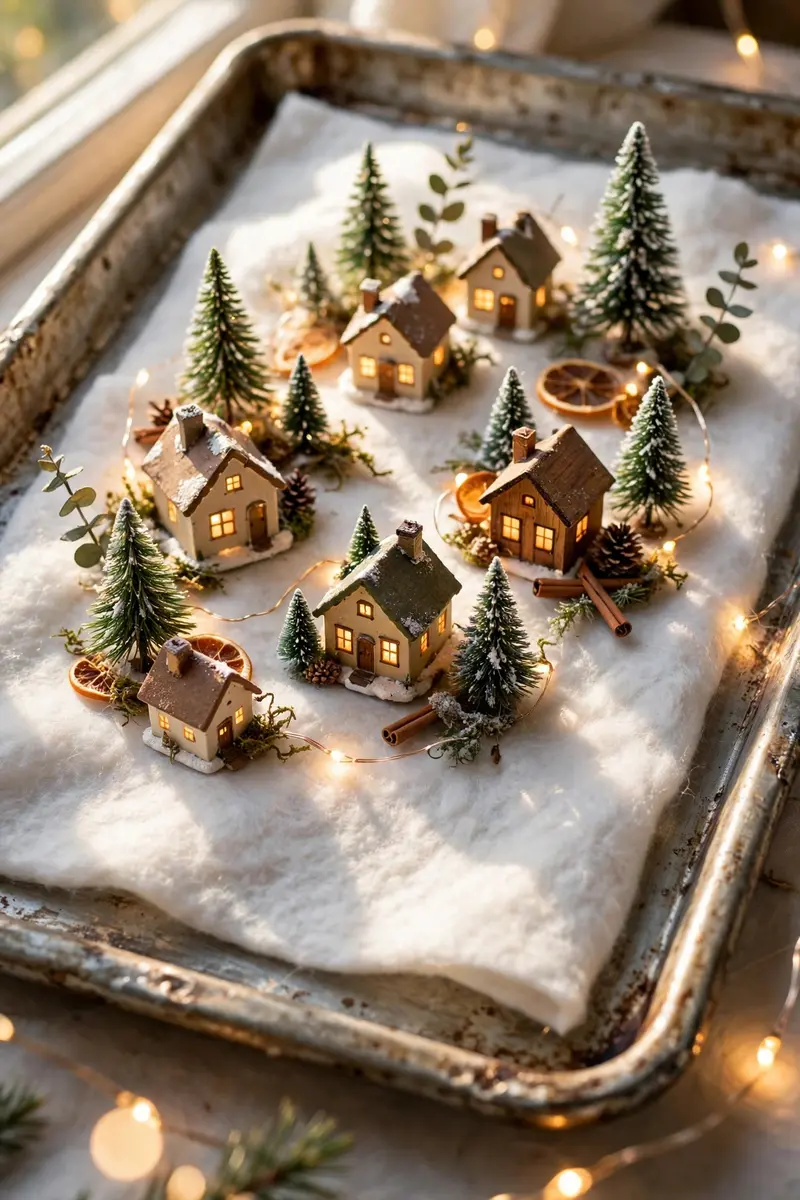
29. Baking Sheet Base Village
An old baking sheet covered in white felt becomes a contained, portable village base with raised edges that keep snow and tiny pieces from wandering. It is the easiest way to start a village from absolutely nothing.
Materials + cost: old baking sheet (free or $3 thrifted), white felt ($3–$5), houses and trees ($8–$15), fairy lights ($5).
Cover the sheet with felt, arrange houses and trees on top, and weave lights through the scene. The raised rim hides the battery pack neatly at one end. Tip: choose a sheet with low sides — high-sided roasting pans hide the village from across the room. Variation: use a round pizza pan for a circular village with a tree in the center.
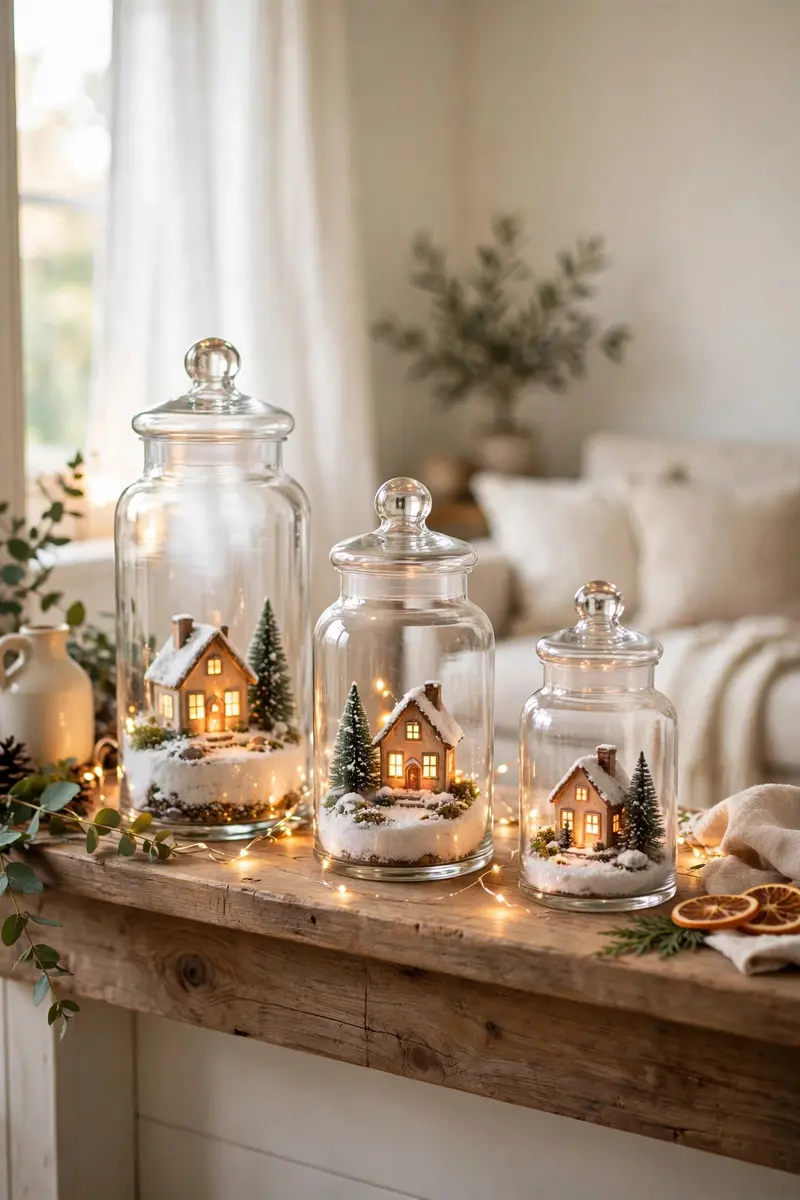
30. Apothecary Jar Mini Villages
Glass apothecary jars at varying heights turn single houses into a collection of tiny snow globes across a mantel or shelf. Each jar is its own little world, and together they read as a village scattered across the room.
Materials + cost: apothecary jars or large jars ($3–$8 each), faux snow ($3), one mini house per jar ($5–$8), fairy lights ($5).
Put snow and one house in each jar, add a tiny tree, and close the lid. Group three to five jars together at different heights, with one jar’s lights on as the anchor. Tip: keep the houses small relative to the jar — a house that fills the jar looks stuffed, not magical. Variation: leave one jar open with the house spilling out onto snow for a ‘just unpacked’ story.
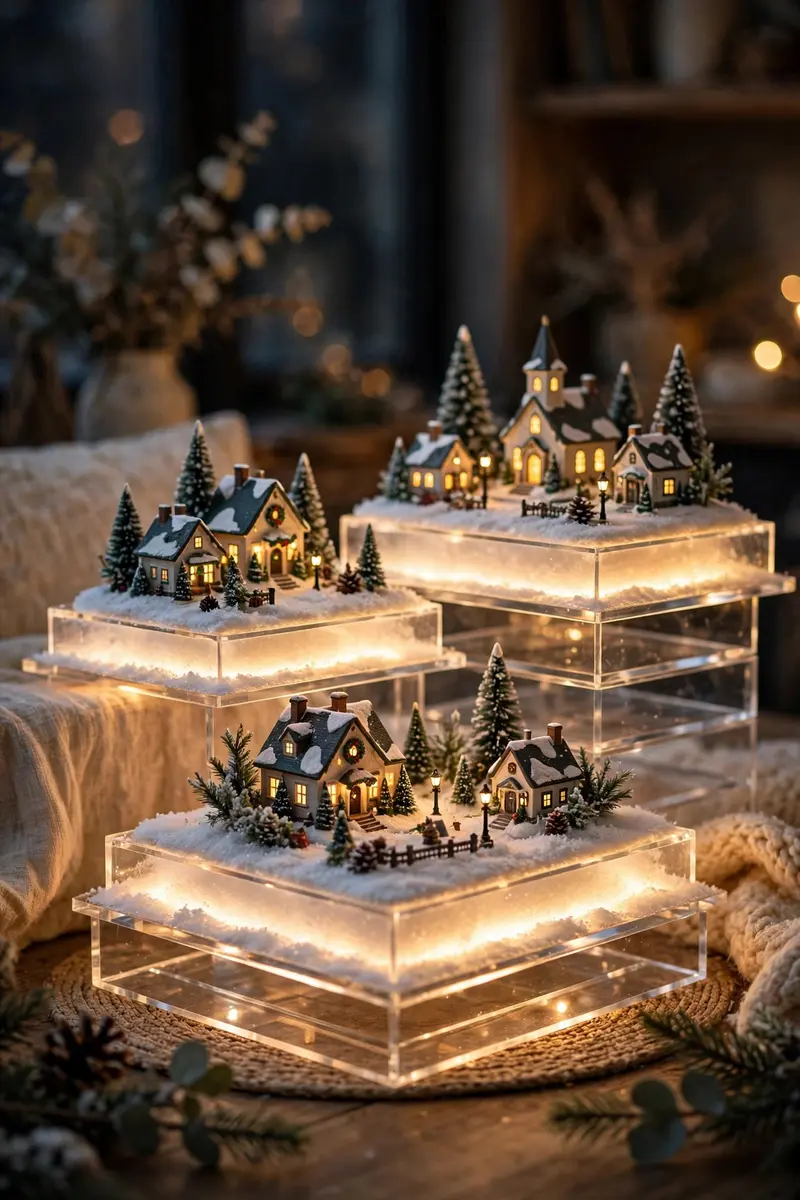
31. LED Light Base Glowing Village
Clear acrylic platforms with LED strips underneath make your village glow from below, like the whole town sits on light itself. It is a modern twist that looks stunning at night and makes even simple houses feel extraordinary.
Materials + cost: clear acrylic sheets ($10–$15), battery LED strip ($8–$12), snow blanket ($6), houses you already own.
Cut platforms to fit your display, thread LED strips underneath, and set houses on top at different heights. Cover the platform edges with snow so the light diffuses softly upward. Tip: choose warm white LEDs for a cozy glow — cool white can make ceramic houses look cold and clinical. Variation: mix warm white with a pale blue strip for a moonlit effect.
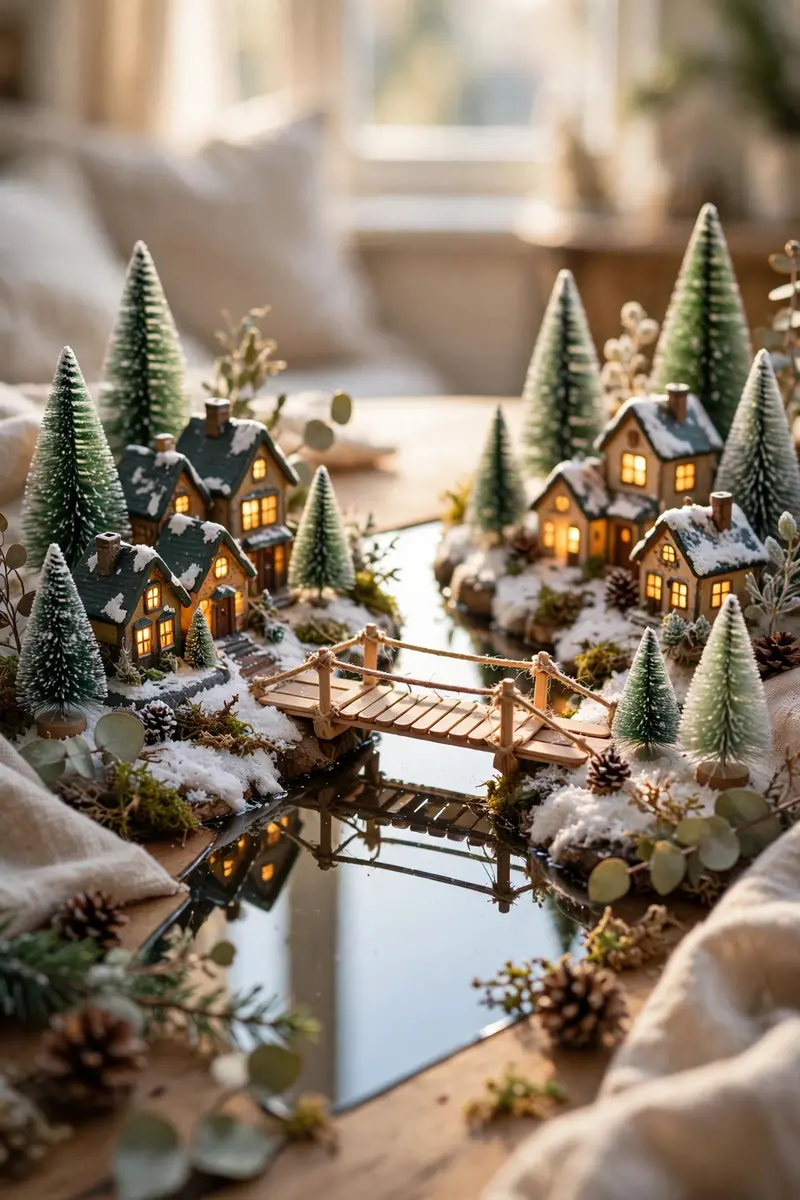
32. Popsicle Stick Bridge Village
A tiny popsicle stick bridge connecting two sides of your village adds instant story — suddenly there is a river, a reason for the road, and a place for figures to cross. It is a classic craft project that elevates the whole scene.
Materials + cost: popsicle sticks ($2–$3), craft glue ($3), paint or stain ($3), mirror strip for the river ($4).
Glue sticks into a simple arched bridge, paint it to match your village, and place it over a mirror strip or blue felt river between two clusters of houses. Add a figure mid-crossing for charm. Tip: build the bridge slightly wider than the river — a bridge that barely spans the gap looks fragile. Variation: build two bridges, one arched and one flat, for a town with an old quarter and a new quarter.
33. Bottle Brush Forest Village
Bottle brush trees are the unsung heroes of christmas village display ideas: cheap, charming, and available in every color, they turn a few houses into a forest town. Clustering them in groups, not singles, is what makes the scene feel wooded.
Materials + cost: bottle brush trees in mixed sizes ($8–$15 for a bag), snow blanket ($6), houses ($10–$15), fairy lights ($5).
Group trees in clusters of three or five around and behind the houses, varying heights so the skyline feels natural. Dust the trees lightly with faux snow for a freshly fallen look. Tip: bend a few trees slightly — perfectly straight rows of identical trees look like a factory, not a forest. Variation: dye some trees with diluted craft paint for pastel or frosted-blue forest accents.
34. Thrifted Finds Mix Village
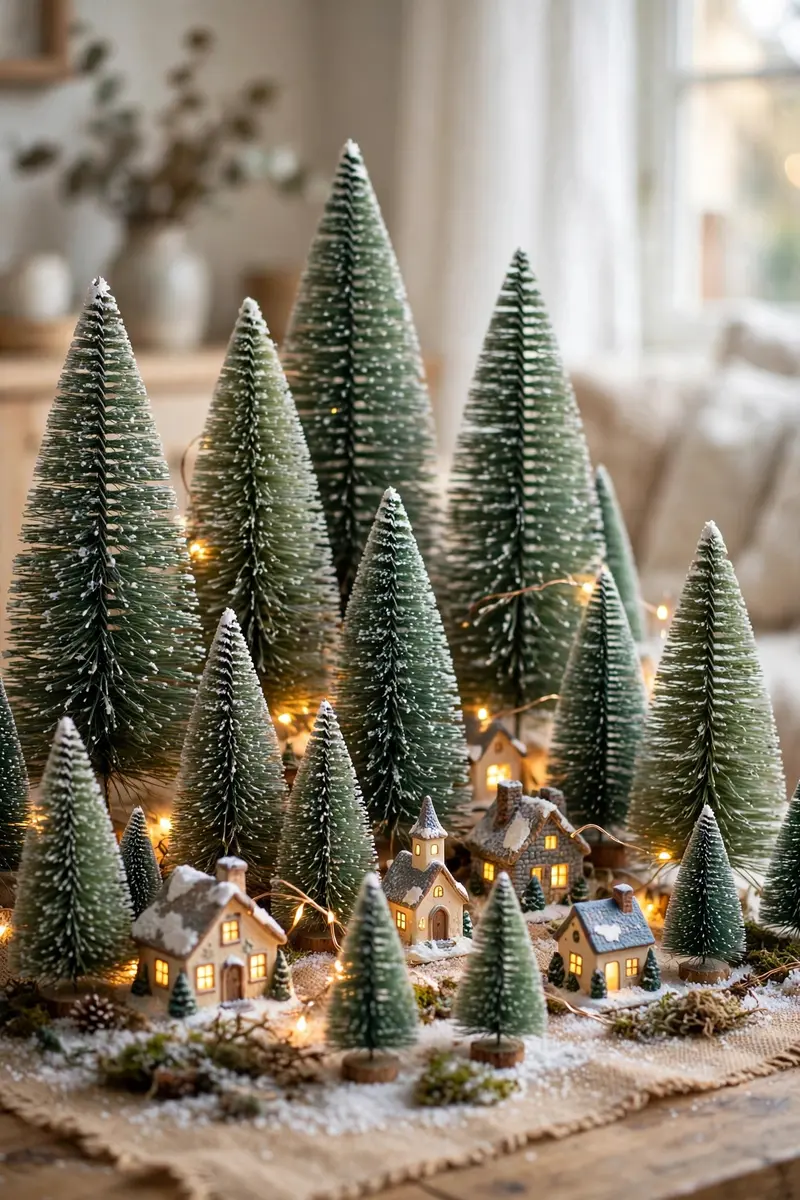
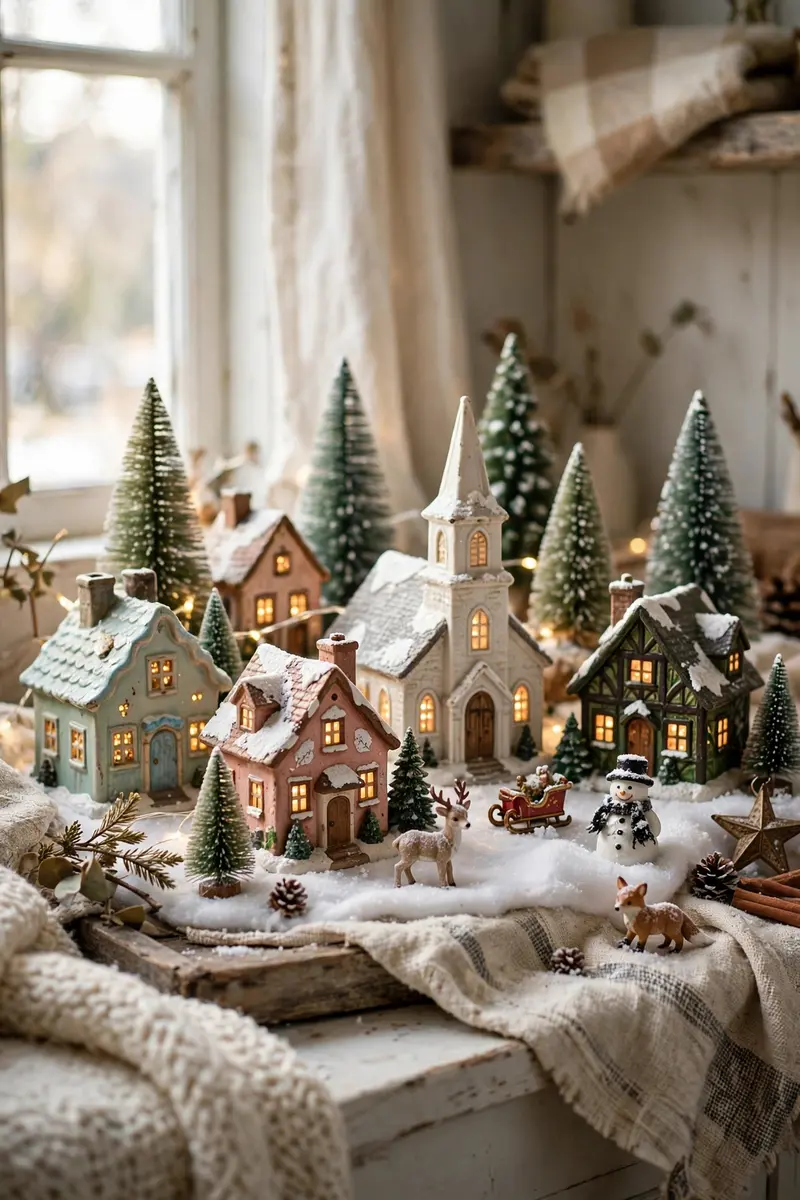
A village built entirely from thrifted houses, trees, and figures costs a fraction of a new set and looks more collected and characterful than matching pieces ever could. The hunt itself becomes part of the holiday tradition.
Materials + cost: thrifted houses ($2–$5 each), thrifted trees and figures ($1–$3 each), snow blanket ($6), lights ($5). Total often under $30.
Shop thrift stores through the year, choosing pieces that share a scale even if their styles differ, and unify them with consistent snow, lighting, and trees. Tip: check every light cord and bulb in the store if you can — a dead house is only a bargain if you planned to relight it. Variation: paint mismatched houses in one soft color, like cream or sage, for a cohesive designer look.
35. All-White Minimalist Village
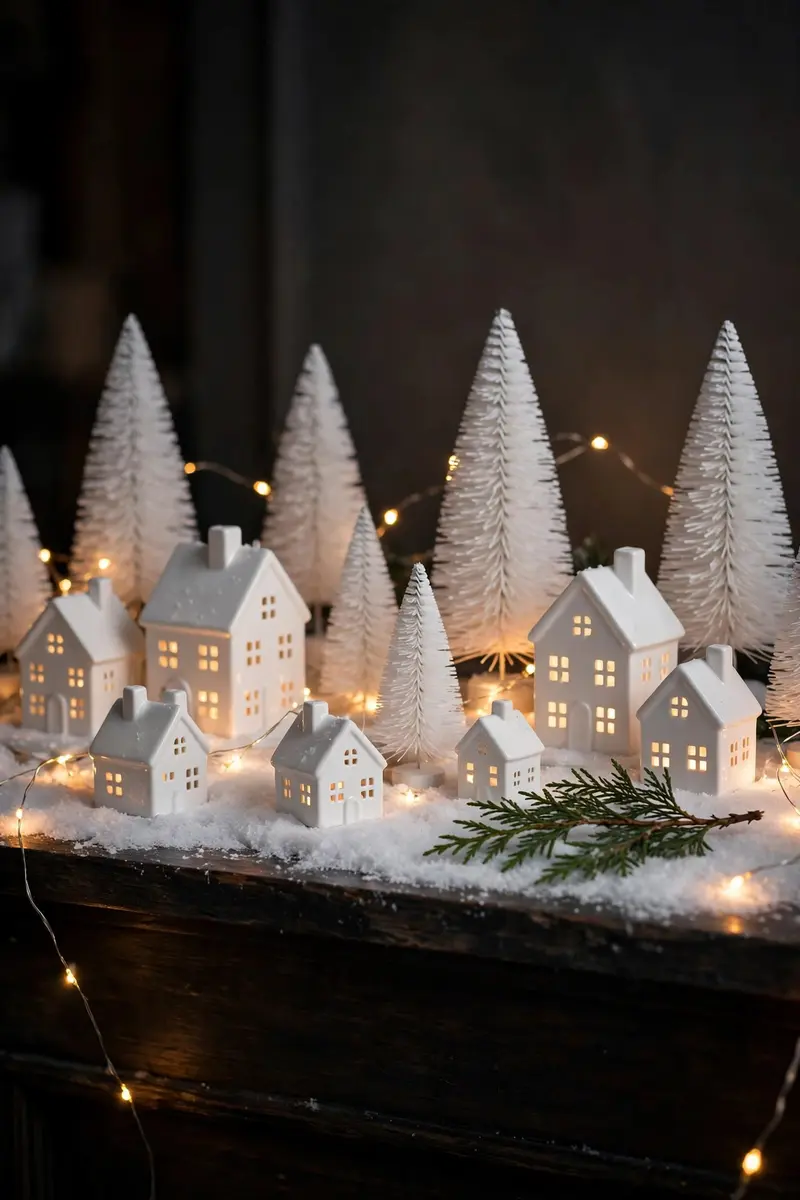
An all-white village — white houses, white trees, white snow — looks serene, modern, and surprisingly dramatic, especially against a dark mantel or wall. It proves a village does not need red and green to feel like Christmas.
Materials + cost: white ceramic houses ($10–$25), white bottle brush trees ($6–$10), white snow blanket ($6), warm fairy lights ($6).
Arrange the white pieces on a white base and let warm lights provide all the color, so the scene glows gold against the white. Add a single natural element, like a cedar sprig, for contrast. Tip: warm white lights are essential here — cool white on all-white pieces looks flat and hospital-bright. Variation: add silver or mercury glass accents for a white-and-silver winter palace.
36. Storybook Night Village with Timers
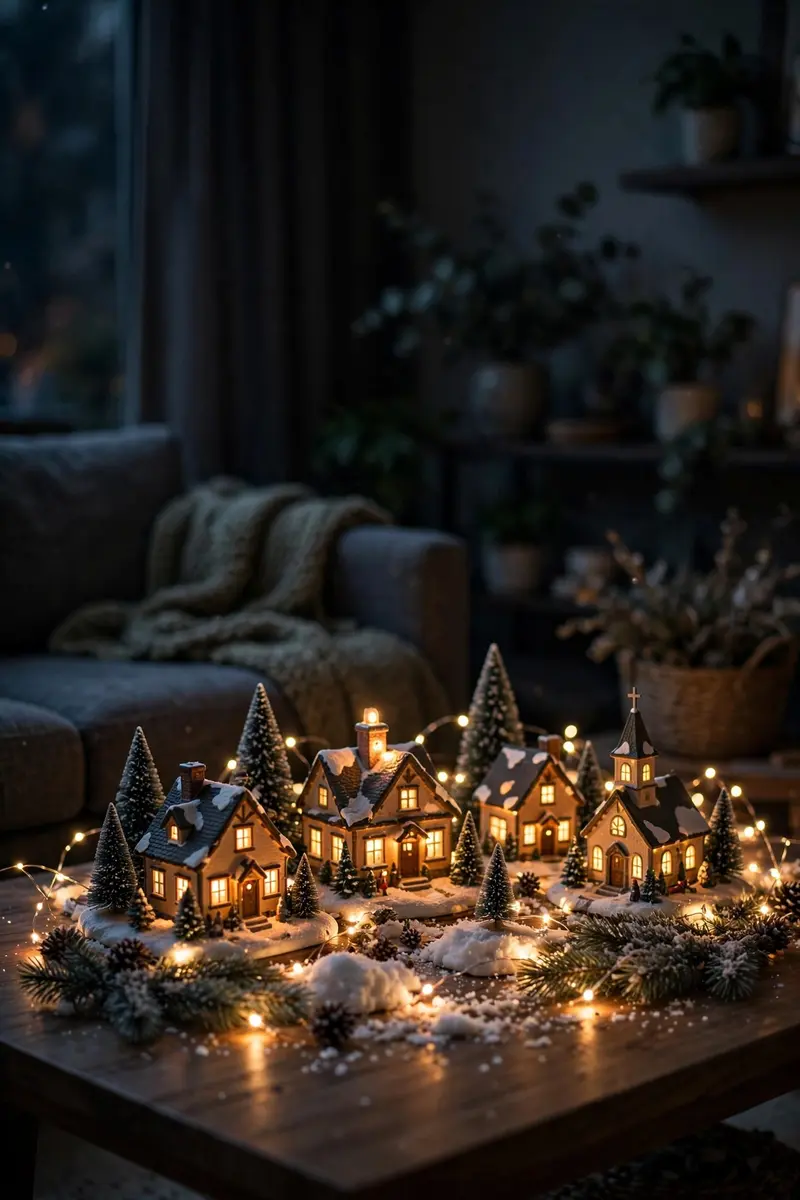
The final touch for any christmas village display ideas collection is automation: timers that light the whole town at dusk and switch it off at bedtime, every night, without you touching a plug. The village becomes a living ritual your family looks forward to.
Materials + cost: outlet timers or smart plugs ($8–$15), battery lights with built-in timers ($5–$8 each), all your existing village pieces.
Plug wired houses and light strings into timers set for dusk to bedtime, and switch battery pieces to their timer mode. Walk the display once at night to check that every house glows and no cord shows. Tip: set the off time for after the last person is usually asleep — a village that clicks off mid-evening feels like the town went dark too soon. Variation: add a smart plug so you can light the village from your phone when you are heading home.
Frequently Asked Questions
How do you display a christmas village?
Start with a flat, stable surface near a power source, build two or three height levels with risers or boxes hidden under snow, and place tall buildings at the back with smaller ones in front. Add battery fairy lights, a snow base, and a few trees and figures, and angle buildings slightly instead of lining them up straight.
Where is the best place to display a christmas village?
Mantels, console tables, bookshelves, and dining tables all work beautifully — the best spot is one that is level, out of direct sunlight, away from high-traffic bumps, and visible from your main seating. Small spaces suit tiered trays, cloches, and windowsills, while big collections shine on dedicated tables or wraparound corners.
How do you light a christmas village display?
Use warm white LED fairy lights or battery tea lights inside and around the houses, and hide cords and battery packs under the snow blanket. Timers are the secret weapon: set lights to switch on at dusk and off at bedtime so your village glows every evening without daily fuss. See our farmhouse christmas decor ideas for more warm-light styling.
How do you make a christmas village look realistic?
Give it height levels, a winding path or road, and a town plan — shops together, homes together, a church or square at the center. Add tiny figures doing things, like skating or walking, and leave one open space instead of filling every inch. Realism comes from story and breathing room, not from more buildings.
How do you store a christmas village after christmas?
Wrap each house in tissue or bubble wrap, keep original boxes when you have them, and store pieces upright in labeled bins with lights and cords in a separate bag. Photograph your layout before packing it away so next year’s setup takes minutes instead of hours. For general holiday storage inspiration, see this guide to DIY Christmas garland ideas.
Conclusion
Your tiny town is waiting — start with one idea from this list, whether it is a glowing cloche on your nightstand or a full three-level mantel village, and add a piece or two each year. The best villages grow slowly, one thrifted house and one string of lights at a time. Save this post to Pinterest so you can find your favorite christmas village display ideas again when the boxes come out next November, and share a photo of your village with us — we love seeing how your town turns out.


Leave a Reply