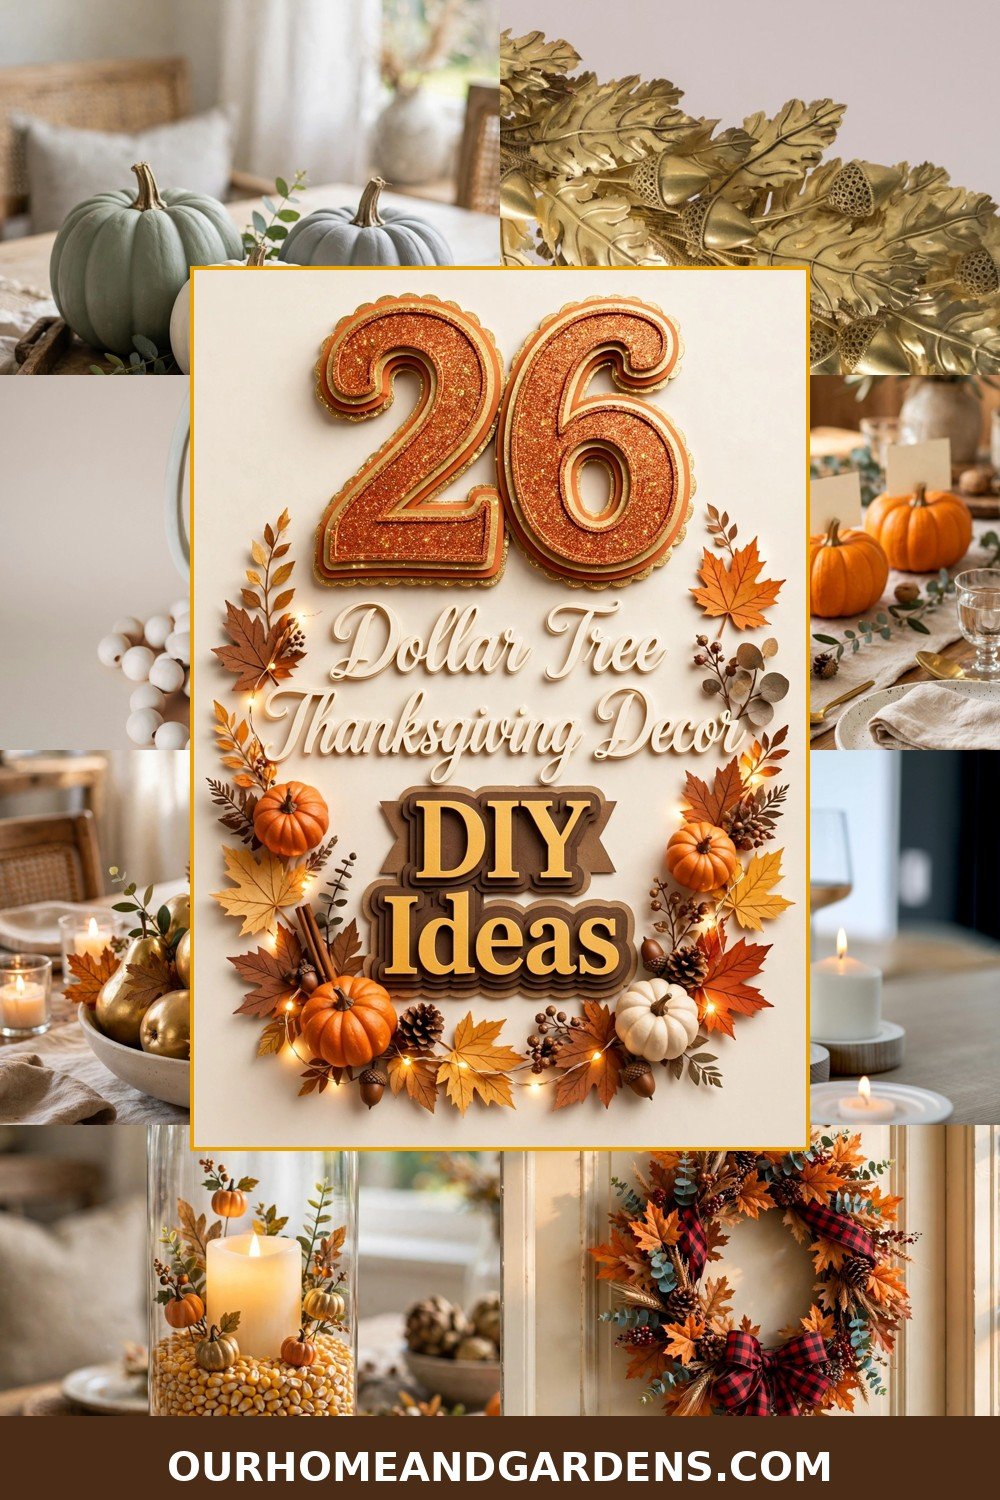
Thanksgiving should feel warm, generous, and a little bit magical — but it should not drain your wallet before the turkey even goes in the oven. This dollar tree thanksgiving decor diy collection is all Thanksgiving: foam-pumpkin makeovers, wheat bundles, gratitude jars and table touches built from dollar-store supplies. You can fill your whole home with handmade harvest style for about the price of one store-bought centerpiece — here is exactly what to buy and how to make it.
Every project below starts at Dollar Tree, and most of them cost between three and ten dollars in supplies. You will find chalk-painted pumpkins that look like boutique ceramics, glowing votives that mimic antique mercury glass, and a tiered tray built from pizza pans. This dollar tree thanksgiving decor diy roundup keeps every project genuinely doable in an evening, so you can decorate the whole house without losing a weekend.
Before you start, grab a hot glue gun, a roll of jute twine, and a can of metallic spray paint. Those three supplies show up again and again in this list, and they are the secret to making dollar-store finds look expensive. Now pick your favorites and let us get making.
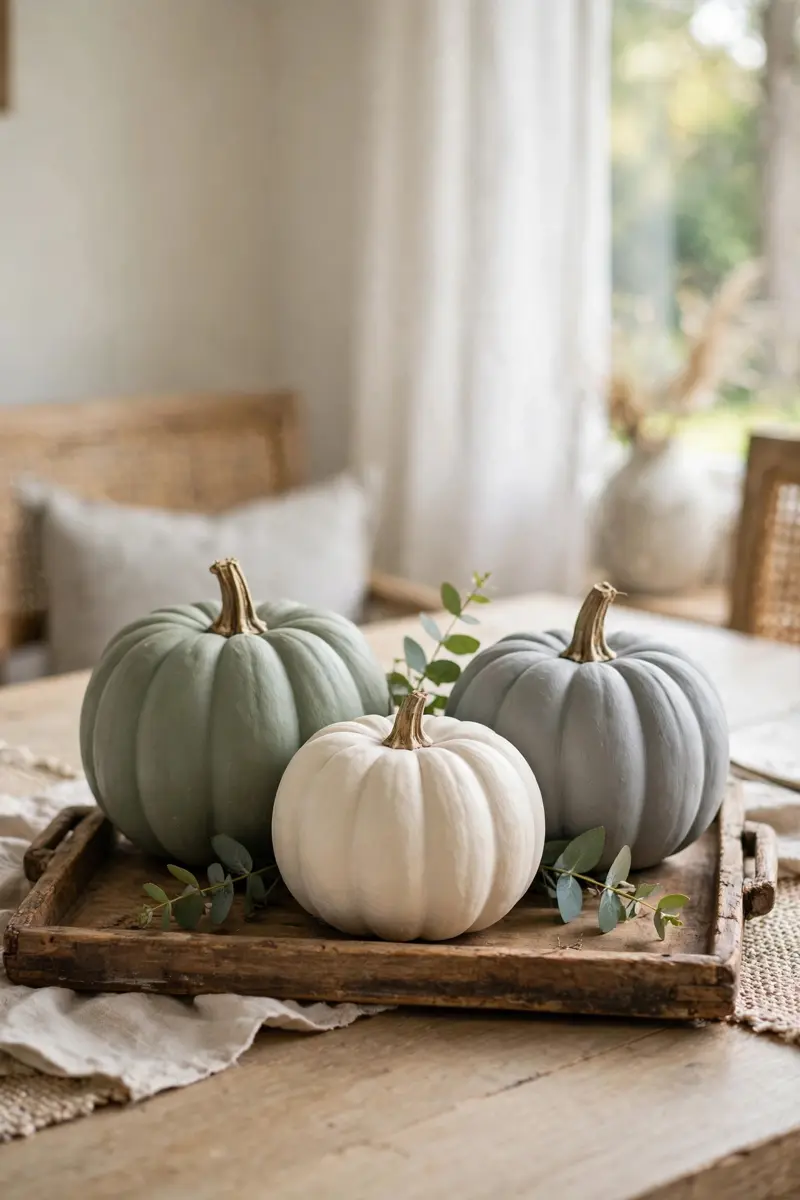
1. Chalk-Painted Foam Pumpkins in Muted Tones
This dollar tree thanksgiving decor diy turns those bright orange foam pumpkins into something that looks straight out of a boutique. A coat of chalk paint in sage green, cream, or soft gray gives them a velvety matte finish, and suddenly nobody can tell they cost a dollar.
You need foam pumpkins, chalk paint in two or three muted shades, a foam brush, and a paper plate for a palette. Expect to spend about $4–$6 for a trio of pumpkins, since the paint covers several pumpkins from one small bottle.
Brush on one thin coat and let it dry completely before adding a second. Thin coats dry smooth, while thick coats crack and peel. Once dry, rub the edges lightly with sandpaper for a gently aged look.
Tip: Paint the stems dark brown or gold — that one detail makes the whole pumpkin look real instead of craft-store.
Variation: Try dusty blue or blush pink pumpkins if your Thanksgiving palette leans modern instead of traditional.
2. Faux Mercury Glass Votives
This dollar tree thanksgiving decor diy recreates the speckled, silvery glow of real mercury glass for about two dollars a votive. The trick is a light mist of water under metallic spray paint, which makes the paint bead up into that gorgeous antique pattern.
You need plain glass votive holders, metallic silver or gold spray paint, a spray bottle of water, and LED tea lights. The whole project costs about $5–$7 for a set of four votives.
Mist the inside of each holder lightly with water, then spray a quick coat of metallic paint over it. Let the water droplets do their work, then add a second light coat once the first is dry. Drop in an LED tea light and watch them glow.
Tip: Use real candles only in a fire-safe spot — LED tea lights give the same flicker with zero worry around kids and tablecloths.
Variation: Try copper spray paint for a warmer glow that pairs beautifully with amber and rust tones.

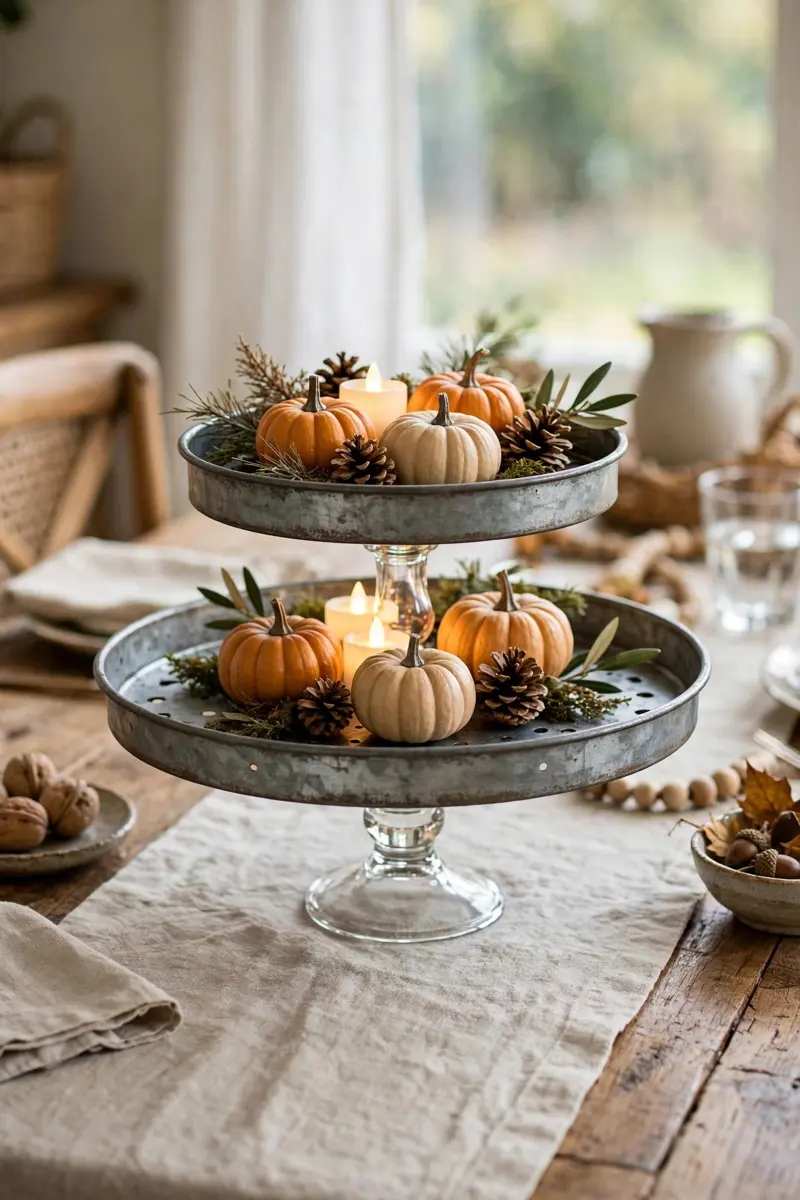
3. Pizza Pan Tiered Tray — A Dollar Tree Thanksgiving Decor DIY Classic
Two pizza pans and a glass candlestick become the farmhouse tiered tray everyone asks about. It is the most-shared project in this whole collection, and it costs less than five dollars to build.
You need two metal pizza pans, one glass candlestick holder, strong glue or epoxy, and spray paint in your chosen finish. Total cost runs about $4–$5, and the whole build takes under half an hour plus drying time.
Glue the candlestick to the center of the larger pan, then glue the smaller pan on top of the candlestick. Let the glue cure fully overnight, then spray paint the whole tray in one even color. Matte black, cream, or antique gold all look wonderful.
Tip: Stack mini pumpkins, pinecones, and a few LED candles on the tiers — odd numbers of items always look more styled than even ones.
Variation: Use a cake stand base instead of a candlestick for a taller, more dramatic two-tier display.
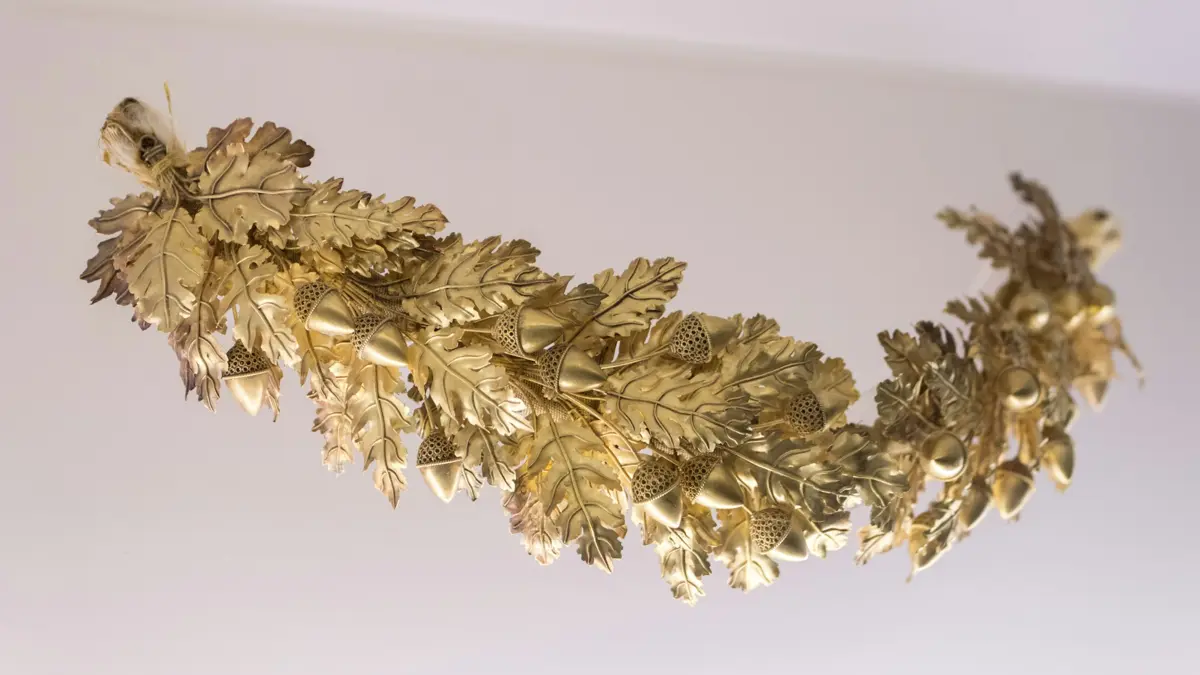
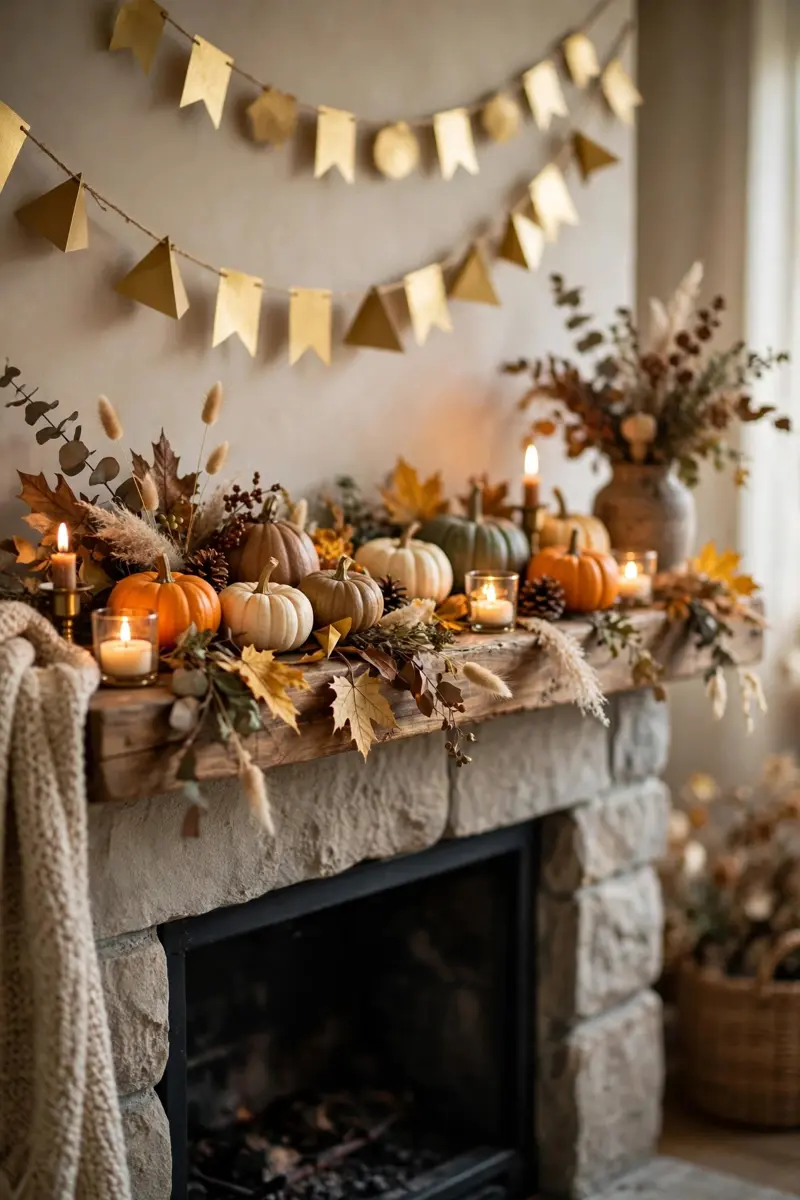
4. Gilded Leaf Garland for the Mantel
This dollar tree thanksgiving decor diy rescues that flimsy fall leaf garland from looking cheap. One quick coat of metallic gold or copper spray paint transforms thin plastic leaves into something that catches the candlelight beautifully.
You need a fall leaf garland, metallic spray paint, newspaper to protect your work surface, and small command hooks for hanging. The project costs about $3–$4 and takes twenty minutes plus drying time.
Lay the garland flat on newspaper outdoors and spray it lightly from about twelve inches away. Flip it once it is dry and spray the other side. Hang it across the mantel with the hooks, letting the ends drape down a few inches.
Tip: Mix one gilded garland with one plain garland in a deeper color — the contrast makes the gold leaves look intentional, not painted.
Variation: Add a few faux berries or tiny pinecones with hot glue for extra texture along the mantel.
5. Faux Terracotta Vase Transformation
This dollar tree thanksgiving decor diy turns a plain glass vase into a piece that looks like handmade artisan ceramic. The secret is mixing baking soda into matte paint, which gives the surface a chalky, textured, terracotta feel.
You need a glass vase or bottle, matte terracotta or cream paint, baking soda, a foam brush, and dried pampas grass or wheat stalks to fill it. The project costs about $3–$5 including the fillers.
Stir a spoonful of baking soda into a small cup of paint until it thickens slightly. Brush on two thin coats, letting each dry fully. The finish should feel slightly gritty, just like real unglazed clay. Fill with dried stems and set it on a stack of books.
Tip: Paint the vase in a warm cream if your room already has a lot of orange — it keeps the palette calm instead of loud.
Variation: Use the same technique on glass bottles and candle holders for a matching set across the room.
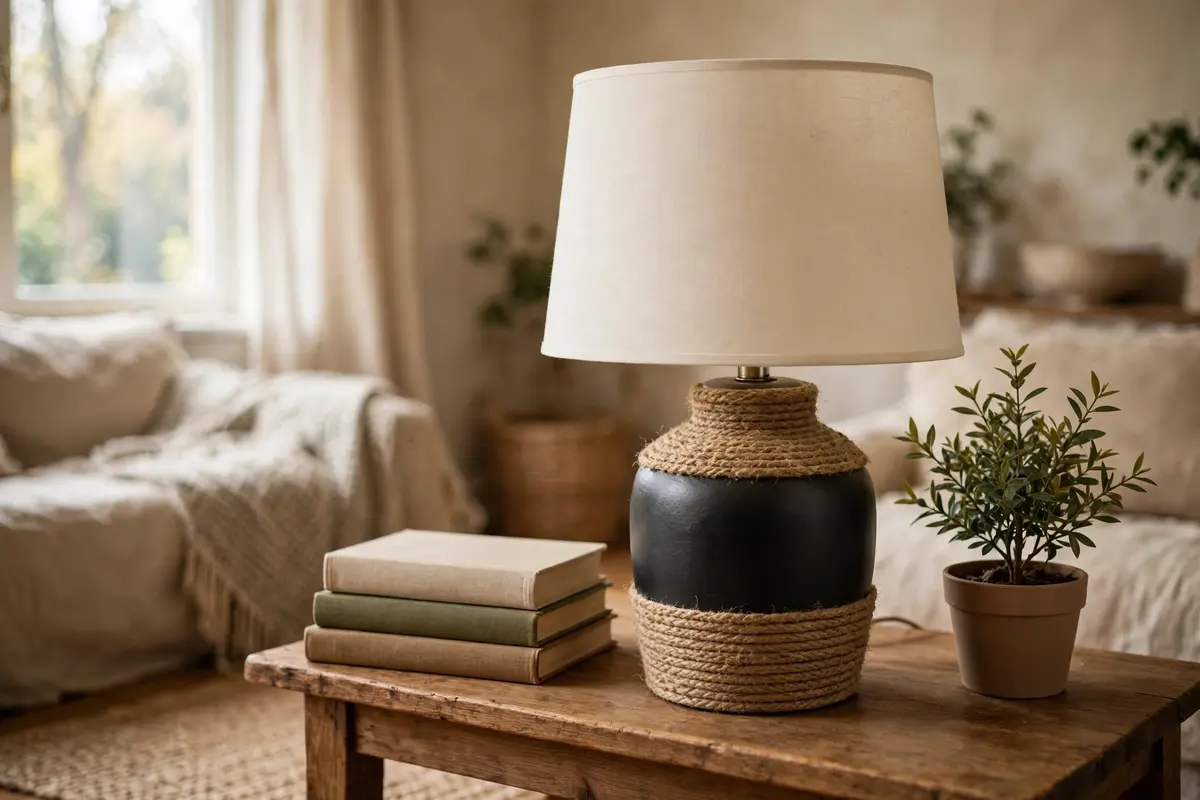
6. Jute-Wrapped Vases and Candle Holders
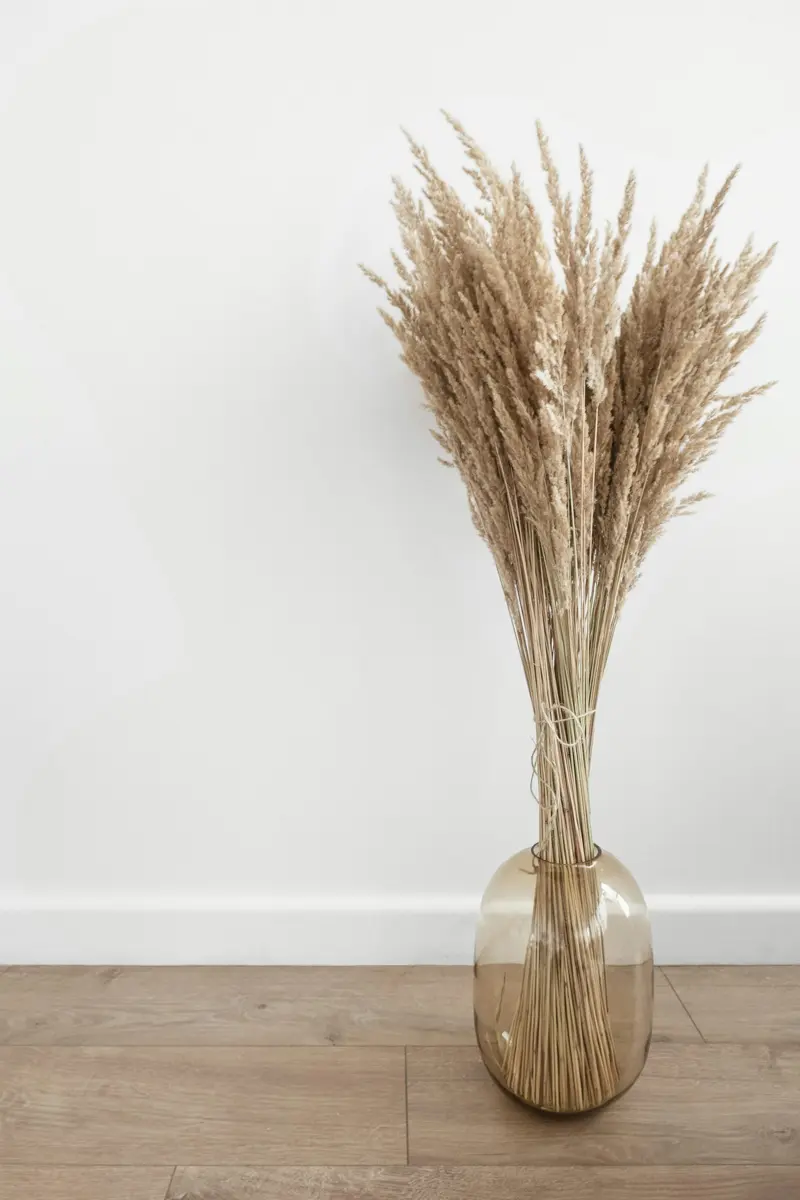
This dollar tree thanksgiving decor diy wraps plain glass cylinders in natural jute twine for instant farmhouse warmth. The texture of the twine softens the glass, and the whole thing takes about fifteen minutes per vase.
You need glass cylinder vases or candle holders, jute twine, a hot glue gun, and scissors. Expect to spend about $3–$4 per vase, and one roll of twine covers two or three pieces.
Glue the end of the twine at the base of the vase and wrap upward in tight, even rows. Add a small dot of glue every few inches so the twine cannot slip. Finish at the top rim and tuck the cut end under the last row.
Tip: Wrap only the bottom two-thirds of a tall vase and leave the top clear — it looks more modern and lets you see the stems inside.
Variation: Add a plaid ribbon bow or a sprig of dried wheat tied around the middle for a finished, gift-ready look.
7. Wooden Bead Garland
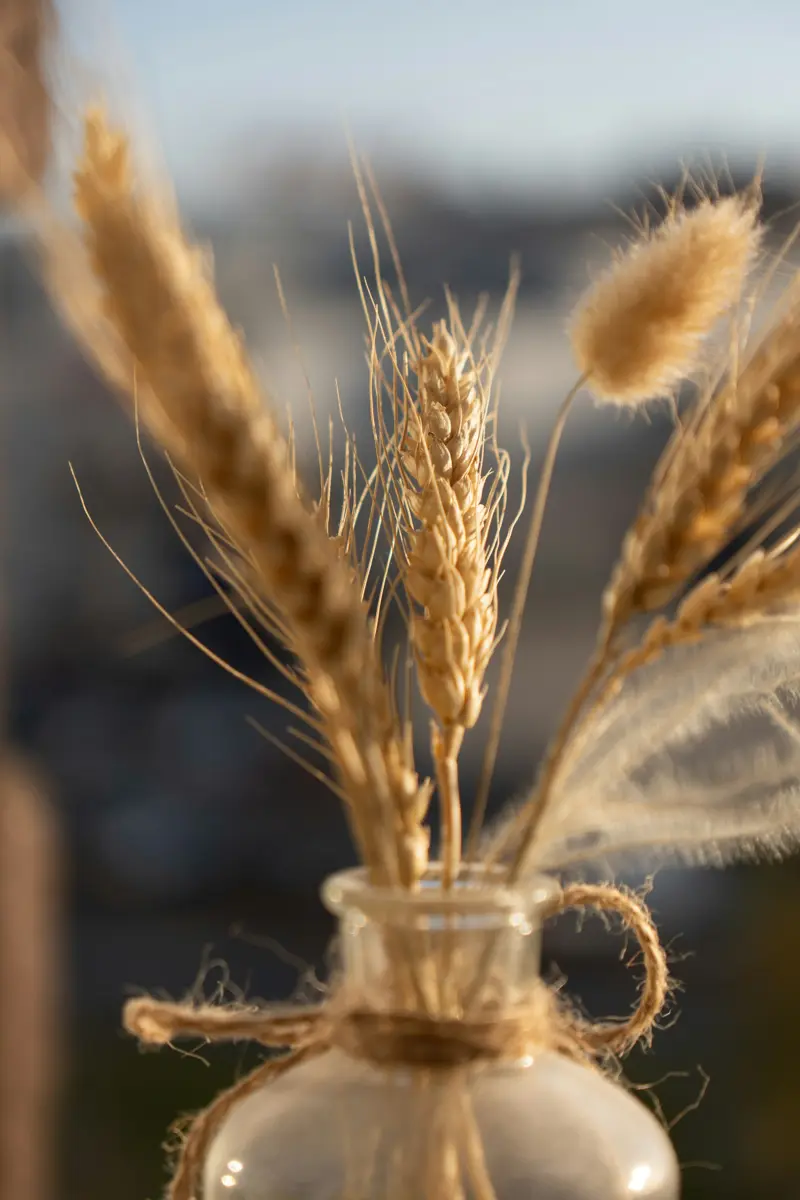
This dollar tree thanksgiving decor diy copies the farmhouse bead garlands that sell for twenty dollars and up in home stores. A bag of wooden beads from the craft aisle, some twine, and a tassel are all it takes.
You need a bag of wooden beads, jute twine or cotton cord, a large-eye needle, and a small tassel or a few beads for the ends. The project costs about $3–$4 and takes under half an hour.
Thread the beads onto the twine, alternating sizes if your bag has them. Knot the twine after every tenth bead so the strand holds its shape when draped. Finish each end with a tassel made from a few strands of twine.
Tip: Stain half the beads with a tea or coffee soak for a two-tone garland that looks hand-dyed and expensive.
Variation: Drape the garland across a mirror, along a sideboard, or down the center of the table as a runner.
8. Framed Fall Printable Art
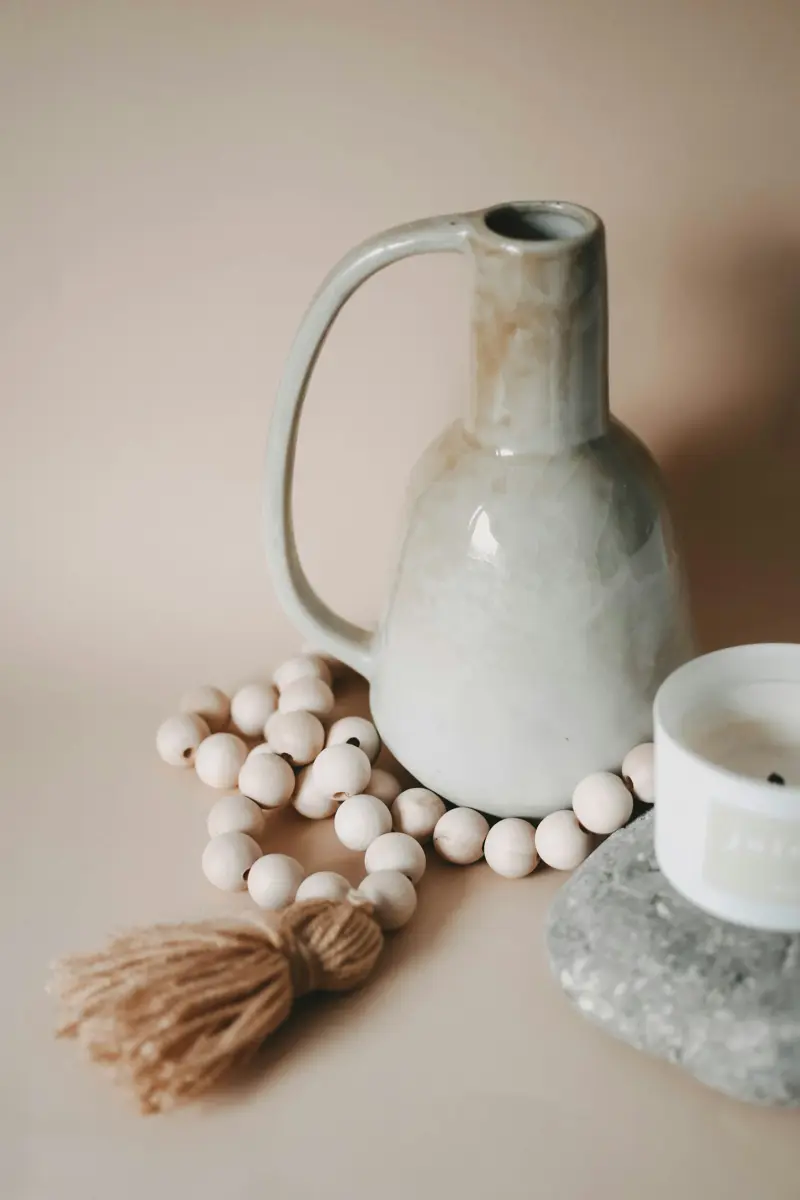
This dollar tree thanksgiving decor diy is the fastest project in this list — beautiful custom art in under ten minutes. Find a free Thanksgiving printable online, print it, and pop it into a simple frame you spray painted first.
You need a Dollar Tree frame, matte black or gold spray paint, and a printed quote or fall illustration. The whole thing costs about $2–$3, and the frame paint is the only real work.
Spray the frame in matte black or gold and let it dry completely. Print your chosen art on cardstock for a sturdier, richer look. Trim it to fit, slide it in, and hang it where the wall feels bare.
Tip: Choose a simple quote like “Give Thanks” in a clean font — busy art in a cheap frame looks cheap, but minimal art looks gallery-worthy.
Variation: Make a set of three small frames with matching quotes and hang them in a row down a hallway.
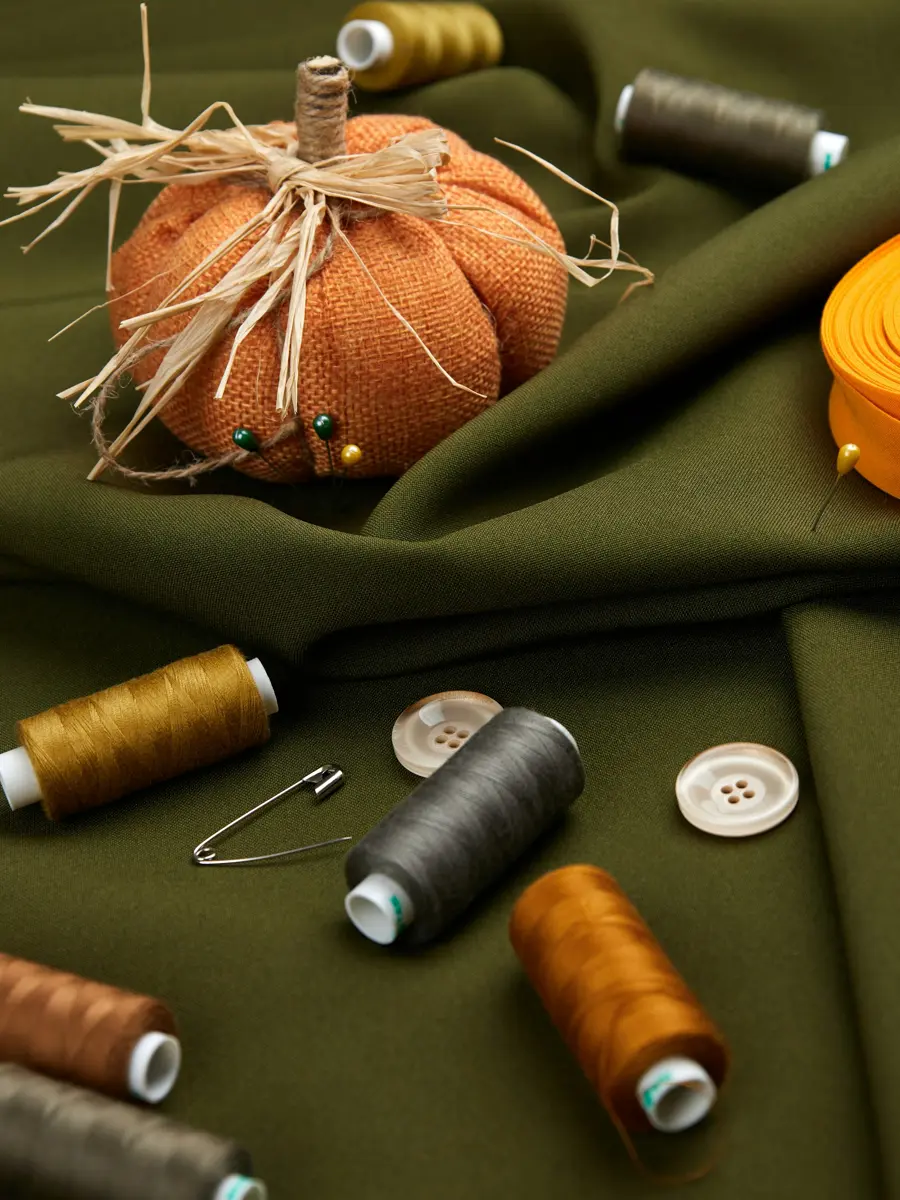
9. No-Sew Fabric Pumpkins
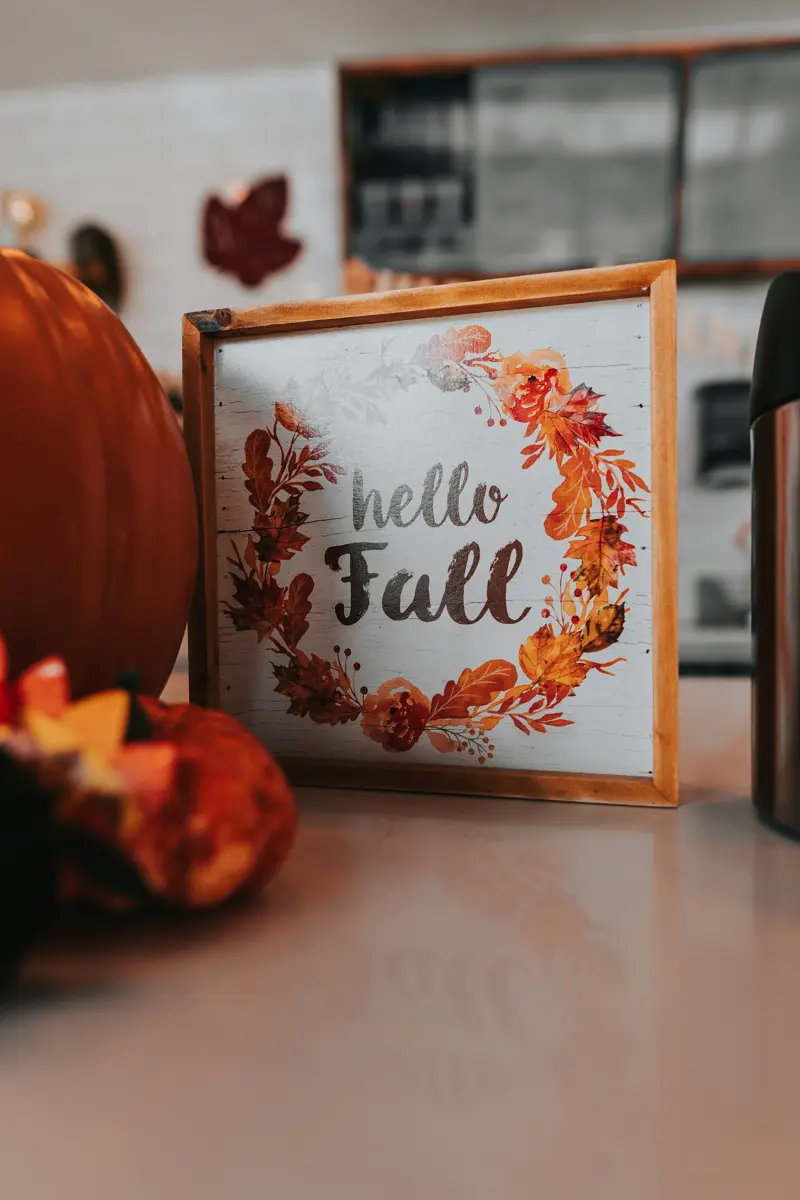
This dollar tree thanksgiving decor diy makes soft, cozy pumpkins from fabric scraps with zero sewing. A square of fabric, a handful of stuffing, and a piece of twine are all you need for a pumpkin that looks straight off a farmhouse shelf.
You need fabric squares in fall prints or solids, polyester stuffing, twine or ribbon, and a small stick or cinnamon stick for the stem. Each pumpkin costs about $1–$2 to make.
Gather the fabric around a ball of stuffing and tie it tightly at the top with twine. Push the center down slightly to form the pumpkin shape, then wrap twine around the sides to create segments. Tuck a cinnamon stick into the top as the stem.
Tip: Use flannel or velvet fabric for the softest, most expensive-looking pumpkins — the texture does all the work.
Variation: Make a whole patch in different sizes and fabrics, then cluster them on the mantel or the front porch steps.
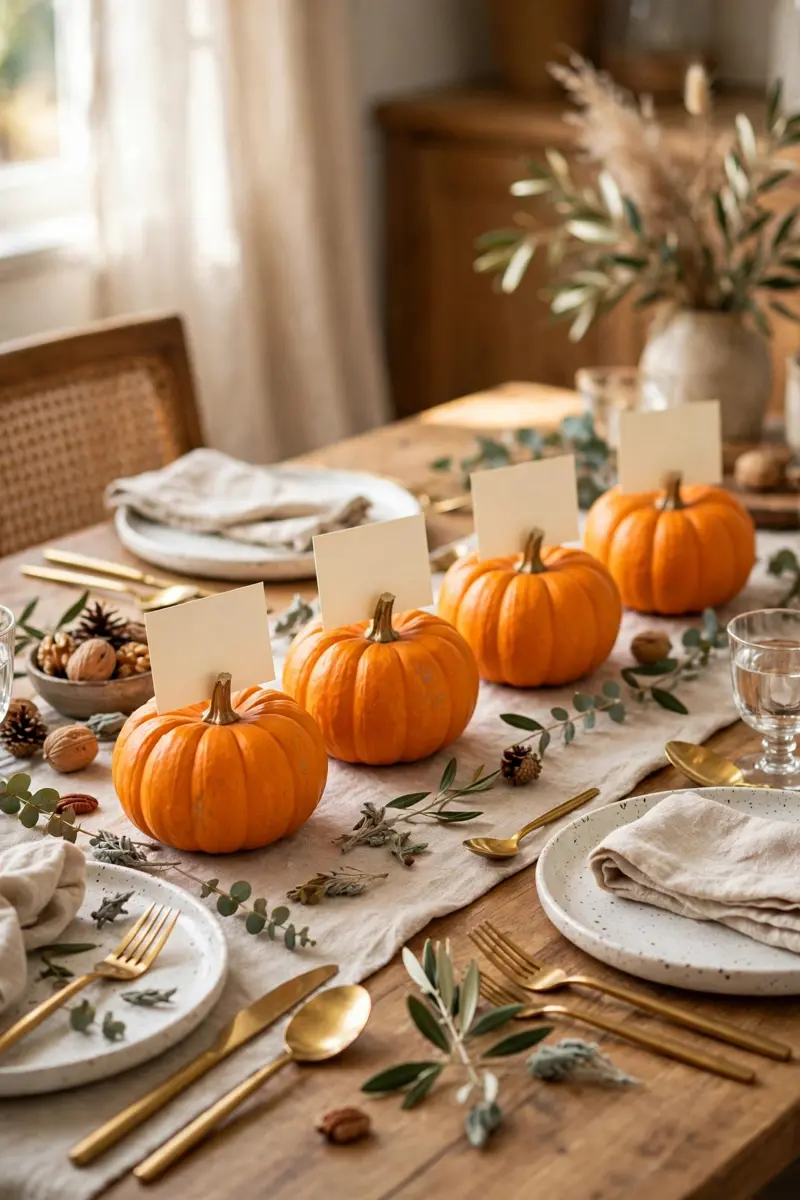
10. Mini Pumpkin Place Card Holders
This dollar tree thanksgiving decor diy gives every guest a tiny pumpkin waiting at their seat. Mini foam pumpkins hold a name card, and the whole place setting suddenly feels thoughtful and pulled together.
You need mini foam pumpkins, cardstock, a fine-tip marker or gold pen, and a craft knife. The project costs about $3–$4 for a full table of eight settings.
Cut a small slit across the top of each mini pumpkin, just deep enough to hold a card. Write each guest’s name on a folded card in your neatest handwriting, then slide the card into the slit. Set one pumpkin at each place setting.
Tip: Spray the pumpkins gold or cream first — a matching set looks far more polished than mixed orange ones.
Variation: Use the same trick with mini pinecones or small gourds if your store is out of mini pumpkins.
11. “Thankful” Letter Banner
This dollar tree thanksgiving decor diy turns simple craft letters into a warm focal point over a doorway or mantel. The word “Thankful” does the talking, and a little gold paint does the styling.
You need wooden or cardboard letters spelling THANKFUL, metallic gold paint, twine or ribbon, and a hot glue gun. The project costs about $4–$6 depending on letter size.
Paint the letters gold and let them dry fully. Space them evenly along a length of twine, gluing each letter to the back of the string. Hang the banner with small hooks, letting it drape slightly in the middle.
Tip: Add a small fall leaf or tiny pumpkin at each end of the banner so the string does not look bare where it meets the wall.
Variation: Spell “GATHER” or “GRATEFUL” instead if it fits your space better — the method works for any short word.
12. Burlap and Lace Table Runner — A Dollar Tree Thanksgiving Decor DIY Staple
A length of burlap with a lace overlay down the middle is the easiest table transformation you will ever make. It softens a bare table, warms up the whole room, and costs less than a takeout lunch.
You need burlap fabric or a burlap table runner, a strip of lace ribbon, fabric scissors, and a hot glue gun. The project costs about $4–$6 for a standard six-foot table.
Cut the burlap to your table length plus a few inches of overhang at each end. Glue the lace strip down the center of the burlap, then fray the short ends slightly by pulling a few threads loose. Lay it down the middle of the table.
Tip: Iron the burlap on low heat before you start — the creases from the packaging disappear and the runner lies perfectly flat.
Variation: Layer the burlap runner over a solid linen tablecloth in cream or rust for a richer, more finished look.

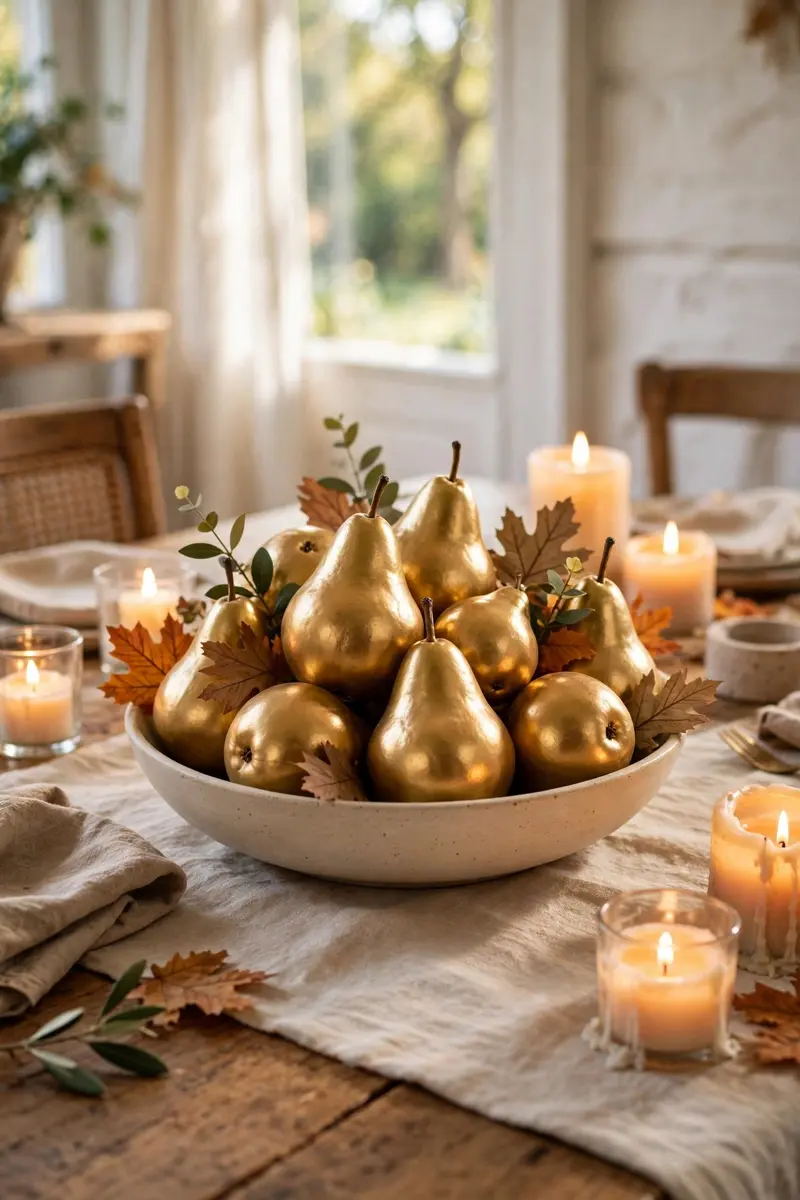
13. Gilded Pear Centerpiece
This dollar tree thanksgiving decor diy takes simple plastic pears and turns them into a centerpiece that looks like a high-end dupe. Metallic gold paint is the whole trick, and the result genuinely fools people.
You need plastic pears from the craft aisle, metallic gold spray paint, a shallow bowl or tray, and a few faux leaves. The project costs about $4–$5 for a full centerpiece.
Spray the pears in light, even coats until they are fully gold, letting each coat dry before the next. Arrange them in a shallow bowl with a few faux leaves tucked between them. Set the bowl in the center of the table.
Tip: Mix in one or two unpainted pears in a deep green — the contrast keeps the gold from looking flat and makes the arrangement feel collected.
Variation: Try copper paint instead of gold for a softer glow that pairs beautifully with terracotta and cream.
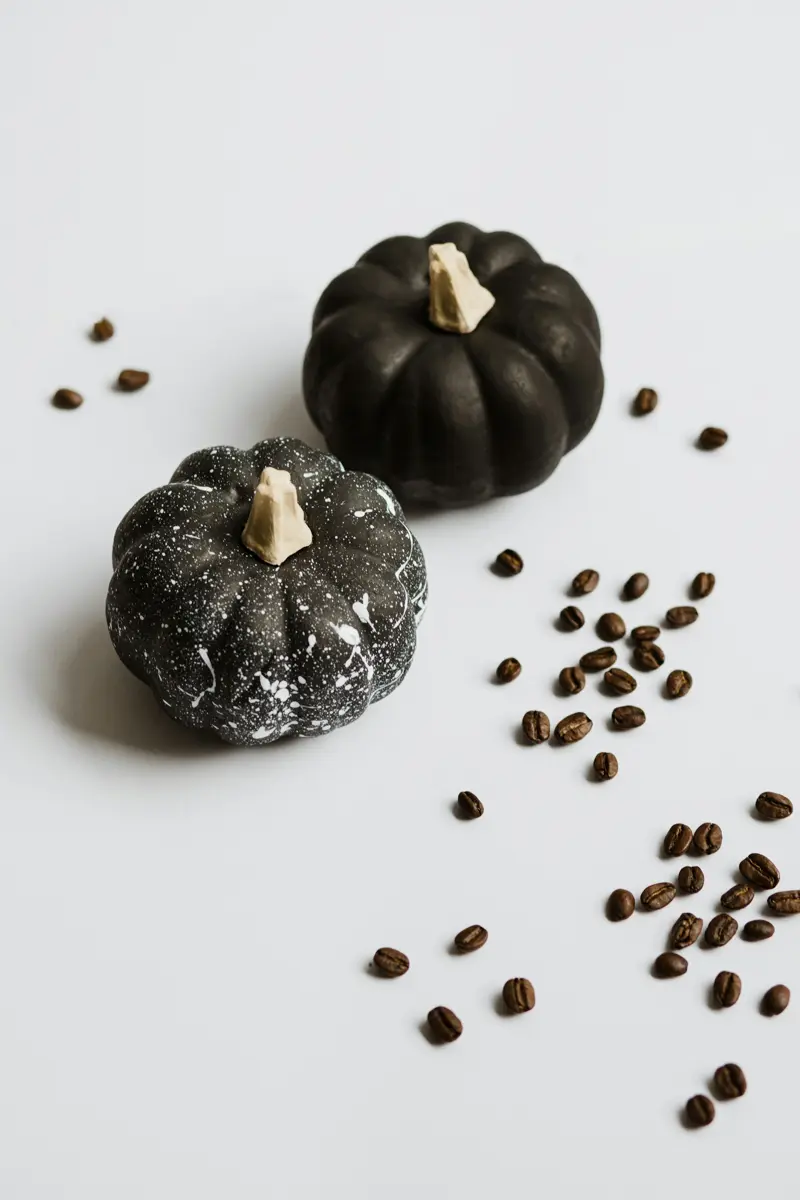
14. Matte Black Pumpkins
This dollar tree thanksgiving decor diy is for anyone whose style leans modern. Matte black pumpkins look dramatic against cream linens and gold accents, and they cost almost nothing to make.
You need foam pumpkins, matte black spray paint or chalk paint, and newspaper. The project costs about $2–$3 per pumpkin, and one can of paint covers a whole set.
Spray the pumpkins outdoors in light, even coats, turning them as you go so every side is covered. Let them dry fully between coats. Two thin coats give a deep, even black without drips.
Tip: Pair black pumpkins with white pumpkins and a single gold one — the trio is a classic styling move that always photographs beautifully.
Variation: Add a thin gold stripe around the middle of each pumpkin with painter’s tape for a subtle, polished detail.
15. Gold-Tipped Feather Place Cards
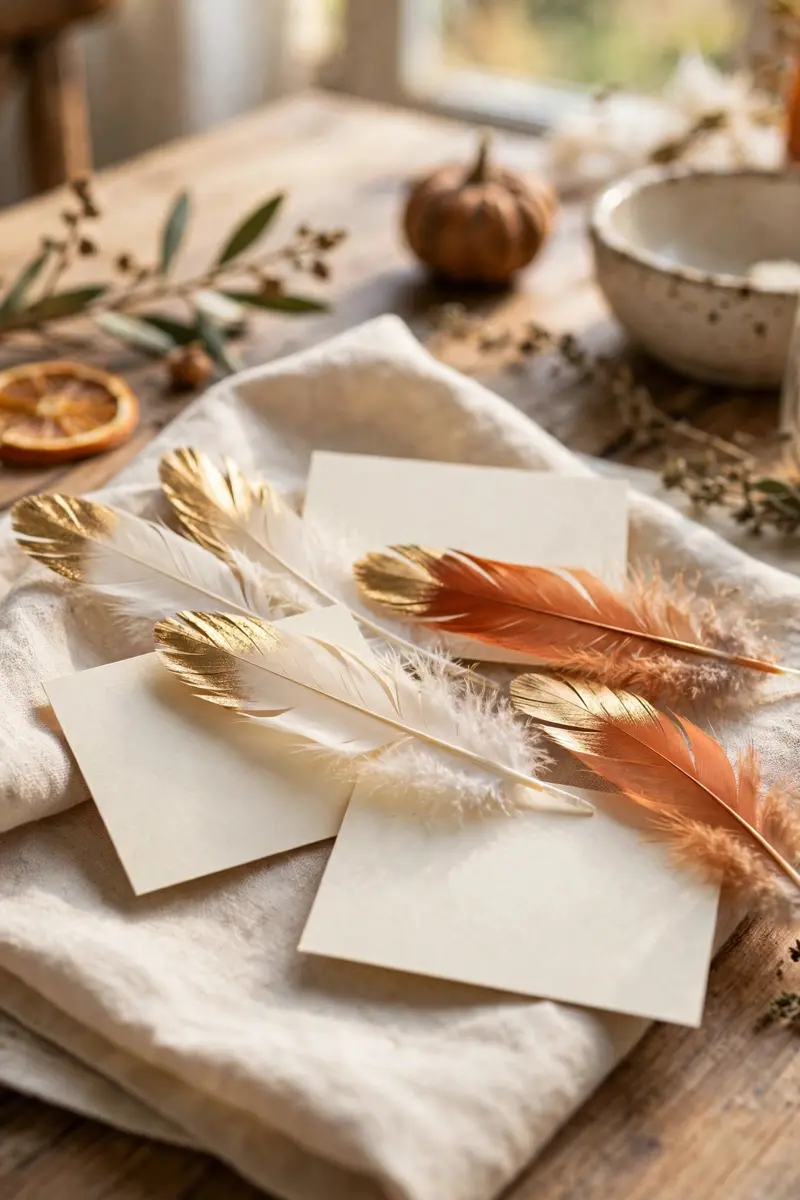
This dollar tree thanksgiving decor diy adds a touch of glamour to every place setting for pennies. A single feather, dipped in gold paint and paired with a name card, looks like something from a styled magazine shoot.
You need craft feathers, metallic gold paint, cardstock, and a fine-tip pen. The project costs about $3–$4 for a table of eight.
Dip the tip of each feather into gold paint and set it aside to dry on wax paper. Write each guest’s name on a small folded card. Lay one feather across each card at a slight angle before setting the table.
Tip: Choose feathers in cream, brown, or soft rust — white feathers can look stark, while warm tones blend with the rest of the table.
Variation: Tie the feather and card together with a short piece of twine for a place setting that doubles as a keepsake.
16. Charger Plate Candle Display
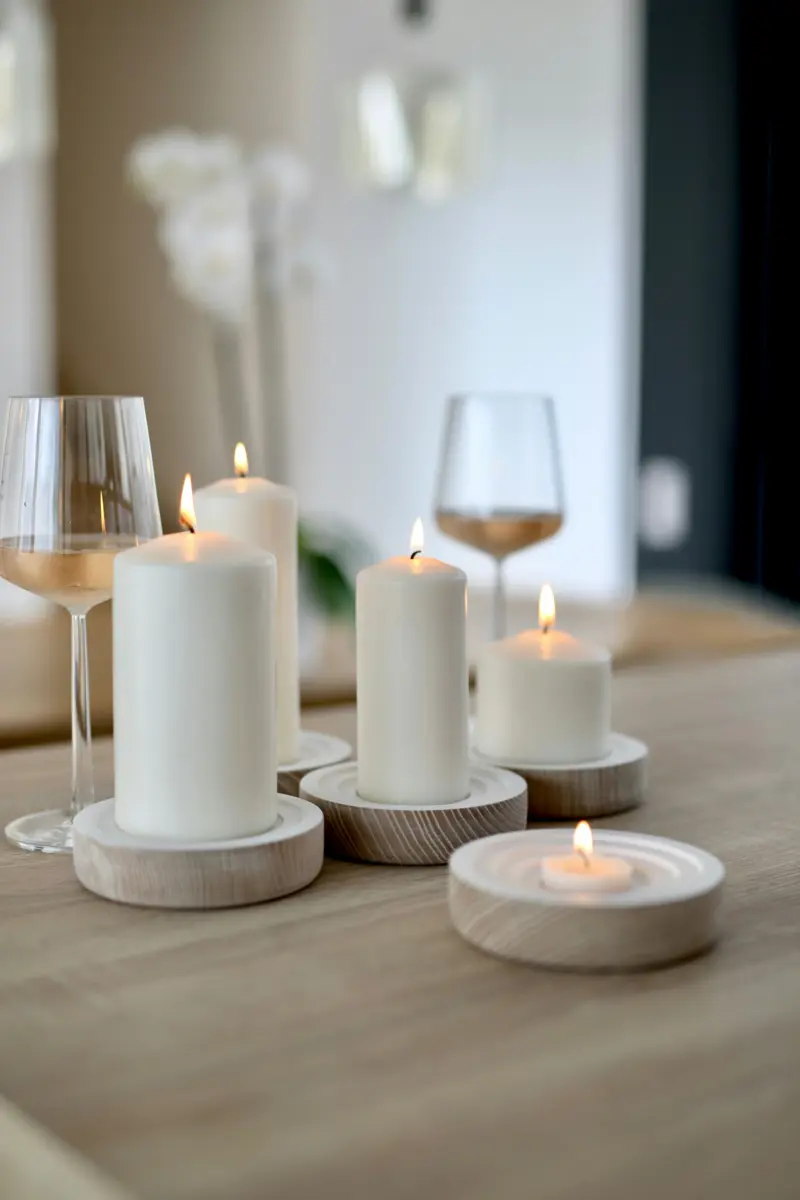
This dollar tree thanksgiving decor diy builds a glowing display from charger plates and pillar candles. It takes five minutes to arrange and instantly makes the table feel like a special occasion.
You need gold or copper charger plates, pillar candles in varying heights, and a few sprigs of faux greenery. The project costs about $5–$7 for a display of three chargers.
Set one charger at the center of the table and place a pillar candle on it. Repeat with two more chargers spaced along the table, varying the candle heights. Tuck small sprigs of greenery around the base of each candle.
Tip: Use LED pillar candles if the display sits near the food — they flicker like real flames and nobody has to watch them during dinner.
Variation: Add a few mini pumpkins or pinecones on the chargers for a fuller, more autumnal display.
17. Painted Glass Bottle Bud Vases
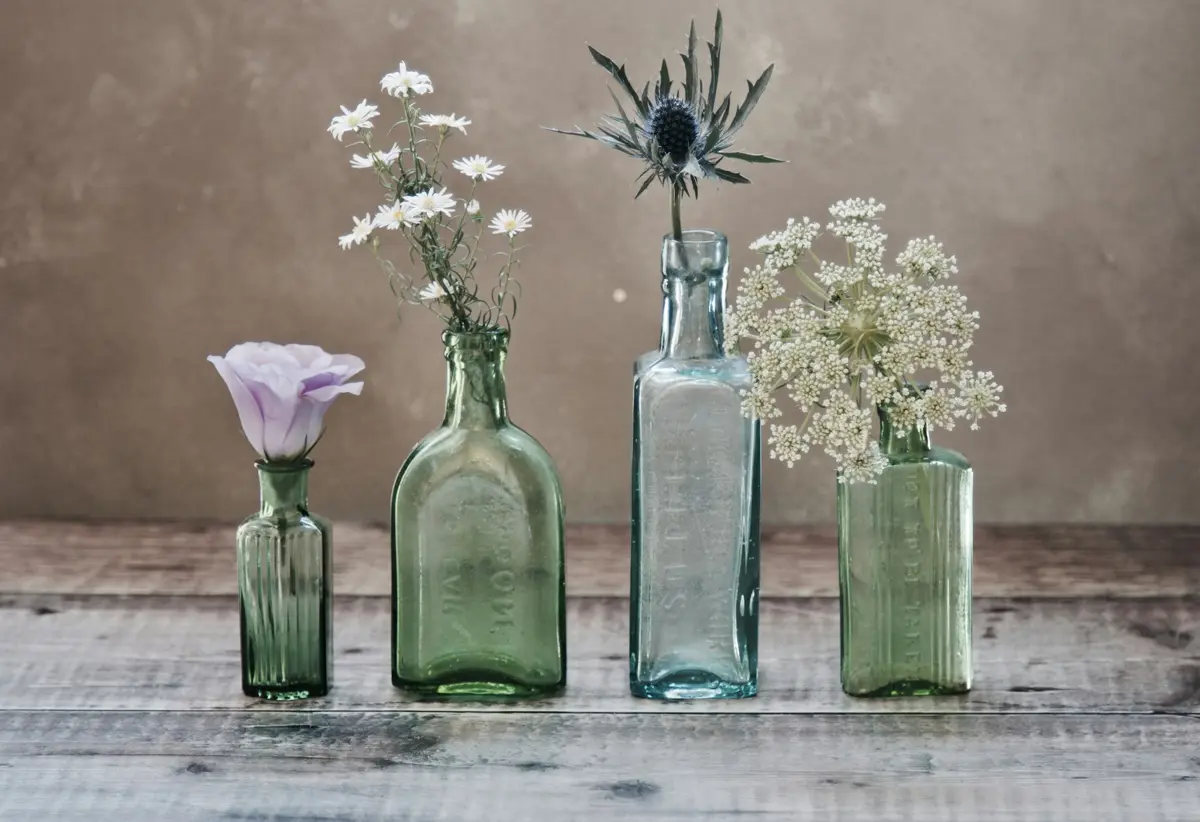
This dollar tree thanksgiving decor diy rescues plain glass bottles with a coat of paint and a single stem. A row of painted bottles down the table makes a centerpiece that costs less than a bouquet.
You need glass bottles in different shapes, matte paint in fall colors, and a few stems of dried wheat, eucalyptus, or faux flowers. The project costs about $3–$5 for a set of three.
Paint each bottle in a different fall shade — sage, cream, and rust work beautifully together. Let them dry fully, then place one stem in each bottle. Line them up down the center of the table.
Tip: Group bottles in odd numbers and vary their heights — three bottles of different sizes always look more styled than three identical ones.
Variation: Wrap a little twine around the neck of each bottle for a rustic touch that hides any paint edge.
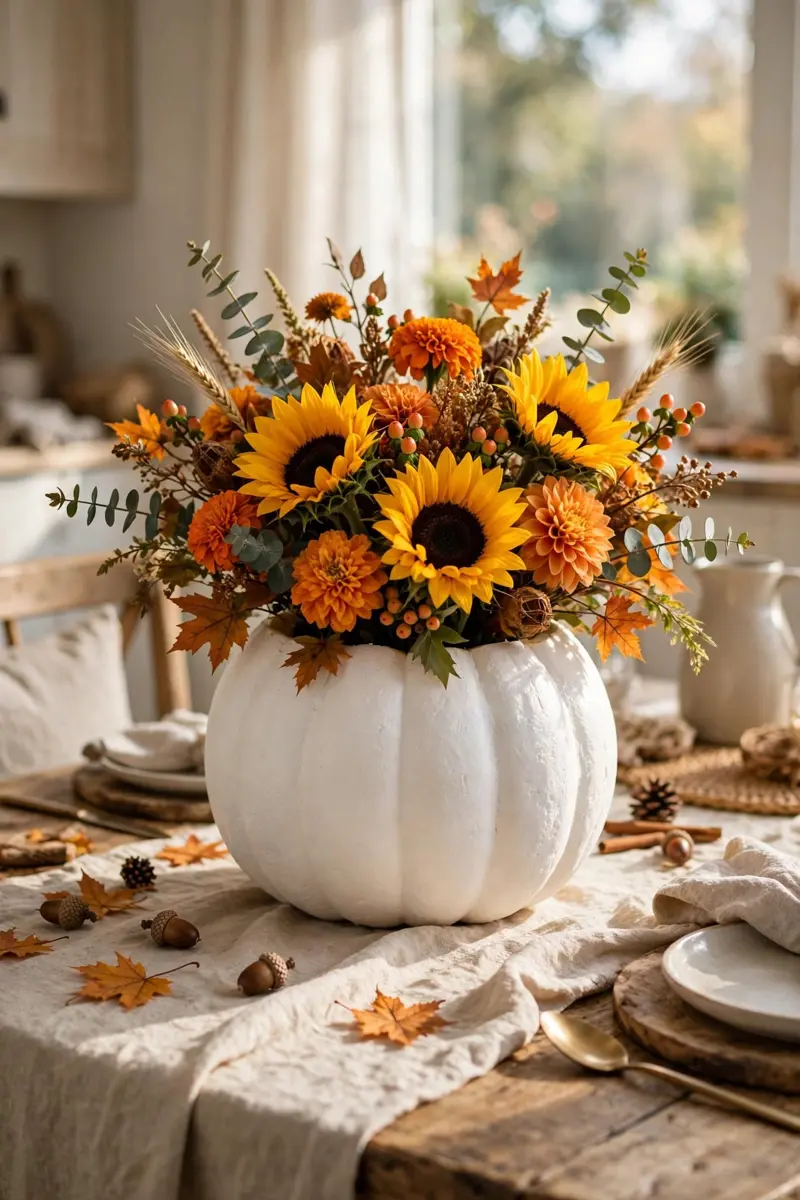
18. Elevated White Pumpkin Vase
This dollar tree thanksgiving decor diy turns a white foam pumpkin into a vase that looks far more expensive than it is. Cut off the top, hollow it out, and you have a charming vessel for fall stems.
You need a white foam pumpkin, a craft knife, a small glass or jar that fits inside, and faux fall flowers or eucalyptus. The project costs about $4–$6.
Cut a circle out of the top of the pumpkin and scoop out the foam inside. Set a small glass or jar inside to hold water or to keep the stems upright. Fill with fall flowers and set it on the table or mantel.
Tip: Spray the pumpkin a soft cream first if the foam looks too bright white — a warmer tone reads more natural in candlelight.
Variation: Use a small orange pumpkin for a bolder look, or a mini pumpkin for a sweet place-setting vase.
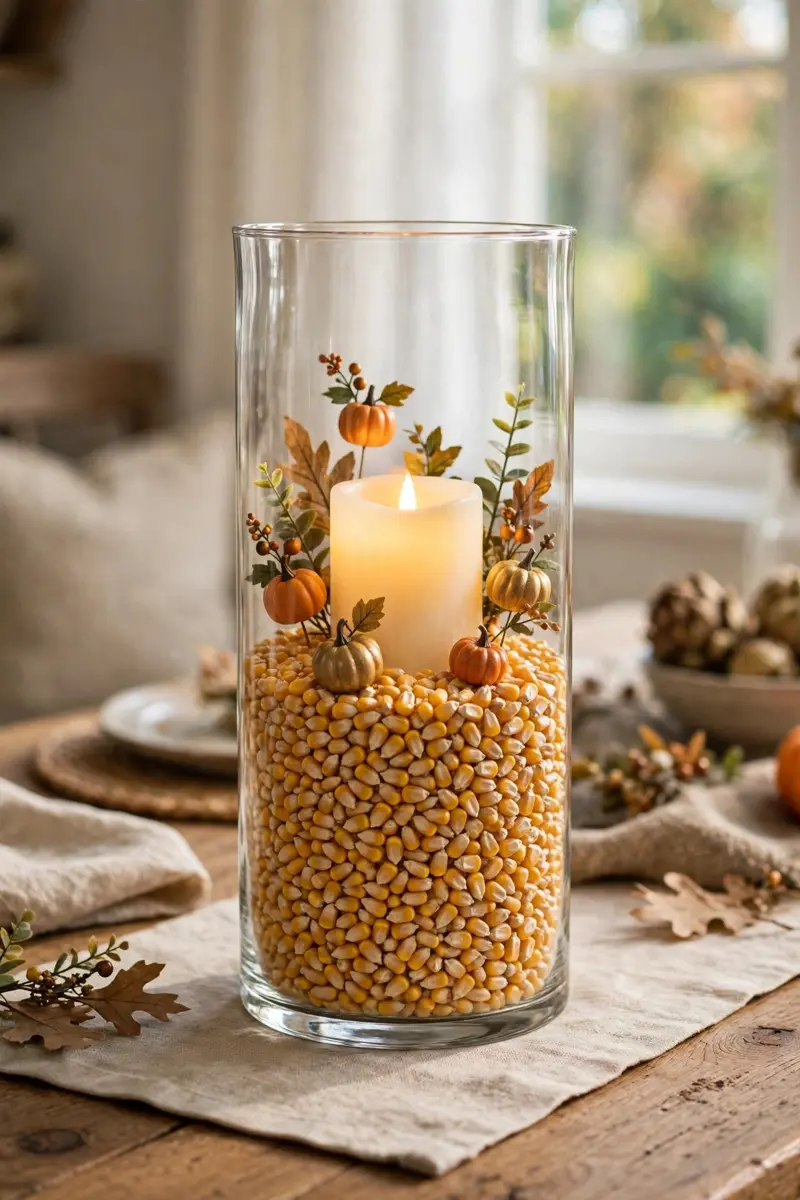
19. Hurricane Vase Corn Kernel Candle
This dollar tree thanksgiving decor diy fills a hurricane vase with dried corn kernels and a candle for a harvest look that costs about five dollars. It is one of the easiest projects in this list, and it looks completely intentional.
You need a hurricane glass vase, a bag of dried corn kernels, an LED pillar candle, and a few pumpkin-shaped picks or faux leaves. The project costs about $5–$6.
Pour the corn kernels into the vase until it is about two-thirds full. Nestle the LED candle into the center so it sits just above the kernels. Tuck a few small pumpkin picks or faux leaves around the candle.
Tip: Layer the kernels with dried beans or lentils in different colors for a striped effect that looks like you planned it for weeks.
Variation: Swap the corn for cranberries or small pinecones if you want a different color story on the table.
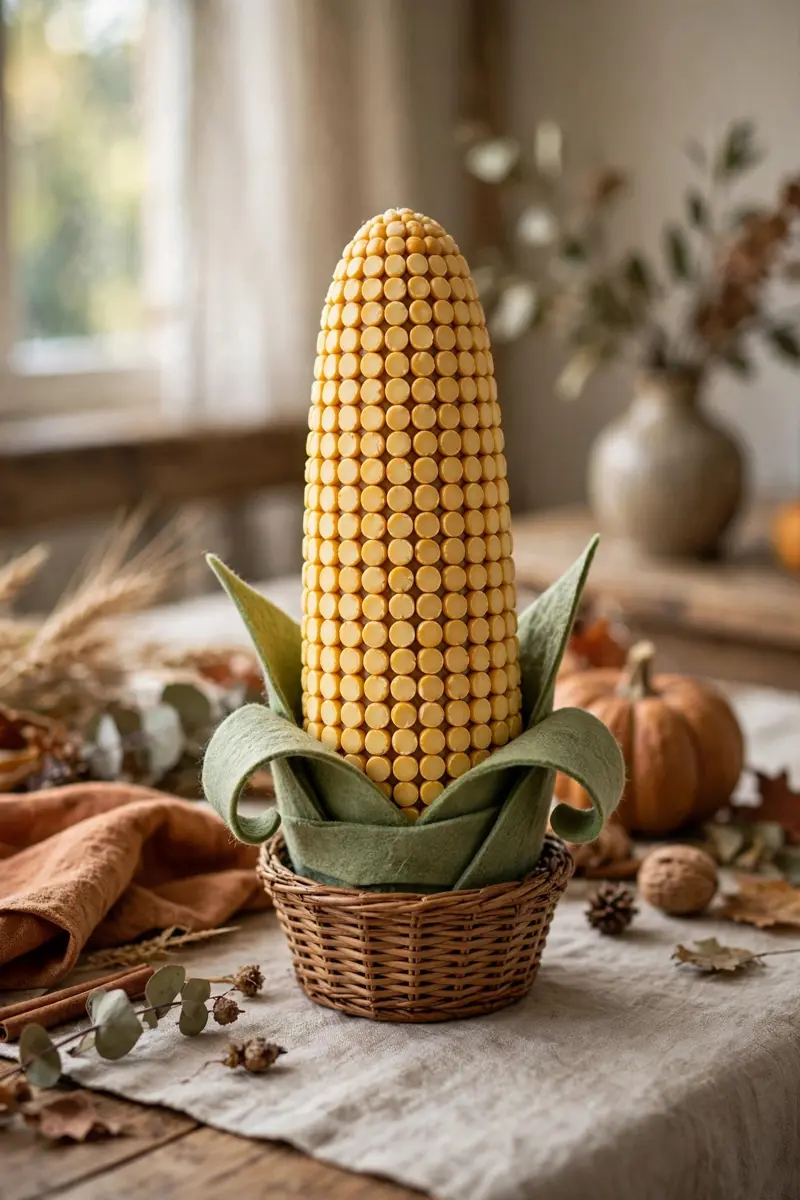
20. Beaded Corn Craft
This dollar tree thanksgiving decor diy uses humble split peas to create a textured, surprisingly sophisticated corn cob. It is a conversation starter, and kids love helping with it.
You need a foam cone or a corn cob shape, dried split peas in yellow and green, craft glue, and a small piece of green felt or paper for the husk. The project costs about $3–$4 per cob.
Brush glue onto a section of the foam shape and press split peas into it in neat rows. Work in small sections so the glue stays tacky. Once the cob is covered, wrap the base with green felt cut into husk shapes.
Tip: Use yellow split peas for the kernels and green ones for a stripe — the two-tone pattern is what makes it look like real corn.
Variation: Make a small basket of three beaded cobs as a centerpiece, or use one cob as a napkin-ring decoration.
21. Faux Concrete Pumpkin Stand
This dollar tree thanksgiving decor diy gives a foam pumpkin a stone-like finish with textured paint. The result looks like a heavy concrete garden piece, but you can lift it with one hand.
You need a foam pumpkin, textured stone spray paint or matte gray paint mixed with baking soda, and a small plate or wood slice for the base. The project costs about $4–$5.
Spray or brush the pumpkin with the textured paint in two thin coats, letting each dry fully. The rough finish is what sells the concrete look, so do not smooth it out. Set the pumpkin on a wood slice or a small plate as a stand.
Tip: Leave a little of the original orange showing through in the creases — the subtle color variation makes the stone finish look weathered and real.
Variation: Make a pair in different sizes and set them on either side of the front door for a matching entryway display.

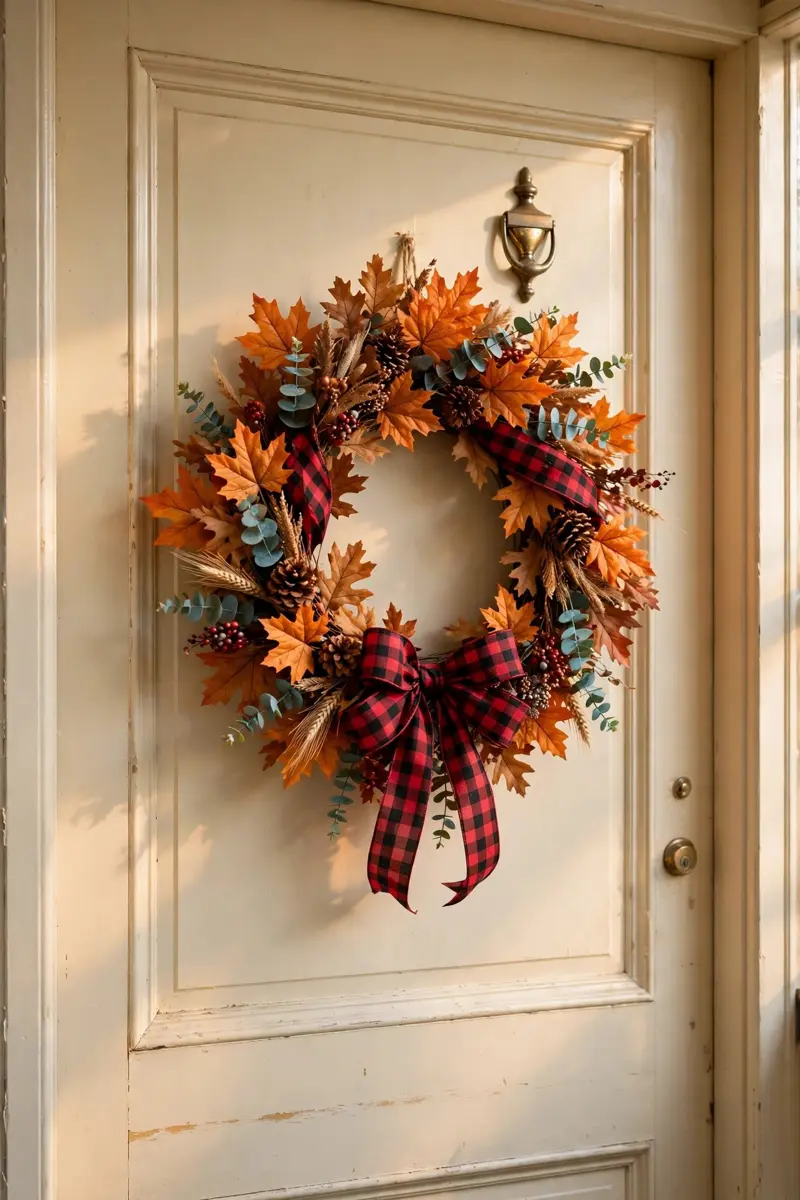
22. Buffalo Check Splatter Screen Wreath
This dollar tree thanksgiving decor diy turns a kitchen splatter screen into a wreath form with a buffalo check twist. It is one of the cleverest dollar-store hacks around, and it costs about three dollars.
You need a round metal splatter screen, buffalo check ribbon or fabric, a hot glue gun, and a few faux leaves. The project costs about $3–$4.
Remove the handle from the splatter screen and wrap the outer rim with buffalo check ribbon, gluing as you go. Add a bow at the top and hot-glue a few faux leaves around the bottom edge. Hang it on the front door with a wreath hanger.
Tip: Choose a screen with a fine mesh — it holds the ribbon better and gives the wreath a cleaner, more finished look.
Variation: Swap the buffalo check for burlap ribbon and add tiny pumpkins for a softer, farmhouse version.
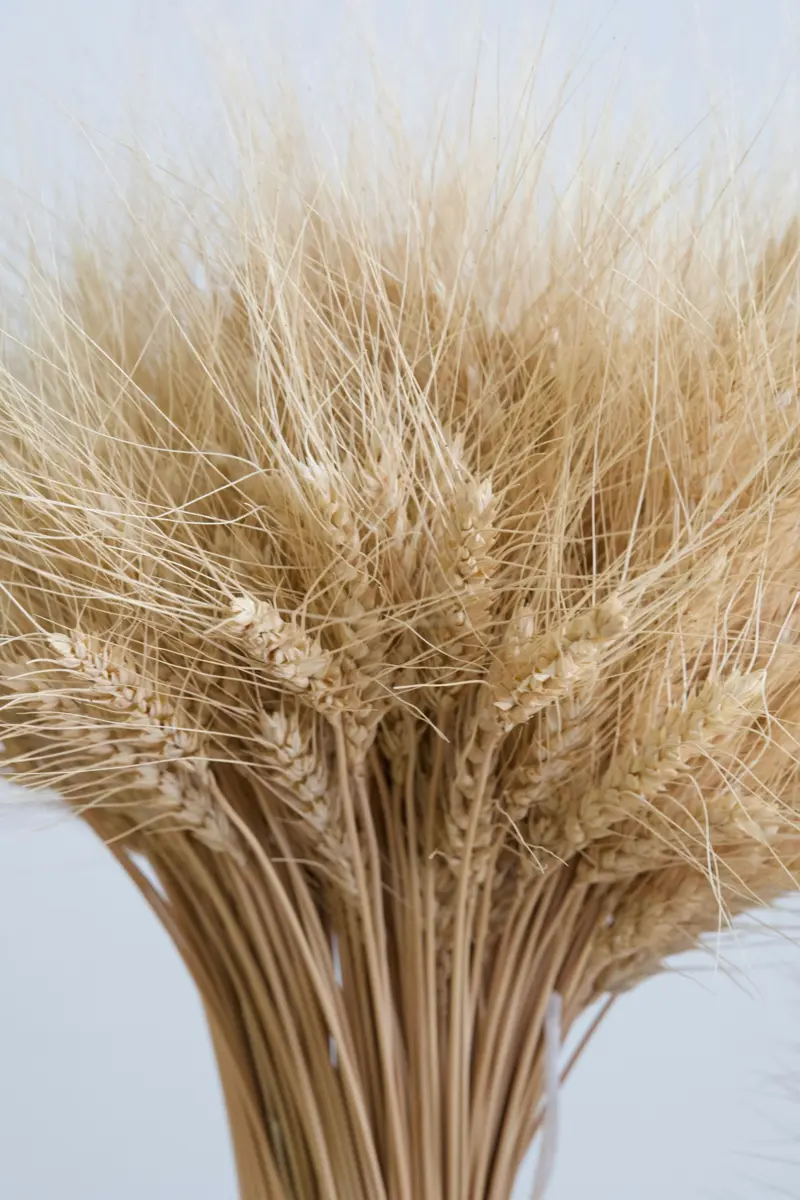
23. Simple Wheat Bundle Decor
This dollar tree thanksgiving decor diy is the definition of simple: a bundle of dried wheat tied with twine. It looks like it came from a country market, and it takes about two minutes to make.
You need dried wheat stalks, twine or ribbon, and scissors. A bundle costs about $2–$3, and one bag of wheat makes several bundles.
Gather a small bunch of wheat stalks and trim the ends even. Tie the bundle tightly in the middle with twine and trim the bow ends short. Stand it in a vase, lay it across a mantel, or tuck it into a basket.
Tip: Mix in a few stems of dried lavender or eucalyptus for a bundle with more color and scent.
Variation: Make three small bundles and tie them to the backs of dining chairs for a sweet, unexpected detail.
24. Gratitude Jar
This dollar tree thanksgiving decor diy turns a plain glass jar into the heart of your Thanksgiving. Family and guests write what they are thankful for on slips of paper, and you read them together after dinner.
You need a glass jar with a lid, cardstock cut into small slips, a pen, ribbon, and a small basket or bowl for the slips. The project costs about $2–$3.
Decorate the jar with ribbon and a simple tag that says “Grateful” or “Thankful”. Set the jar on a side table with the slips and pen beside it. Invite everyone to add a note during the day, then read them aloud after the meal.
Tip: Start the jar a week early and add one note a day yourself — by Thanksgiving it already feels full and meaningful.
Variation: Use a tall apothecary-style jar for the table centerpiece, or small individual jars as place-setting favors.

25. DIY Fall Leaf Tree Centerpiece
This dollar tree thanksgiving decor diy builds a small tree from foam cones and dollar-store leaves. It makes a charming centerpiece, and the whole project costs about twelve dollars even with two trees.
You need foam cones in two sizes, several bags of faux fall leaves, a hot glue gun, and a small pot or tray for the base. The project costs about $10–$12 for two trees.
Glue the leaves onto the cone starting at the bottom, overlapping each row like shingles. Work your way up to the tip, mixing leaf colors as you go. Set the finished trees on a tray with a few mini pumpkins around the base.
Tip: Use five or six bags of leaves per large cone — a sparse tree looks unfinished, while a full one looks lush and store-bought.
Variation: Make a single small tree for a side table, or a whole row of tiny trees as a mantel display.

26. Thanksgiving Placemat Pillow Cover
This dollar tree thanksgiving decor diy turns a festive placemat into a pillow cover in about ten minutes. It is the quickest soft-furnishing swap you will ever make, and it instantly says Thanksgiving on the sofa.
You need a Thanksgiving placemat with two stitched layers, a pillow insert that fits inside, and scissors. The project costs about $2–$3 per pillow.
Check that the placemat has two separate pieces of fabric stitched together around the edges. Cut one short side open, slide the pillow insert inside, and tuck the opening closed. Fluff the pillow and set it on the sofa or an armchair.
Tip: Choose a placemat with a bold autumn print — the bigger the pattern, the more it reads as a real pillow cover rather than a craft hack.
Variation: Make a pair in matching prints for the ends of the sofa, or one for every chair at the dining table.

Frequently Asked Questions
What Dollar Tree items work best for Thanksgiving decor?
Foam pumpkins, glass votives and vases, pizza pans, picture frames, jute twine, wooden beads, and faux fall leaves are the most useful finds. They are cheap, easy to paint or wrap, and they show up in almost every project in this list. Check the craft aisle first, then the seasonal aisle, since stock varies by store.
How do you make Dollar Tree decor look expensive?
Paint is the biggest upgrade — matte chalk paint, metallic spray paint, and textured finishes hide the dollar-store look instantly. Stick to a tight color palette of two or three shades, use natural materials like jute and wood, and group items in odd numbers. A little restraint goes further than a lot of glitter.
How much does it cost to decorate for Thanksgiving with Dollar Tree?
Most projects in this collection cost between three and ten dollars, and a whole room can be decorated for under fifty dollars. The priciest project here is the fall leaf tree centerpiece at about twelve dollars, while the gratitude jar and wheat bundles cost two or three dollars each.
Can you make a Thanksgiving centerpiece from Dollar Tree supplies?
Yes, and several ideas in this list work beautifully as centerpieces. The pizza pan tiered tray, the gilded pear centerpiece, and the hurricane vase with corn kernels are all built entirely from Dollar Tree supplies. For more table ideas, see our thanksgiving centerpiece ideas and our thanksgiving decorations table setting guides.
How early should you start your Dollar Tree Thanksgiving DIYs?
Start two to three weeks before Thanksgiving so you can shop twice — Dollar Tree stock sells out fast in November, and a second trip covers anything you missed. Paint and glue projects need drying time, so make those first. Save the ten-minute projects, like the framed printables, for the week of the holiday.
Conclusion
You do not need a big budget to make Thanksgiving feel special. With a few Dollar Tree finds, some paint, and an evening or two, you can fill your home with handmade pieces that look far more expensive than they are. Start with the project that caught your eye first, then add one or two more each evening until the whole house feels ready.
If you want even more table inspiration, browse our fall mantel decor ideas for the fireplace, and check The Spruce’s 39 DIY Thanksgiving decor ideas for extra projects that cost almost nothing. Hunker’s Dollar Tree Thanksgiving centerpiece is another great source if you want one more table idea before the big day.
Save this post to Pinterest so you can find it again when the shopping list is in your hand — and when your guests ask where you found such beautiful decor, you can just smile and say you made it yourself.
Leave a Reply