24 Pumpkin Carving Ideas: Classic + No-Carve
Every October, the humble pumpkin becomes the canvas for your best Halloween ideas — and this year, the options for pumpkin carving ideas go far beyond the classic toothy grin. Whether you love the satisfying scrape of a carving saw, or you’d rather skip the mess entirely with paint and glitter, there’s a design here for every skill level.
Carved pumpkins last about a week to ten days, so plan to do your carving the weekend before Halloween (it’s Saturday, October 31 in 2026), while no-carve pumpkins can be made weeks ahead and reused year after year. Below you’ll find 24 genuinely different designs — classic carved faces, clever silhouettes, drilled light patterns, and a whole set of kid-safe no-carve looks — each with realistic costs, simple how-to steps, and one practical tip to make it turn out right the first time. Grab your pumpkin and pick your favorites.
1. Classic Triangle-Eyed Jack-o’-Lantern Pumpkin Carving Idea
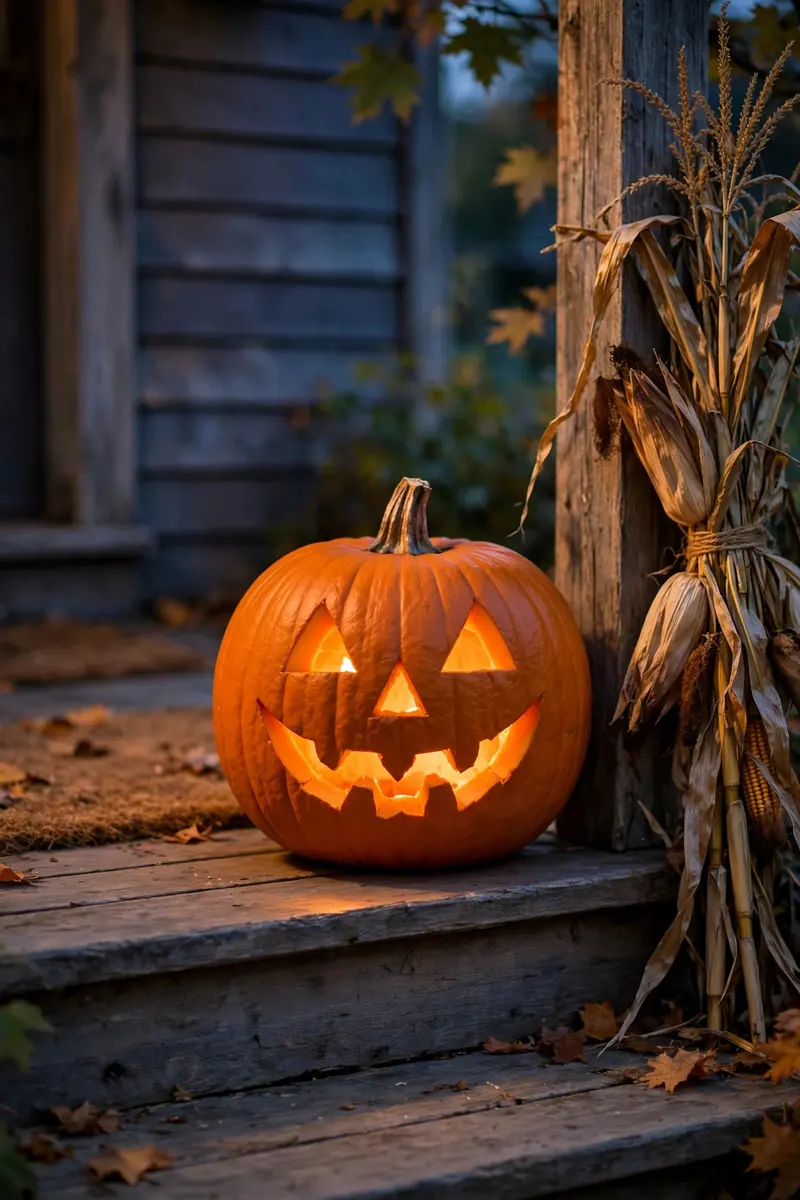
The original pumpkin carving idea never goes out of style: two triangle eyes, a nose, and a big jagged grin, glowing from within on a dark October night. It works because the bold, simple shapes read perfectly from the street — no fine detail required, and it lights up beautifully with an LED tea light. This is the design that makes passersby slow down.
Materials + cost: one medium pumpkin ($4–$8), pumpkin carving kit or serrated knife ($0 if you own one, $8–$12 for a kit), washable marker ($2), LED tea light ($1). Total: under $10.
Draw your face on first with the marker — triangles for the eyes, a small triangle nose, and a wide smile with 3–4 square teeth. Cut the lid at an angle (so it doesn’t fall in), scoop everything out with a sturdy spoon until the walls are about an inch thick, then saw out the face along your lines. Push the cut pieces out gently from the inside.
Tip: Angle your lid cut. Cutting the lid at a 45-degree angle inward creates a ledge that keeps it from slipping inside the pumpkin later.
Variation: Make it a family — carve three pumpkins with happy, surprised, and grumpy faces for a porch trio.
2. Friendly Ghost Pumpkin Carving Design
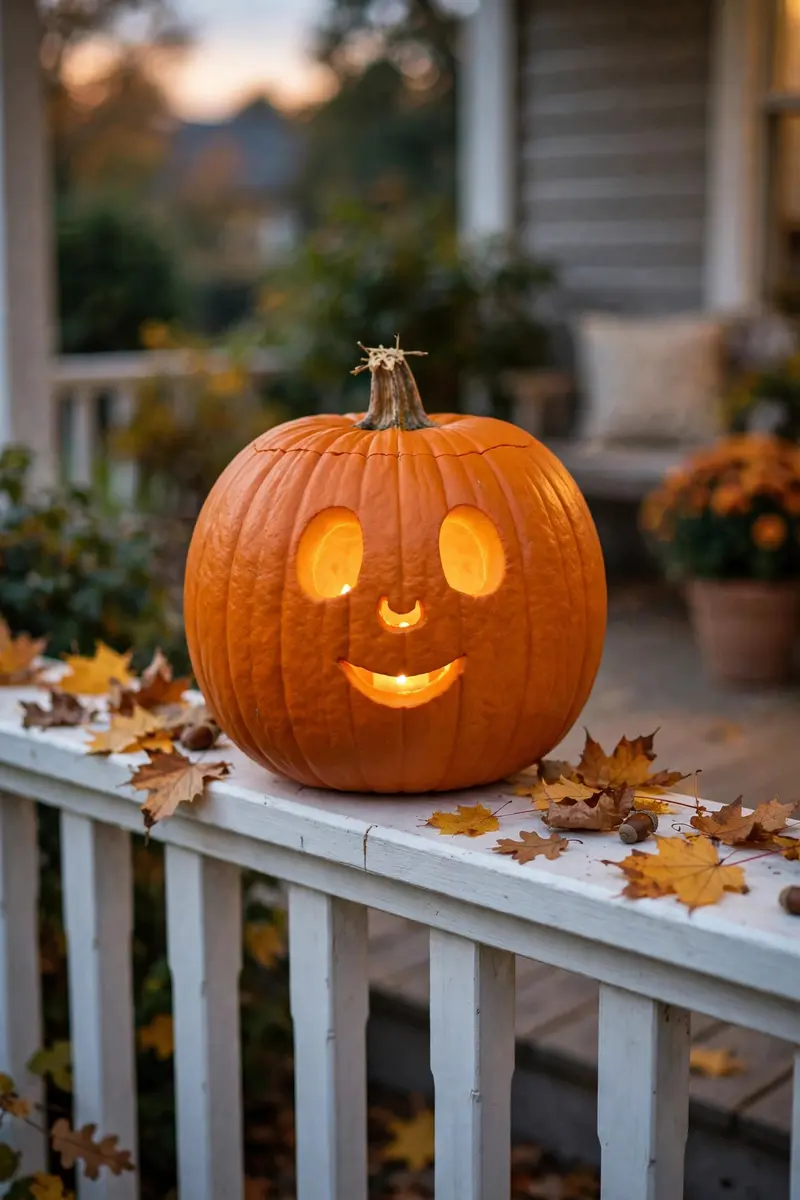
Not every Halloween design has to be scary. This pumpkin carving idea is a sweet, smiling ghost cutout that glows softly — perfect if little kids are nervous about spooky decorations, and it only takes about 30 minutes. The large, simple shapes make it one of the easiest carves on this list.
Materials + cost: one round pumpkin ($4–$7), carving tools, marker, LED candle ($1). Total: under $10.
Sketch a rounded ghost body with a wavy bottom edge, then add two oval eyes and a small open-mouth oval. The trick: keep the ghost large so the cuts are broad and forgiving. Cut out the ghost shape entirely — the negative space is the design — then thin the inside walls behind the ghost so light floods through. Set the LED candle slightly forward so the ghost face glows evenly.
Tip: Keep cutouts chunky. Thin bridges of pumpkin between carved areas are the first to collapse — make all connections at least an inch wide.
Variation: Add a tiny pumpkin “baby ghost” beside it with just eyes and a mouth.
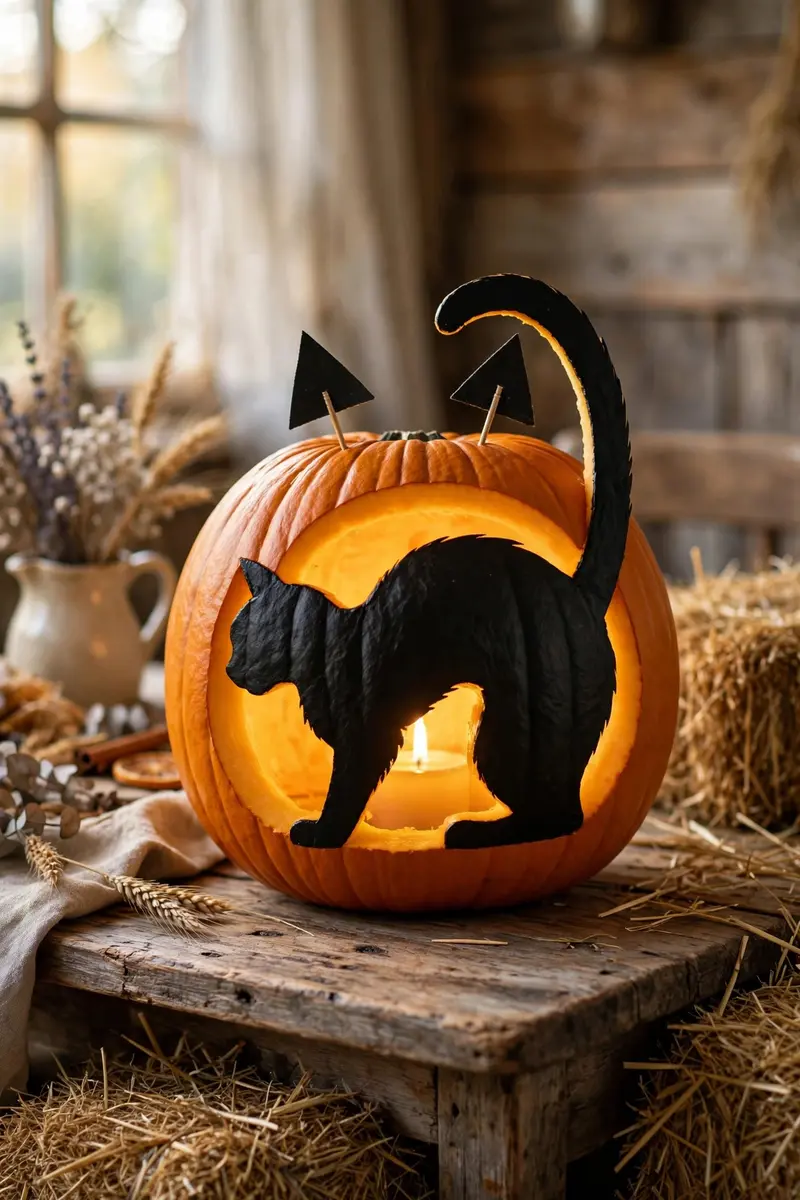
3. Black Cat Silhouette
A black cat with an arched back and tall ears is one of the most striking silhouettes you can carve — and when it’s lit from inside, the glowing outline looks like it’s slinking across your porch. Silhouette designs look impressive but are surprisingly beginner-friendly because you’re cutting one big shape, not details.
Materials + cost: one large round pumpkin ($5–$9), printed cat silhouette template (free online) or a steady hand, tape, toothpicks, carving saw. Total: under $10.
Tape the template to your pumpkin and pierce the outline with a toothpick, dotting every quarter inch. Remove the paper, connect the dots with marker, and carve the cat shape. Cut two small triangles from the ear scraps, and attach them to the top with toothpicks angled inward for dimensional ears. Whiskers can be drawn with marker — they read perfectly in daylight.
Tip: Thin the wall behind the silhouette. Scrape the inside wall opposite your design to about half an inch so the cat shape glows bright and crisp.
Variation: Surround the cat with small carved stars or a crescent moon on the same pumpkin.
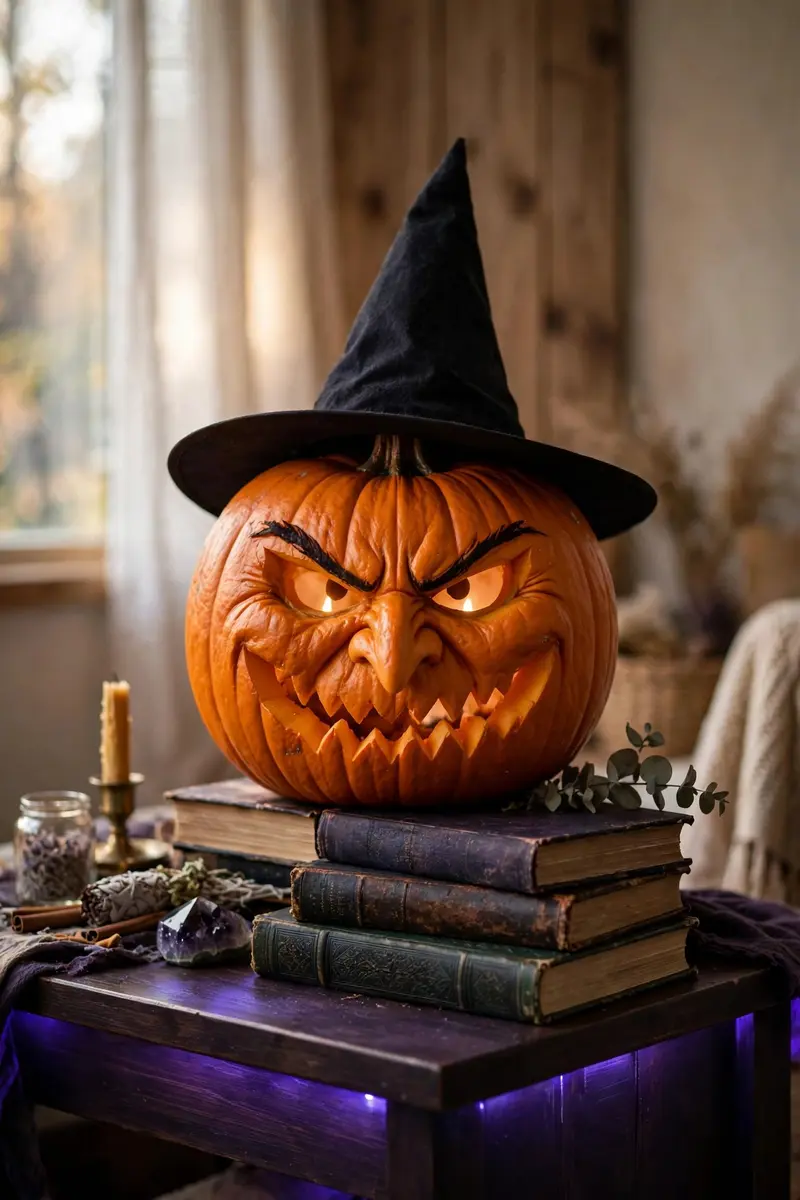
4. Witch Face With Hat
Give your pumpkin real personality with a carved witch face — dramatic arched eyebrows, a crooked nose, and a warty chin — then crown it with an actual witch hat perched on top. The 3D hat adds height and drama that flat carves can’t match, and kids absolutely love it. If you’re building a full Halloween look around your pumpkins, our dollar tree halloween decor diy ideas has plenty of budget-friendly pieces to surround them with.
Materials + cost: one tall pumpkin ($5–$9), witch hat from a dollar store ($1–$3), carving tools, LED light. Total: under $12.
Carve an expressive face: arched triangle eyebrows, a long hooked nose, a wide smirking mouth with one tooth. Keep the top of the pumpkin uncarved (cut your access hole in the back or bottom instead) so the hat sits flat. Wedge the hat on and add a strand of orange fairy lights around the brim for a magical glow.
Tip: Cut the lid from the bottom. A back or bottom access hole keeps the stem and hat display intact — and the hat hides the lid seam completely.
Variation: Pair with a smaller “apprentice” pumpkin wearing a mini party hat.
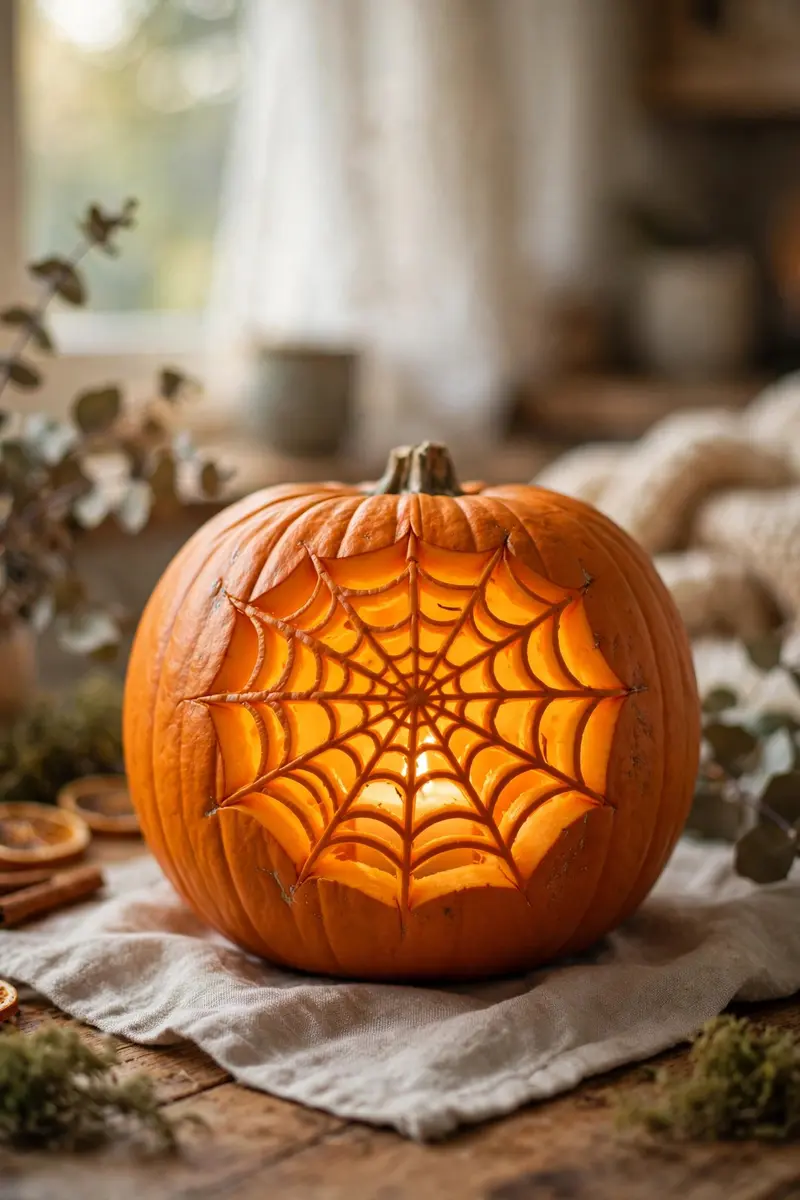
5. Spider Web Carve
A spider web radiating across your pumpkin looks intricate and spooky, but it’s really just straight lines and connecting arcs — no artistic talent needed. When lit, the web pattern throws dramatic shadows, and it’s the perfect carve for a gothic or elegant Halloween look rather than a goofy one.
Materials + cost: one smooth, round pumpkin ($4–$8), ruler or flexible tape, marker, small carving saw or linoleum cutter, LED light. Total: under $10.
Draw a small circle at the center, then draw 8 straight lines radiating out like wheel spokes. Connect the spokes with curved arcs, working from the center outward. Carve the arcs (not the spokes) for the classic web look — or carve the spokes and leave the arcs raised for a reverse design. Add a plastic spider dangling from a string tied to the stem.
Tip: Sketch lightly first. Draw the web with a dry-erase marker so you can wipe mistakes clean with a damp cloth before committing.
Variation: Carve a tiny web in the corner of a larger pumpkin and leave the rest plain for a minimalist look.
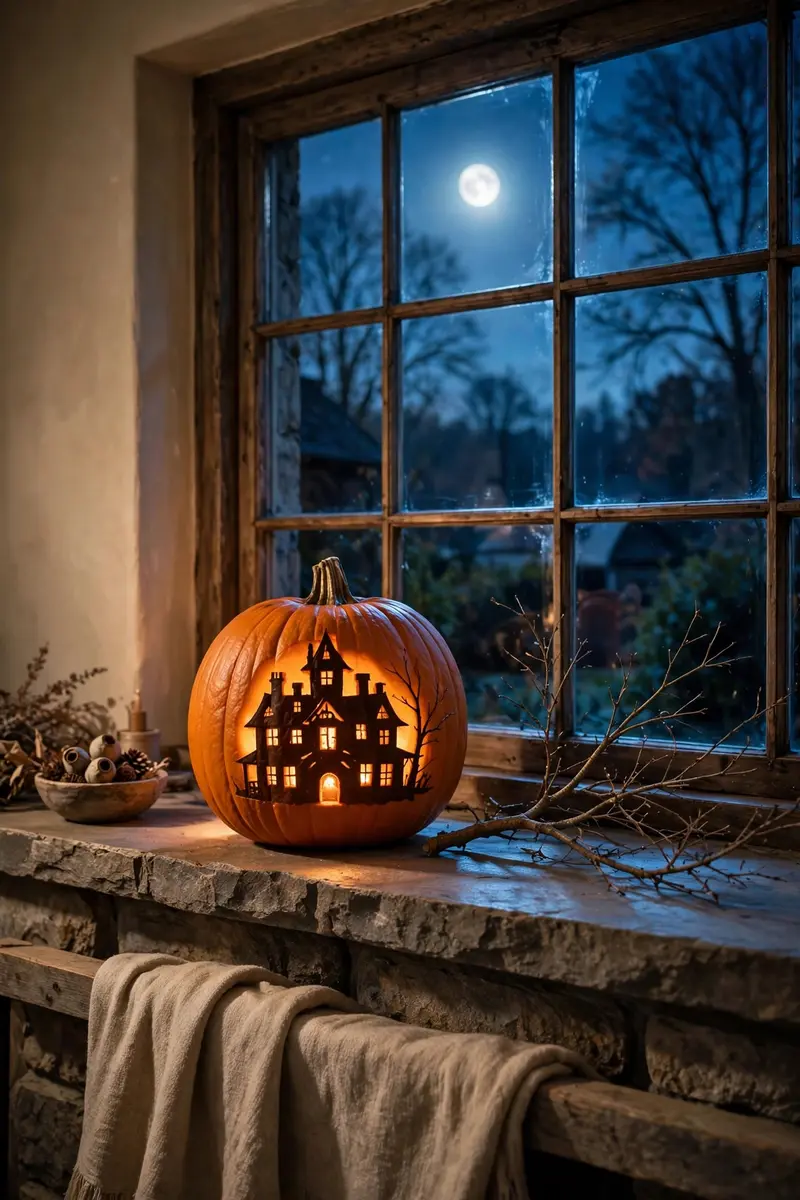
6. Haunted House Silhouette
A haunted house with crooked windows and a jagged roofline is the Halloween silhouette that stops traffic. The tiny windows glow like they’re lit from inside the house, and the whole scene reads as one cohesive piece of art — it’s the design people photograph.
Materials + cost: one large pumpkin ($6–$10), haunted house template (free printables online), tape, carving saw, fine detail tool, LED lights. Total: under $12.
Transfer a haunted house outline with dead trees and a fence. Carve the main house shape first, then carefully cut the tiny windows — these are the fiddly part, so work slowly. A battery-operated string of fairy lights coiled inside gives a warmer, more even glow than a single tea light for a scene this detailed.
Tip: Backlight with fairy lights, not a candle. A string of 20 tiny LEDs spread inside lights every window evenly — one point of light leaves the corners dark.
Variation: Add a carved crescent moon above the house for a complete night scene.
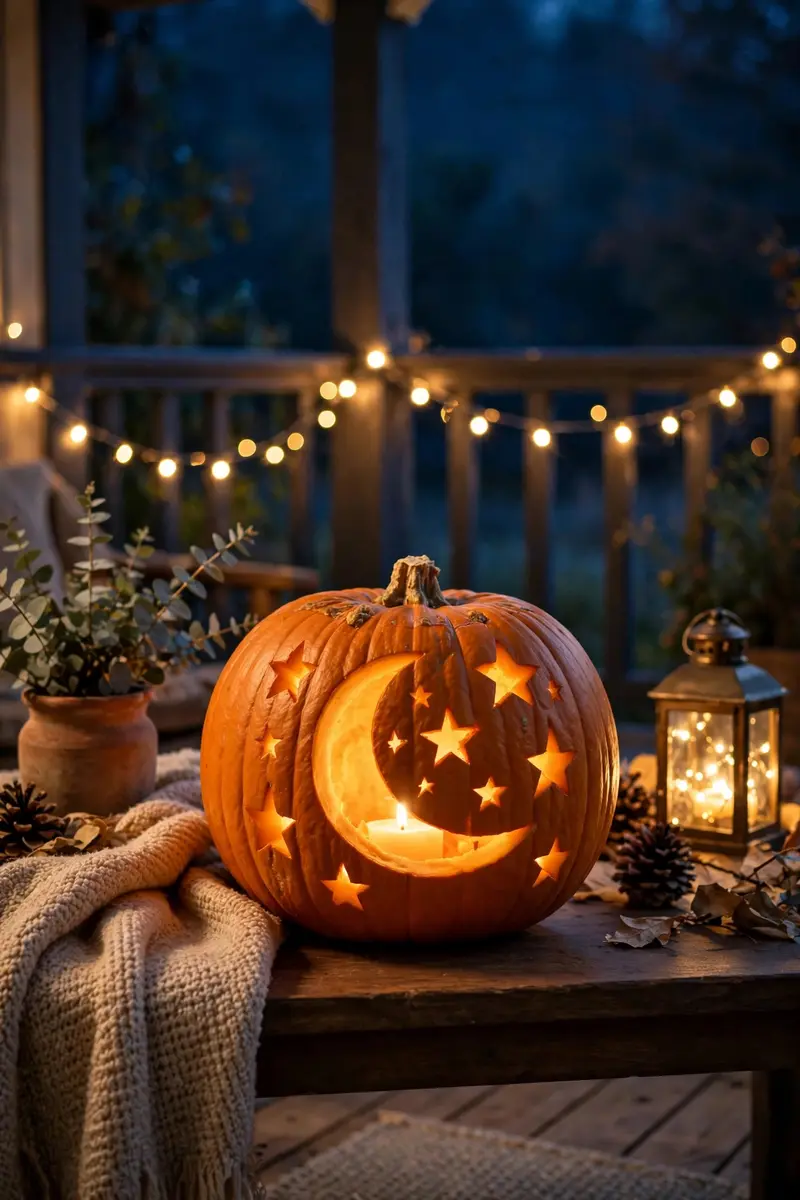
7. Crescent Moon and Stars
For a dreamy, celestial Halloween look, carve a crescent moon surrounded by scattered stars. It’s elegant rather than scary — beautiful on a mantel or entryway — and the small star cutouts create a gorgeous starfield effect when the light shines through.
Materials + cost: one round pumpkin ($4–$8), star-shaped cookie cutters in 2–3 sizes ($3–$5) or a template, marker, carving tools, LED light. Total: under $12.
Draw a large crescent moon, then dot stars of different sizes around it. Use cookie cutters as tracing guides for perfect star shapes, then carve along the lines. Vary the star sizes for a natural scattered look. Thin the wall behind the moon so it glows brightest as the centerpiece.
Tip: Use cookie cutters as guides. Pressing a metal star cutter lightly into the skin leaves a perfect outline to trace — no freehand drawing required.
Variation: Paint the pumpkin deep navy first and carve the moon and stars through the paint for a midnight-sky effect.
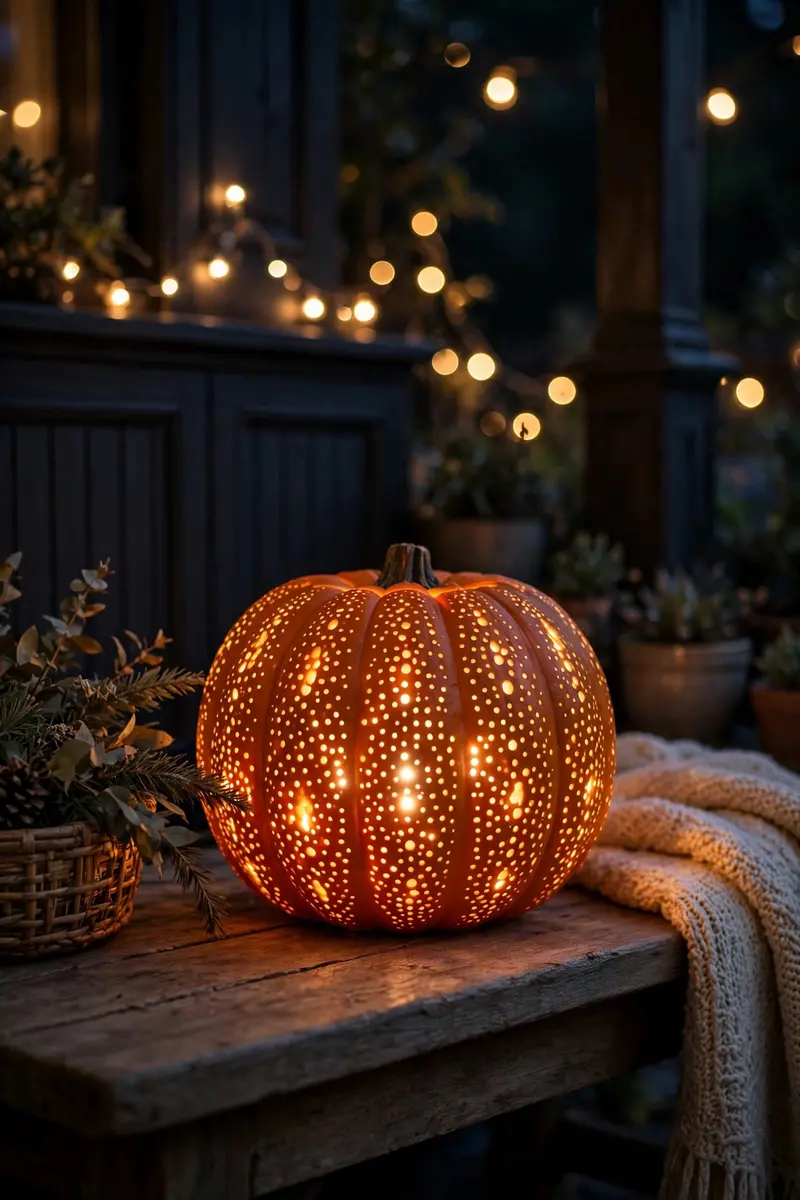
8. Drilled Polka-Dot Lantern
Put down the knife and pick up a power drill: this trending pumpkin carving idea creates a stunning lantern covered in glowing dots. It’s one of the fastest carved designs (about 20 minutes), there’s almost no mess, and the result looks like an expensive Moroccan lantern when lit.
Materials + cost: one pumpkin of any size ($3–$8), power drill with 3–4 bit sizes, painter’s tape (optional), LED light. Total: $0 extra if you own a drill.
Mark a loose grid with a marker or just eyeball it — perfect spacing isn’t the goal. Drill straight through the wall, varying the bit sizes: big dots, medium dots, tiny dots. The varied sizes create a beautiful bokeh-like glow. Shake out the pulp bits, pop in an LED, and you’re done. No gutting required if you drill small enough holes — the inside stays mostly intact.
Tip: Drill from the outside in, slowly. Let the bit do the work; pushing hard cracks the skin. A slow speed with light pressure gives clean holes.
Variation: Drill a constellation pattern (Big Dipper, Orion) for a nerdy-cute twist.
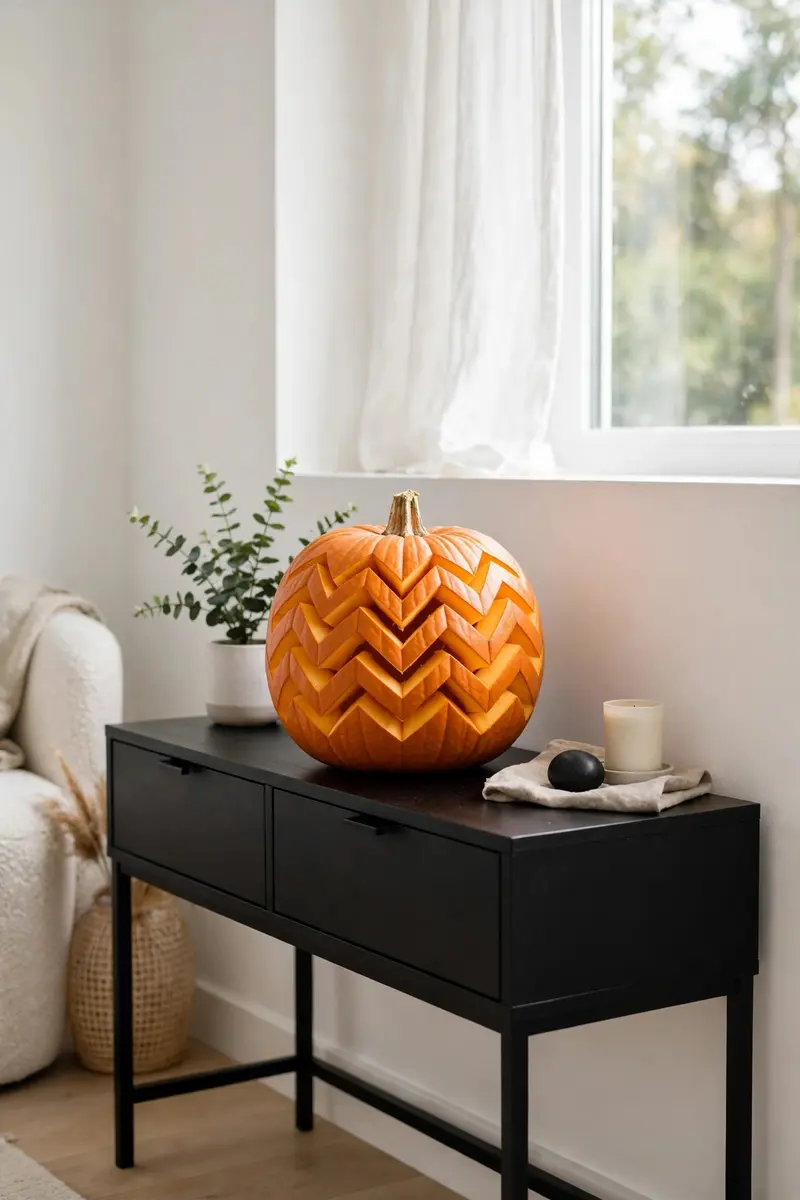
9. Modern Geometric Chevron Pumpkin
If your Halloween style leans modern rather than spooky, this geometric design is for you: bold chevron stripes or diamond facets carved in clean straight lines. It looks architectural and expensive, photographs beautifully in daylight, and takes under an hour because there are no curves to fight.
Materials + cost: one smooth round pumpkin ($4–$8), ruler, marker, carving saw, LED light. Total: under $10.
Draw three or four V-shaped chevron stripes across the pumpkin face with a ruler, keeping them evenly spaced. All cuts are straight lines — saw along each stripe and push the pieces out. The clean diagonal stripes of light glow beautifully at night, and in daylight the negative-space pattern looks like modern art. For more budget-friendly seasonal projects, browse our diy home decor ideas on a budget.
Tip: Let imperfections read as handmade. Slightly uneven lines look intentional and artisanal on geometric designs — don’t chase perfection.
Variation: Try a honeycomb lattice — draw a hexagon grid, cut every other hexagon, leave the rest solid.
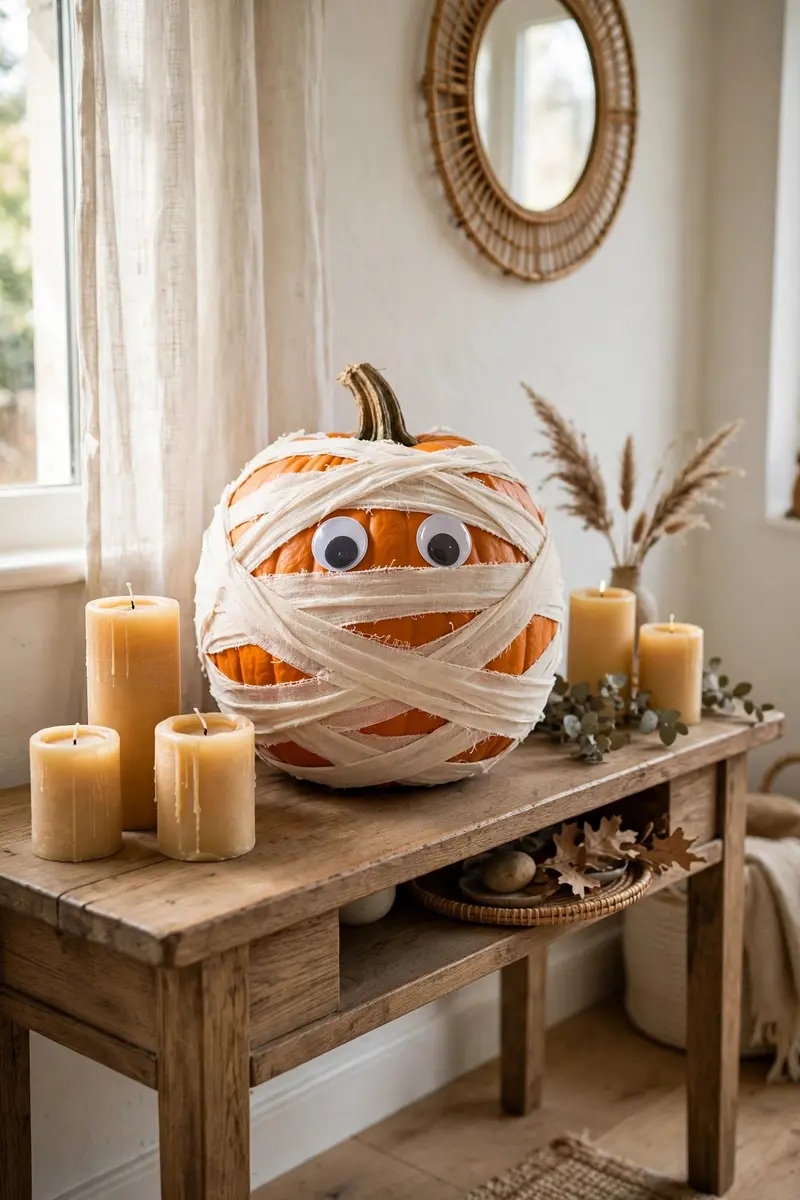
10. No-Carve Mummy Pumpkin
This kid-safe favorite skips the knife completely: wrap a pumpkin in gauze bandages and add googly eyes for an instant mummy. It’s hilarious, takes 15 minutes, costs almost nothing, and the pumpkin stays intact so it lasts for weeks.
Materials + cost: one pumpkin ($3–$7), roll of white gauze or torn white fabric strips ($2–$3), googly eyes ($1), hot glue gun. Total: under $10.
Wrap the pumpkin loosely with gauze strips, overlapping as you go and securing with dabs of hot glue. Leave a gap near the top for two big googly eyes (or three for extra comedy). The messier the wrap, the better the mummy looks — this one rewards sloppiness.
Tip: Leave the stem exposed. The stem poking out of the bandages like a little tuft of hair makes the mummy ten times funnier.
Variation: Make a whole mummy family in different sizes — the tiny ones are irresistible.
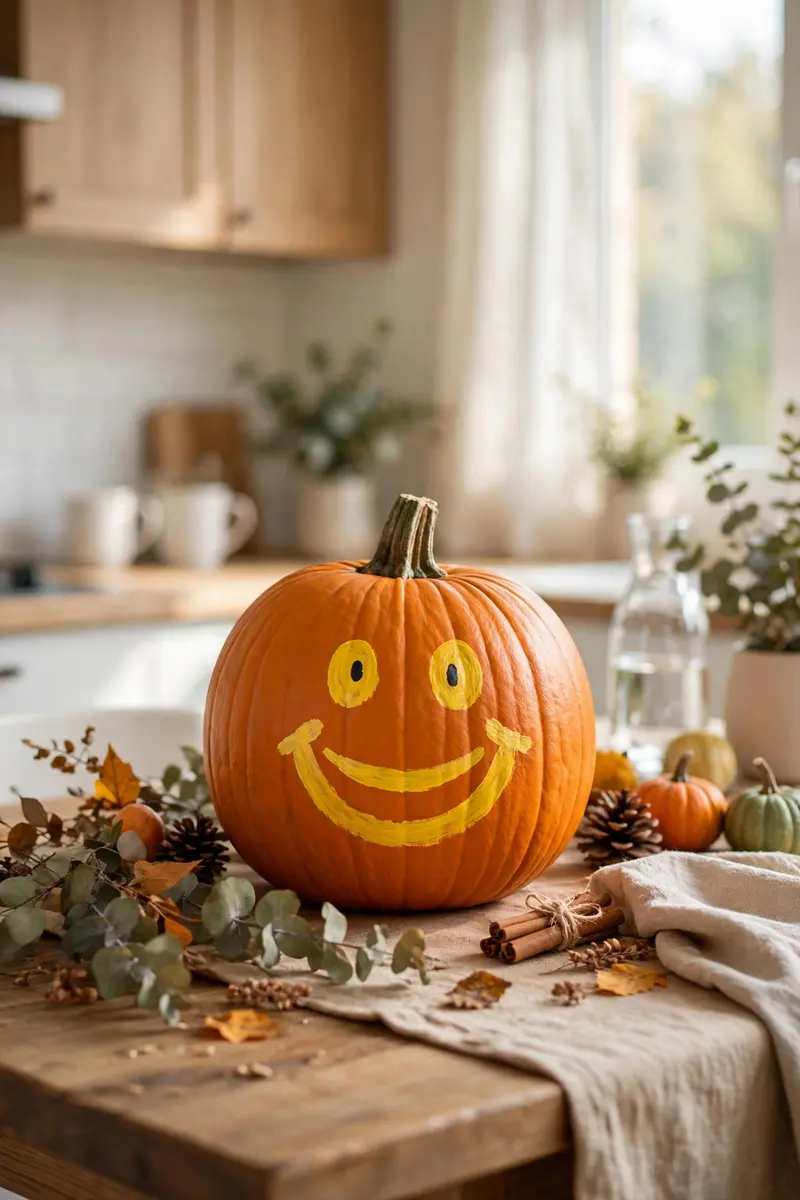
11. No-Carve Emoji Pumpkin
Turn your pumpkin into a giant emoji with nothing but paint and a marker — zero carving, zero mess, and kids can do the whole thing themselves. It’s bright, funny, and unmistakably 2026, and it photographs perfectly for your Halloween posts.
Materials + cost: one smooth pumpkin ($3–$7), yellow acrylic paint ($2–$3), black paint pen or Sharpie ($2). Total: under $10.
Paint the whole pumpkin yellow (two thin coats, letting each dry) for the classic emoji base. Then draw your favorite emoji face: heart eyes, laughing-crying, the cool sunglasses face. A paint pen gives cleaner lines than a brush for the features. Seal with a clear matte spray if it’ll sit outside.
Tip: Two thin coats beat one thick one. Thin paint dries faster and won’t drip down the pumpkin’s ribs — patience pays off here.
Variation: Paint a row of three small pumpkins as different emojis for a whole conversation.
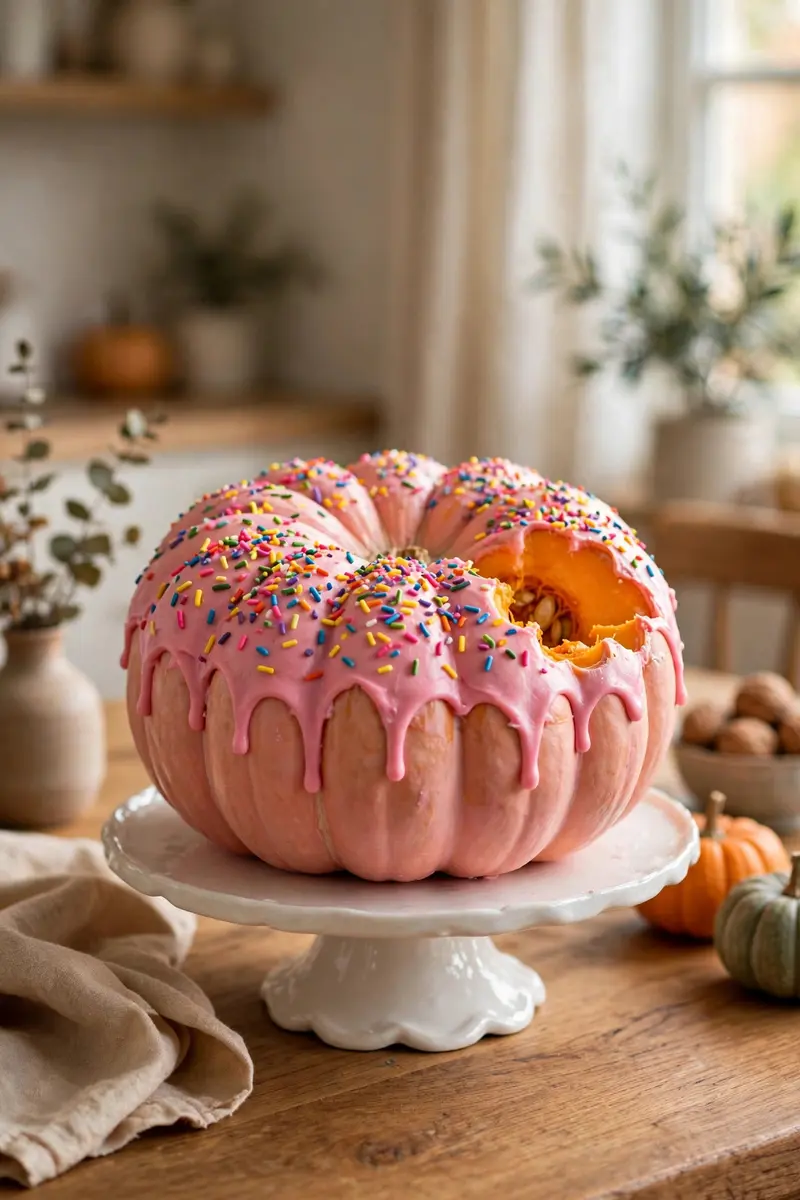
12. No-Carve Donut Pumpkin Decorating Idea
This Pinterest-famous no-carve pumpkin decorating idea is pure sweetness: paint a pumpkin to look like a giant frosted donut with sprinkles. It’s a huge hit with kids, doubles as adorable party decor, and you never touch a knife.
Materials + cost: one round pumpkin ($3–$7), pink acrylic paint ($2), multicolored sprinkle confetti or painted dots ($2–$3), paintbrush. Total: under $10.
Paint the top two-thirds of the pumpkin pink for the frosting, letting it drip naturally over the orange “dough” — the drip edge is the whole charm. While the pink is tacky, press on real sprinkles or paint tiny dashes in rainbow colors with the end of a paintbrush. Done in under an hour including drying time.
Tip: Paint the frosting edge freehand. A perfectly straight frosting line looks fake — wavy, drippy edges are what sell the donut illusion.
Variation: Go chocolate frosting with white sprinkles, or mint frosting with chocolate chips.
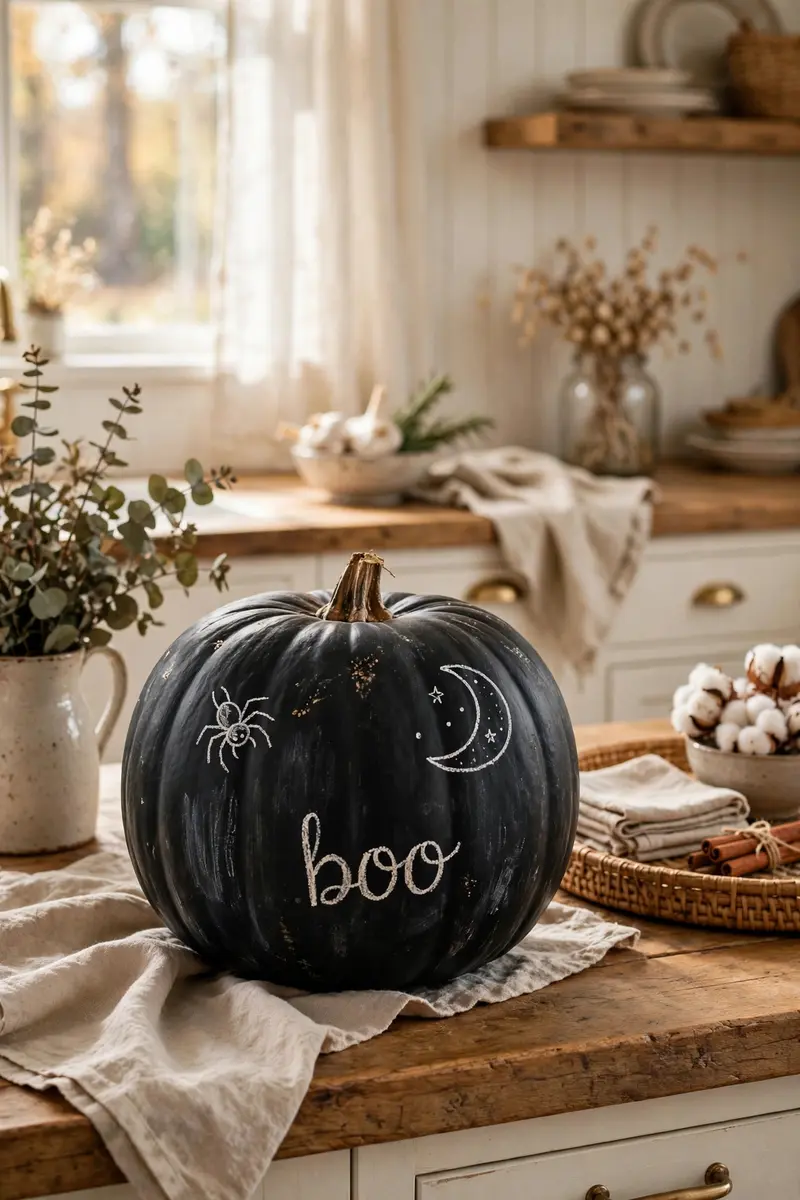
13. No-Carve Chalkboard Pumpkin
A chalkboard pumpkin is the most practical no-carve idea on this list: spray it black once, then redraw the design with chalk all season long. Spooky message for the party, cute countdown for the kids, funny quote for the neighbors — one pumpkin, endless designs.
Materials + cost: one pumpkin ($3–$7), chalkboard spray paint ($5–$7), chalk or chalk markers ($2–$3). Total: under $15.
Wipe the pumpkin clean and spray with chalkboard paint in light, even coats (two or three, drying between). Once cured for 24 hours, “season” the surface by rubbing chalk all over and wiping off — this prevents ghosting. Then draw whatever you like: spider webs, a countdown, “boo!”, your house number for trick-or-treaters.
Tip: Season the chalkboard surface first. Skipping the rub-and-wipe step leaves faint ghost images of your first drawing forever.
Variation: Use a white mini pumpkin with black chalk marker for an inverted, high-contrast look.
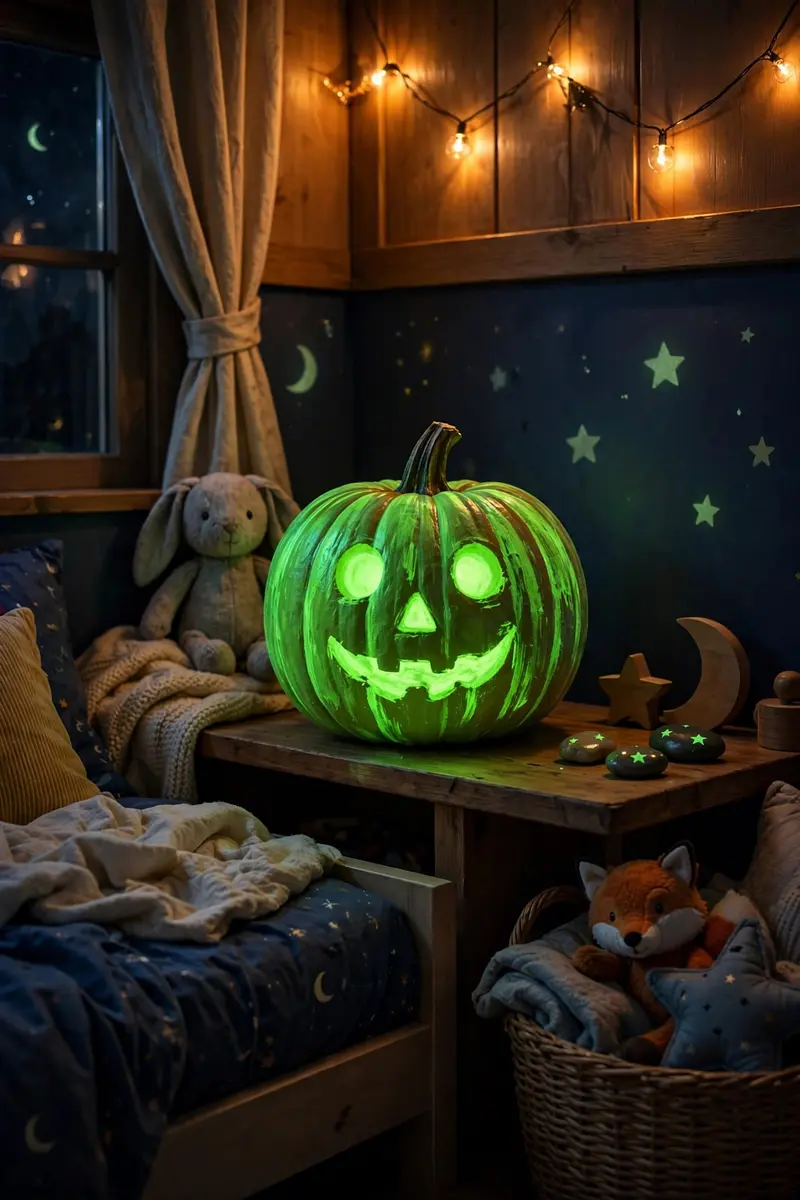
14. Glow-in-the-Dark No-Carve Pumpkin
For maximum nighttime impact with zero carving, paint a pumpkin with glow-in-the-dark paint. By day it’s a subtle pastel pumpkin; after dark it glows an eerie green that makes trick-or-treaters gasp. It’s the easiest wow-factor on this list.
Materials + cost: one white or light pumpkin ($3–$8), glow-in-the-dark acrylic or puffy paint ($4–$6). Total: under $12.
Paint your design — swirls, stars, a spooky face, or just full coverage — with glow paint. It needs a few coats to glow brightly, and it “charges” in daylight or under a lamp. White pumpkins glow brightest since the light color shows through. Place it where it gets dark — beside the front steps is perfect.
Tip: Charge it under a bright lamp. Ten minutes under a strong light before dark gives you hours of glow — sunlight works, but a lamp right before dusk is more reliable.
Variation: Paint only the face with glow paint on a dark-painted pumpkin for a floating-face effect.
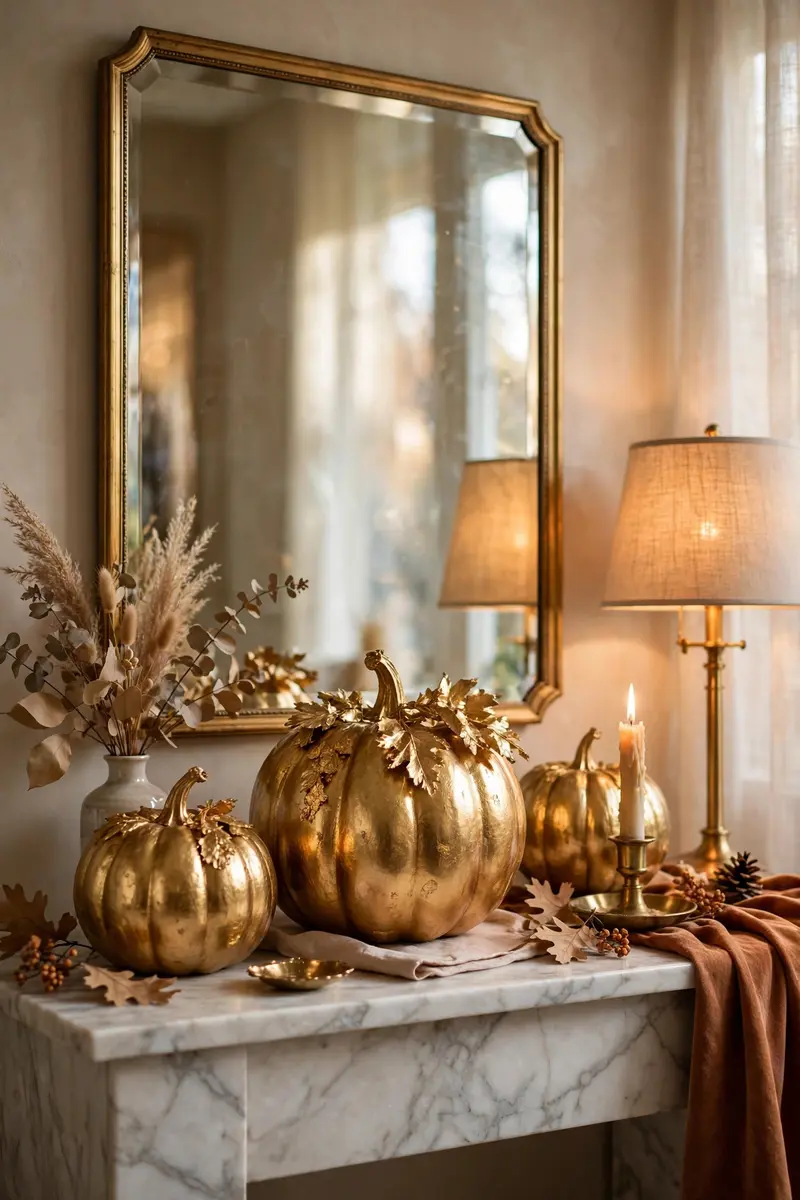
15. Gilded Gold-Leaf Pumpkin
For an elegant Halloween that skips the spooky entirely, gild a pumpkin with gold leaf. It looks like a $40 boutique decor piece, catches candlelight beautifully, and fits right into a glam or neutral fall display — no carving, no mess, all class.
Materials + cost: one smooth pumpkin (faux lasts longest, $5–$12), gold leaf sheets ($5–$8), decoupage glue or Mod Podge ($3). Total: under $20.
Brush glue onto sections of the pumpkin, lay gold leaf sheets over them, and gently press with a soft dry brush. The leaf tears and wrinkles — that’s fine, the patchwork texture is the look. Brush off the excess. Cover the whole pumpkin or just the top half for a dipped effect.
Tip: Work in small sections. Gold leaf sticks to anything slightly tacky — including your fingers — so glue, leaf, and brush off one patch at a time.
Variation: Try copper or silver leaf for a mixed-metallic cluster of three.
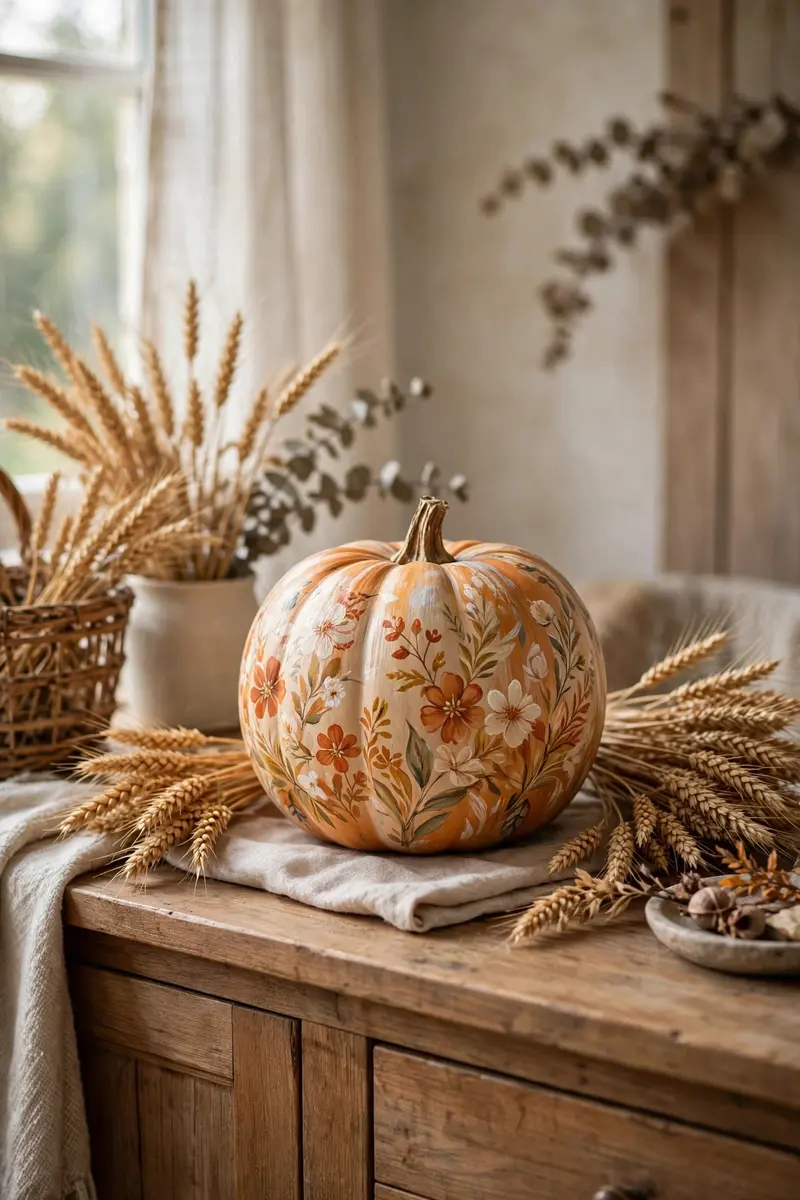
16. Painted Floral Pumpkin
Hand-paint simple autumn florals on a pumpkin for a harvest look that’s beautiful from September through Thanksgiving — no Halloween required. It doubles as fall decor long after October 31, which makes it the hardest-working pumpkin on this list.
Materials + cost: one pumpkin in any color ($3–$8), acrylic paints in autumn tones ($5–$8 for a set), small detail brushes ($3). Total: under $15.
Paint a base color if you like (cream and sage are gorgeous), then add simple flowers: five-petal blossoms, leaves, and vines in burnt orange, mustard, and burgundy. The designs don’t need to be perfect — loose, folk-art style flowers look charming and intentional. For even more painted-pumpkin inspiration, Apartment Therapy’s roundup of 30 painted no-carve pumpkin ideas is full of fresh takes. Seal with matte spray for outdoor use.
Tip: Start with the leaves, then the flowers. Painting background leaves first gives your blossoms something to sit on and instantly looks more professional.
Variation: Paint white pumpkins with eucalyptus sprigs in sage green for a modern farmhouse look.
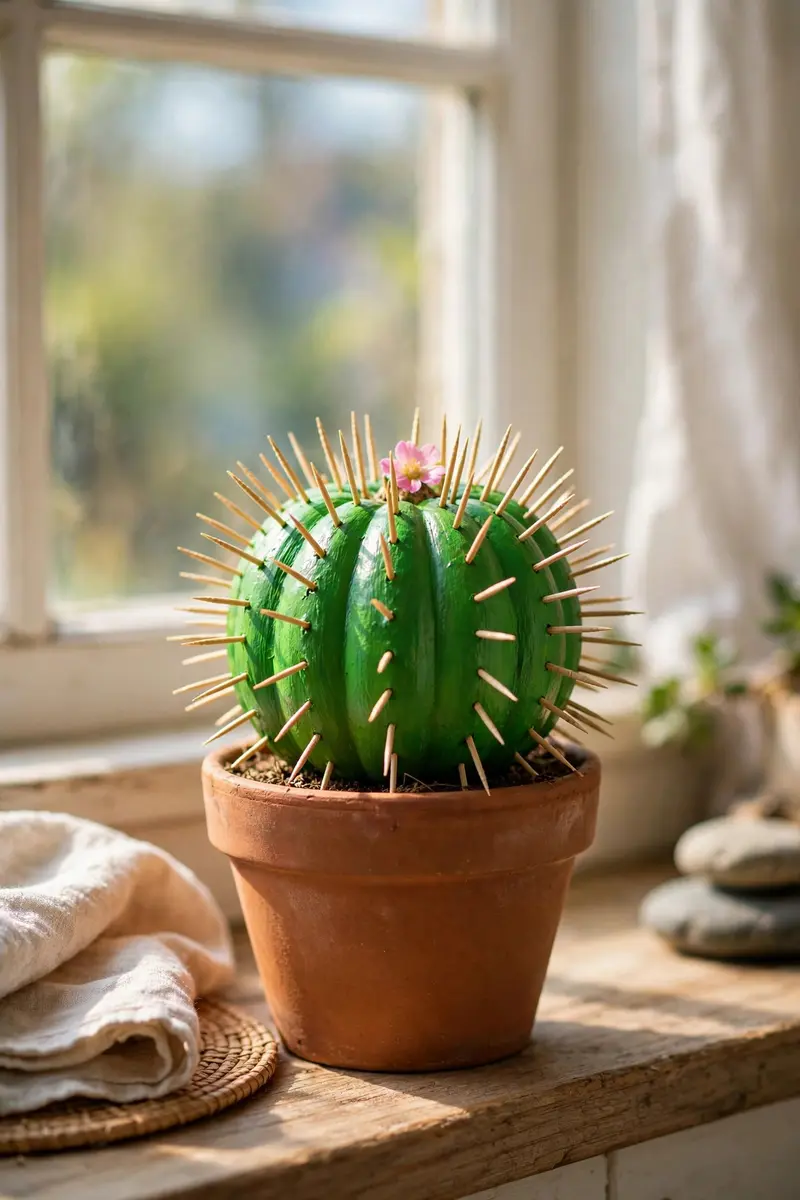
17. No-Carve Cactus Pumpkin
This one’s pure fun: paint a pumpkin green, add toothpick spines, and top it with a tiny flower for an adorable prickly-pear cactus. Kids love it, it’s completely knife-free, and it stands out in a sea of orange jack-o’-lanterns.
Materials + cost: one tall oval pumpkin ($3–$7), green acrylic paint ($2), toothpicks ($1), small faux flower ($1), hot glue. Total: under $10.
Paint the pumpkin green (two coats) and let it dry completely. Push toothpicks in at slight angles all over for spines — short ones, and supervise little kids since the points are sharp. Hot-glue a small pink or yellow flower on top. Display it in a terracotta pot with the stem tucked in for the full cactus illusion.
Tip: Cut toothpicks in half. Full-length toothpicks look spindly; half toothpicks give that dense, realistic cactus-spine look.
Variation: Paint stripes on the green for a barrel cactus, or add tiny arms with smaller green pumpkins.
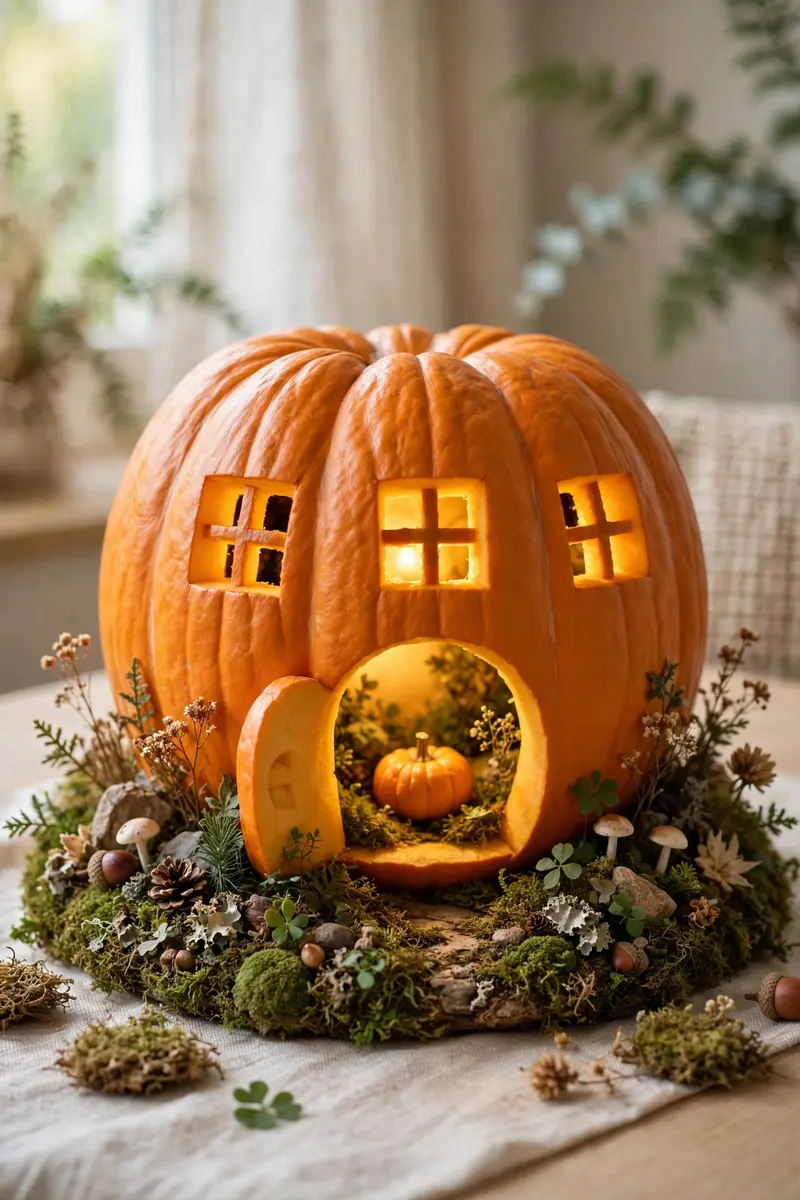
18. Carved Pumpkin House
Cut windows and a door into a pumpkin to create a tiny glowing house — then tuck a mini pumpkin “resident” inside. It’s the most charming carve on this list, kids are obsessed with it, and the warm light spilling from the windows is pure magic at night.
Materials + cost: one large pumpkin ($5–$9), one mini pumpkin ($1–$2), carving tools, LED fairy lights ($2). Total: under $12.
Cut four square windows and one arched door. Save the cut-out pieces — the door piece becomes a little stairway leaning against the opening. Draw a face on the mini pumpkin with a Sharpie and set it inside the “house.” Coil fairy lights inside for a warm, even glow through every window.
Tip: Save your cut-outs. The window and door pieces become shutters, steps, and a chimney — free details that make the house look finished.
Variation: Add a thatched roof look by hot-gluing raffia around the top.
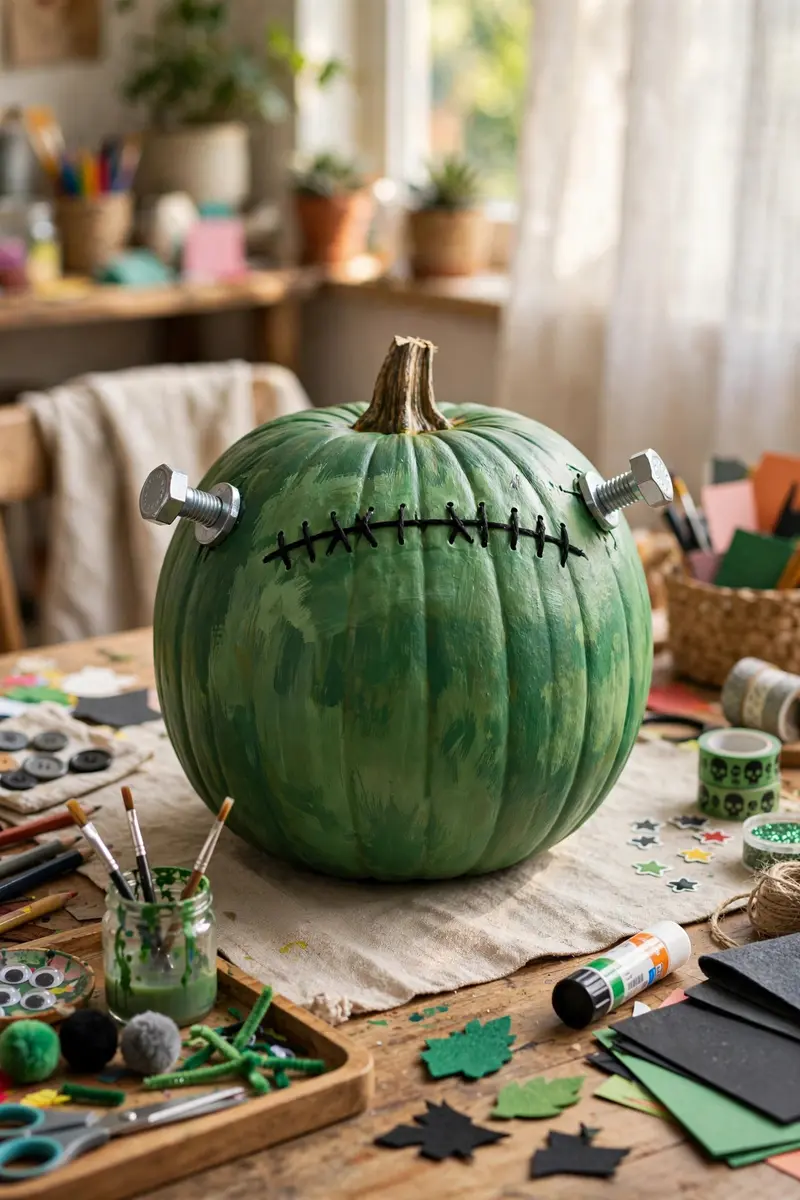
19. Frankenstein Pumpkin
A green-painted Frankenstein pumpkin with a stitched forehead and bolt details is the friendliest monster on the block. It’s mostly paint with a little carving (or none at all), so it’s perfect for kids who want a monster without the scary.
Materials + cost: one pumpkin ($3–$7), green acrylic paint ($2), black paint pen ($2), two large gray bolts or painted wine corks ($2), hot glue. Total: under $10.
Paint the pumpkin green and let it dry. Draw a flat-top hairline, stitched X’s across the forehead, and heavy-lidded eyes with the paint pen. Hot-glue a bolt (or painted cork) on each side of the “head.” Optionally carve a simple square-toothed mouth, or just paint it.
Tip: Paint the mouth instead of carving it. A painted toothy grin on Frankenstein looks cleaner than a carved one and keeps the pumpkin intact for weeks.
Variation: Make a Bride of Frankenstein with white-painted hair streaks and long lashes.
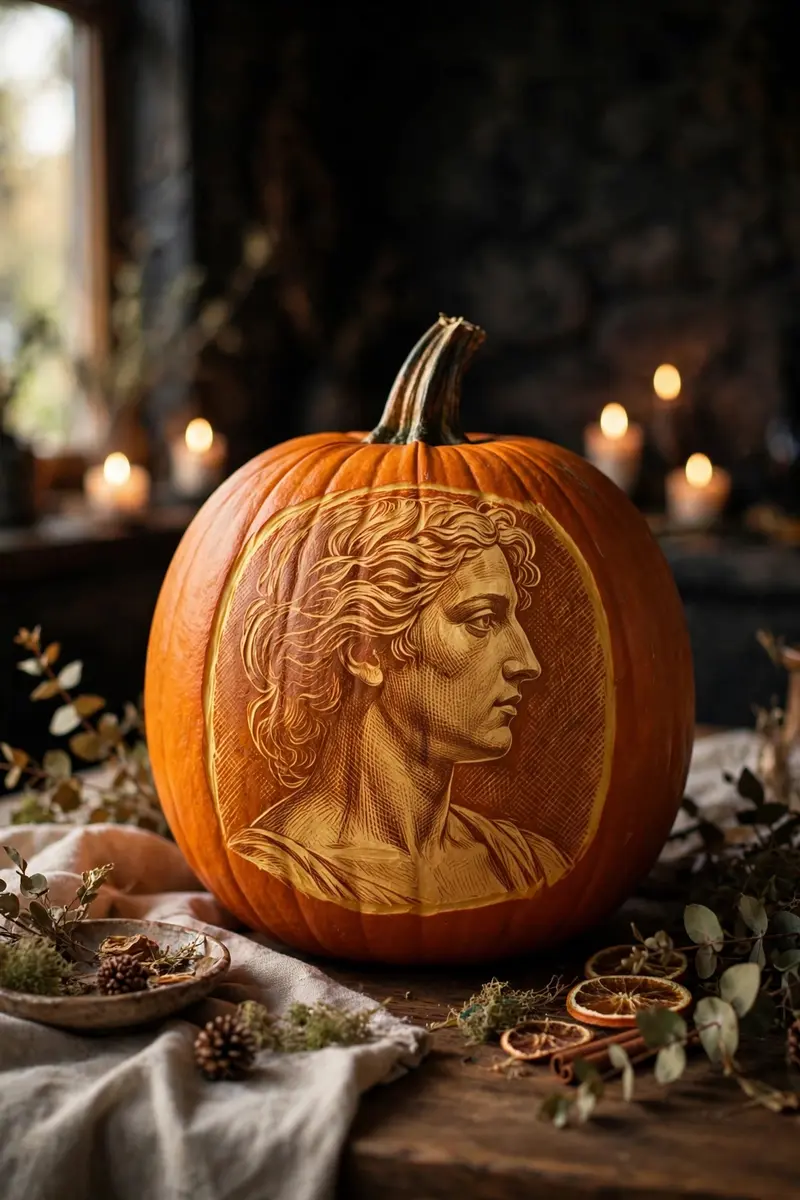
20. Etched Shaded Portrait
Ready for an advanced technique? Instead of cutting through, shave away just the outer skin to create shaded, glowing artwork — like a lithophane. Etched pumpkins are the ones that win contests: the varying depths of carving create light and shadow that look almost photographic when lit.
Materials + cost: one large, thick-walled pumpkin ($6–$10), linoleum cutter or clay ribbon tool ($8–$12), template, LED light. Total: under $20.
Transfer a high-contrast design (faces and animals work best). Instead of cutting through, carve away only the skin and a little flesh — deeper in the bright areas, shallower in the shadows. The varying thickness lets different amounts of light through, creating the shading. Work slowly; you can always shave more, but you can’t put flesh back.
Tip: Test your depths on the back first. Shave a few test patches on the back of the pumpkin to see how deep equals how bright before starting the design.
Variation: Etch a spooky tree with a full moon — the moon glows brightest, the branches stay dark.
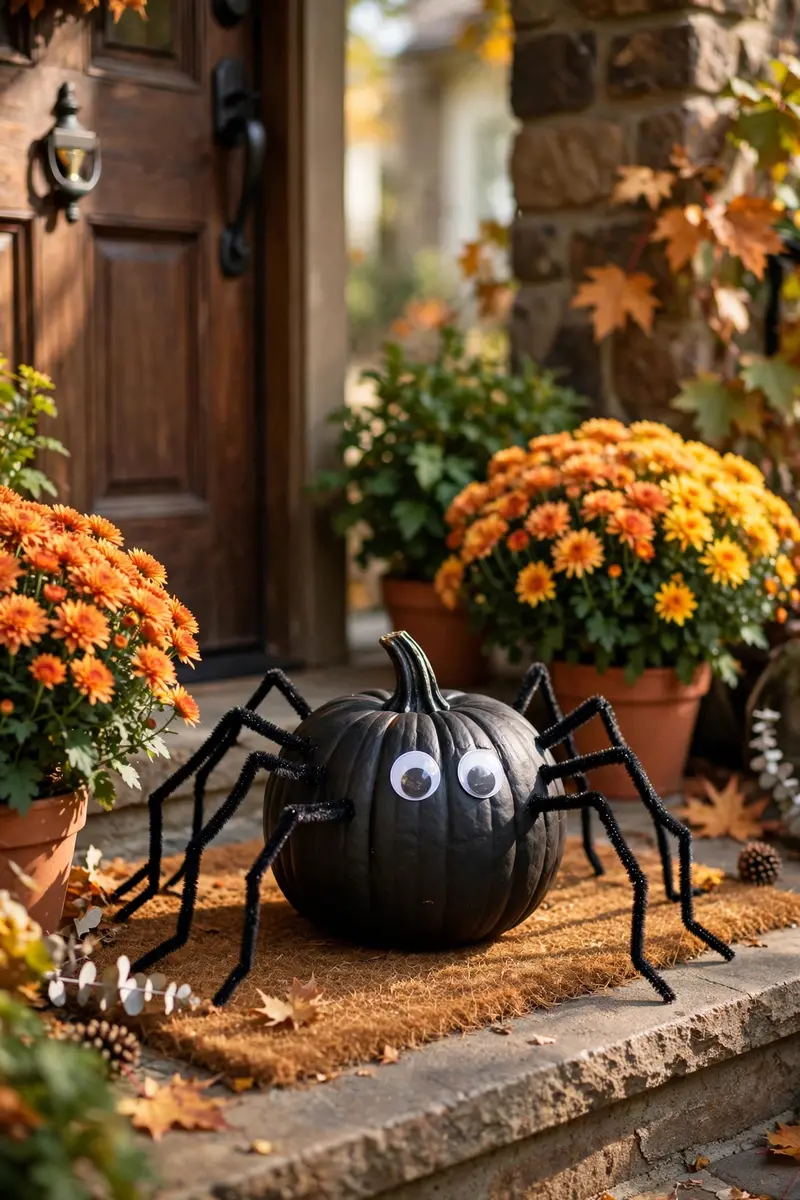
21. No-Carve Spider Pumpkin
Eight pipe-cleaner legs, some googly eyes, and a black-painted pumpkin become the cutest spider on the porch — no carving, no sharp tools, and toddlers can help with every step. It’s silly-spooky in the best way.
Materials + cost: one round pumpkin ($3–$7), black acrylic paint ($2), 4 black pipe cleaners ($1), googly eyes ($1), hot glue. Total: under $10.
Paint the pumpkin black and let it dry. Bend each pipe cleaner into a zigzag leg shape and hot-glue four to each side, angling them downward so the pumpkin sits like a spider body. Glue on big googly eyes (the more, the funnier) and a red painted smile if you like.
Tip: Angle the legs downward. Legs glued straight out look like antennae; bent downward at the “knee” they read instantly as spider legs.
Variation: Make a daddy-long-legs version with extra-long thin legs on a small pumpkin.
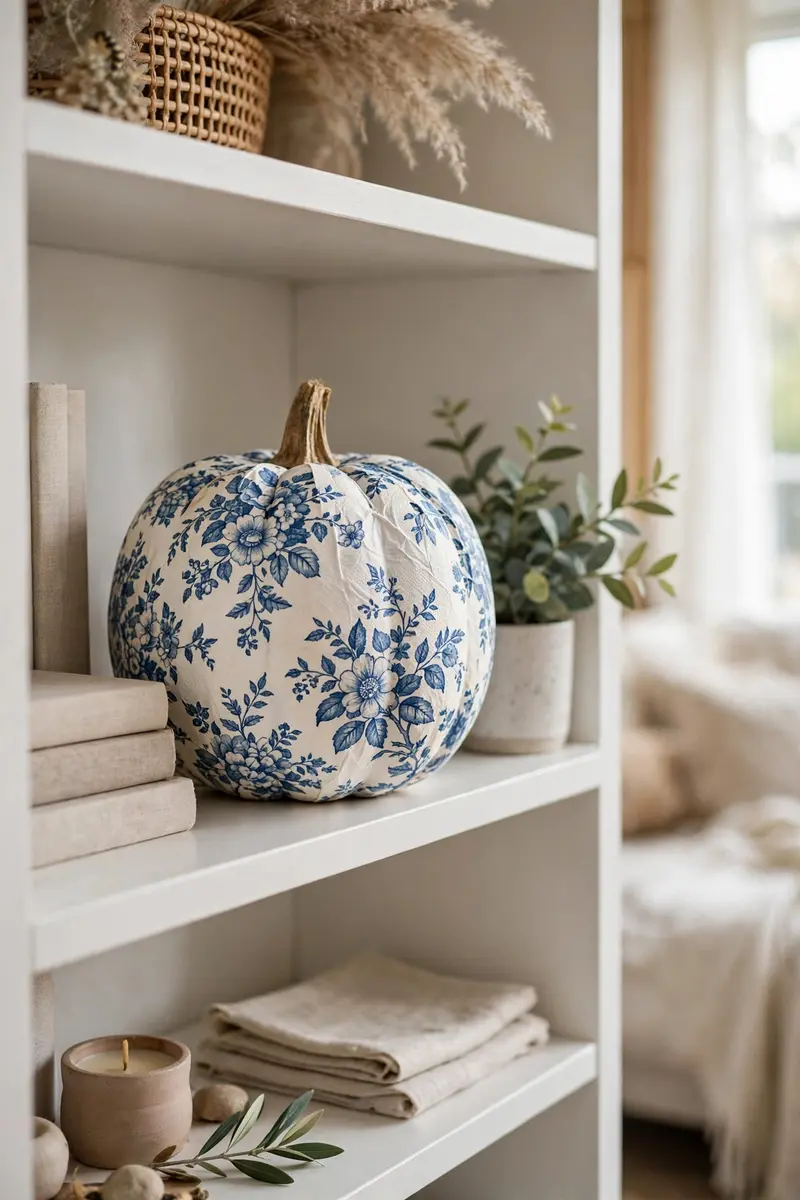
22. Decoupage Napkin Pumpkin Decorating Idea
Decoupage turns a plain pumpkin into a designer piece using nothing but pretty paper napkins and glue. Blue-and-white chinoiserie, vintage botanicals, Halloween prints — whatever matches your decor. HGTV’s gallery of 60+ no-carve pumpkin decorating ideas includes a beautiful napkin-decoupage pumpkin you can use as a reference. It’s mess-free, lasts for weeks, and looks genuinely expensive.
Materials + cost: one smooth pumpkin (faux is ideal, $5–$10), decorative paper napkins ($2–$4), Mod Podge or decoupage glue ($3–$5), foam brush. Total: under $15.
Separate the napkin layers (you only want the printed top ply) and tear it into pieces — torn edges blend invisibly. Brush glue on the pumpkin, lay a piece down, brush glue over the top to seal. Overlap pieces slightly and smooth out wrinkles as you go. The pumpkin’s ribs will show through slightly, which looks charming.
Tip: Tear, don’t cut. Torn napkin edges feather into the surface invisibly; scissor-cut edges leave visible lines.
Variation: Decoupage pressed fall leaves onto a painted pumpkin for a nature-inspired look.
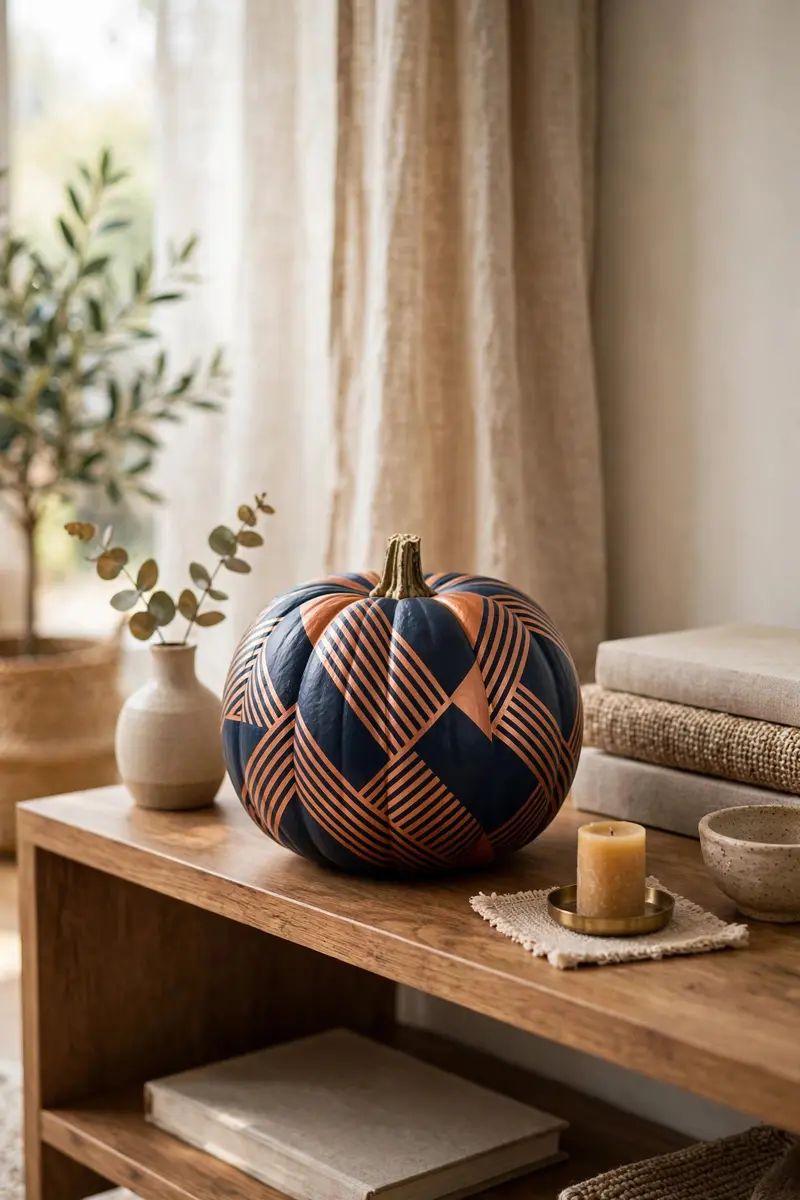
23. Tape-Resist Geometric Pumpkin
Painter’s tape + spray paint = crisp geometric patterns with zero artistic skill required. This no-carve technique gives you boutique-looking pumpkins in under an hour, and the big reveal when you peel the tape is deeply satisfying.
Materials + cost: one smooth pumpkin ($3–$8), painter’s tape ($3–$4), spray paint in your color ($5–$7). Total: under $15.
Stick tape in stripes, chevrons, or triangles — press the edges down firmly so paint can’t bleed under. Spray light, even coats and let dry completely between coats. Peel the tape while the last coat is just barely dry to the touch for the crispest lines.
Tip: Seal the tape edges with the base color first. A quick coat of the pumpkin’s original color over the tape edges seals them; any bleed is invisible, and your pattern lines stay razor-sharp.
Variation: Do a two-tone dip — tape off the top half and spray the bottom in metallic gold.
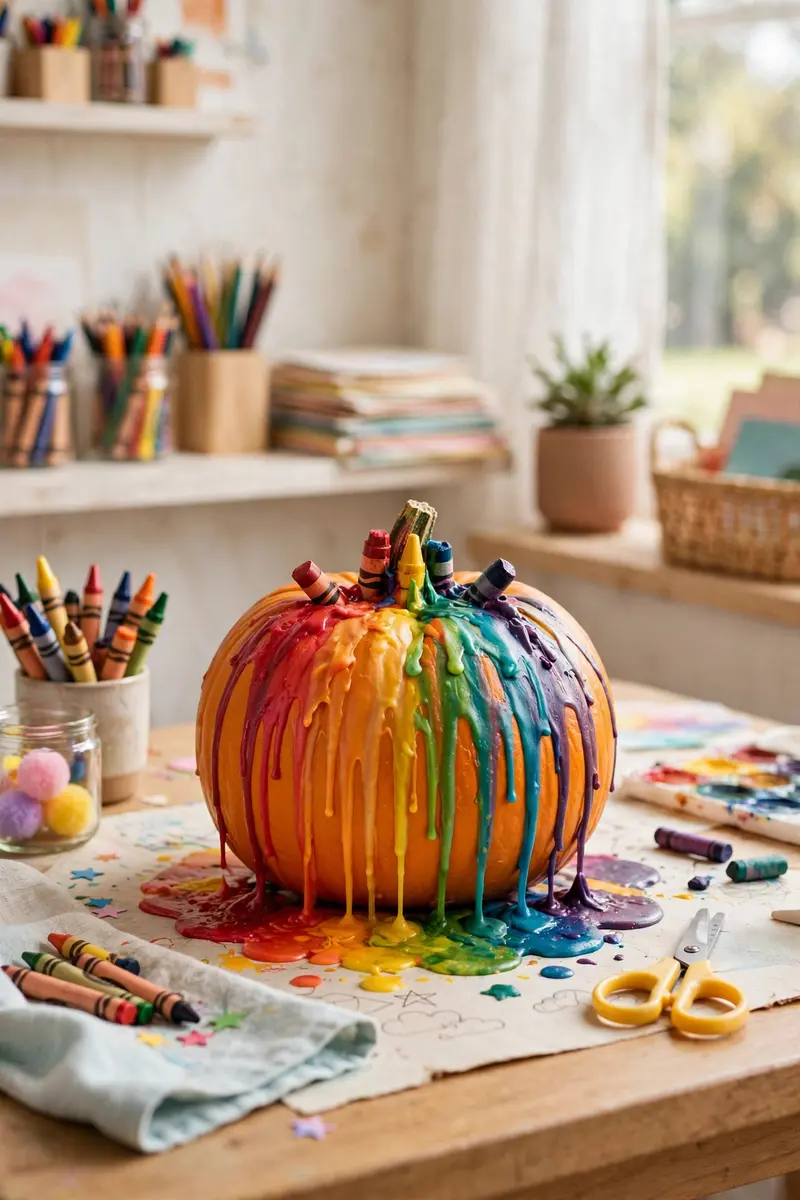
24. Melted Crayon Rainbow Pumpkin
Melt crayons over a pumpkin with a hair dryer for a groovy rainbow-drip effect that kids go wild for. It’s colorful, completely knife-free, and every single one comes out different — the ultimate kid-craft pumpkin.
Materials + cost: one white pumpkin ($3–$8), box of crayons ($2–$3), hair dryer, hot glue gun, newspaper. Total: under $10.
Hot-glue crayons (wrappers removed) around the top of the pumpkin, tips pointing down. Aim a hair dryer on high heat at the crayons and watch the wax melt and drip down the sides. Rotate the pumpkin for even coverage. Work over newspaper — this one is gloriously messy.
Tip: Use a white pumpkin. The rainbow wax shows up far more vividly on white than on orange, and the contrast is stunning.
Variation: Use only black, white, and gray crayons for a chic monochrome drip.
Pumpkin Carving FAQ
When should you carve your pumpkin before Halloween?
Carve about one week before Halloween — a carved pumpkin lasts roughly 7 to 10 days in cool weather. In 2026, Halloween falls on Saturday, October 31, so the weekend of October 24–25 is ideal. No-carve pumpkins can be decorated weeks earlier since the skin stays intact.
How do you make a carved pumpkin last longer?
Keep it cool and out of direct sun — heat is the enemy. Rub petroleum jelly on all cut edges to seal in moisture, and soak the whole pumpkin in a bucket of cold water with a splash of bleach for a few hours to rehydrate it. Bring it inside during hot afternoons if you can.
How can kids carve pumpkins safely?
Kids under 10 should stick to the fun jobs: scooping guts (with a spoon, not a knife), drawing the design, and placing the light. Older kids can carve with a proper pumpkin saw — the serrated kind, not a kitchen knife — with an adult right beside them. Or skip the blades entirely with the no-carve ideas above; painted pumpkins are 100% kid-safe.
Should you use a real candle or an LED light inside a pumpkin?
Use an LED. Real candles inside pumpkins are a genuine fire risk — candles start a significant share of home decoration fires each year, and a dried-out pumpkin is flammable. Battery tea lights and fairy-light strings are cheap, look just as good (often better, since the light spreads evenly), and you can leave them on all evening without worry.
How do you keep a painted no-carve pumpkin looking fresh?
Start with a clean, dry pumpkin and use acrylic craft paint, which adheres well to the waxy skin. Two thin coats beat one thick coat. For outdoor pumpkins, finish with a clear matte sealer spray so rain doesn’t wash your work away — and bring painted pumpkins under cover in heavy storms.
Save These Ideas for Later
There you have it — 24 pumpkin carving ideas ranging from the timeless triangle-eyed jack-o’-lantern to no-carve painted masterpieces, each one doable in an afternoon with supplies you probably already own. Whether you go classic, spooky, modern, or kid-friendly, the secret is the same: pick a design that matches your patience level, light it with an LED, and enjoy the glow. If you found a favorite, pin this post to your Halloween board so it’s waiting for you next October — and tag us when your porch is glowing. Happy carving!


2 Comments