Dollar Tree Halloween Decor DIY Ideas: 20 Tricks That Wow
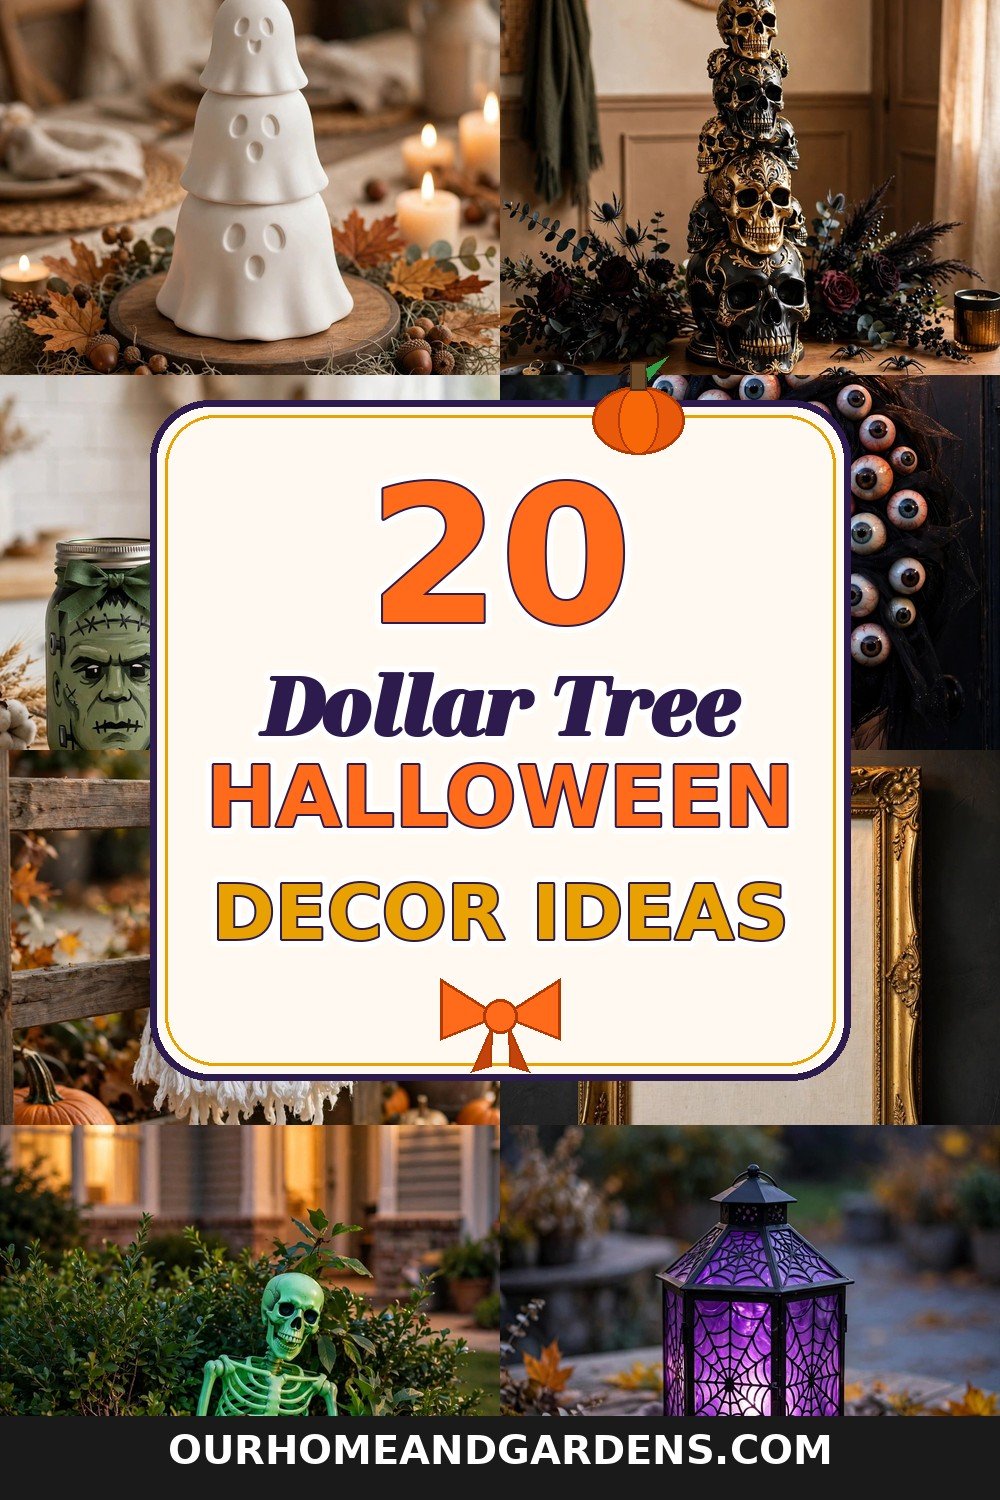
You don’t need a big budget to make your house the spookiest one on the block. These dollar tree halloween decor diy ideas prove that with a few $1.25 finds, a glue gun, and a little imagination, you can pull off a haunted-house look that guests will swear came from a boutique. Each of the 20 crafts below costs under $5 in materials, takes 30 minutes or less, and is genuinely easy — no crafty background required. Whether you’re decorating a whole porch, styling a mantel, or just want one cute project for a Halloween party, you’ll find your next favorite here. Let’s get spooky!
From glowing front yards to spooky-chic mantels, these dollar tree halloween decor diy ideas cover every corner of your home — browse the full list below and find your next favorite project.
1. Stackable Ghost Centerpiece
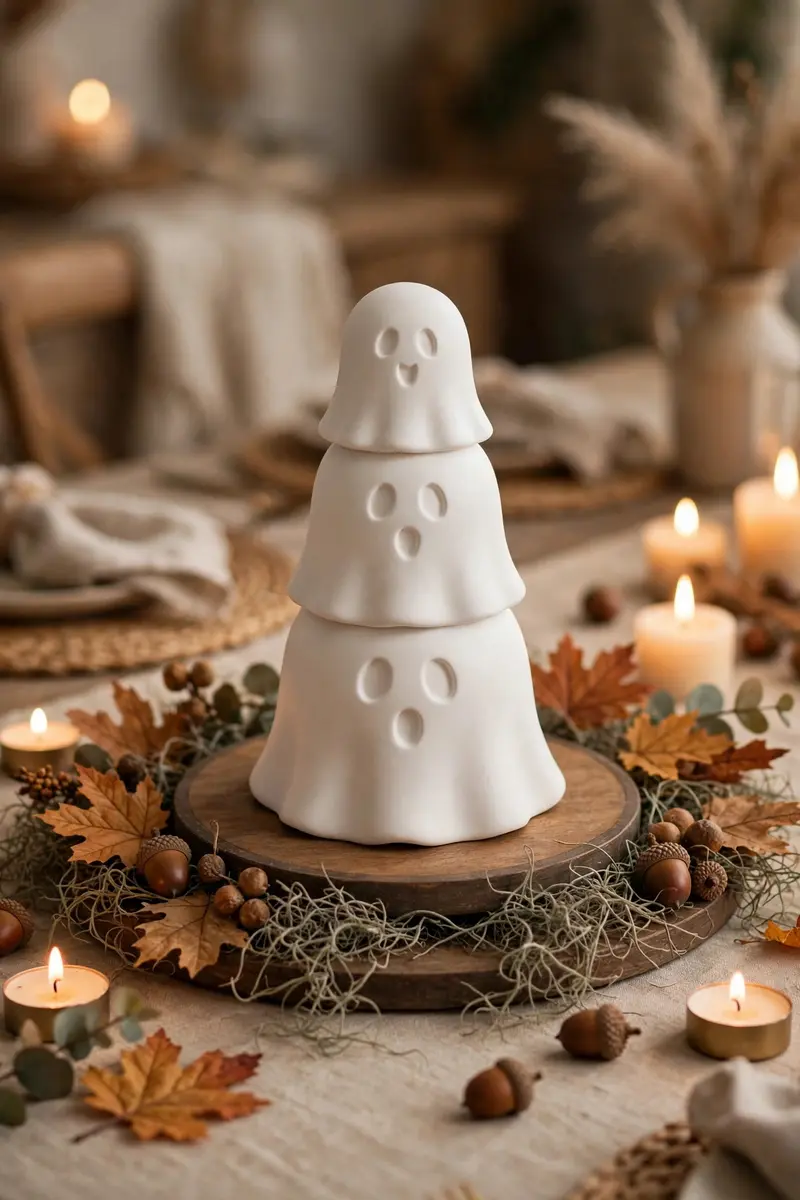
This is one of the trendiest dollar tree halloween decor diy ideas this season — those adorable stackable ghosts fly off the shelves every October. Layer a few on a wood charger with Spanish moss, faux leaves, and acorns, and you’ve got a woodland-spooky centerpiece that looks straight out of a home decor catalog. The white ghosts pop against the dark moss, so it works on dining tables, entryway consoles, or even a bathroom counter for a playful touch.
- Materials: stackable ghosts, wood charger or tray, Spanish moss, faux fall leaves, small acorns, hot glue — about $5 total.
To build it, arrange the ghosts tallest at the back and shorter in front so every face shows. Tuck moss around their bases to hide the seams, then nestle in leaves and acorns for texture. If you like, drape a battery-operated fairy light string through the moss for a soft evening glow.
Practical tip: Use a lazy Susan or round charger so the centerpiece rotates — every side of your table gets the cute view.
Variation: Swap the ghosts for stackable pumpkins and orange leaves to create a matching fall-into-Halloween set for your table.
2. Faux-Ceramic Pumpkins with the Baking-Soda Trick
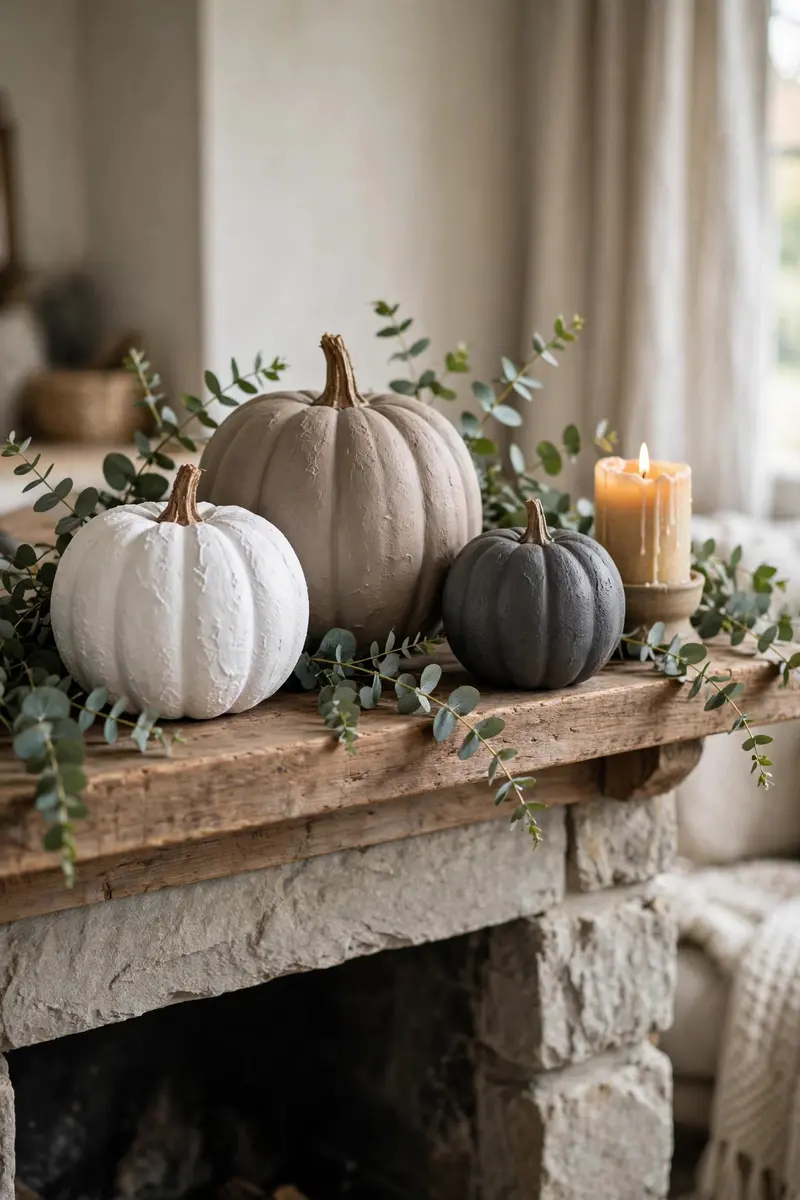
Want $1 plastic pumpkins to look like expensive stoneware? Mix equal parts matte chalk paint (white, taupe, or charcoal) and baking soda into a thick paste, and brush it onto the pumpkins. The paste kills the cheap glossy sheen and leaves a gorgeous textured finish that looks like handmade ceramics. This trick is all over Pinterest right now, and it genuinely fools people.
- Materials: plastic pumpkins, matte chalk paint, baking soda, foam brush — about $4 for a whole batch.
Paint two thin coats, letting each dry fully. Let the pumpkins cure at least 3 hours before handling. Style them in groups of three on a mantel or shelf, mixing sizes and neutral colors for a designer look. Add a few real mini pumpkins between them and nobody will know which ones cost a dollar.
Practical tip: Sand any raised brand marks off the pumpkins before painting so the faux-ceramic illusion is perfect.
Variation: Use the same technique on Dollar Tree skulls for a high-end gothic shelf display.
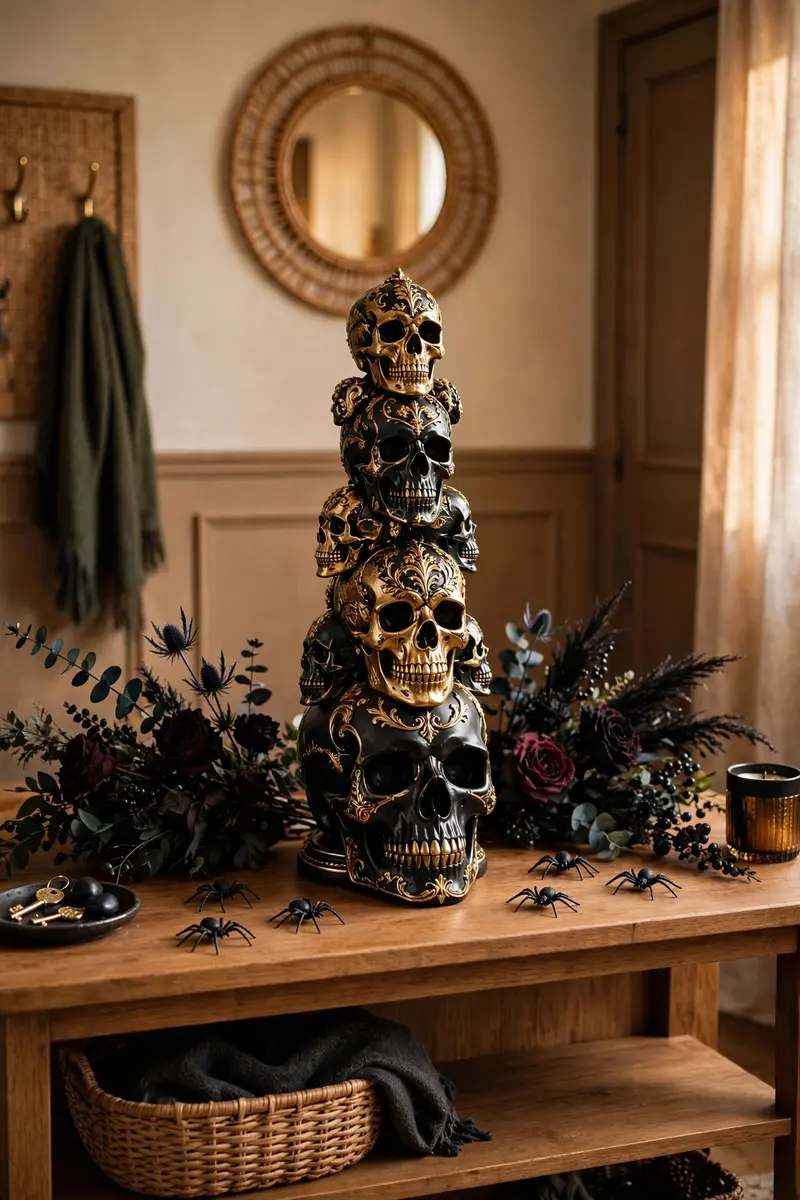
3. Black-and-Gold Skull Tower
This skull tower is pure drama: stack three plastic skulls on metal paper towel holders, spray the whole thing matte black, then brush gold paint into the eye sockets and nostrils. The result looks like a designer gothic sculpture — and almost everything comes from Dollar Tree. Set it on an entryway console or dining table as a candy bowl or a statement centerpiece.
- Materials: 3 plastic skulls, 2 metal paper towel holders, 2 plastic bowls, black spray paint, gold acrylic paint, hot glue — about $6.
Cut openings in the top and bottom of each skull so the paper towel holders slide through (the middle skull needs room for two holders). Glue the bowls to each end, spray black, and let it cure overnight. Dry-brush gold into the crevices for that glowing-from-within effect, then accessorize with spiders, webbing, or a black LED candle in the top bowl.
Practical tip: Wear gloves and spray outdoors in thin coats — two light coats beat one drippy one every time.
Variation: Paint the tower white with silver accents for an elegant “spooky glam” version.
4. Skeleton Hand Wall Sconces
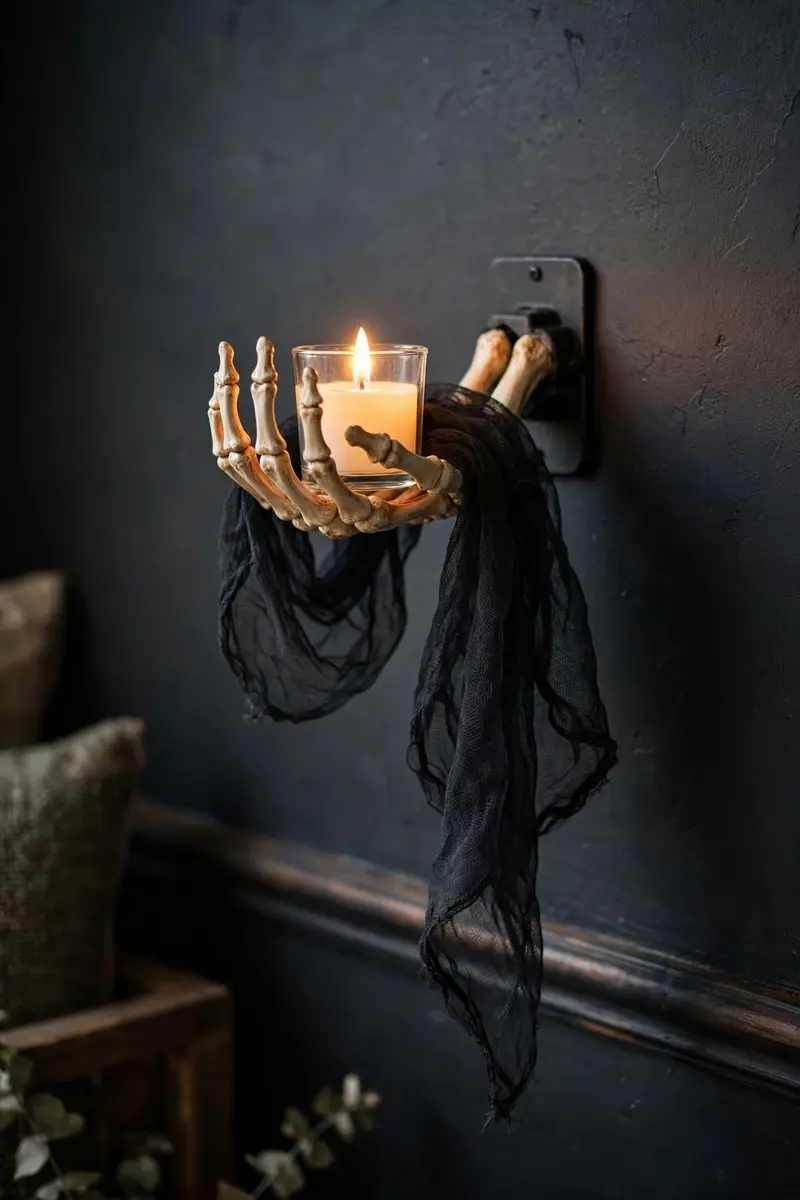
Plastic skeleton hands become eerie wall sconces with this genius trick. Paint wooden plaques matte black, glue a skeleton hand palm-up in the center, and rest a battery-operated LED candle in the palm. Drape black gauze underneath so it cascades over the hand, and you have flickering haunted sconces that look amazing flanking a mirror, doorway, or fireplace — with zero open flames.
- Materials: 2 wooden plaques, 2 plastic skeleton hands, black paint, 2 LED candles, black gauze, super glue — about $5.
Paint the plaques and let them dry completely. Drill or glue the hands so the palms face up and slightly outward, as if offering the candle. Hang with Command Strips to keep it renter-friendly. The gauze softens the edges and adds that abandoned-haunted-house feel.
Practical tip: Hang sconces in pairs — symmetry makes budget crafts look instantly more intentional and expensive.
Variation: Use the hands to hold a small candy dish instead of a candle for a trick-or-treat station.
5. Monster Mason Jars
Turn plain mason jars into Frankenstein, ghosts, and jack-o’-lanterns with a little acrylic paint and a steady hand. These cheerful monsters are perfect candy holders, utensil crocks, or tea-light holders for a Halloween party table. Kids love helping paint them, which makes this one of the best family-friendly projects on the list.
- Materials: mason jars (a pack works great), green, white, and orange acrylic paint, black marker, ribbon — about $4.
Paint the outside of each jar in your monster’s base color and let it dry fully. Add simple faces with a black marker or thin brush: jagged stitches for Frankenstein, oval eyes for ghosts, triangle eyes for pumpkins. Tie ribbon around the rims for a finished look, then drop in LED tea lights for an evening glow.
Practical tip: Use foam stickers for faces if painting freehand feels intimidating — they look crisp and zero skill is required.
Variation: Fill Frankenstein jars with green candy corn or wrapped taffy for instant party favors.

6. Witch’s Hat Door Wreath
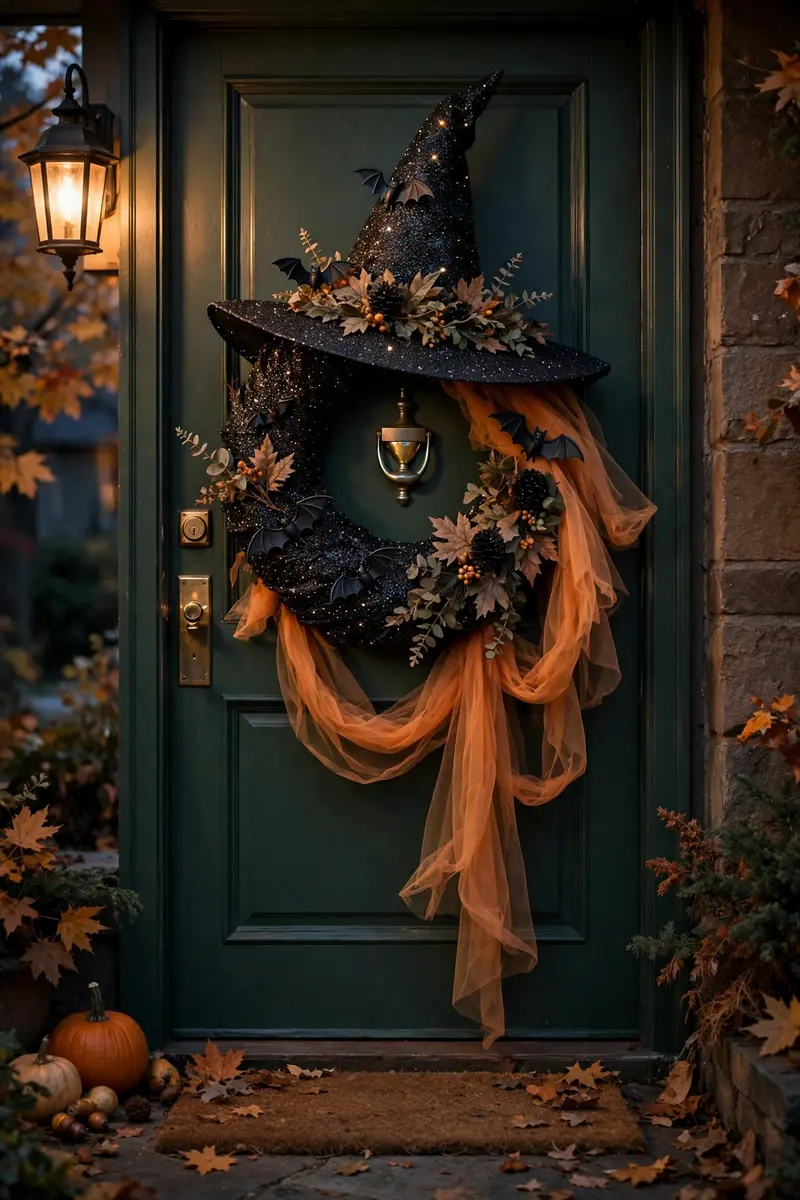
Your front door deserves a statement, and this witch’s hat wreath delivers — it’s one of the most eye-catching dollar tree halloween decor diy ideas for curb appeal. Start with a glittery witch hat from Dollar Tree, then hot-glue on plastic bats, tulle, and a few faux flowers or branches. Hang it on your door with a wreath hanger and your guests will know they’re entering a haunted house — the fun kind.
- Materials: glittery witch hat, plastic bats, orange or purple tulle, faux flowers, hot glue — about $5.
Shape the hat’s cone slightly if needed, then layer tulle around the base of the cone like a collar. Glue bats so they look like they’re flying off the hat, and tuck flowers or branches at the brim. The whole thing takes about 20 minutes, and the glitter catches porch lights beautifully at night.
Practical tip: Spray a light coat of clear sealer over the finished wreath if it will hang on an exposed door — it keeps glitter and glue weatherproof.
Variation: Make a matching mini version for an interior door or cabinet knob using a smaller hat.
7. Creepy Eyeball Wreath
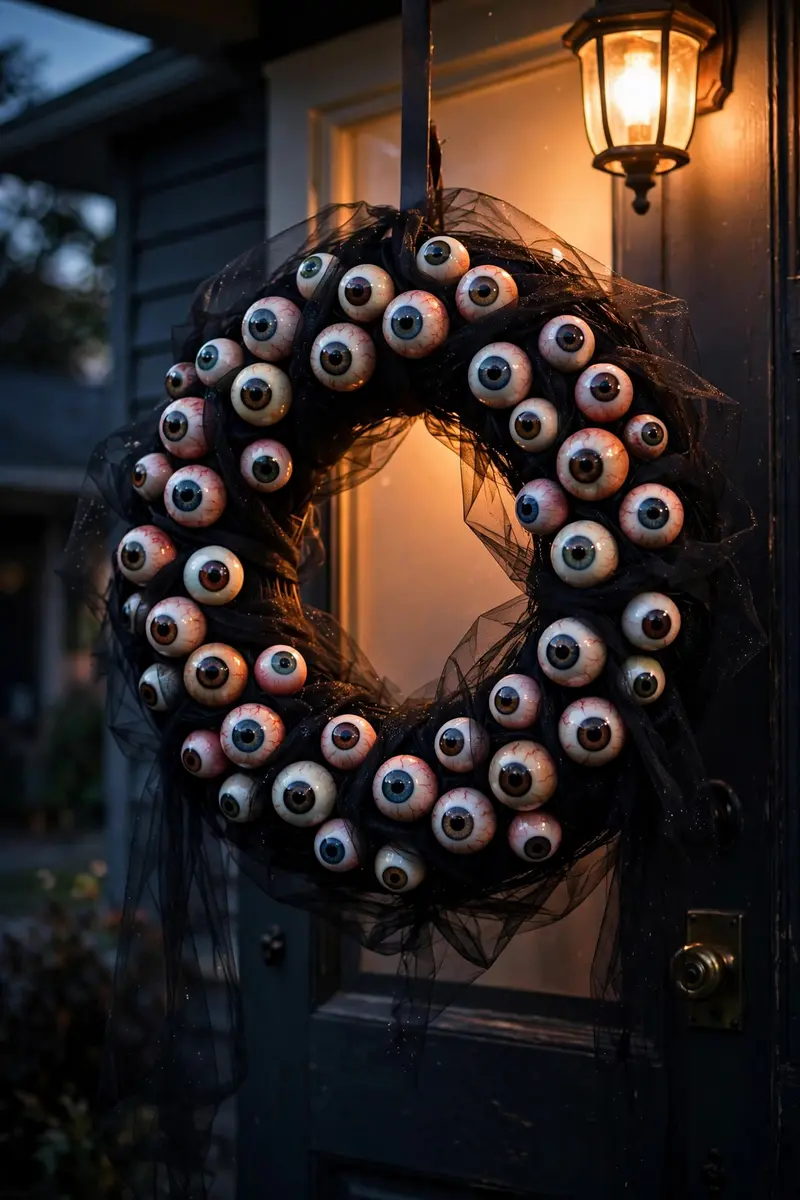
This monster eyeball wreath gets reactions every single time — it’s creepy in the most fun way. Cover a foam wreath form with black tulle, then hot-glue dozens of plastic eyeballs all over it. Hang it on your front door and watch trick-or-treaters do a double take. It’s weird, it’s wonderful, and it costs less than five dollars.
- Materials: foam wreath form, black tulle, bag of plastic eyeballs, hot glue — about $5.
Wrap the form tightly with tulle and secure the ends with glue. Then press eyeballs in rows around the whole wreath, varying their directions so they stare everywhere. A hanging ribbon in black or purple finishes it. The more eyes, the better the effect — don’t skimp.
Practical tip: Use a mix of eyeball sizes for a more organic, unsettling look.
Variation: Glue a few spiders among the eyeballs for an extra “nope” factor.
8. Bubbling Cauldron Centerpiece
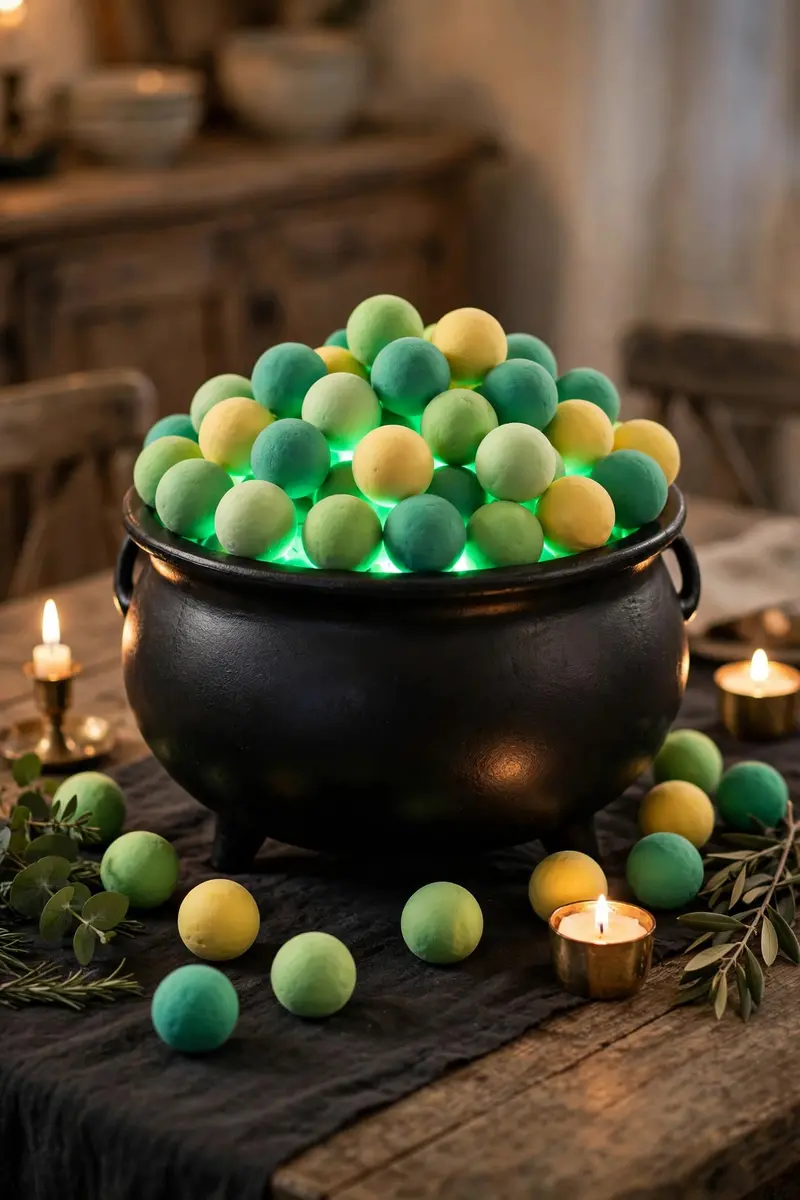
A plastic cauldron plus foam balls creates the illusion of a bubbling witch’s brew — this is the centerpiece that gets photographed at every Halloween party. It’s ridiculously simple to make and looks like it costs twenty times more. Place it on your dining table or buffet and let guests lean in for a closer look at the “boiling” pot.
- Materials: black plastic cauldron, foam balls, green or purple paint, hot glue — about $4.
Paint the foam balls a bubbly green or purple, then glue them in layers over the cauldron’s opening so they spill over the edges like foam. Vary the ball sizes for a realistic rolling-boil effect. Tuck a small LED puck light underneath for an eerie glow at night.
Practical tip: Add a string of green LED fairy lights around the cauldron’s base — the glow sells the “magical brew” illusion.
Variation: Fill a smaller cauldron with the foam-ball “brew” and use it as a candy dish on a side table.
9. Mop-Head Ghosts
Who knew a $1.25 mop head could become the cutest ghost on the porch? Unwind the strands, tie them up at the top with ribbon or string, add googly eyes or painted felt eyes, and you’ve got an adorable floating ghost. Kids adore this craft, and it’s one of the easiest dollar tree halloween decor diy ideas for total beginners.
- Materials: white mop head, ribbon or string, googly eyes, scissors — about $2 each.
Fluff out the mop strands and gather them at the top with a tight ribbon, leaving the strands to hang like a ghost’s flowing sheet. Glue on eyes at face level. Hang from porch hooks, tree branches, or a shepherd’s hook in the yard with fishing line for a floating effect.
Practical tip: A tiny dab of blush-colored marker under the eyes gives each ghost a sweet, surprised expression.
Variation: Make a whole ghost family in different sizes and hang them at staggered heights over your walkway.

10. Framed Ghost Portraits
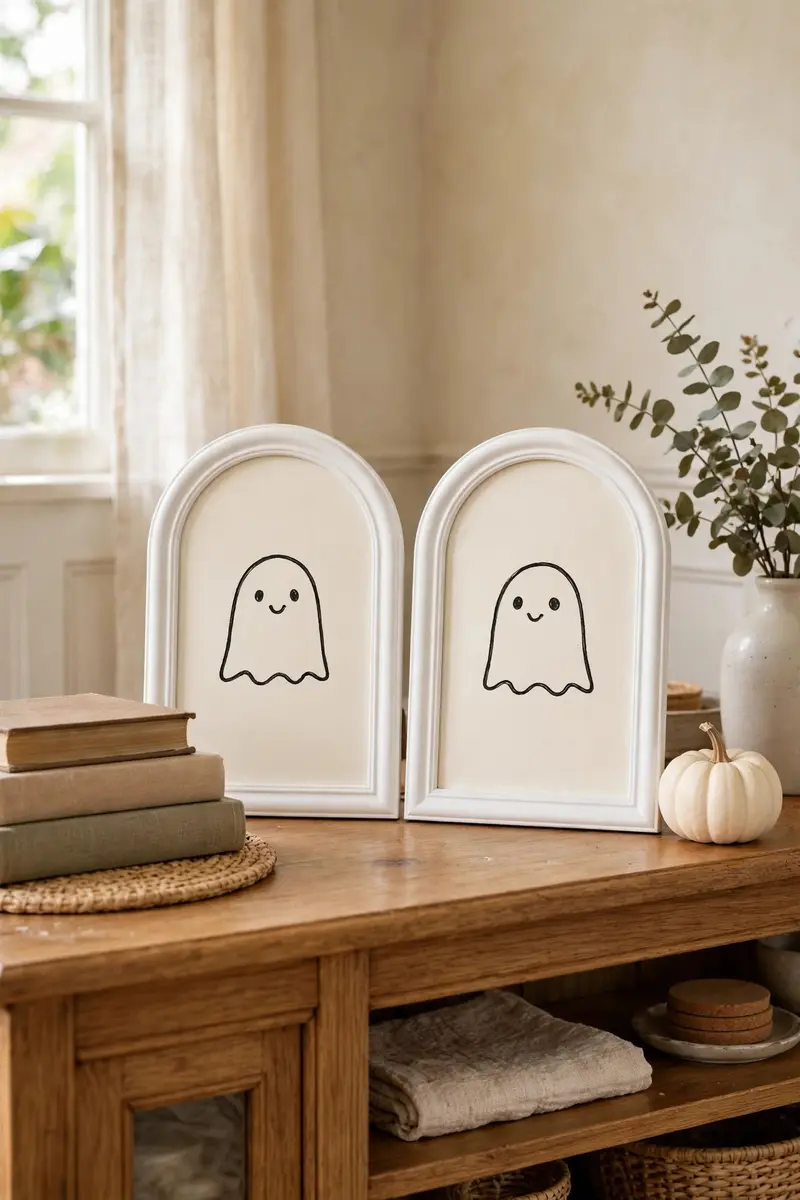
Those white arched frames at Dollar Tree are a crafter’s secret weapon. Cut paper or cardstock to fit, draw simple ghost faces with a marker, add a little bow, and suddenly you have a set of “portraits” worthy of a haunted gallery wall. Set the pair on a console table or shelf — guests will do a double take.
- Materials: 2 white arched frames, white or cream paper, black marker, small ribbon bows, scissors — about $3.
Trace the frame opening onto the paper and cut slightly larger so it wedges in. Draw each ghost a unique face — surprised, sleepy, mischievous. Glue a tiny bow on one for personality. Lean them against a wall or stack of books rather than hanging for a casual styled look.
Practical tip: Use a slightly warm off-white paper instead of bright white — it photographs better and looks more vintage.
Variation: Paint the frames gray and use gray paper to turn the same project into spooky tombstones.
11. Fake Taxidermy Spider Wall Art
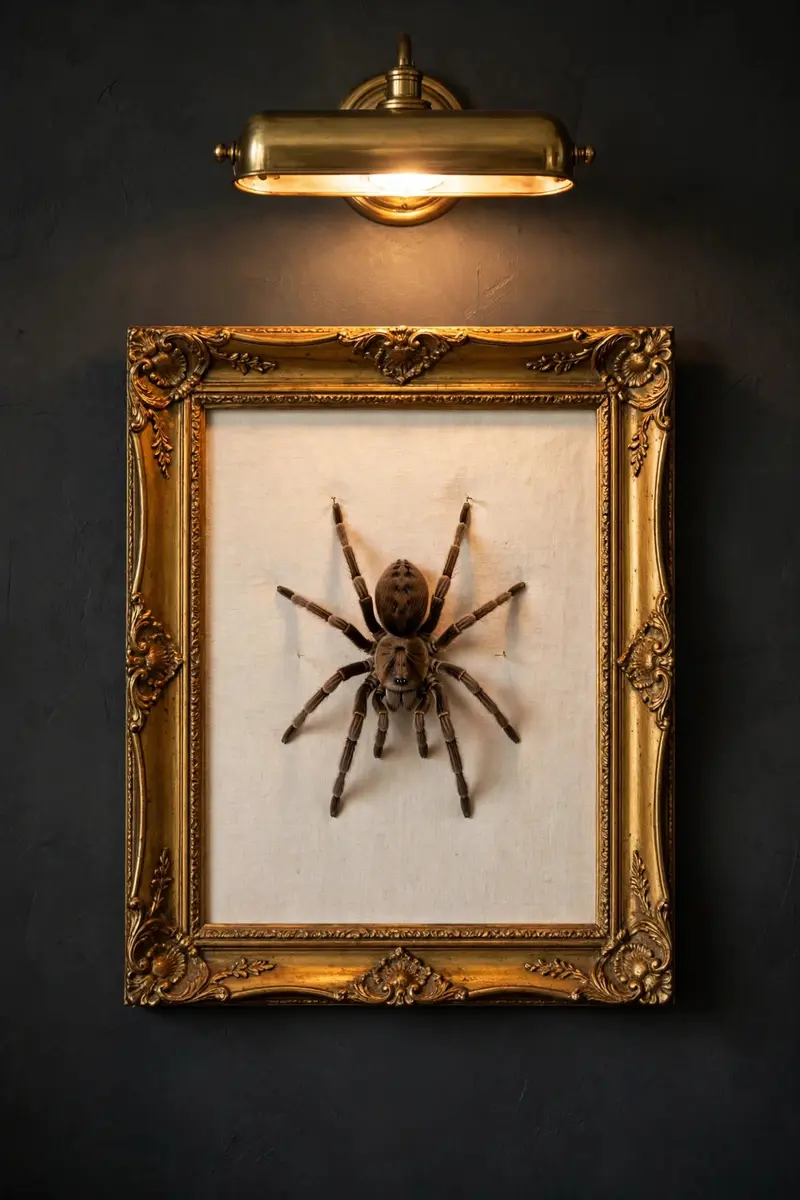
Elegant meets creepy with this fake taxidermy spider — a big plastic spider mounted in a frame like a museum specimen. Painted black and mounted on cream fabric inside a gilded-style frame, it looks like expensive oddity-shop decor. Hang a trio of them for a gallery wall that guests won’t stop talking about.
- Materials: large plastic spider, small shadow box or frame, cream fabric, black paint — about $4.
Remove the frame’s backing, stretch fabric over it, and hot-glue the spider centered on the fabric. If your frame isn’t gilded, dry-brush it with gold acrylic paint for an antique finish. The contrast of the dark spider on light fabric makes it look like a real collector’s piece.
Practical tip: Add a tiny paper “label” beneath the spider with a made-up Latin name for full museum vibes.
Variation: Mount a cluster of smaller spiders in one wide frame for a creepier colony effect.
12. Haunted Village Display
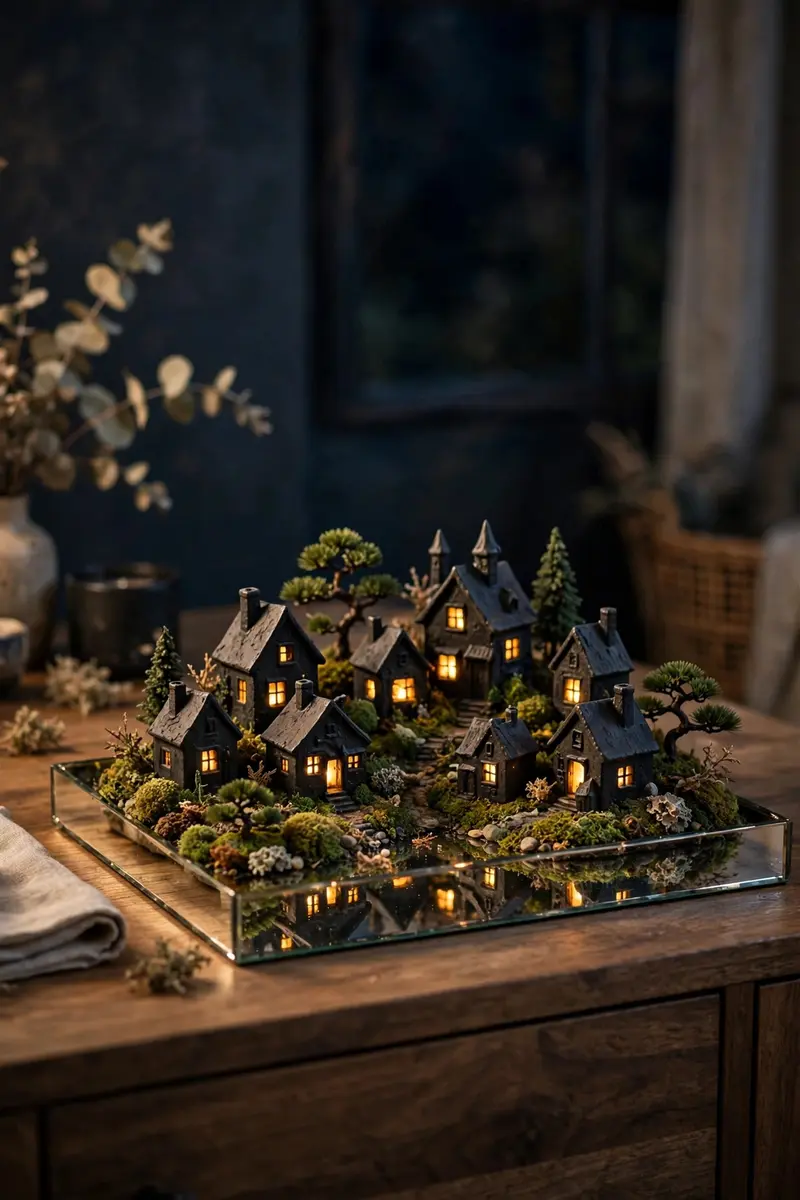
Those little ceramic houses at Dollar Tree were born to become a haunted village, making this one of the coziest dollar tree halloween decor diy ideas on the list. Spray-paint them matte black, pop a battery-operated tea light inside each one, and arrange them on a tray with moss and tiny trees. At night, the glowing windows make it look like a tiny cursed town — it’s pure magic.
- Materials: 3–4 ceramic houses, matte black spray paint, LED tea lights, Spanish moss, tray — about $6.
Spray the houses in thin coats and let them cure fully (overnight is best). Place a tea light inside each, then build the scene: moss around the bases, twigs or miniature trees between houses, and maybe a few tiny tombstones. The black-on-black with warm glowing windows is a genuinely striking look.
Practical tip: Put the village on a mirrored tray — the reflections double the glow and the drama.
Variation: Use white LED lights and gray houses for a less-spooky “Halloween night” village kids will love.
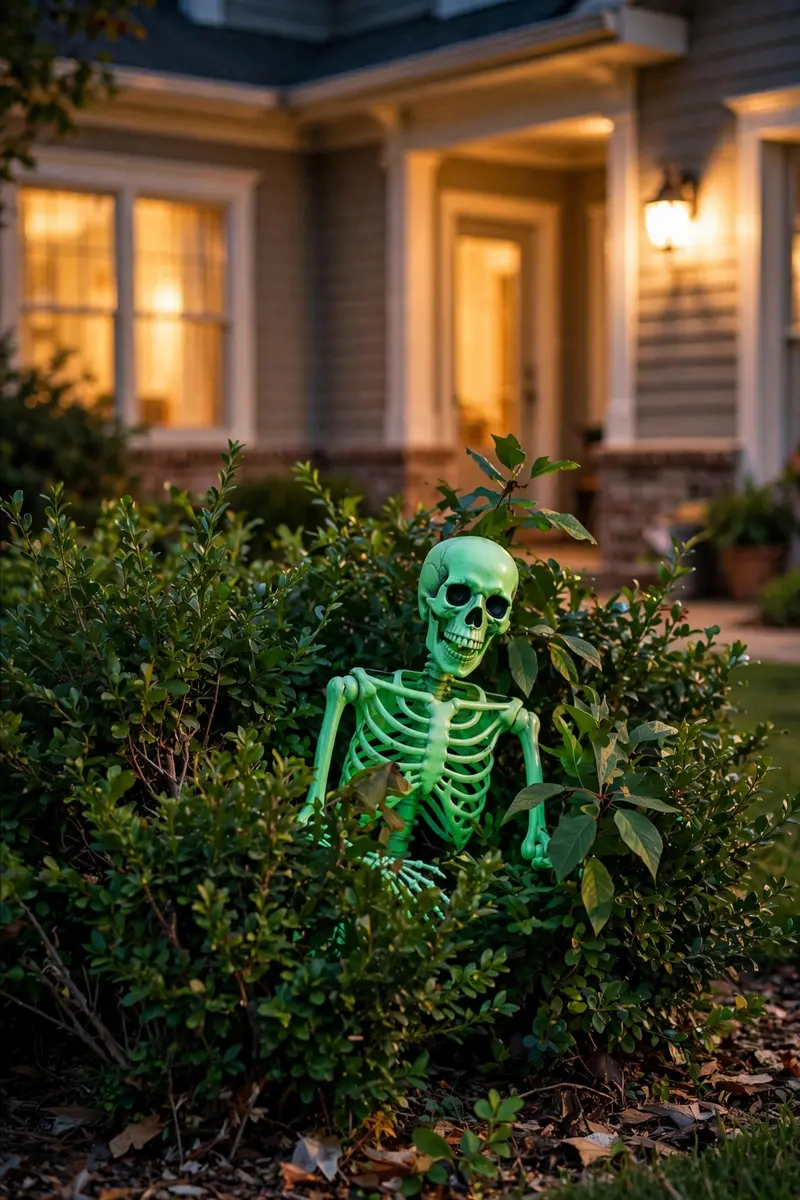
13. Glow-in-the-Dark Skeleton Yard
Paint Dollar Tree plastic skeletons with glow-in-the-dark paint and stake them around your yard for the neighborhood’s most talked-about nighttime display. By day they look like ordinary skeletons; after dark they glow eerily green among the bushes. Kids and trick-or-treaters go wild for this one.
- Materials: plastic skeletons, glow-in-the-dark paint, garden stakes or zip ties — about $5.
Apply two coats of glow paint in daylight and let them charge in the sun. Position the skeletons peeking out of bushes, climbing your porch railing, or “crawling” out of a leaf pile. The longer they sit in sunlight, the stronger the nighttime glow.
Practical tip: Recharge weak spots with a flashlight blast right before trick-or-treaters arrive.
Variation: Hang glow skeletons from tree branches with fishing line so they sway in the wind.
14. Creepy Crawly Bug Jars
Fill mason jars with plastic insects, a tuft of moss, and a drizzle of fake spider web, then drop in an LED tea light. The result is an eerie specimen jar that glows from within — like something from a mad scientist’s lab. Line a few up on a bookshelf or mantel for maximum creep factor.
- Materials: mason jars, plastic bugs, moss, fake spider web, LED tea lights — about $4.
Layer moss at the bottom, scatter the insects so they show through the glass, then stretch thin web strands across the jar mouth. The tea light at the base makes the bugs cast long shadows. Use different bug types per jar — spiders in one, beetles in another — for variety.
Practical tip: Rub a drop of petroleum jelly on the inside of the glass to make spiders “crawl” up and stick.
Variation: Add small labels like “Specimen No. 13” for a vintage laboratory look.

15. Spiderweb Lanterns
Purple-to-black spiderweb lanterns are one of Dollar Tree’s best seasonal finds, and a cluster of them instantly transforms any table or porch. Add battery candles or solar garden lights inside and the web pattern throws gorgeous shadows on the walls. It’s atmospheric decor that takes literally seconds to set up.
- Materials: spiderweb lanterns, LED candles or solar lights — about $4 for three.
Cluster three lanterns in different sizes on an outdoor table or hang them from a porch beam. The purple webbing glows beautifully when lit from within. Pair them with black candles or dark flowers for a cohesive, moody tablescape.
Practical tip: Use flickering LED candles — the movement makes the web shadows dance.
Variation: Hang one large lantern over your front door as a glowing entry light for trick-or-treat night.

16. Potion Bottle Display
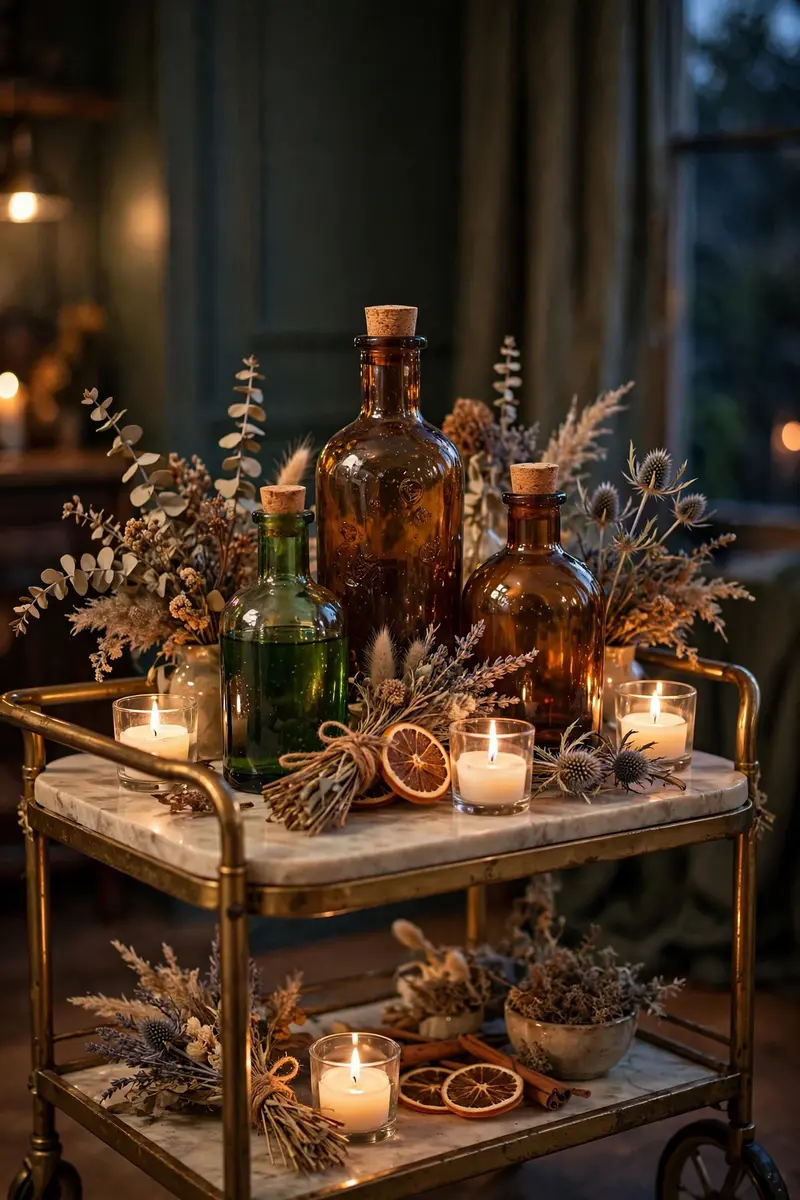
Decorative potion bottles labeled “Witch Elixir” and “Lizard Tail” are Dollar Tree gold. Arrange them on a tiered tray or bar cart with dried flowers, candles, and a few crystals for a witch’s-apothecary display that looks straight out of a fantasy film. This is one of those dollar tree halloween decor diy ideas that costs almost nothing but gets all the compliments.
- Materials: 3–4 potion bottles, tray or cake stand, dried flowers, small LED candles — about $5.
Group the bottles at varying heights — stack books or small boxes underneath a cloth to create levels. Tuck in dried lavender, dark roses, or eucalyptus, and weave a string of amber fairy lights through the arrangement. The colored glass glows when the lights are on.
Practical tip: Fill plain glass bottles with water tinted by food coloring if you want custom “potions.”
Variation: Make it a Halloween bar cart — potion bottles beside black goblets and a skull ice bucket.
17. Spooky Chalkboard Sign
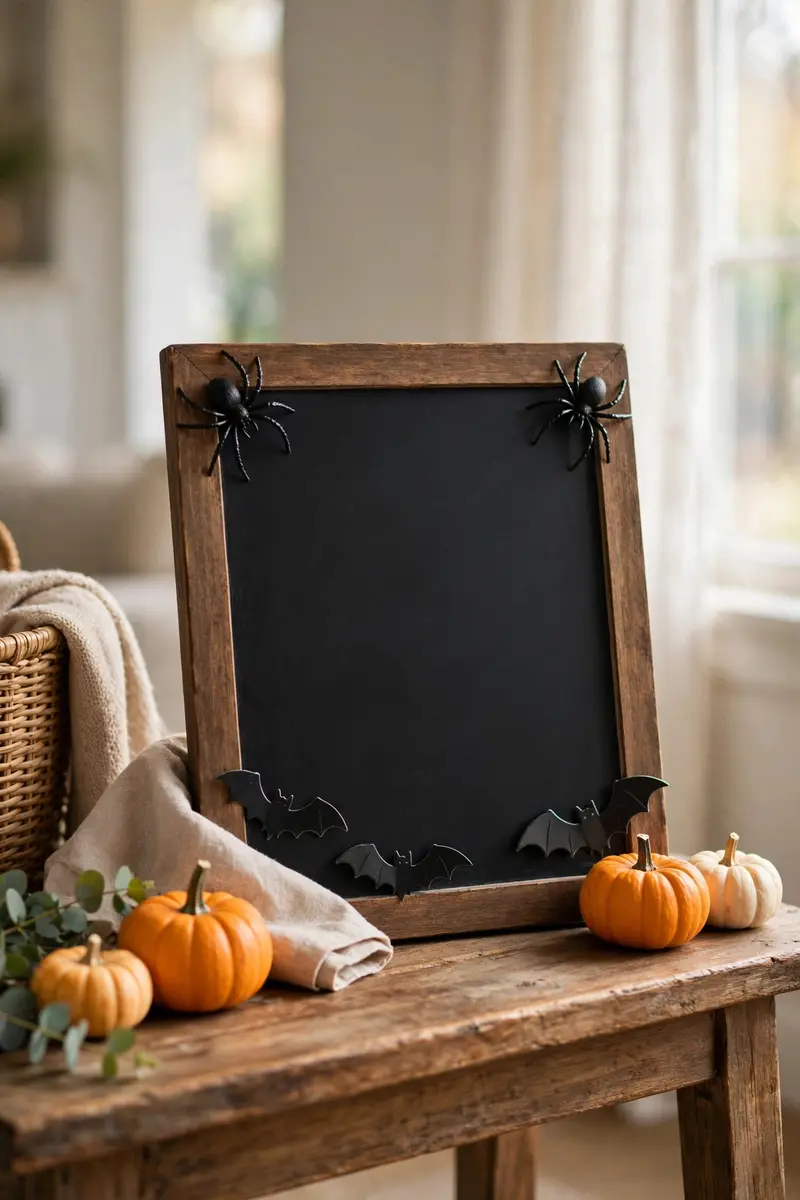
A small chalkboard, some spider stickers, and your best spooky handwriting: that’s all it takes. Write “Enter If You Dare” or “Trick or Treat” on the board, decorate the frame with stickers, and prop it on your entryway table or porch. It’s charming, reusable, and takes ten minutes.
- Materials: small chalkboard, chalk markers, spider or bat stickers — about $3.
Use a white chalk marker for the main message and orange for accents. Decorate the corners with stickers, or glue on small plastic spiders for a 3D touch. The beauty of chalkboard decor is that you can rewrite the message for every occasion — Halloween, then Thanksgiving, then Christmas.
Practical tip: Season the chalkboard first by rubbing chalk all over it and wiping it off — this prevents ghosting.
Variation: Use it as a party menu board — list your “witch’s brew” drinks and spooky snacks in chalk.
18. Ghost Garland for the Mantel
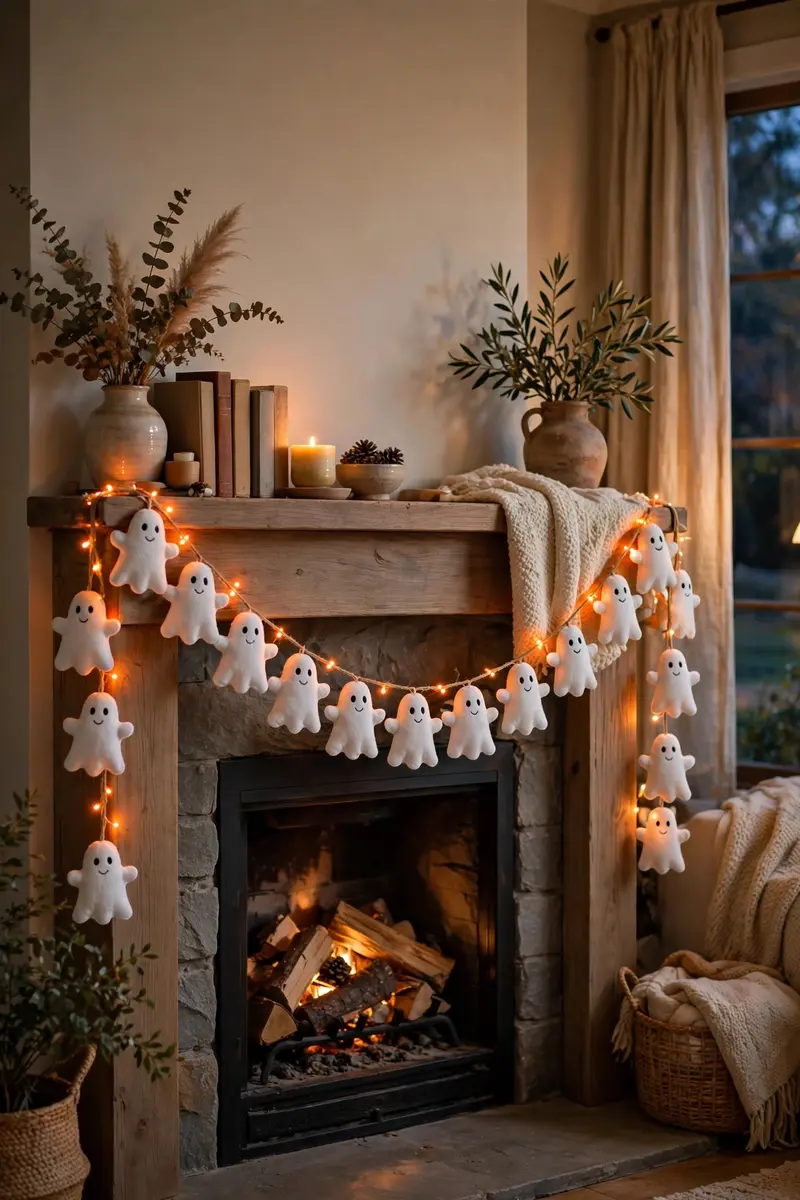
String tissue or felt ghosts along a ribbon and drape it across your mantel, and suddenly your fireplace is Halloween-ready. This whimsical garland takes minutes to make and costs almost nothing — it’s the kind of cheerful, family-friendly Halloween decor that works even if scary isn’t your style.
- Materials: felt or tissue ghosts (or DIY from tissues and cotton balls), black marker, ribbon or twine — about $3.
If DIYing, wrap cotton balls in white tissue, tie with string, and draw cute faces with a marker. Space the ghosts evenly along the ribbon and drape it in a gentle swag across the mantel. Weave in orange fairy lights for evening sparkle.
Practical tip: Hang the garland with removable hooks so you can reposition the swag until it drapes perfectly.
Variation: Alternate ghosts with mini orange pumpkins or black bats for a fuller, more colorful garland.
19. Haunted Candle Holders
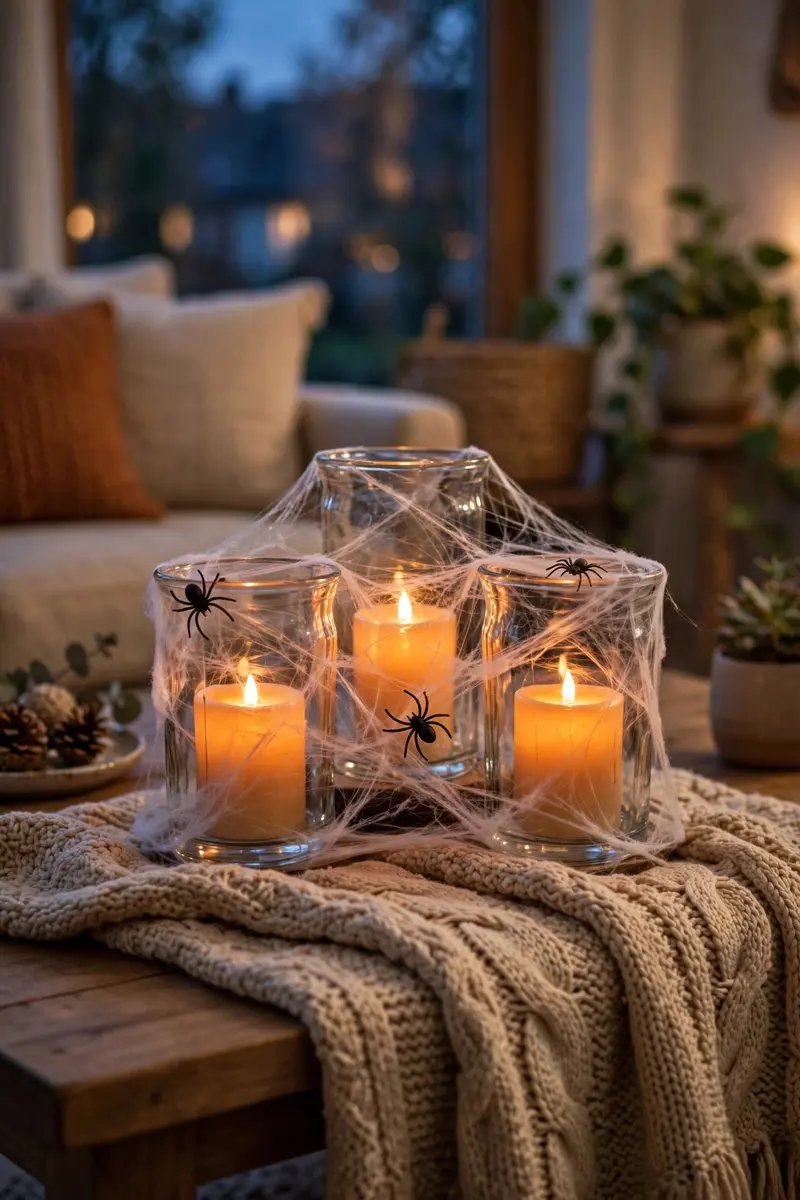
Wrap glass candle holders in faux spider webbing, drop in black or orange candles, and hot-glue plastic spiders around the rim. These haunted candle holders are one of the classic dollar tree halloween decor diy ideas, and they look far more expensive than they are — especially when the candles are lit and the webs glow.
- Materials: glass candle holders, faux spider webbing, black/orange candles or LED candles, plastic spiders — about $5 for a set of three.
Stretch the webbing thin so it looks natural — less is more. Tuck it around the holder’s base and a little up the sides. Glue spiders at different heights, then place LED candles inside (safer than real flames near synthetic webbing). Group three holders of different heights on a coffee table or dining table.
Practical tip: Always use LED candles with faux webbing — synthetic webbing near a real flame is a fire risk.
Variation: Use orange webbing and black spiders for a bolder, more modern Halloween palette.
20. Pumpkin Topiary
Stack three foam pumpkins, paint them in your favorite Halloween palette, and set them in an urn for a pumpkin topiary that anchors your whole porch. Black and orange is classic; white and gold is glam; matte black alone is pure gothic elegance. It’s a front-door statement that costs under five dollars.
- Materials: 3 foam pumpkins (small, medium, large), urn or pot, paint, wooden dowel, hot glue — about $5.
Run a wooden dowel through the pumpkins’ centers to stack them securely, then glue the stack into the urn. Paint in your chosen colors — the baking-soda faux-ceramic trick from idea #2 works beautifully here too. Top with a small gourd or a bow, and flank your front door with one on each side.
Practical tip: Weigh the urn down with a bag of sand or rocks before adding the pumpkins — topiaries are top-heavy in the wind.
Variation: Wrap the pumpkins in twine or burlap instead of painting for a rustic farmhouse topiary.

FAQs About Dollar Tree Halloween Decor
How much does it cost to decorate for Halloween with Dollar Tree supplies?
Most crafters spend $15–$30 total for a fully decorated room or porch with these dollar tree halloween decor diy ideas. Individual projects on this list cost $2–$6 each in materials, and many use supplies you already own (hot glue, paint, scissors). Buying in early October gets you the best selection before shelves empty.
How do you make Dollar Tree Halloween decorations look expensive?
Three tricks do the heavy lifting: unify your color palette (stick to 2–3 colors), add texture (the baking-soda paint trick kills cheap-looking gloss), and group items in odd numbers with varied heights. Classic motifs like witch hats and ghost silhouettes are back in a big, refined way this year, so lean into the icons people already love. Battery-operated lighting also makes everything look richer after dark.
What are the easiest Dollar Tree Halloween DIY ideas for beginners?
For beginner-friendly dollar tree halloween decor diy ideas, start with the mop-head ghosts, the spooky chalkboard sign, or the spiderweb lanterns — none require painting or special tools. If you can use a glue gun, you can also handle the ghost garland, potion bottle display, and bubbling cauldron.
Are Dollar Tree Halloween decorations weatherproof for outdoor use?
Most plastic and resin items handle rain fine, but paper, felt, and faux webbing will suffer outdoors. Spray finished projects with a clear acrylic sealer for extra protection, and bring fabric-based crafts inside during heavy rain. LED candles and solar lights are always safer than real flames outside.
When should I start buying Dollar Tree Halloween supplies?
Shop in late September or the first week of October for the best selection — popular items like stackable ghosts, ceramic houses, and potion bottles sell out fast. If you want more everyday inspiration for decorating cheaply, check out our dollar store home decor DIY ideas and DIY home decor ideas on a budget.
Conclusion
Halloween decorating doesn’t have to drain your wallet — it just takes a little creativity and a trip down the Dollar Tree craft aisle. Pick two or three of these dollar tree halloween decor diy ideas to start, and you’ll be amazed how quickly your home transforms. For more designer-approved ways to keep your haunt spooky and elegant at the same time, don’t miss those designer refresh tips too. If you’re into budget-friendly makeovers, you’ll also love our thrift store home decor flips for year-round before-and-after inspiration.
Which project are you trying first? Pin this post to your Halloween board and save it for your next Dollar Tree run — happy haunting!




7 Comments