24 Stunning Dollar Store Halloween Decor Ideas
If you think a festive, spooky home requires a big budget, the dollar store begs to differ. The secret to dollar store halloween decor ideas that look genuinely high-end isn’t spending more — it’s shopping smart and adding a few clever finishing touches. With a $20 bill, a hot glue gun, and one trip down the craft aisle, you can style a mantel, a porch, and a dining table that look straight out of a boutique.
The trick every budget decorator knows? Texture, paint, and restraint. A coat of matte paint turns shiny plastic into “stoneware.” A tight three-color palette makes a $15 haul look curated. And styling in clusters — one rich vignette per surface instead of decor scattered everywhere — makes everything look intentional. Here are 24 dollar store Halloween decor ideas, each costing about $10 or less, that guests will never guess came from the discount aisle.
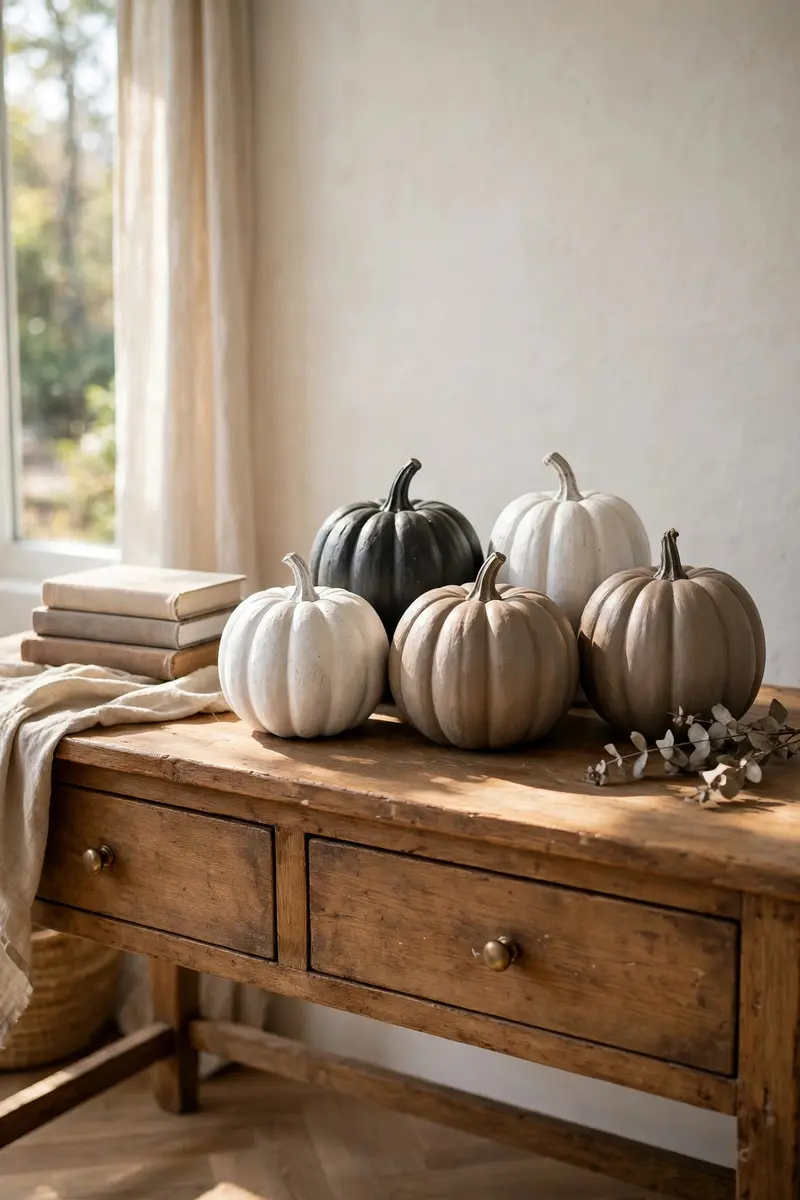
1. Baking-Soda Faux-Ceramic Pumpkins
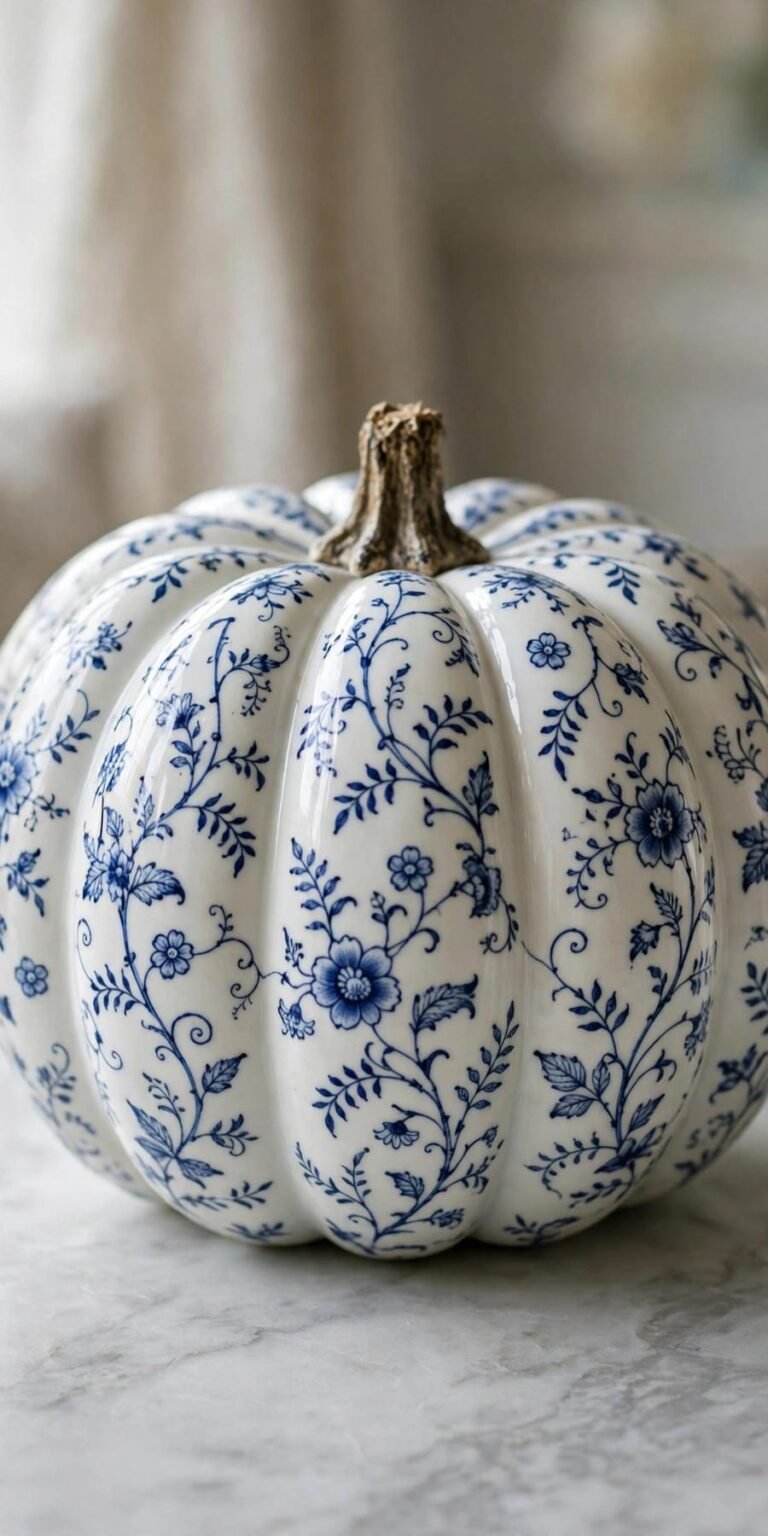
The most viral budget Halloween trick on Pinterest this year is also the easiest: mixing baking soda into matte craft paint gives cheap plastic pumpkins the textured, stoneware finish of the $25 ceramic pumpkins at home stores.
What you’ll need: dollar store foam or plastic pumpkins, matte chalk paint (white, charcoal, or taupe), baking soda, foam brush. Cost: $5–$8.
Mix roughly equal parts baking soda and paint in a cup until you get a thick paste. Brush it over the pumpkins in even strokes, letting a few brush marks show — that texture is exactly what sells the ceramic look. Let them dry for at least three hours, then style them in odd-numbered clusters of three or five.
Practical tip: Work in a limited palette of just two or three colors (bone white + charcoal is foolproof) so the whole group reads as one intentional collection.
Variation: Use the same paste on plastic skulls or small gourds for a matching set.
2. Gold-Sprayed Skull Vase
A plastic dollar store skull becomes an eerily elegant vase with one can of metallic spray paint. Fill it with faux fall florals — or fresh stems in a water tube — and you’ve got a centerpiece that looks straight out of a designer shoot.
What you’ll need: plastic skull, metallic gold spray paint, faux fall florals or eucalyptus, a small water tube if using fresh stems. Cost: $4–$7.
Spray the skull in light, even passes outdoors, building up two or three thin coats rather than one heavy one so you don’t lose the detail. Once dry, nestle the water tube inside the top and arrange your stems so they fan outward — dried pampas grass and dark berries are especially dramatic.
Practical tip: Drill or melt a small drainage hole if you want to plant a real succulent in it after Halloween — the vase converts into fall decor.
Variation: Try matte black with gold rub-and-buff on the high points for a moody, antiqued finish.

3. Gilded Bug Shadowbox Frame
Big creepy-crawlies are a Halloween staple, and a can of gold spray paint is all it takes to turn the dollar store’s plastic insect packs into creepy-glam wall art. Framed on black velvet paper, they look like something from a natural history museum.
What you’ll need: plastic bugs, gold or brass spray paint, a dollar store frame, black cardstock or fabric. Cost: $4–$6.
Spray the bugs gold and let them cure completely. Cut black cardstock to fit the frame, remove the glass, and hot-glue the gilded bugs in an asymmetrical arrangement on the backing. Pop the backing into the frame without the glass for a shadowbox effect.
Practical tip: Odd numbers look best — three or five bugs with space between them, never crowded edge to edge.
Variation: Paint the bugs matte black and mount them on cream linen for a softer, more neutral look.

4. Black-and-White Halloween Vignette Tray
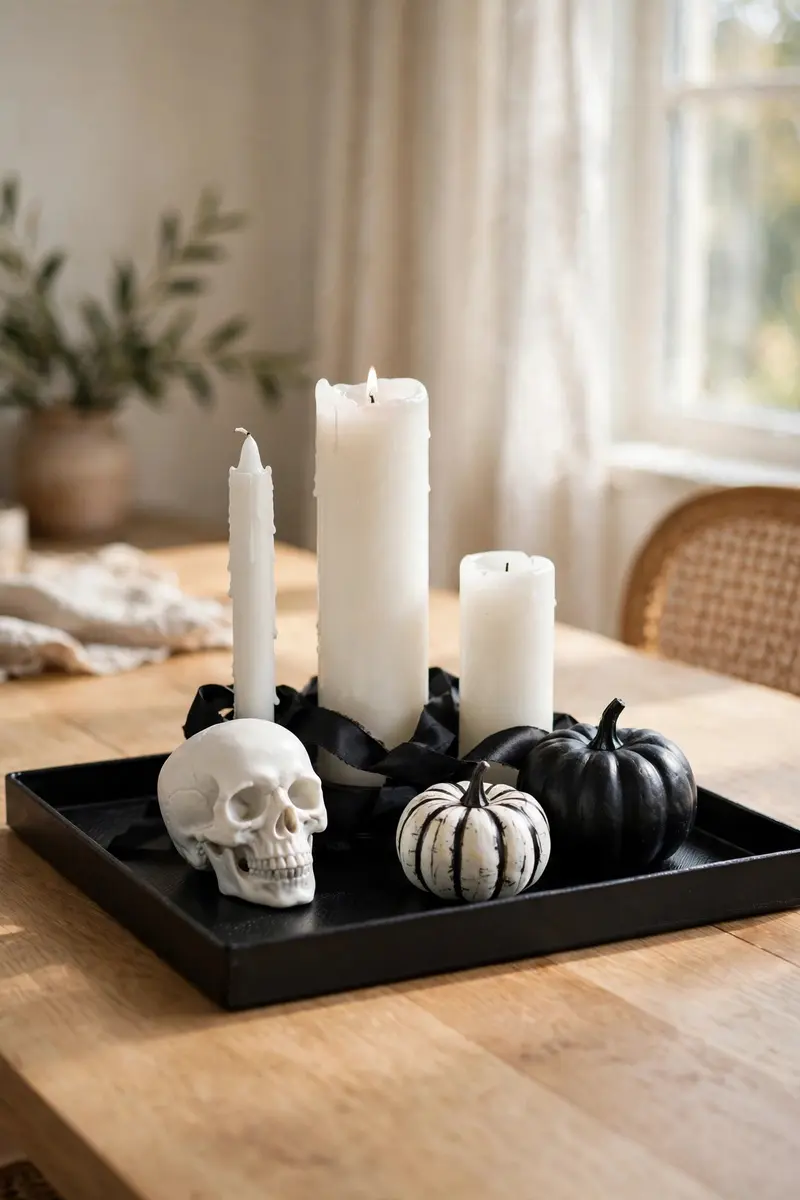
A single serving tray styled entirely in black and white is proof that dollar store halloween decor ideas look best when you commit to a palette. Gather every black and white find — candles, skulls, pumpkins — and let the tray corral them into one chic moment.
What you’ll need: black serving tray or cookie sheet, white and black candles, mini pumpkins, a skull, black ribbon. Cost: $8–$12.
Paint any off-palette pieces with black or white craft paint first. Then arrange by height: tallest in back (candles), mid-height in the middle (skull), smallest in front (pumpkins). Tuck black ribbon or faux spiderweb into the gaps to hide the joins.
Practical tip: Trays make styling renter-friendly — lift the whole vignette away in seconds when you need the surface back.
Variation: Swap the palette to all white with metallic accents for an elegant “ghost chic” table.
5. Stacked Pumpkin Porch Topiary
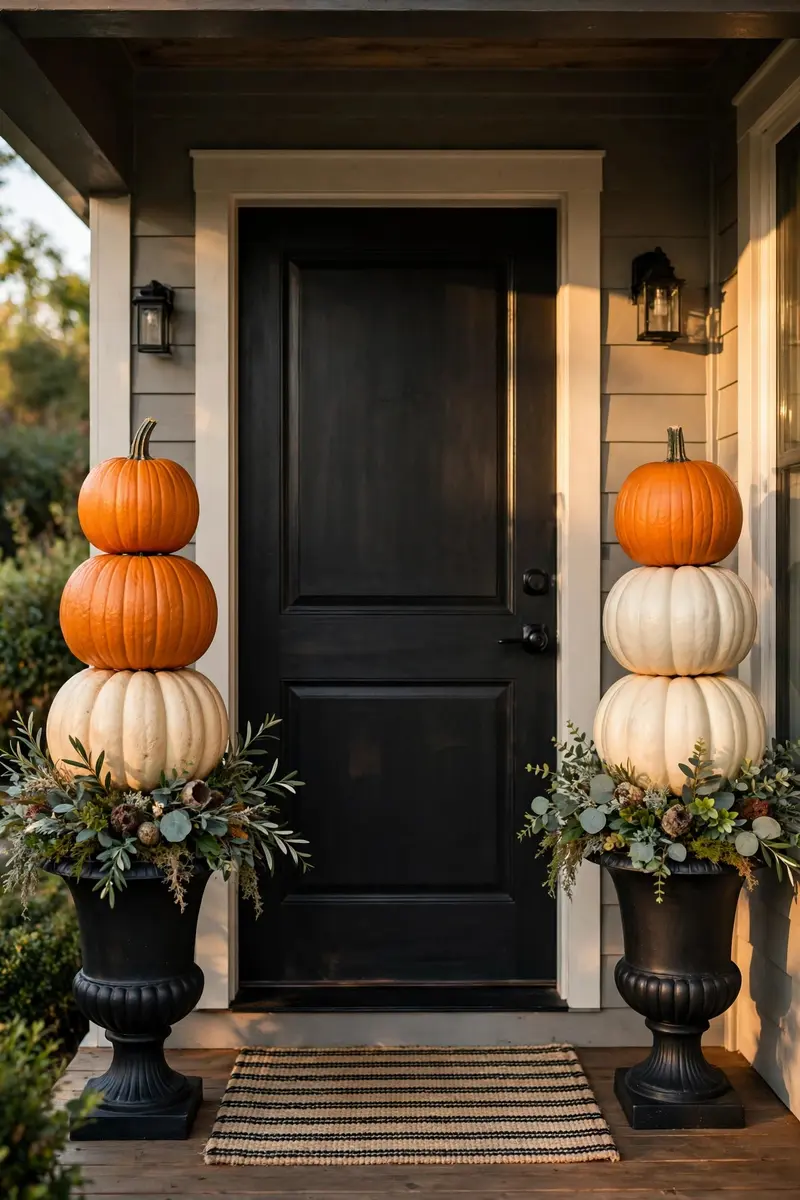
Flank your front door with stacked pumpkin topiaries and your porch reads “decorated” before you add another single thing. The stacking-pumpkin sets at the dollar store are made for exactly this.
What you’ll need: 2–3 stackable pumpkin sets, a planter or urn, floral foam, faux greenery sprigs. Cost: $8–$10 per topiary.
Seat the largest pumpkin in the planter with a chunk of floral foam for stability, then stack upward from big to small. Twist each pumpkin slightly off-center so the stack looks organic, not manufactured. Tuck greenery and a few faux berries at the base to hide the foam.
Practical tip: Add a heavy stone or brick inside the planter before stacking — stacked pumpkins catch the wind and topple easily on open porches.
Variation: Spray the whole stack matte black or cream for a modern monochrome porch.
6. Lit Muslin Ghost Garland
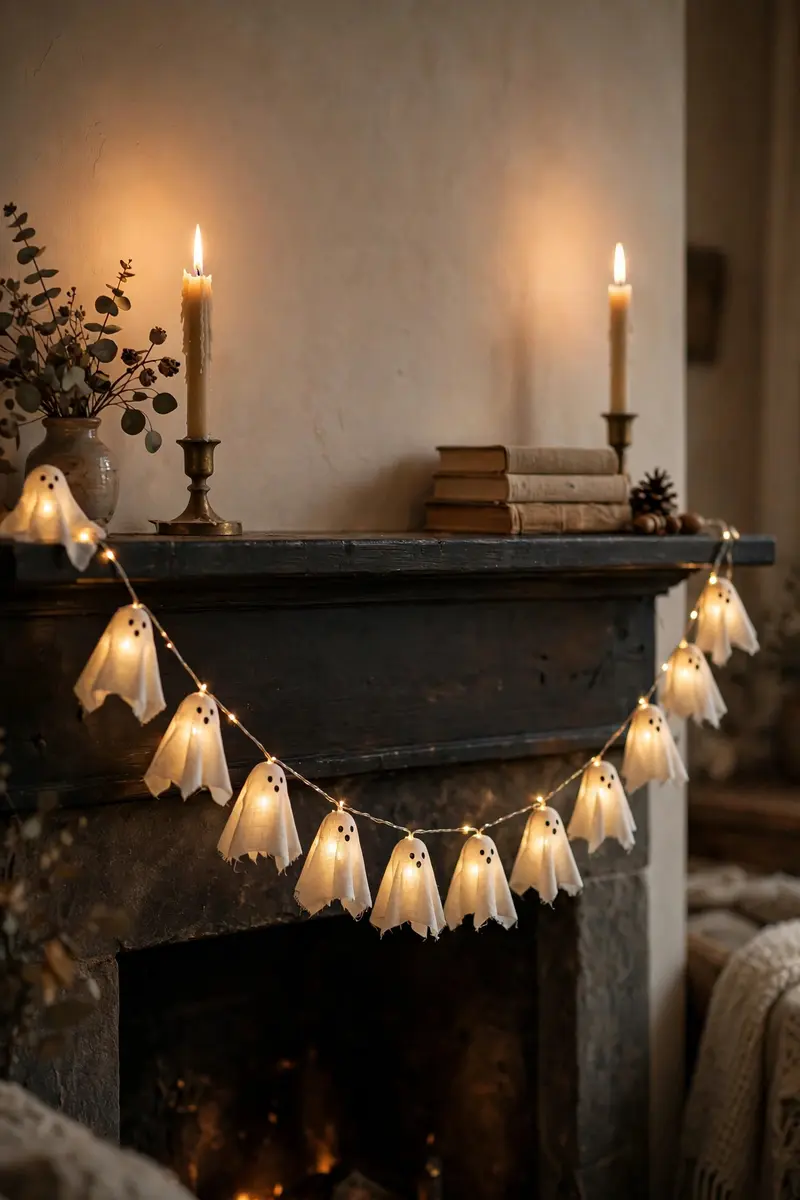
Little glowing ghosts strung across a mantel or window are the coziest kind of spooky — and they cost almost nothing. Battery string lights, foam balls, and a length of ivory muslin are the whole recipe.
What you’ll need: battery-operated string lights, foam balls or cotton balls, skewers or floral wire, ivory muslin or cheesecloth. Cost: $5–$8.
Skewer each foam ball onto the string lights, spacing them evenly. Drape a square of muslin over each ball and cinch it with a piece of twine to form the ghost’s “neck.” Draw simple dot eyes with a marker, hang the strand, and switch it on after dark.
Practical tip: Use warm-white lights, not cool white — the warm glow through ivory fabric is what makes these look expensive instead of crafty.
Variation: Make a single giant ghost as a porch lantern by draping muslin over a balloon-topped jar with a tea light inside.
7. Apothecary Potion Jars
Glass canisters from the dollar store, filled with colored water and labeled with spooky names, become a mad-scientist apothecary shelf that costs less than a pizza. This is one of the most re-pinnable dollar store halloween decor ideas — and it’s practically foolproof.
What you’ll need: assorted glass jars or canisters, food coloring, water, printed labels or tags, tea lights or fairy lights. Cost: $6–$10.
Fill each jar with water tinted in creepy hues — green “witch’s brew,” amber “dragon’s blood,” murky purple “nightshade.” Glue on printed labels with names like “Eye of Newt” and “Bat Wings,” then cluster the jars on a shelf with a string of fairy lights behind them.
Practical tip: A drop of dish soap in each jar keeps the color from settling and makes the liquid swirl dramatically when moved.
Variation: Drop in plastic eyeballs, spiders, or rubber snakes before sealing — instant specimen jars.

8. Floating Cheesecloth Ghost Centerpiece
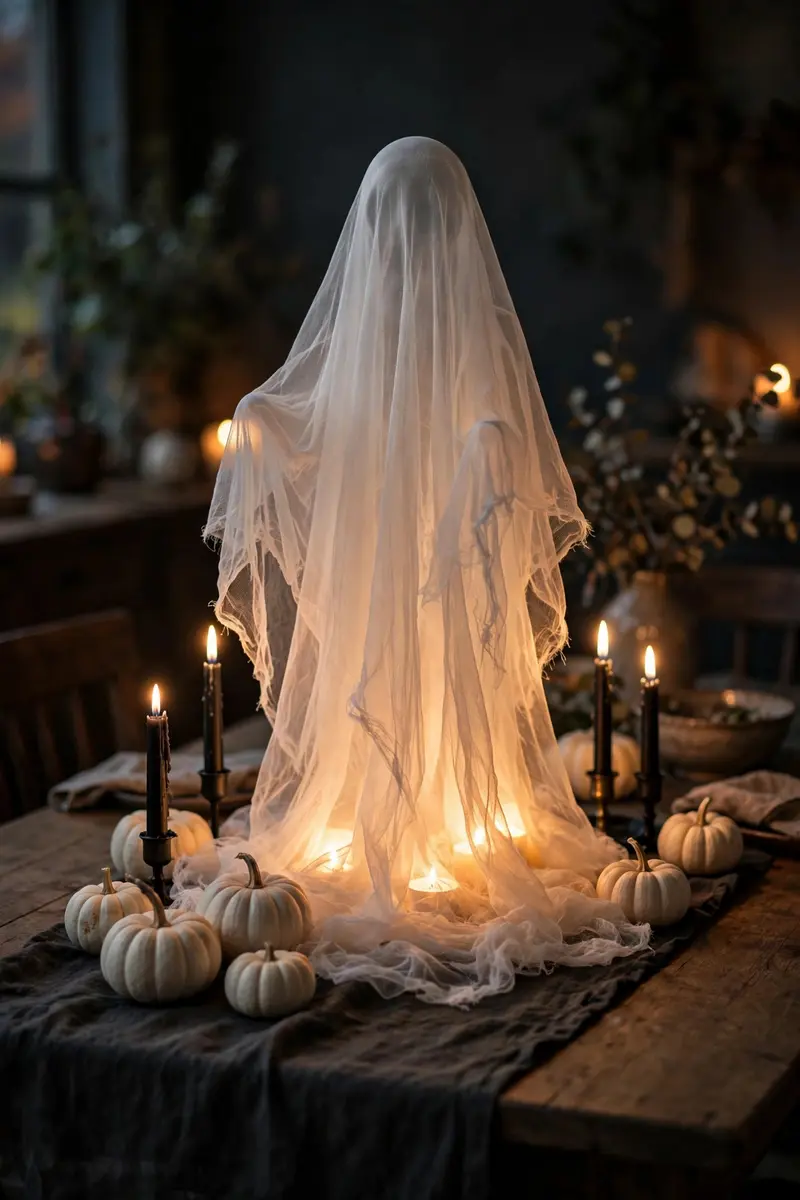
A single dramatic ghost rising from your dining table needs only cheesecloth, fabric stiffener (or watered-down glue), and a balloon-and-jar armature you dismantle afterward. Guests will ask where you bought it.
What you’ll need: cheesecloth, fabric stiffener, a balloon, a tall jar, a bowl. Cost: $3–$5.
Set the balloon on top of the jar in a bowl to form the ghost’s shape. Soak the cheesecloth in stiffener, drape it over the form in soft folds, and let it dry overnight. Pop the balloon, lift the shell off the jar, and set your hollow ghost on the table — arms of cheesecloth trailing dramatically.
Practical tip: Drape two layers of cheesecloth — one layer goes translucent and patchy when it dries.
Variation: Make a trio in graduated sizes and light them from below with tea lights for a haunted-table glow.
9. Plunger Witch’s Broom by the Door
The plunger-to-broom hack is legendary among dollar tree halloween diy fans: a $1 plunger plus nautical rope becomes a rustic witch’s broom that leans perfectly by the front door or fireplace.
What you’ll need: a plunger, nautical rope or raffia, rubber bands, black ribbon. Cost: $3–$5.
Cut the rope into long pieces and rubber-band them tightly around the plunger’s rubber base, fanning them out to form bristles. Wrap black ribbon around the rubber bands to hide them, tie a bow, and lean the broom by your entryway with a witch hat on top.
Practical tip: Rubber bands beat hot glue here — you can re-fluff and reshape the bristles every season, and the broom stores flat.
Variation: Hang it horizontally above a mantel with a “Parking for Witches” sign for a porch-style welcome indoors.

10. Aged Foam Tombstone Graveyard
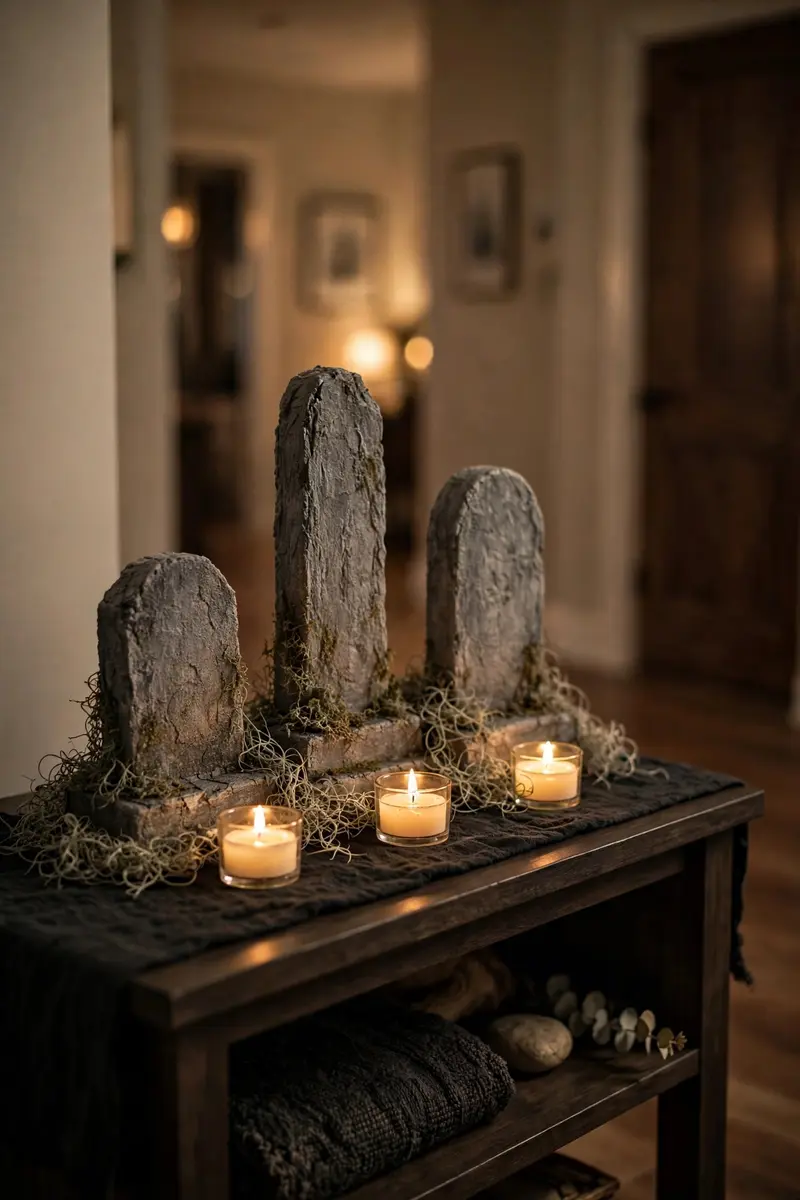
Dollar store foam tombstones look flat out of the package — but a wash of gray paint and some moss transforms them into a convincing little graveyard for a hallway console or porch corner.
What you’ll need: foam tombstones, gray and black craft paint, a sponge, Spanish moss. Cost: $5–$8.
Dry-brush gray paint over the foam, then sponge black into the lettering and edges for an aged, weathered look. Cluster three to five tombstones at different heights on a dark cloth runner, tucking moss around their bases, and add a few battery tea lights for dusk.
Practical tip: Carve extra cracks with a craft knife before painting — the paint settles into the cuts and sells the stone effect.
Variation: Write funny epitaphs (“I Told You I Was Sick”) with a paint pen for a family-friendly graveyard.
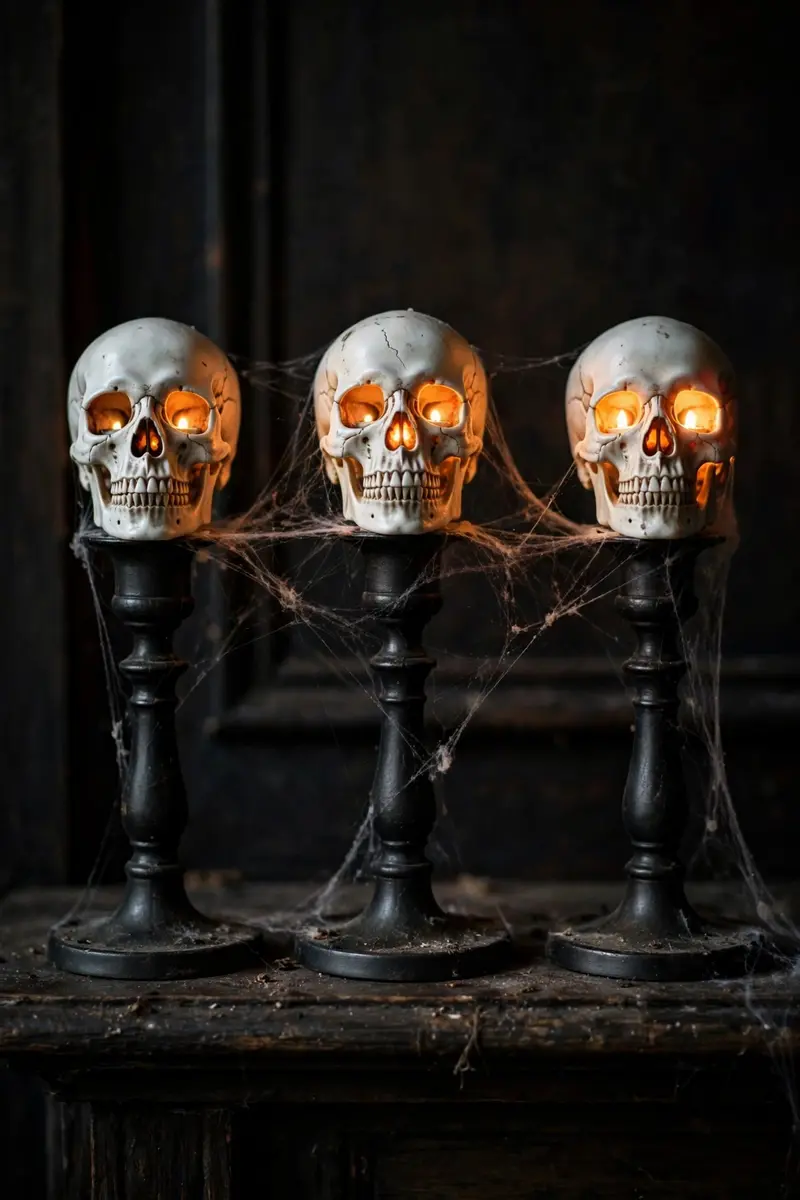
11. Skull Candleholders with Tea Lights
Candleholders are where the dollar store quietly shines — black candlesticks topped with small skulls and flickering tea lights make a gothic mantel in about ten minutes flat.
What you’ll need: black candleholders or candlesticks, mini skulls, battery tea lights, faux spiderweb. Cost: $5–$7.
Hot-glue a mini skull onto the top of each candlestick where the taper would go, nestle a battery tea light into the skull’s cranium, and drape wisps of faux spiderweb across the row. Line them down a mantel or dining table for instant atmosphere.
Practical tip: Stick to battery tea lights, always — real flames near plastic skulls and webbing are a fire hazard.
Variation: Use white skulls and ivory candles for a softer, vintage-Halloween take.
12. Black Cat Stacked Pumpkins
Turn stackable pumpkins into a sleek black cat silhouette with faux fur trim and wire whiskers — a charming nod to Halloween’s most iconic familiar that works for both spooky and cute styles.
What you’ll need: 2–3 stackable pumpkins, black spray paint, faux fur fabric scraps, craft wire, hot glue. Cost: $6–$9.
Spray the pumpkins black and stack them. Cut triangle ears from black cardstock and glue them to the top pumpkin; add wire whiskers, a pink triangle nose, and a curled wire tail. Wrap the base in faux fur for a “fluffy” ruff.
Practical tip: Seal the paint with a clear matte topcoat if the cat will sit on the porch — spray paint alone can go tacky in damp weather.
Variation: Make a white ghost-cat version with the same technique for the trending cute-and-spooky look.

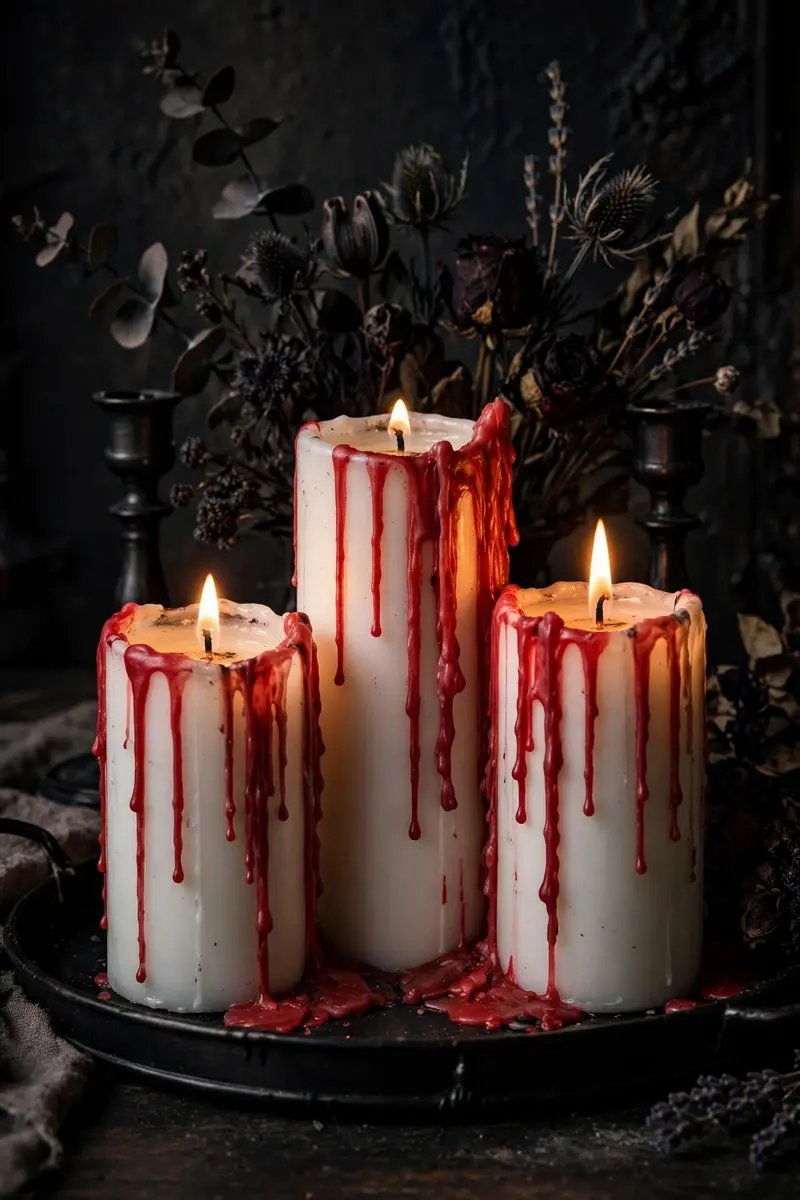
13. Blood-Drip Taper Candles
White pillar candles with red wax dripped down their sides are pure haunted-house drama — and they take five minutes. This is the fastest of all these dollar store halloween decor ideas and one of the most photographed.
What you’ll need: white pillar candles, red taper candles or red crayons, a lighter. Cost: $3–$5.
Light the red candle and let the wax drip slowly down the white pillar, rotating it for even coverage. Let each layer cool before adding more for thick, realistic drips. Cluster the finished candles with black candlesticks and dim the lights.
Practical tip: Drip onto a sheet of parchment, not your table — red wax stains wood and fabric permanently.
Variation: Use black wax drips on ivory candles for a less gory, more elegant gothic look.
14. Farmhouse Halloween Tiered Tray
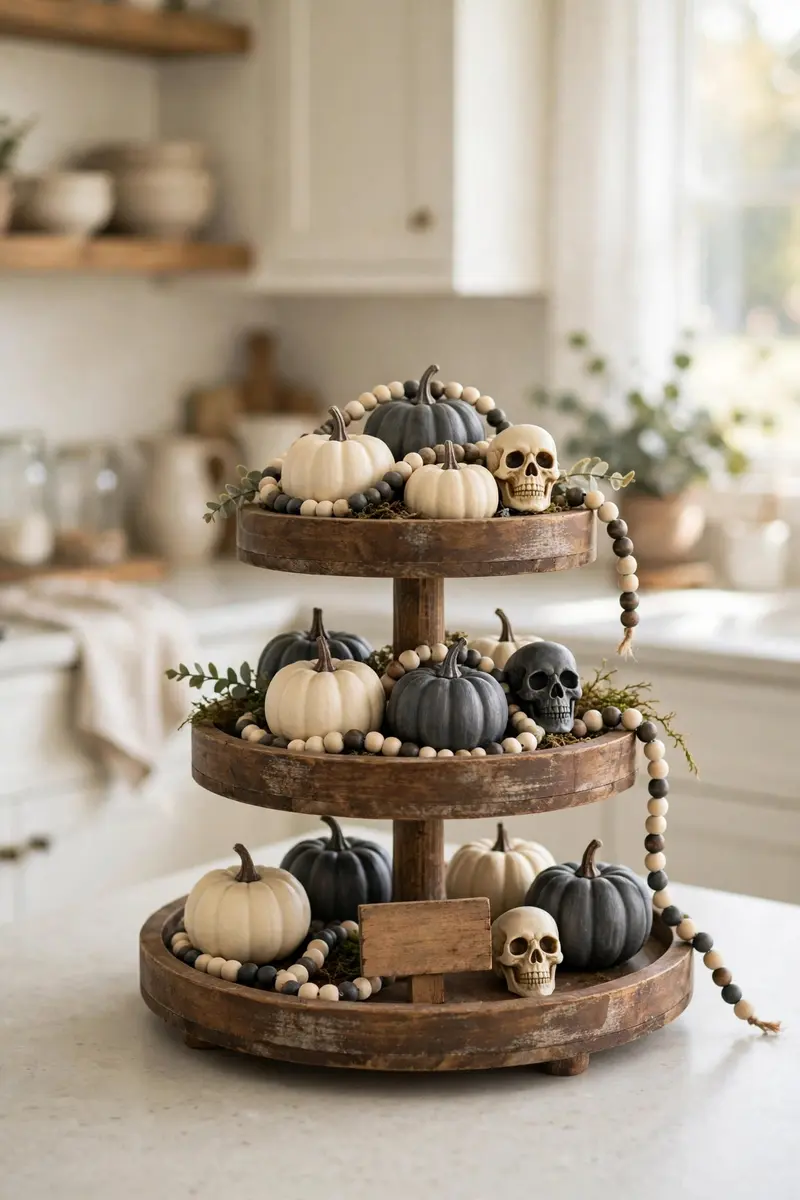
Tiered trays are the darling of budget seasonal styling, and a Halloween version comes together almost entirely from the dollar store’s mini pumpkins, skulls, and signs.
What you’ll need: a tiered tray (or stack of plates on candlesticks), mini pumpkins, small skulls, a mini sign, bead garland. Cost: $8–$12.
Paint the plastic minis with the baking-soda technique from idea #1 so everything matches. Style bottom-up: largest pieces on the bottom tier, smallest on top, weaving a bead garland through for rhythm. Add one tiny sign with a Halloween phrase as the focal point.
Practical tip: Keep a strict three-color palette on the tray — when every piece shares colors, even $1 minis look like a curated set.
Variation: Go all-neutral (cream, wood, black) so the tray transitions straight into Thanksgiving.
15. Creepy-Cloth Draped Mantel
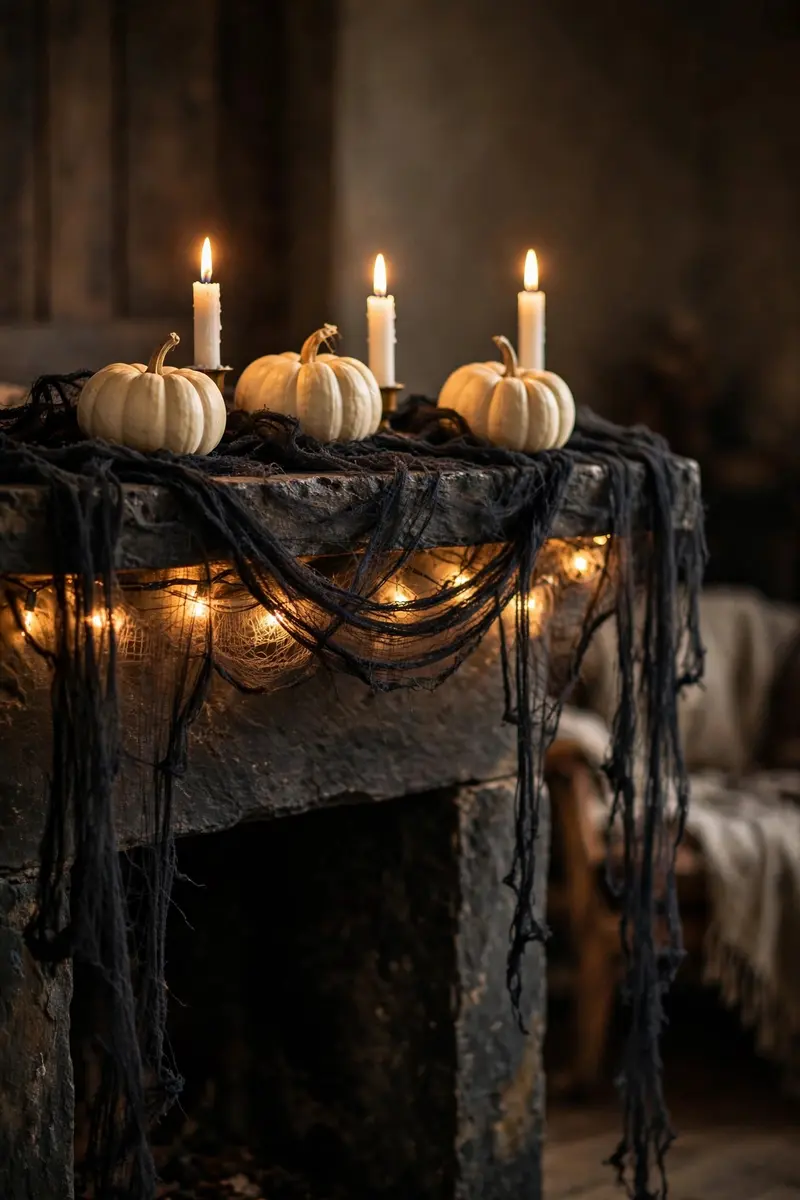
A few yards of creepy cloth — that gauzy black fabric the dollar store sells every October — draped over your mantel instantly turns a normal shelf into a haunted one. Layering is the whole trick.
What you’ll need: 2–3 yards creepy cloth or black gauze, battery string lights, existing mantel decor. Cost: $4–$6.
Drape the cloth in loose swags across the mantel, letting the ends trail down the sides. Weave battery string lights underneath so the fabric glows from within, then set your existing candles and pumpkins on top — the cloth does the spooky work for them.
Practical tip: Stretch the cloth’s fibers apart with your fingers before draping — separated gauze looks wispy and expensive; bunched gauze looks like a trash bag.
Variation: Layer orange gauze over black for a sunset ember effect under the lights.
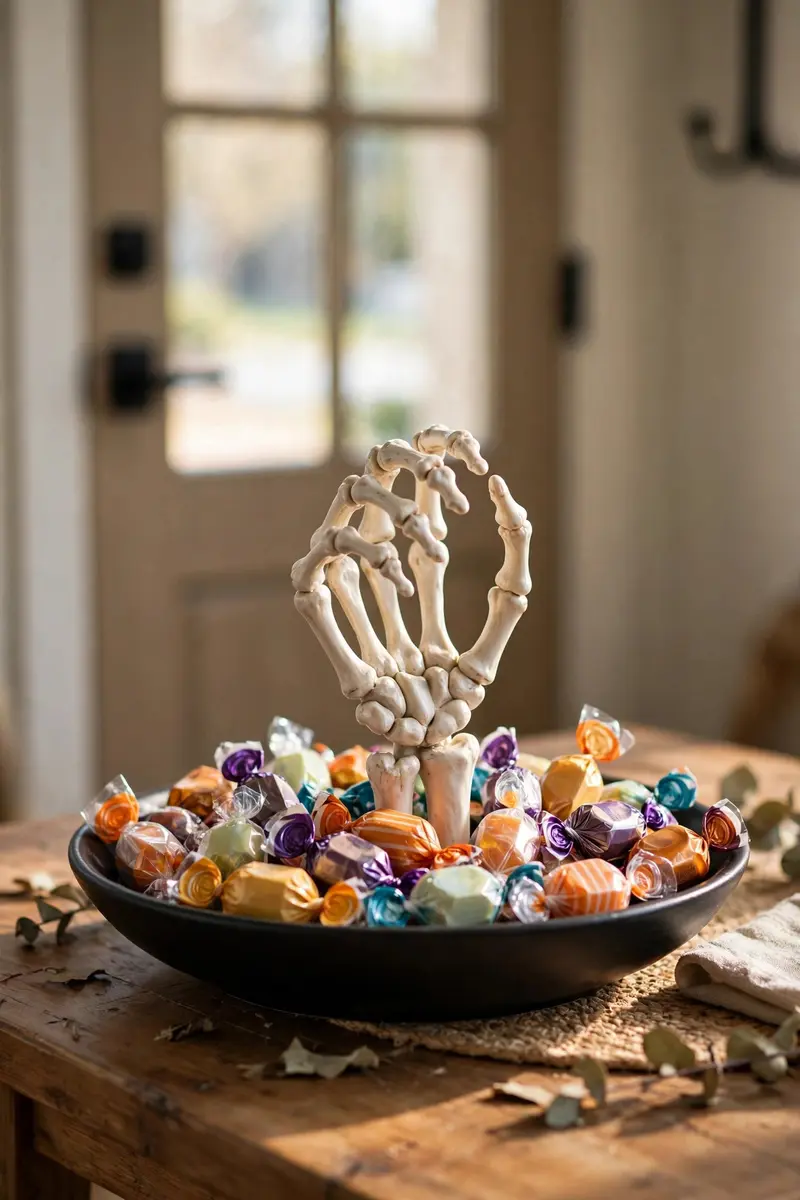
16. Skeleton-Hand Candy Dish
A plastic skeleton hand rising from a dish to “offer” candy is the perfect mix of creepy and functional — and it makes the trick-or-treat bowl the most photographed thing on your porch.
What you’ll need: a skeleton hand (or arm), a shallow bowl or tray, candy, hot glue. Cost: $3–$6.
Hot-glue the skeleton hand upright in the center of the bowl, fingers curled as if holding something. Fill the bowl with wrapped candy so the hand appears to be offering it. For a standing version, glue the hand to a candlestick base instead.
Practical tip: Glue the hand at a slight forward tilt — perfectly vertical hands look stiff; a tilt looks like it’s reaching for guests.
Variation: Fill the bowl with plastic eyeballs for a party table, or pinecones for a post-Halloween fall version.
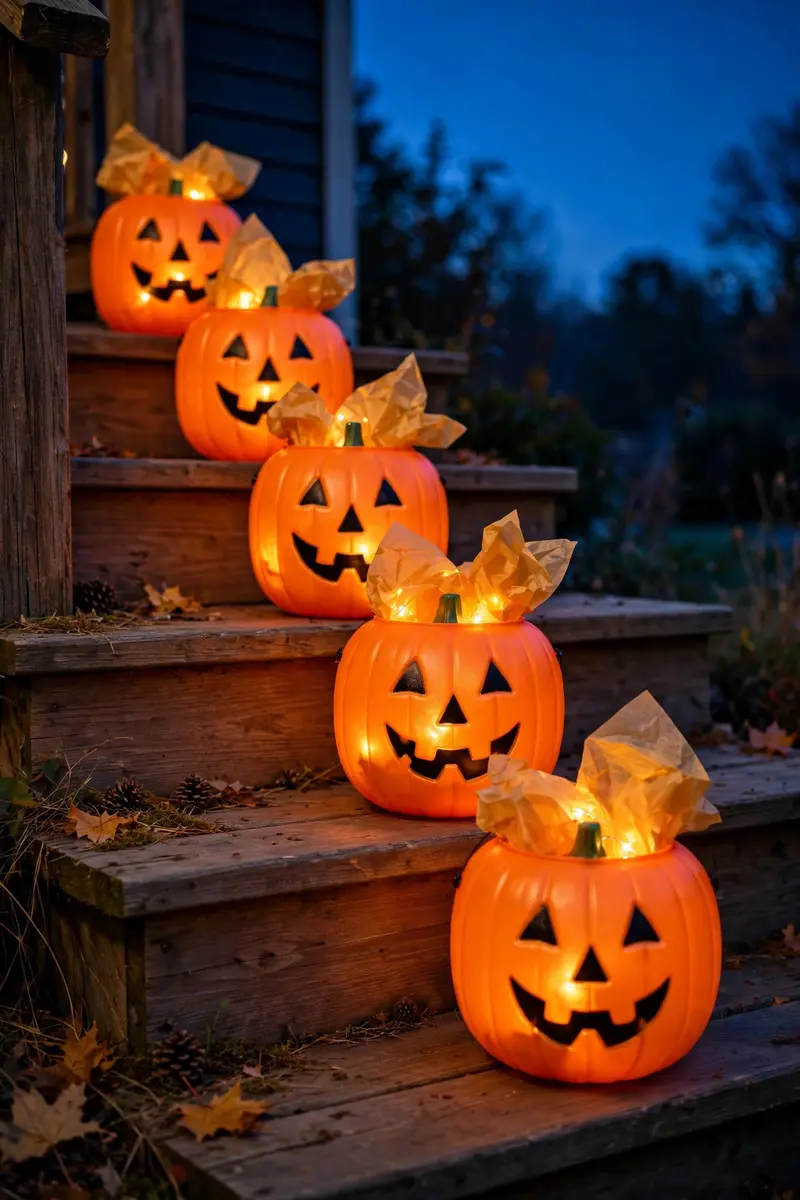
17. Glowing Jack-o’-Lantern Luminaries
Clear plastic jack-o’-lantern buckets become glowing luminaries with a string of fairy lights and a little tissue paper — a no-carve, kid-safe alternative to real carved pumpkins that lights up the whole porch.
What you’ll need: clear or orange plastic jack-o’-lantern buckets, warm fairy lights, orange tissue paper, black craft foam. Cost: $5–$8.
Line each bucket with crumpled orange tissue paper to diffuse the light, coil a string of fairy lights inside, and cut simple face shapes from black craft foam to stick on the outside. Line them along porch steps or a walkway after dark.
Practical tip: Crumpled tissue matters — flat tissue shows the individual bulbs; crumpled tissue glows evenly like a real pumpkin.
Variation: Use white buckets with ghost faces for a “boo crew” walkway.
18. Paper Bat Wall Swarm
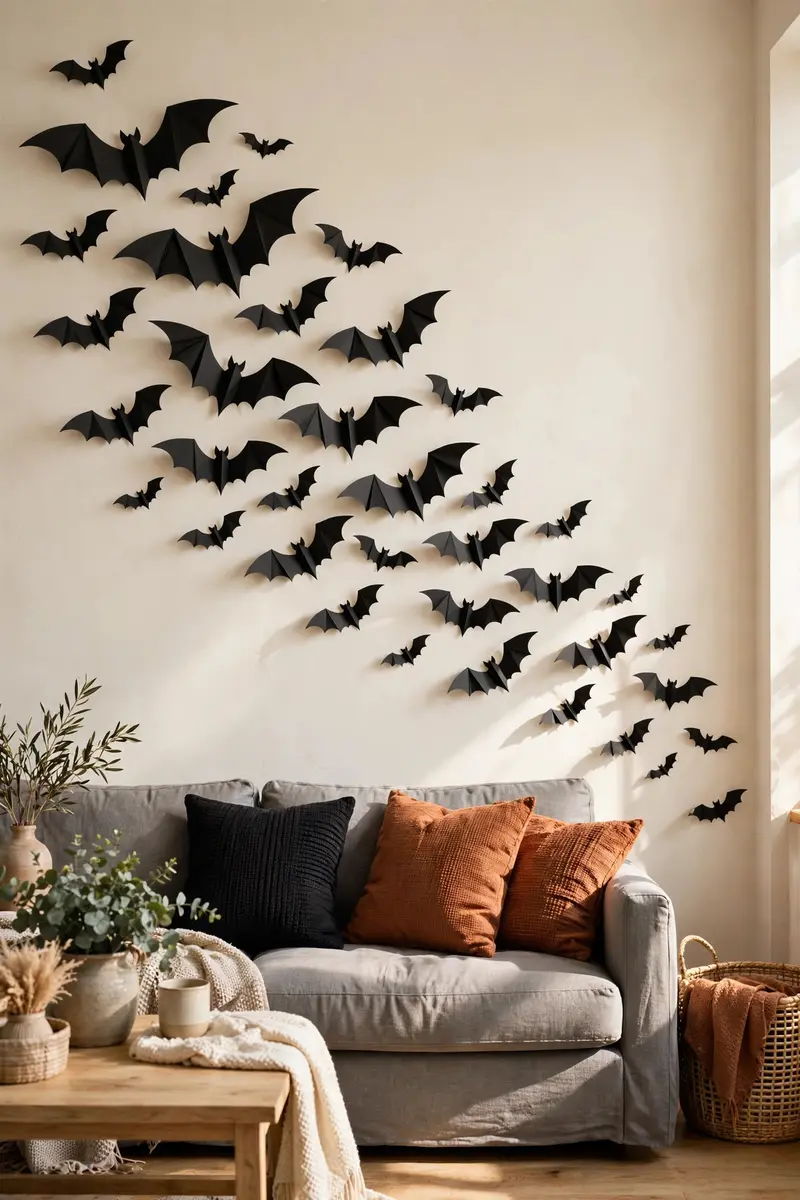
A swarm of paper bats flying up a wall or across a mantel is the highest-impact, lowest-cost decoration on this list — a pack of black cardstock and an hour of cutting fills an entire wall.
What you’ll need: black cardstock, a bat template, scissors or craft punch, removable adhesive dots. Cost: $2–$4.
Trace and cut bats in three sizes, fold each in half for a 3D wing effect, and stick them to the wall with removable dots in a sweeping diagonal formation — small bats at the edges, large in the center, like a flock taking flight.
Practical tip: Map the swarm with painter’s tape first — random placement looks chaotic, but a planned curve looks designed.
Variation: Cut bats from metallic gold cardstock for a glam Halloween party backdrop.
19. Haunted Branch Centerpiece
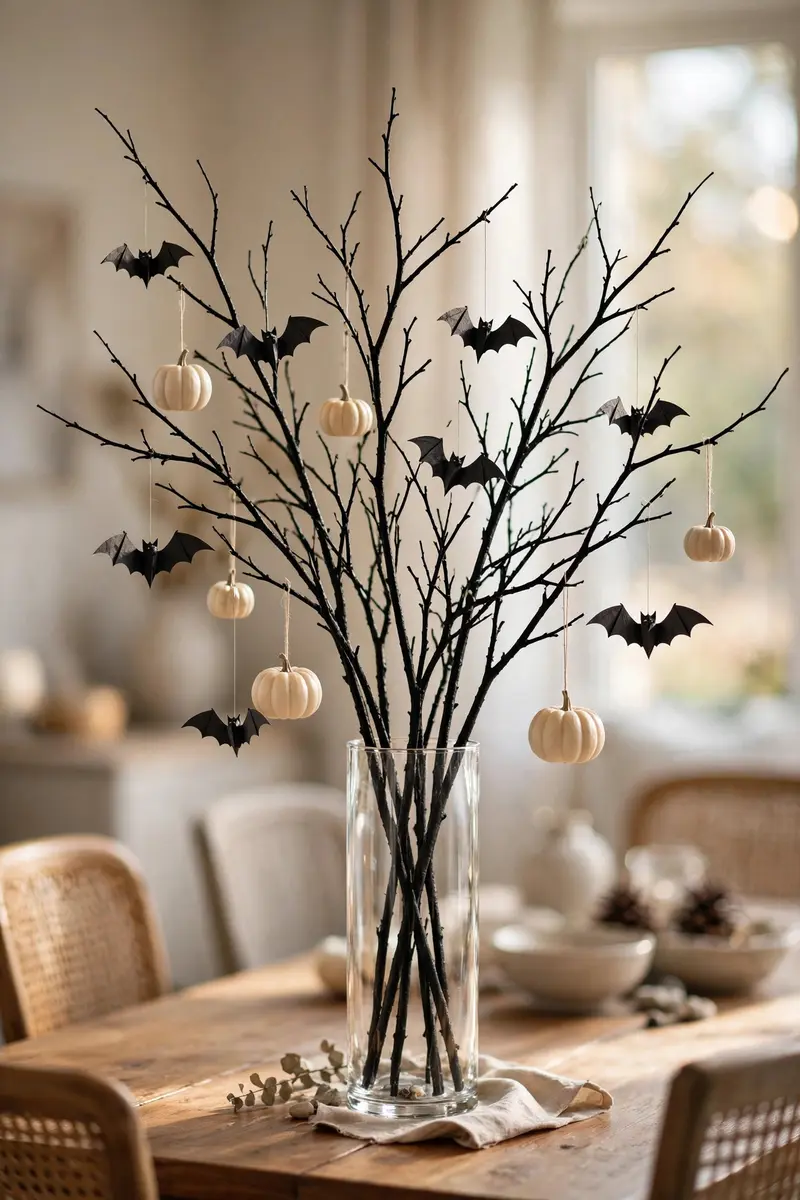
Foraged bare branches sprayed black and set in a vase become a sculptural Halloween tree — hang paper bats, tiny pumpkins, and crows from the branches and you’ve got a centerpiece with real designer energy.
What you’ll need: bare branches from the yard, black spray paint, a tall vase, paper bats, small ornaments, floral foam. Cost: $3–$6.
Spray the branches black and let them dry fully. Anchor them in the vase with floral foam, then hang lightweight ornaments from the branch tips — paper bats, mini pumpkins on thread, plastic crows. Keep the palette tight: black plus one accent color.
Practical tip: Trim the branches so the tallest is about 1.5 times the vase height — that’s the proportion that looks intentional rather than scraggly.
Variation: Leave the branches natural and hang amber fairy lights for a fall version that lasts through Thanksgiving.
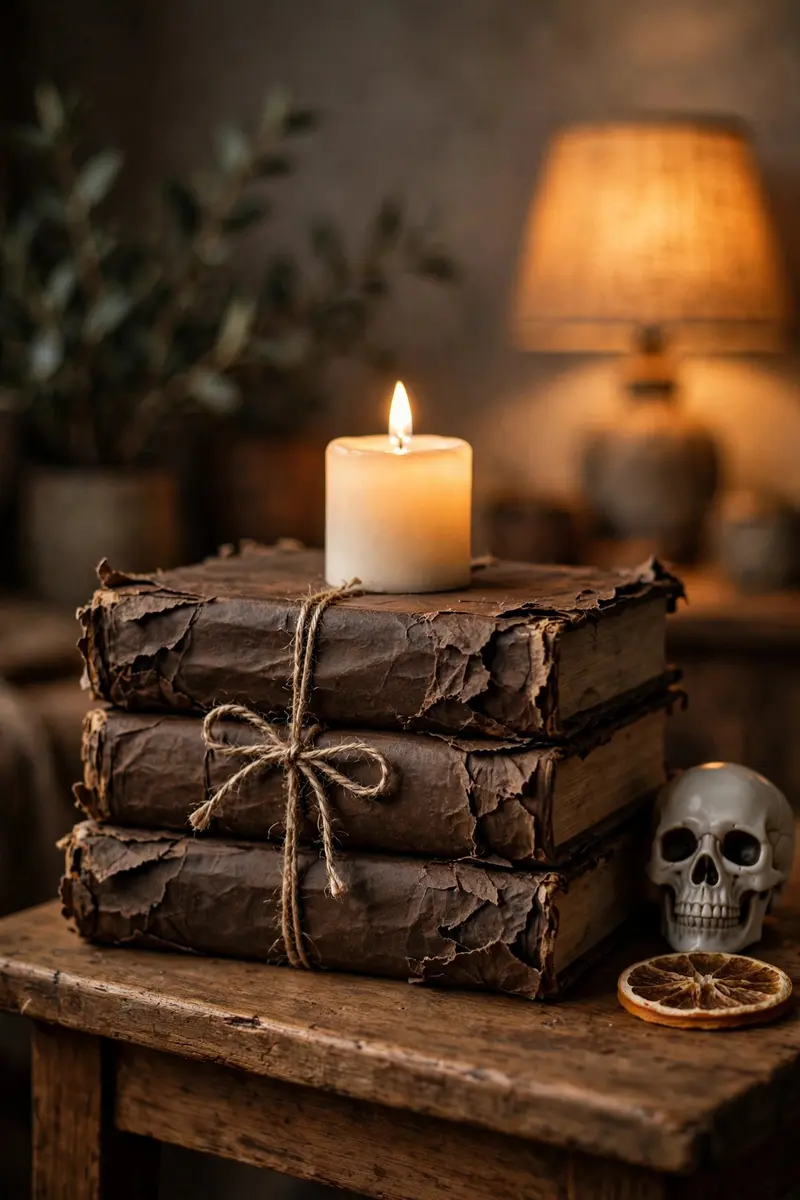
20. Bewitched Spell-Book Stack
Old hardcover books from the dollar store’s book section, wrapped in dark paper and labeled with spell names, stack into a witchy tabletop vignette that costs almost nothing and looks wonderfully moody.
What you’ll need: 3–4 hardcover books, black or brown craft paper, printed spine labels, twine, a small candle. Cost: $4–$6.
Wrap each book like a gift in the dark paper, glue on spine labels reading “Spells,” “Potions,” “Curses,” and stack them largest to smallest. Tie the stack with twine, top it with a battery candle, and flank it with a skull or small pumpkin.
Practical tip: Rough up the paper edges with sandpaper before labeling — distressed edges sell the “ancient tome” illusion.
Variation: Stand one book open with a battery tea light “burning” inside it, pages fanned, for a casting-a-spell moment.
21. Eyeball Fairy-Light Vase
A glass cylinder vase filled with ping-pong-ball eyeballs and fairy lights is creepy, glowy, and weirdly mesmerizing — kids love it, and it takes about ten minutes to assemble.
What you’ll need: a tall glass vase or hurricane, ping-pong balls, black and red markers, fairy lights. Cost: $5–$8.
Draw iris-and-pupil eyes on the ping-pong balls with markers (a red veined look is extra creepy). Coil fairy lights in the bottom of the vase, pour in the eyeballs, and let the lights shine up through them after dark.
Practical tip: Put the lights in first and the eyeballs second — reversing the order buries the bulbs and kills the glow.
Variation: Fill with plastic spiders instead of eyeballs for an arachnid terrarium, or candy corn for a sweet version.

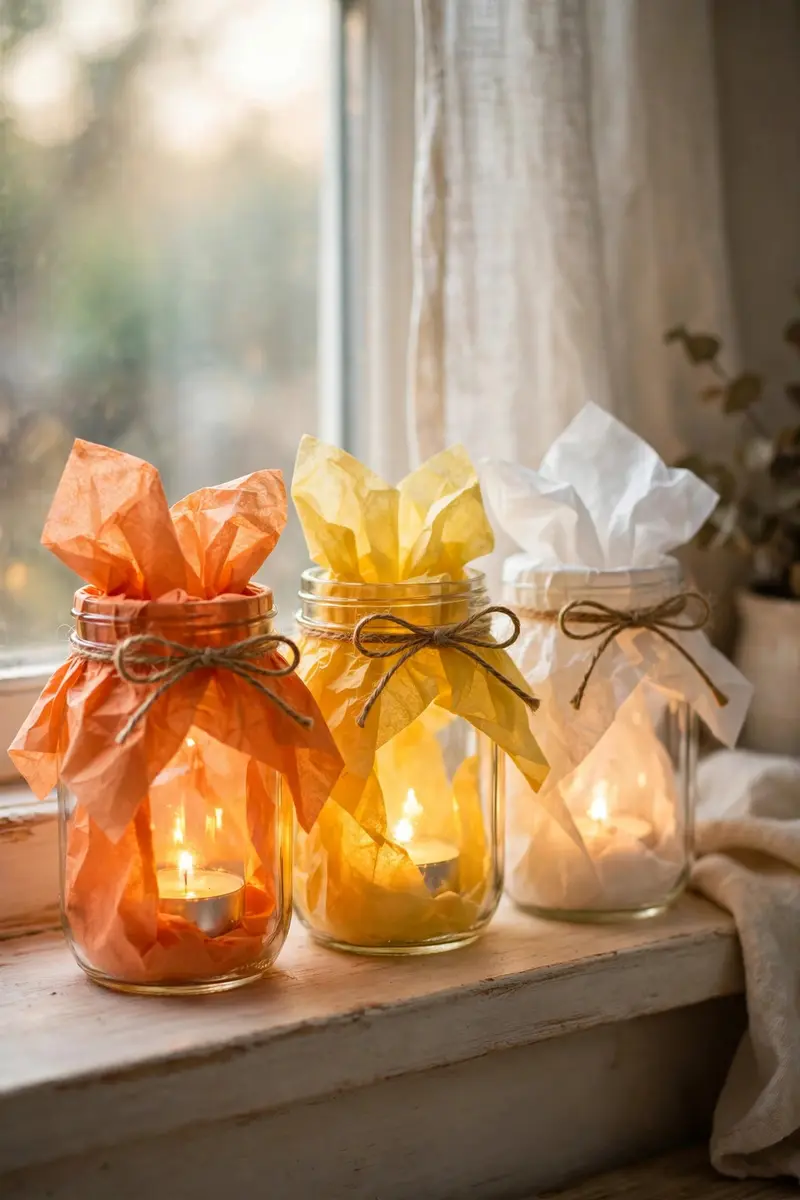
22. Candy-Corn Mason Jar Luminaries
Mason jars layered with the colors of candy corn — orange, yellow, white — glow like the real thing when lit from inside. It’s a nostalgic, cheerful take on Halloween that balances out the spookier ideas.
What you’ll need: mason jars, orange and yellow tissue paper, white paint or tissue, tea lights, twine. Cost: $4–$6.
Wrap the bottom third of each jar in orange tissue, the middle in yellow, and paint or wrap the top white. Tie twine around the rim, drop in a battery tea light, and line the jars down a table runner or windowsill.
Practical tip: Use Mod Podge or watered-down glue to adhere the tissue smoothly — tape edges catch the light and look messy.
Variation: Paint the jars with the classic candy-corn triangle face for a jack-o’-lantern twist.
23. Mini Haunted House Fairy Garden
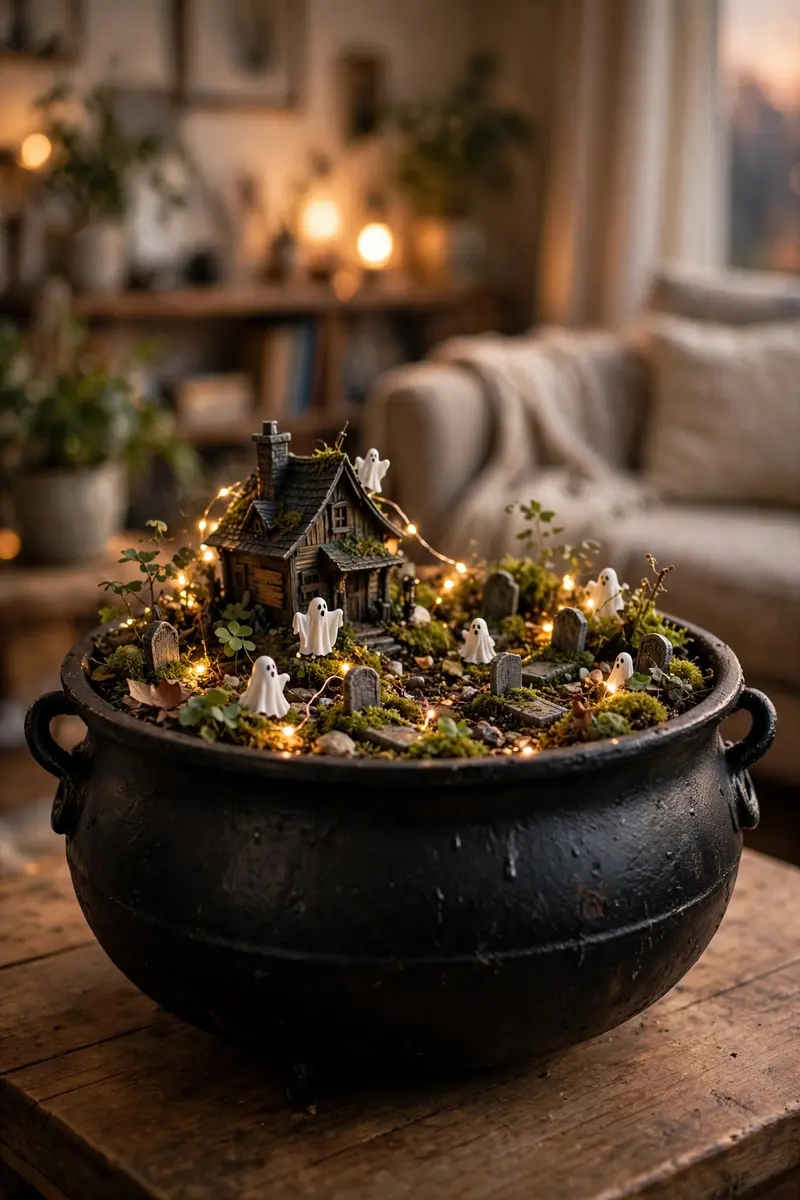
A Halloween fairy garden inside a big cauldron or planter — tiny haunted house, tombstones, ghosts, moss, and twinkle lights — is the kind of detailed little world guests can’t stop examining.
What you’ll need: a large cauldron or planter, miniature haunted house and tombstones, moss, tiny ghosts, twinkle lights. Cost: $8–$12.
Fill the cauldron with moss, then build the scene back to front: haunted house in the back, tombstones mid-ground, ghosts and lights in the front. Wind the twinkle lights through last so they peek out from behind the miniatures.
Practical tip: Build the scene on a lazy Susan if you have one — spinning it while you style lets you check the composition from every angle.
Variation: Make a woodland version with moss, mushrooms, and tiny ghosts for a softer, enchanted look.
24. Enchanted Witch Hat Stand
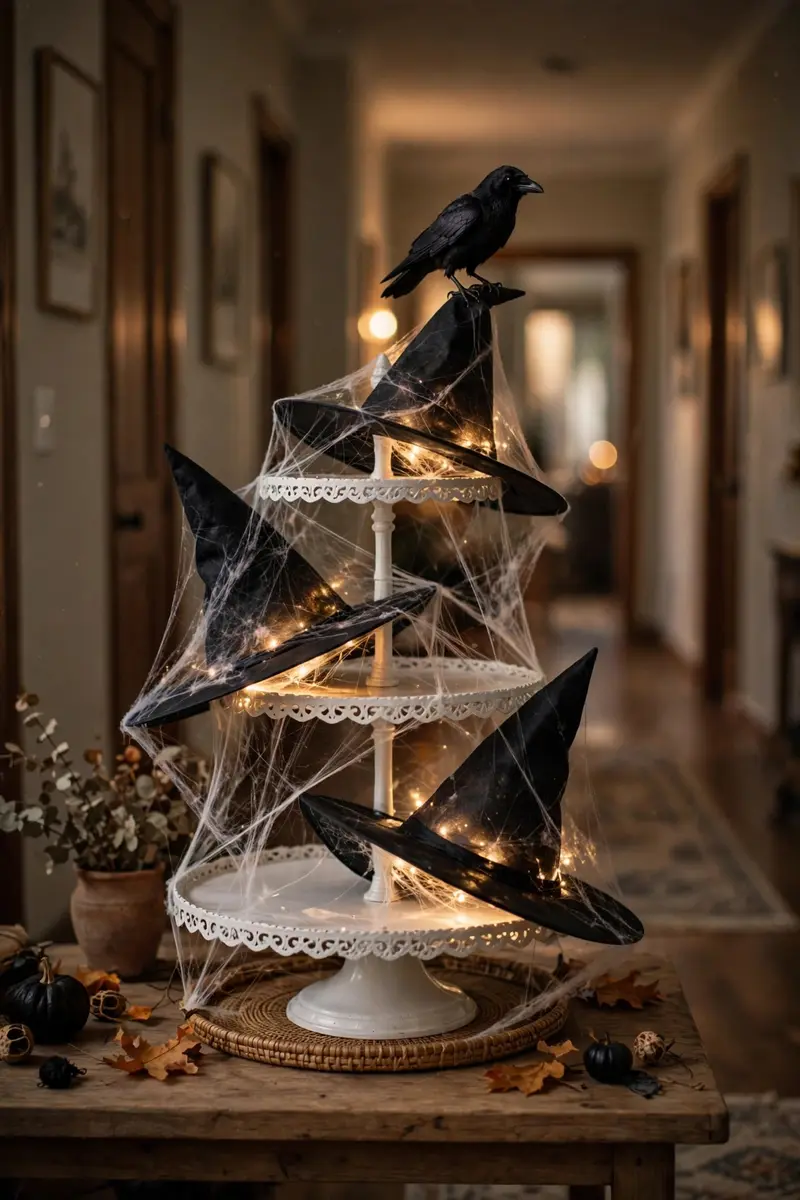
A tiered stand stacked with light-up witch hats is pure Halloween magic — the hats’ cone shapes create a striking silhouette, and the glow does all the decorating work for you.
What you’ll need: 2–3 light-up witch hats, a tiered stand or cake stand, faux spiderweb. Cost: $4–$8.
Drape the stand with faux spiderweb, perch a witch hat on each tier at jaunty angles, and switch the hats on at dusk. Place it on an entryway table or as a party-table centerpiece where the glow can be seen across the room.
Practical tip: Angle each hat differently — matching angles look like a store display; varied angles look like witches just landed.
Variation: Top each hat with a small faux crow or raven for a full witch’s-coven tableau.
If these budget finds got you inspired, keep the momentum going with our Dollar Tree Halloween decor DIY ideas for even more spooky projects that cost just a few dollars, and don’t miss these DIY Halloween doormat ideas to finish your entryway.
FAQs
How do you make Dollar Tree Halloween decor look expensive?
Three tricks do 90% of the work: paint (matte craft paint with baking soda kills the cheap plastic shine), palette (stick to three colors max so everything looks curated), and clustering (style pieces in tight vignettes instead of scattering them). Texture is the real secret — a textured finish reads as “stoneware” or “aged” while glossy plastic reads as “dollar store.”
What are the best dollar store Halloween craft supplies to stock up on?
Foam and plastic pumpkins, plastic skulls, black and white candles, battery tea lights and fairy lights, creepy cloth, faux spiderweb, plastic bugs and spiders, glass jars, and craft paint in black, white, and metallic gold. These are the building blocks of nearly every idea above — buy them early in October before the shelves empty.
How can I decorate for Halloween on a budget?
Set a per-room budget (even $10–$15 per space works), shop your home first for black throws, brass candlesticks, and amber glassware that are already Halloween-ready, then fill the gaps with dollar store finds. Style in 3–4 rich vignettes — entry, mantel, dining table, porch — rather than spreading decor thin. And commit to one palette; it makes a small haul look like a designed collection.
Can I make outdoor Halloween decorations from dollar store supplies?
Absolutely — with one upgrade: weatherproofing. Seal painted pieces with clear matte spray, weigh down lightweight items (stones inside planters, stakes through foam tombstones), and bring paper and fabric pieces inside during rain. Plastic spiders, ping-pong-ball eyeballs, and plastic snakes on wooden stakes make excellent weatherproof yard decor, and string lights make everything visible at night.
How do you keep cheap plastic decorations from looking cheap?
Never display glossy plastic as-is. A coat of matte spray paint or the baking-soda paint trick removes the telltale shine instantly. Then elevate with real-world texture around it — drape linen, add dried florals, nestle pieces in moss or wood. The eye reads the expensive materials and assumes the whole arrangement matches.
Conclusion
The best Halloween decorating secret isn’t a store — it’s a mindset. With dollar store halloween decor ideas like these, a $20 haul and an afternoon of crafting can give you a home that looks like you hired a stylist. Start with one vignette — the mantel is always a winner — and let the paint, lights, and clustering do the heavy lifting.
Found an idea you love? Save this post to your Halloween Pinterest board so it’s waiting when October rolls around — and tag us when you try one. We’d love to see your $5 masterpiece.