Budget Small Bathroom Ideas: 24 Stunning Looks
Your bathroom may be small, but it does not have to feel cramped, dated, or dull. The best budget small bathroom ideas work with what you already have — a coat of paint here, a smarter mirror there, storage that climbs the walls instead of crowding the floor — and the whole room suddenly feels bigger, brighter, and far more stylish. You do not need a full renovation, a contractor, or a five-figure budget to get there. Most of the ideas below cost under $100, many cost under $30, and several are completely renter-friendly.
Below you will find 24 budget small bathroom ideas, each with realistic costs, simple how-to guidance, and a practical tip you can use today. Pick two or three to start with, live with them for a week, and then add more. Small rooms reward small, thoughtful changes more than one big splurge.
1. Paint the Walls (and Trim) One Light Color
A fresh coat of paint is still the cheapest transformation in any small bathroom. Soft warm white, pale greige, light sage, or misty blue reflects light and blurs the edges of the room, so the walls seem to recede. Painting the trim and ceiling the same shade — a trick designers call color drenching — erases the visual lines that chop a tiny room into pieces.
Materials and cost: one gallon of bathroom paint ($35–$55), a roller set, painter’s tape, and a small brush for edges. Most small bathrooms need just one gallon.
Start by cleaning the walls, filling nail holes, and taping off the tub and fixtures. Cut in around the ceiling and trim first, then roll the walls in a “W” pattern for even coverage. Two thin coats always beat one thick one.
Practical tip: Choose a satin or semi-gloss finish — it resists moisture and wipes clean far more easily than flat paint.
Variation: If all-white feels too plain, paint just the lower half of the walls a soft color and keep the top white for a classic, tailored look.
2. Hang an Oversized Mirror — the Best of These Budget Small Bathroom Ideas for Light
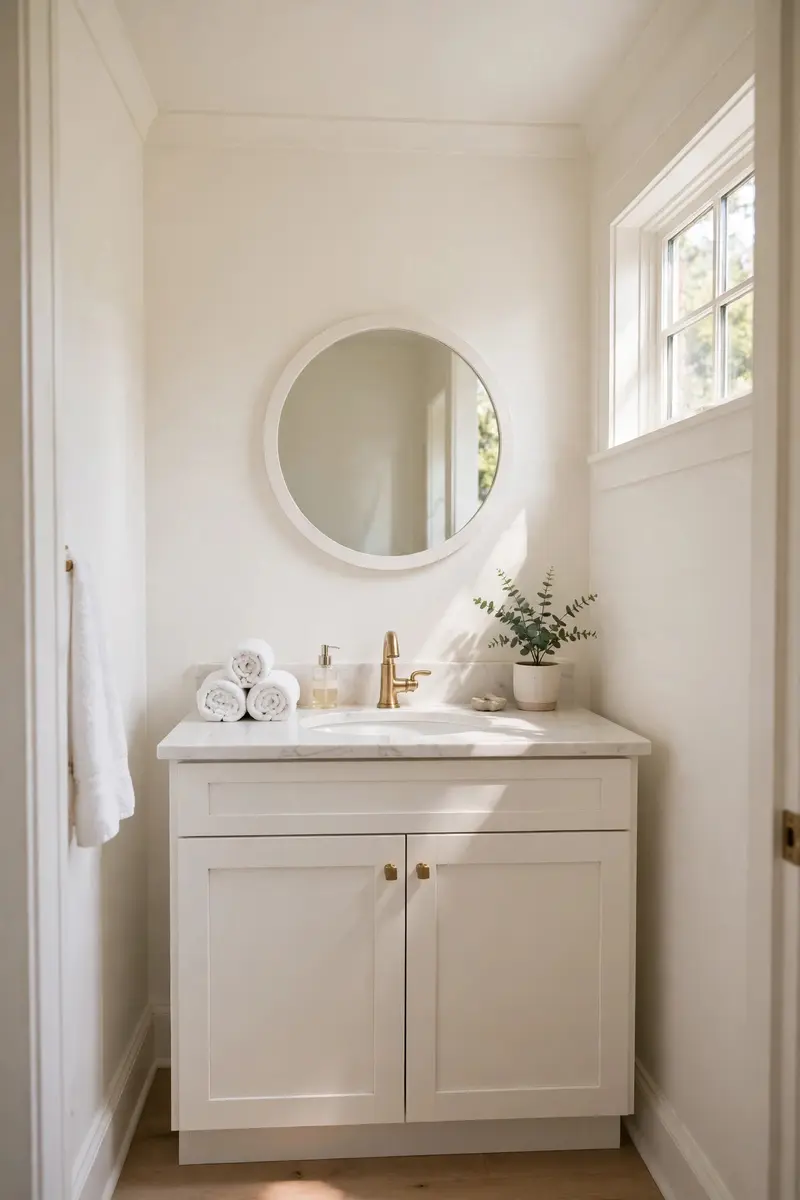
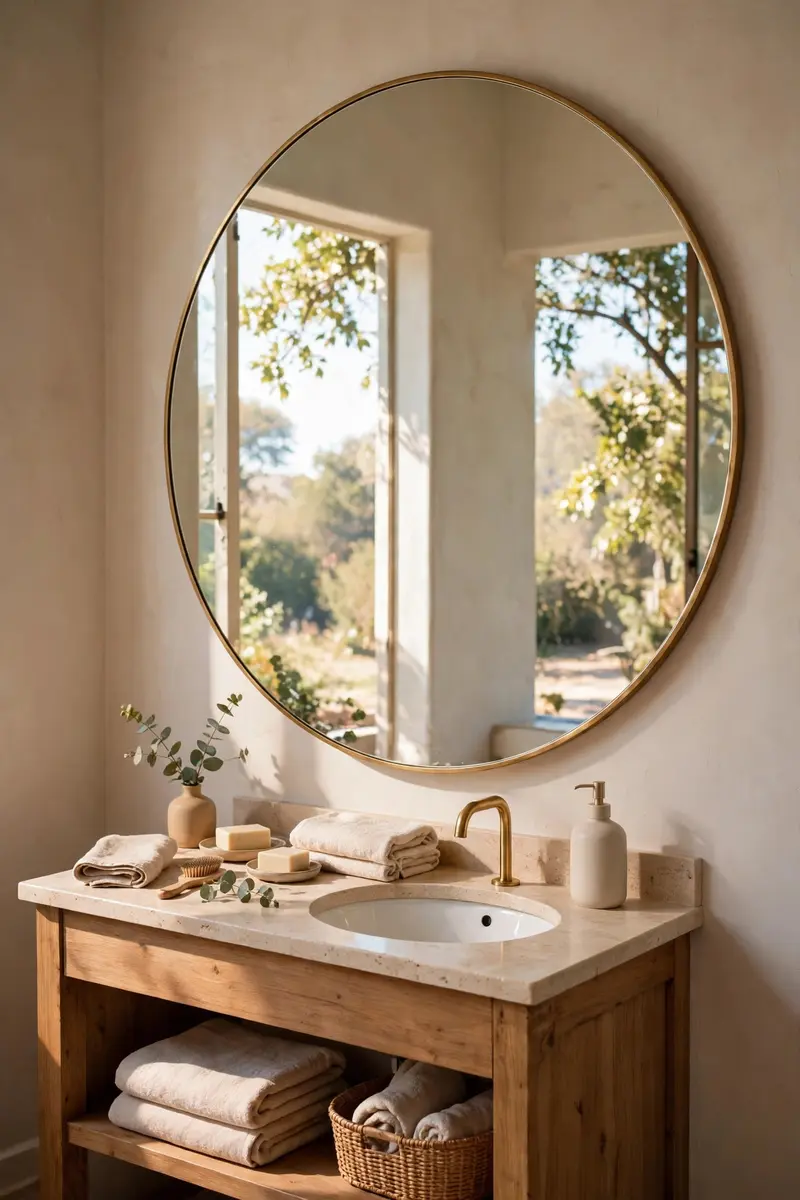
Nothing opens a small bathroom faster than a bigger mirror. A large round, arched, or rectangular mirror doubles the light in the room and makes the wall behind the sink feel twice as wide. Pinterest is full of oversized and LED-backlit mirrors right now, and the look works just as well with a simple $40 framed mirror as with a lighted one.
Materials and cost: a large mirror ($35–$120), wall anchors rated for its weight, and a level. LED-backlit versions start around $80.
Hang the mirror so its center sits at about eye level, and center it over the sink rather than the whole wall. If your vanity is narrow, a mirror slightly wider than the vanity looks intentional, not oversized.
Practical tip: Place the mirror opposite a window or light source when you can — it bounces daylight across the room instead of into a dark corner.
Variation: Try an arched mirror for a soft, modern feel, or a brass-framed round mirror to warm up an all-white bathroom.
3. Add Floating Shelves Above the Toilet
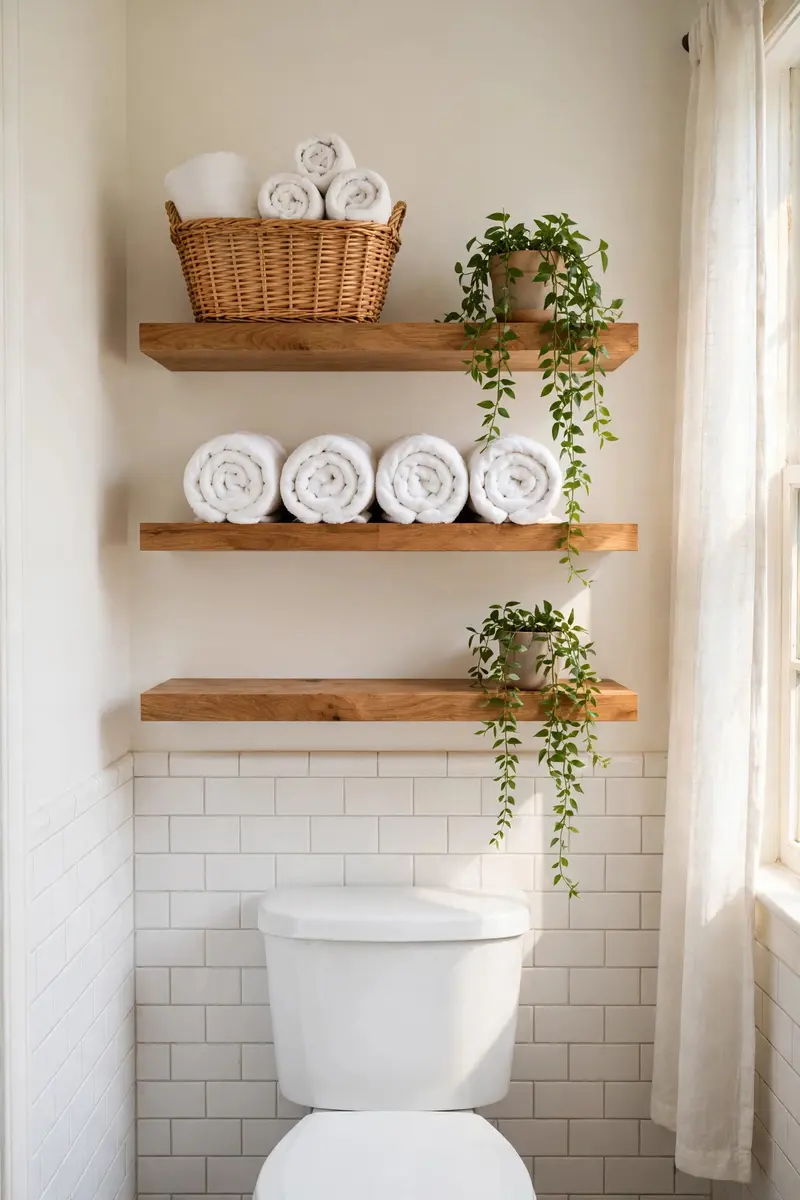
The wall above the toilet is the most wasted space in a small bathroom. Two or three floating shelves turn it into storage for towels, baskets, and a plant — without taking a single inch of floor space. Keep the shelves shallow (about 8 inches deep) so nobody bumps their head.
Materials and cost: two wood floating shelves with brackets ($25–$60 total), a drill, and wall anchors.
Mark your studs, or use sturdy drywall anchors, and hang the lowest shelf about 18 inches above the tank lid so you can still lift the lid. Style the shelves lightly: rolled towels, one small plant, and a candle or two. If you are looking for more small bathroom storage ideas that cost almost nothing, this is the one to start with.
Practical tip: Put everyday items on the lowest shelf and pretty, rarely used things up high — that way the shelves stay useful, not just decorative.
Variation: Swap one shelf for a small open cabinet with a door if you would rather hide medicines and clutter.
4. Try a Peel-and-Stick Wallpaper Accent Wall
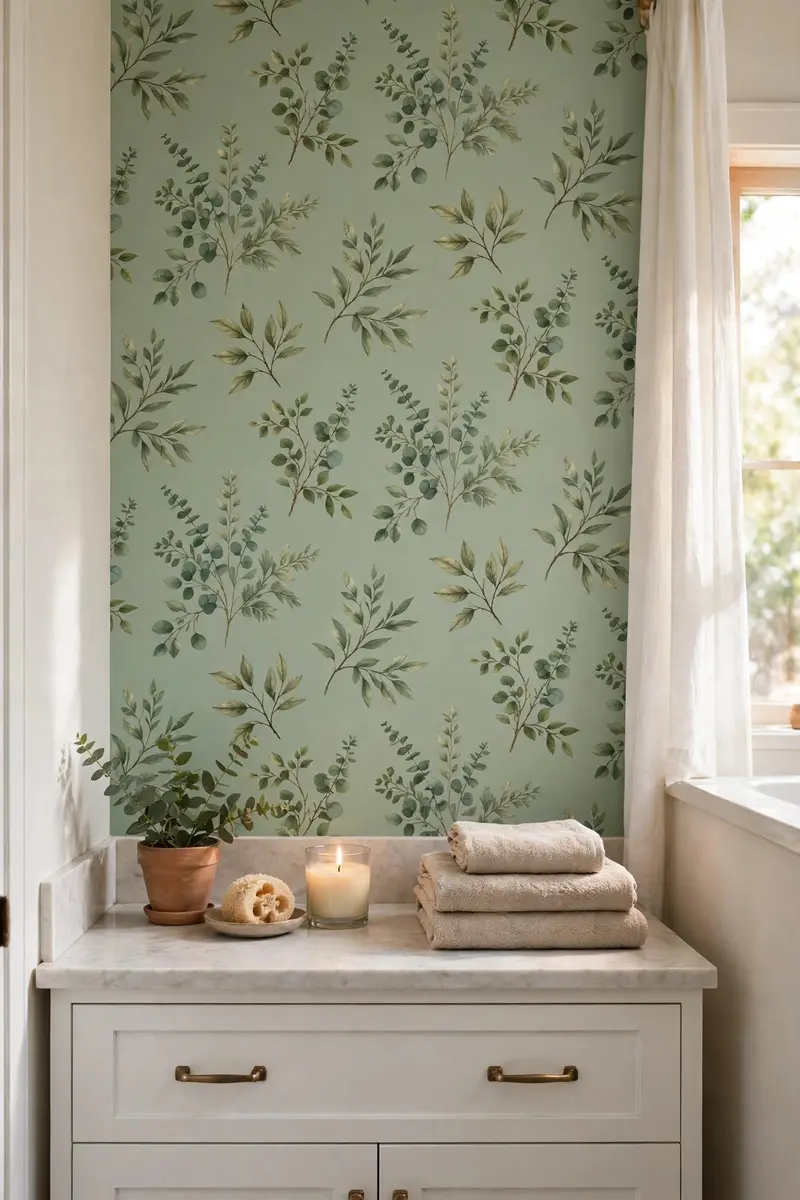
Wallpaper used to mean commitment and paste. Peel-and-stick wallpaper changed that: it goes up in an afternoon, peels off cleanly when you move, and costs a fraction of tile. One accent wall — usually behind the vanity or toilet — is plenty in a small bathroom. A bold pattern on one wall reads as intentional; four patterned walls read as chaos.
Materials and cost: one or two rolls of peel-and-stick wallpaper ($20–$45 per roll), a smoothing tool, and a craft knife.
Start at the top of the wall, peel a few inches at a time, and smooth outward to push out air bubbles. Match the pattern at the seams as you go, and trim the excess at the ceiling and baseboard with a sharp knife.
Practical tip: Order one extra roll beyond your measurement — pattern matching eats more paper than you expect, and dye lots can vary.
Variation: If full wallpaper feels like too much, apply it inside a framed panel or on the back wall of an open niche for a pop of pattern.
5. Swap Out the Cabinet Hardware
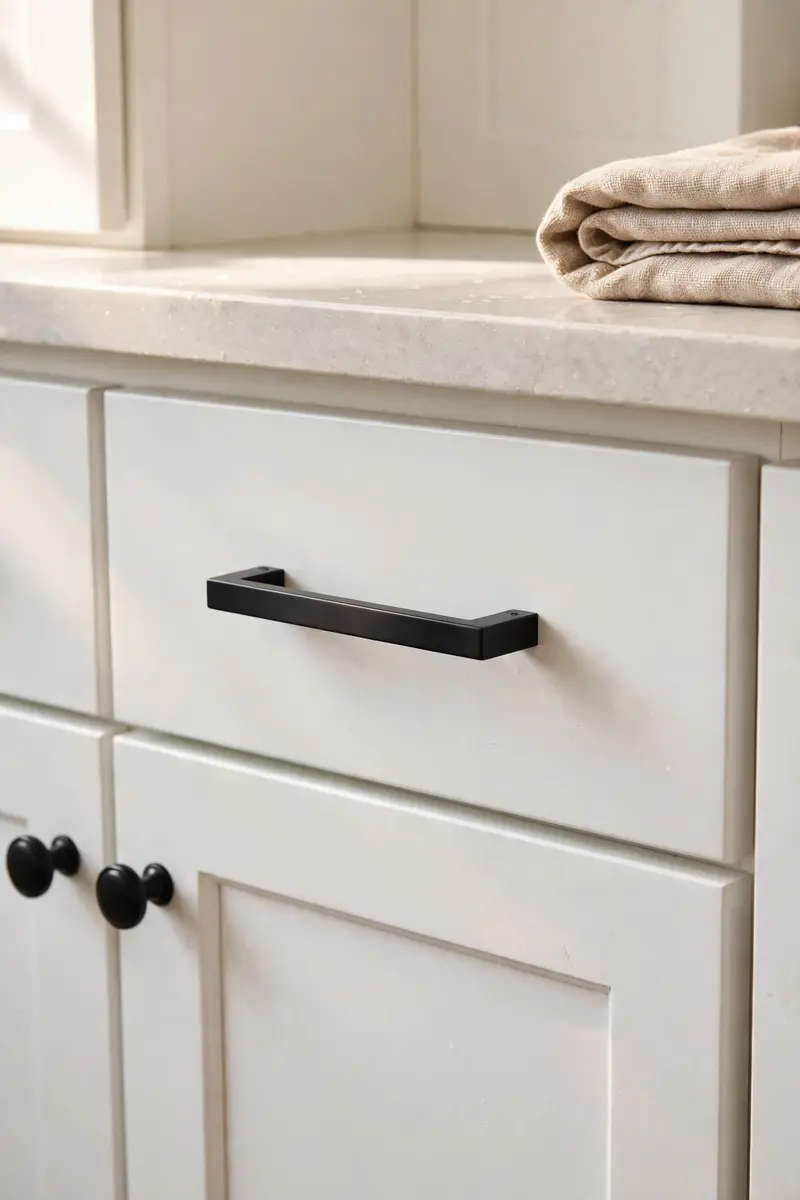
Cabinet pulls, knobs, and towel hooks are the jewelry of a bathroom, and they are shockingly cheap to change. Swapping dated brass or plastic hardware for matte black, brushed gold, or chrome instantly makes a builder-grade vanity look custom — and the whole job takes under an hour.
Materials and cost: new pulls and knobs ($2–$6 each, usually $20–$40 for a vanity), a screwdriver, and a measuring template if you are drilling new holes.
Remove one old pull at a time and check the hole spacing (most are 3 or 3.75 inches) before ordering. Tighten everything snugly but do not overtighten, which can crack a vanity door.
Practical tip: Match your new hardware finish to your faucet finish — mixed metals can work, but matching metals always look deliberate.
Variation: Add a leather or rope pull on a single drawer for a handmade, boutique touch.
6. Upgrade the Faucet and Showerhead
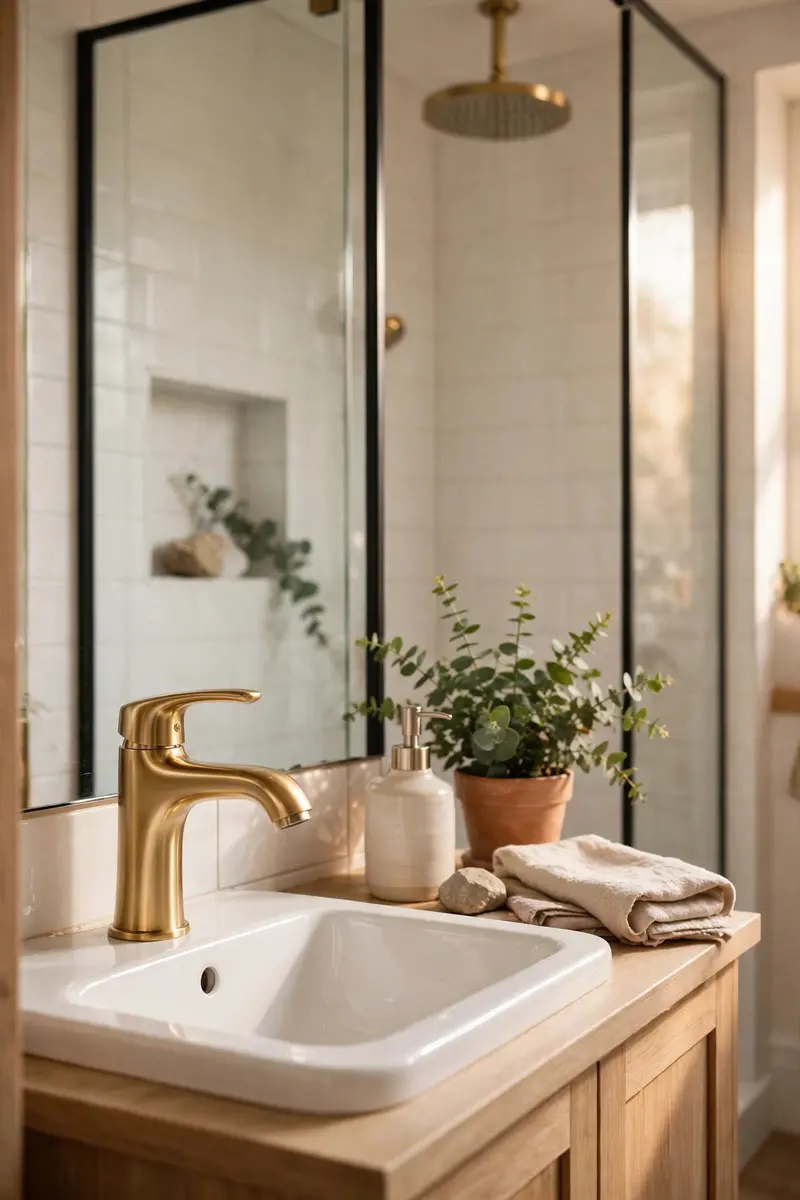
You touch the faucet and showerhead every single day, so upgrading them changes how the whole bathroom feels. A modern single-handle faucet and a rainfall or high-pressure showerhead look expensive, save water, and install with basic tools — no plumber required for most swaps.
Materials and cost: a faucet ($40–$90), a showerhead ($25–$60), plumber’s tape, and an adjustable wrench.
Turn off the water supply first, then unscrew the old fixtures, wrap the threads with plumber’s tape, and install the new ones. Run the water for a minute to flush any debris before you call it done.
Practical tip: Pick a WaterSense-labeled showerhead — it can cut water use without making the shower feel weak.
Variation: A handheld showerhead on a slide bar is a smart pick for small tubs, kids, and pet baths.
7. Hang the Shower Curtain High and Wide
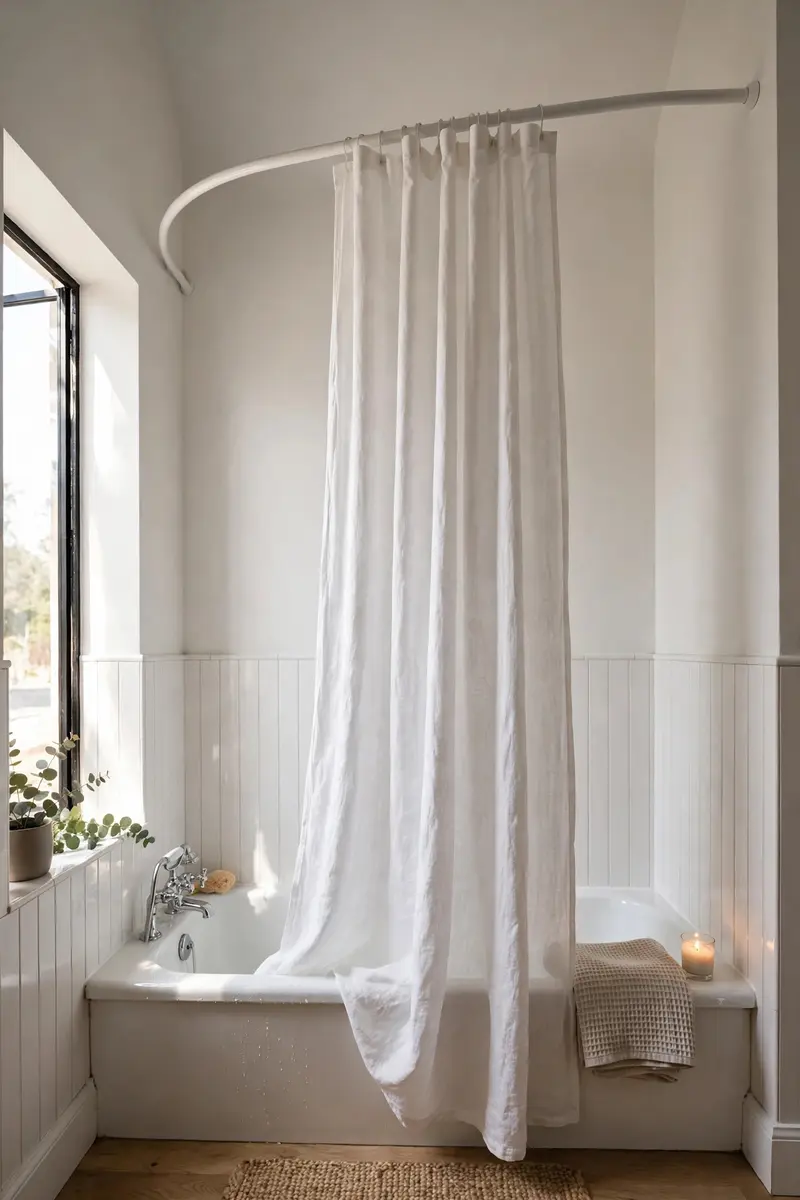
This trick costs nothing if you already own a curtain rod, and it is one of the most effective budget small bathroom ideas for making ceilings look taller. Mount the rod close to the ceiling and extend it several inches past the tub on each side. The eye travels upward, the tub area feels wider, and the room gains a sense of height it did not have before.
Materials and cost: a tension or wall-mounted rod ($10–$25) and an extra-long shower curtain ($15–$30) if yours is too short.
Mount the rod 2–3 inches below the ceiling, then hang a curtain that just brushes the floor of the tub or the bathroom floor. A light-colored or clear curtain keeps the light flowing; a heavy dark curtain closes the space back in.
Practical tip: Use a curved shower rod if you can — it adds elbow room inside the tub without any renovation.
Variation: Layer a sheer outer curtain over a plain liner for a soft, hotel-like look.
8. Free the Floor With a Floating Vanity Look
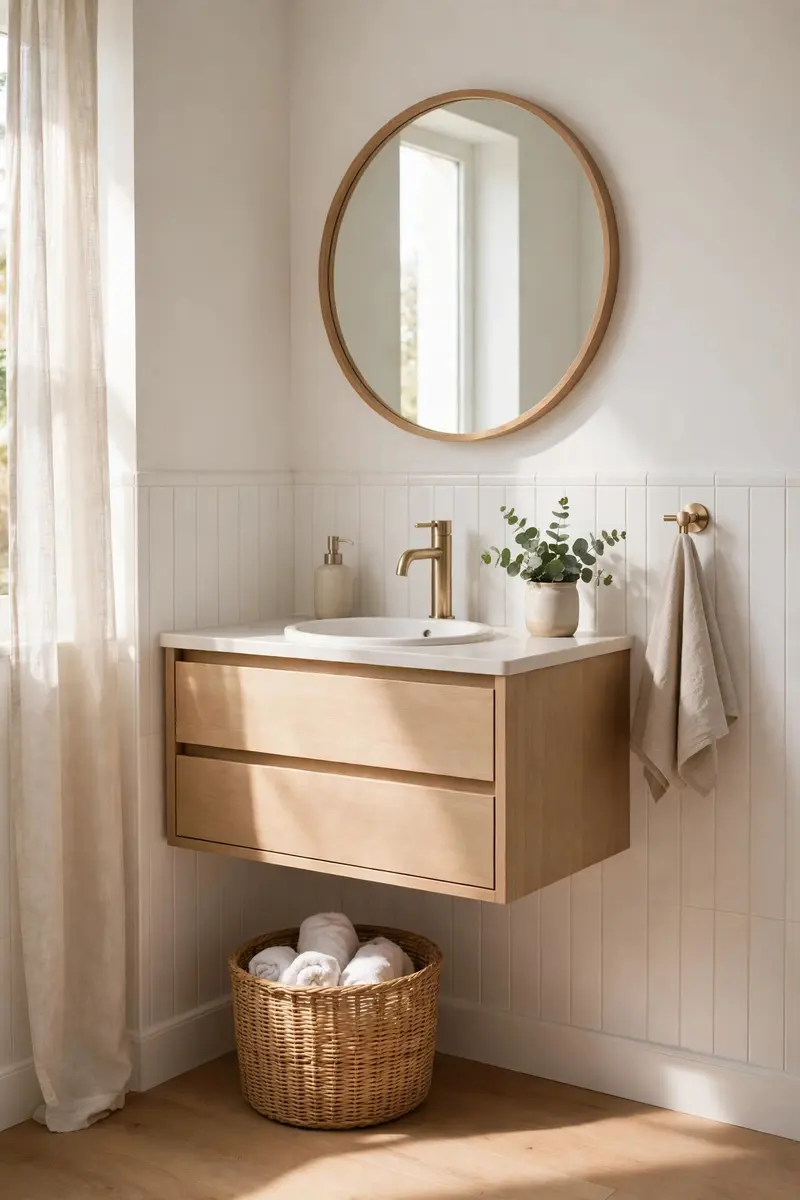
A bulky vanity that runs to the floor makes a small bathroom feel boxed in. You can get the floating-vanity look without replacing anything: remove the doors below the sink, add a shelf and a basket, or simply choose an open, legged vanity when you do replace it. Seeing floor beneath the sink tricks the eye into reading the room as larger.
Materials and cost: an open shelf or basket for under-sink storage ($15–$40); a new wall-mounted vanity runs $150–$350 if you go further.
If you keep your current vanity, clear everything from under the sink, add one attractive basket for cleaning supplies, and leave the rest of the space open. Keep only daily items on top.
Practical tip: A floating vanity pairs beautifully with large-format floor tiles, which have fewer grout lines and make the floor read as one continuous surface.
Variation: A pedestal sink with a small wall shelf beside it gives the same open-floor effect in the tiniest powder rooms.
9. Roll Your Towels Into Baskets
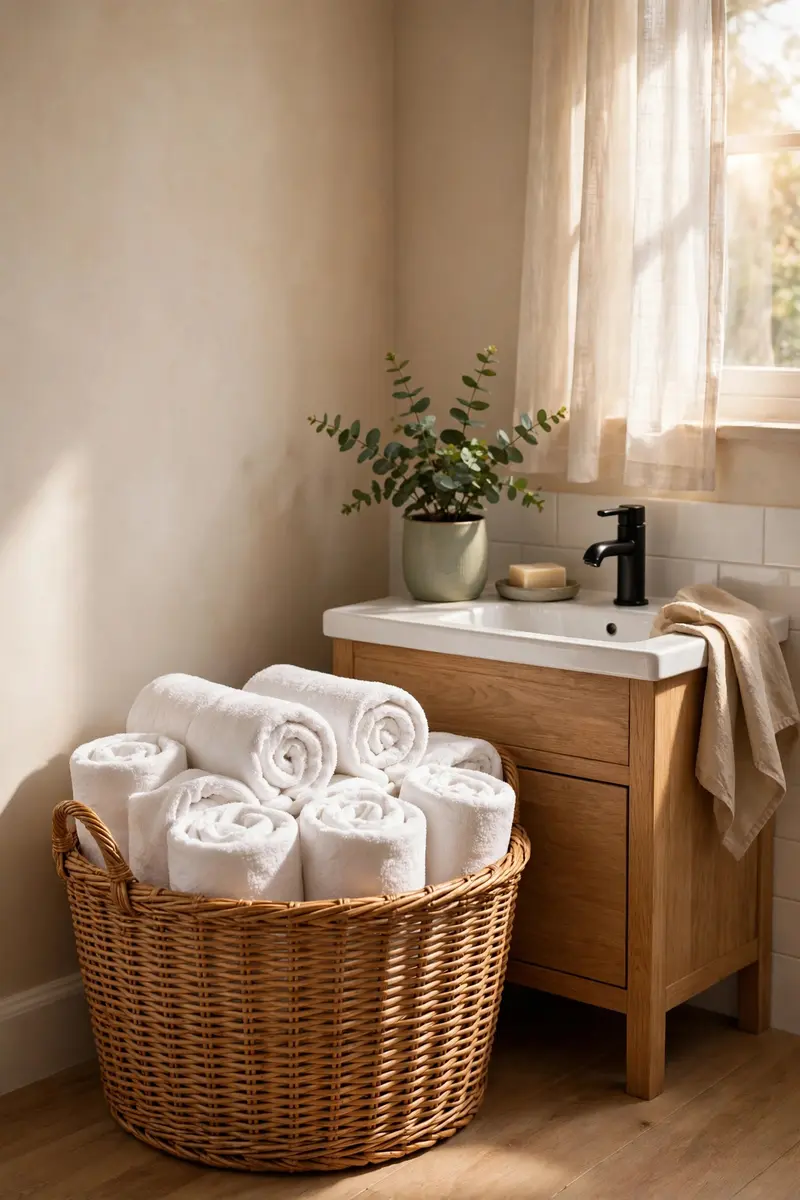
The “hotel towel trick” is free, and it works. Rolled towels take up less visual space than a stack of folded ones, and a basket of rolled towels looks styled rather than stored. Place a basket on the floor, on a shelf, or on the back of the toilet, and suddenly your towel storage is decor.
Materials and cost: one or two woven baskets ($12–$30 each); towels you already own.
Roll each towel tightly, stand the rolls upright in the basket, and keep one color family — all white, all sage, all sand — so the basket reads as one calm block of color instead of clutter.
Practical tip: Keep only two towels per person in the bathroom and store the rest elsewhere; overfilled baskets defeat the purpose.
Variation: Add a small eucalyptus bundle tied to the basket handle for a spa scent that costs almost nothing.
10. Put Every Door and Wall to Work With Hooks
In a small bathroom, the back of the door is prime real estate. An over-door rack or a row of wall hooks holds robes, towels, and tomorrow’s outfit without a single piece of furniture. Individual hooks are better than one long bar, because each person gets their own spot and towels dry faster with air between them.
Materials and cost: an over-door hook rack ($10–$20) or 3–5 individual wall hooks ($3–$8 each) with anchors.
Hang hooks at staggered heights if kids use the bathroom, and leave at least a few inches between hooks so towels are not pressed together. Stick to one finish so the hooks look like a set.
Practical tip: Hang the hook you use most at shoulder height near the shower, not behind the door where it is hard to reach with wet hands.
Variation: A slim peg rail along one wall gives you hooks plus a tiny shelf for a plant or candle.
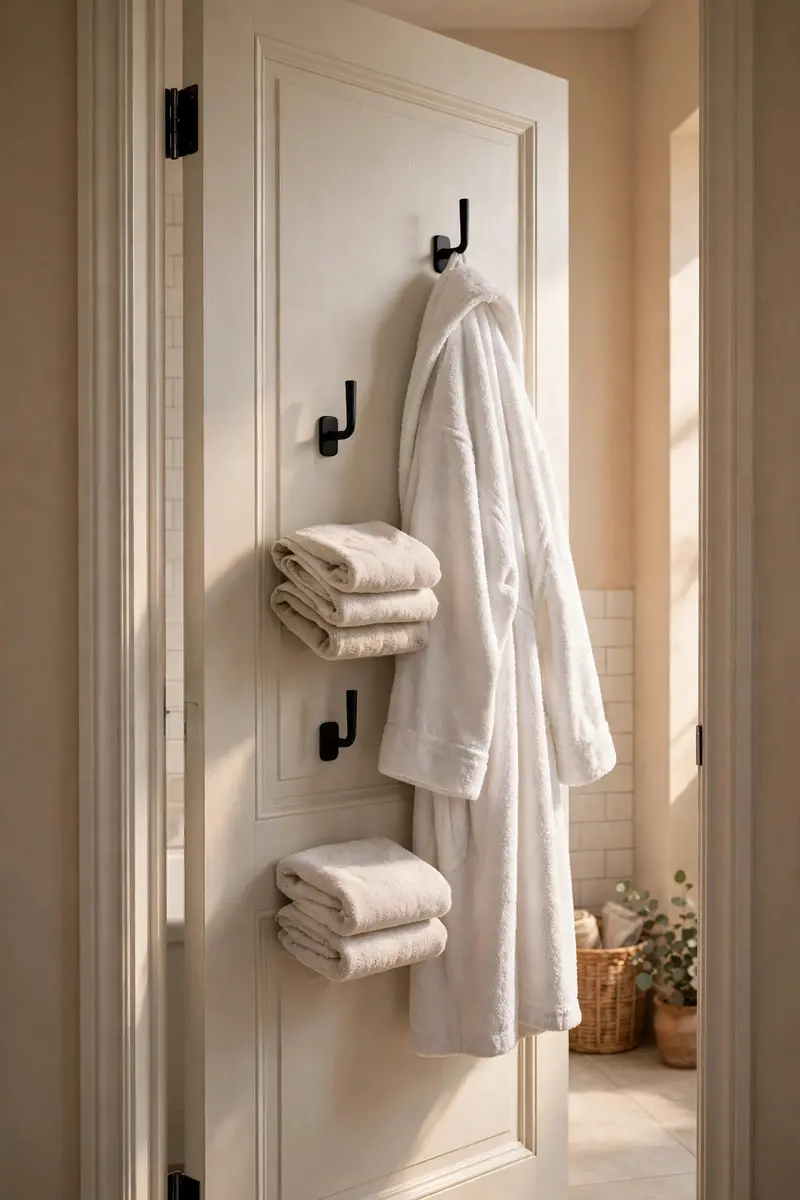
11. Conquer the Shower Corner With Shelves
Shower caddies that hang over the showerhead rust, slip, and look messy. A tension-pole corner shelf or two small adhesive corner shelves hold shampoo, conditioner, and soap neatly — and they cost less than a dinner out. Choose rust-proof materials and keep only what you actually use in the shower.
Materials and cost: a tension corner caddy ($20–$35) or adhesive corner shelves ($12–$25), plus a small soap dish.
Install the shelves at shoulder height inside the shower, away from the direct spray if possible, and wipe them down weekly so soap scum never builds up.
Practical tip: Decant shampoo into matching squeeze bottles — mismatched bottles are the number-one reason a tidy shower still looks cluttered.
Variation: A built-in-look shower niche is the dream version, but adhesive shelves give you 90 percent of the function for a fraction of the cost.
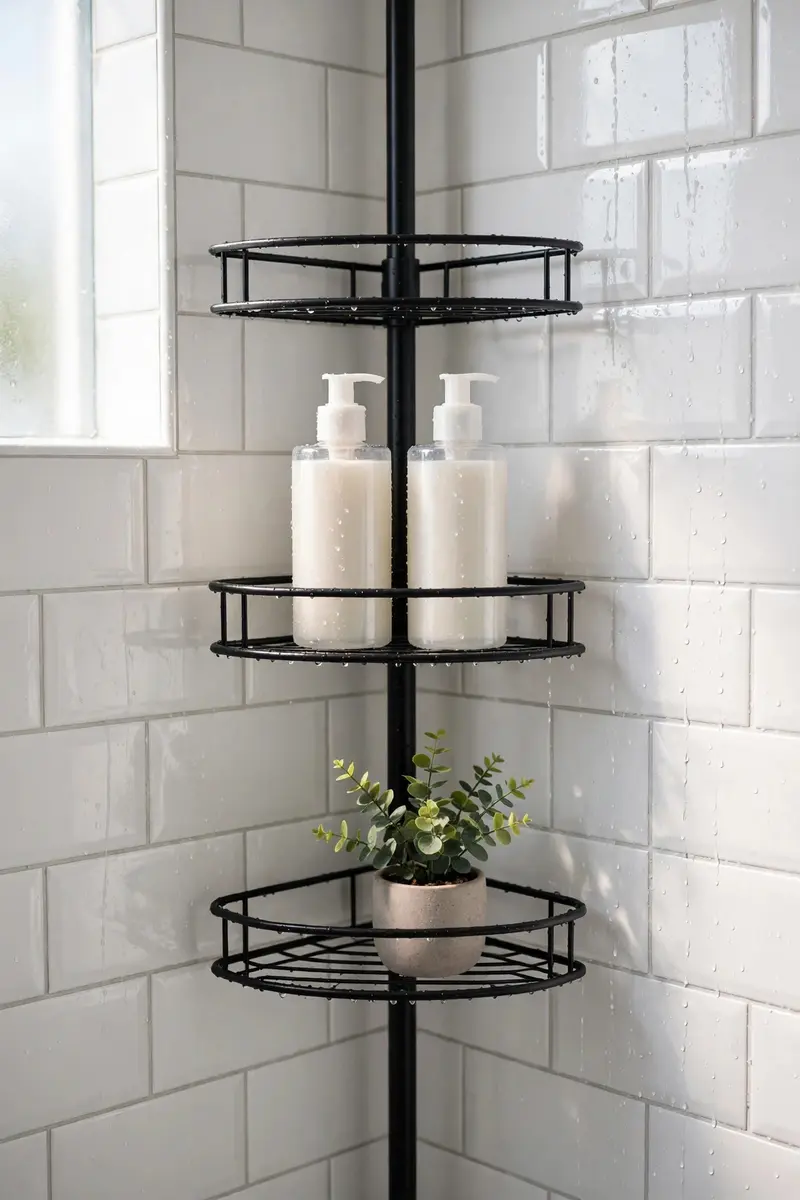
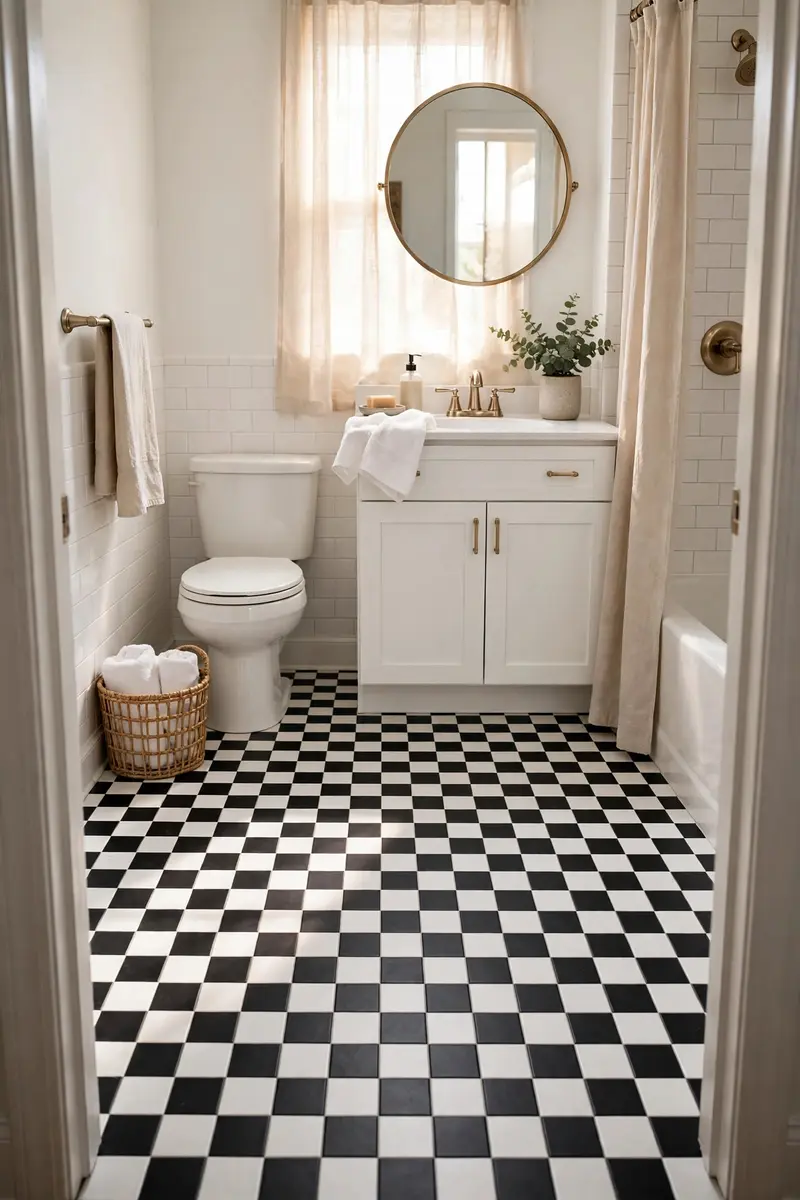
12. Lay Peel-and-Stick Floor Tiles Over Tired Floors
If your bathroom floor is dated but sound, peel-and-stick vinyl tiles are a weekend project that transforms the room. Modern versions mimic marble, terrazzo, checkerboard, and wood so convincingly that guests will not guess the price. They are water-resistant, renter-friendly, and far cheaper than retiling.
Materials and cost: peel-and-stick tiles ($1–$3 per square foot, usually $40–$90 for a small bathroom), a utility knife, and a straight edge.
Clean and dry the floor thoroughly, start from the center of the room, and work outward so the cut pieces land at the edges. Press each tile firmly and roll the seams with a rolling pin or floor roller.
Practical tip: Lay the tiles in a checkerboard or herringbone pattern — pattern hides imperfect cuts far better than a plain grid.
Variation: Try a mosaic-look tile for a “mosaic drench” feel, carrying a similar tone up one wall with peel-and-stick wall tiles.
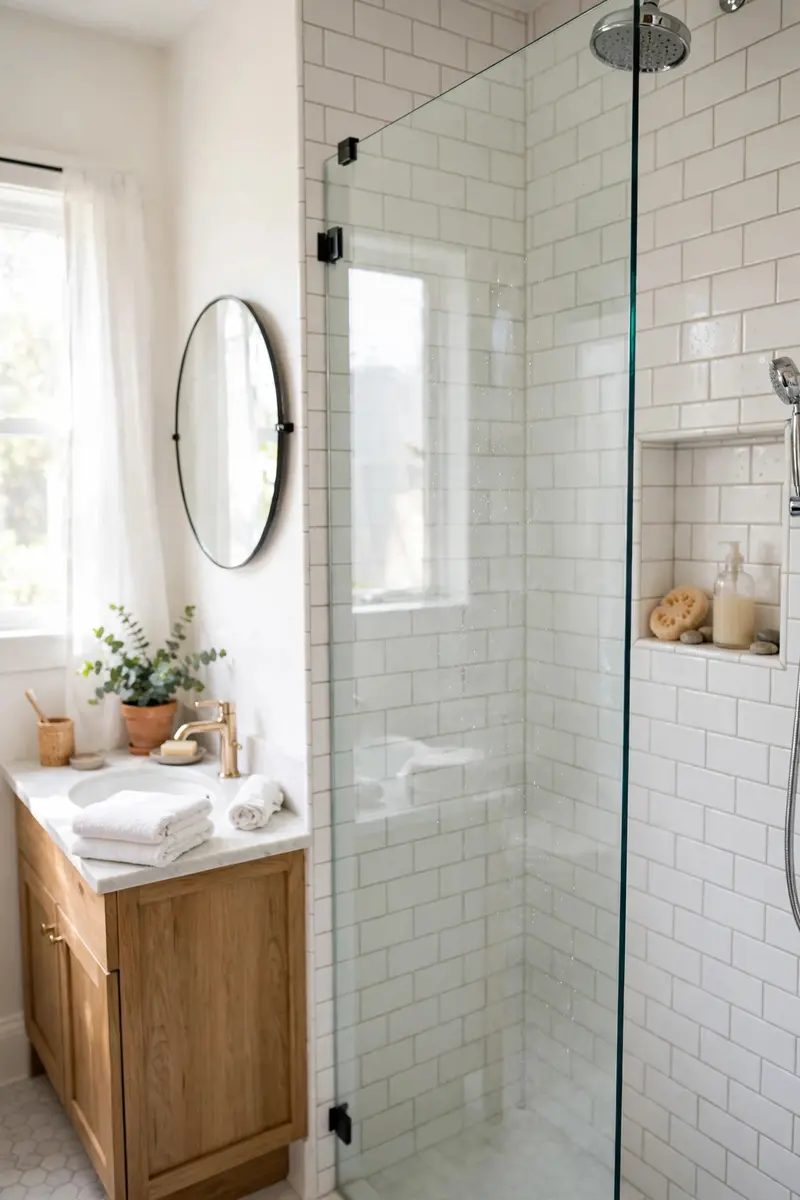
13. Replace the Shower Curtain With Clear Glass (or a Clear Curtain)
A patterned or dark shower curtain chops a small bathroom in half visually. A frameless glass panel — or, for a much smaller budget, a clear shower curtain — lets the eye travel all the way to the back wall, and the room instantly feels larger. Glass also shows off pretty tile instead of hiding it.
Materials and cost: a clear shower curtain ($10–$20) as the budget route; a frameless glass panel ($150–$400) if you want the permanent version.
For the curtain route, simply swap the curtain and keep the liner clean — a cloudy liner undoes the whole effect. Squeegee the glass or curtain after showers to prevent water spots.
Practical tip: If you use glass, a daily squeegee habit takes 30 seconds and keeps it looking new for years.
Variation: A half-glass panel over a tub gives you the open feel of glass with the splash protection of a curtain.
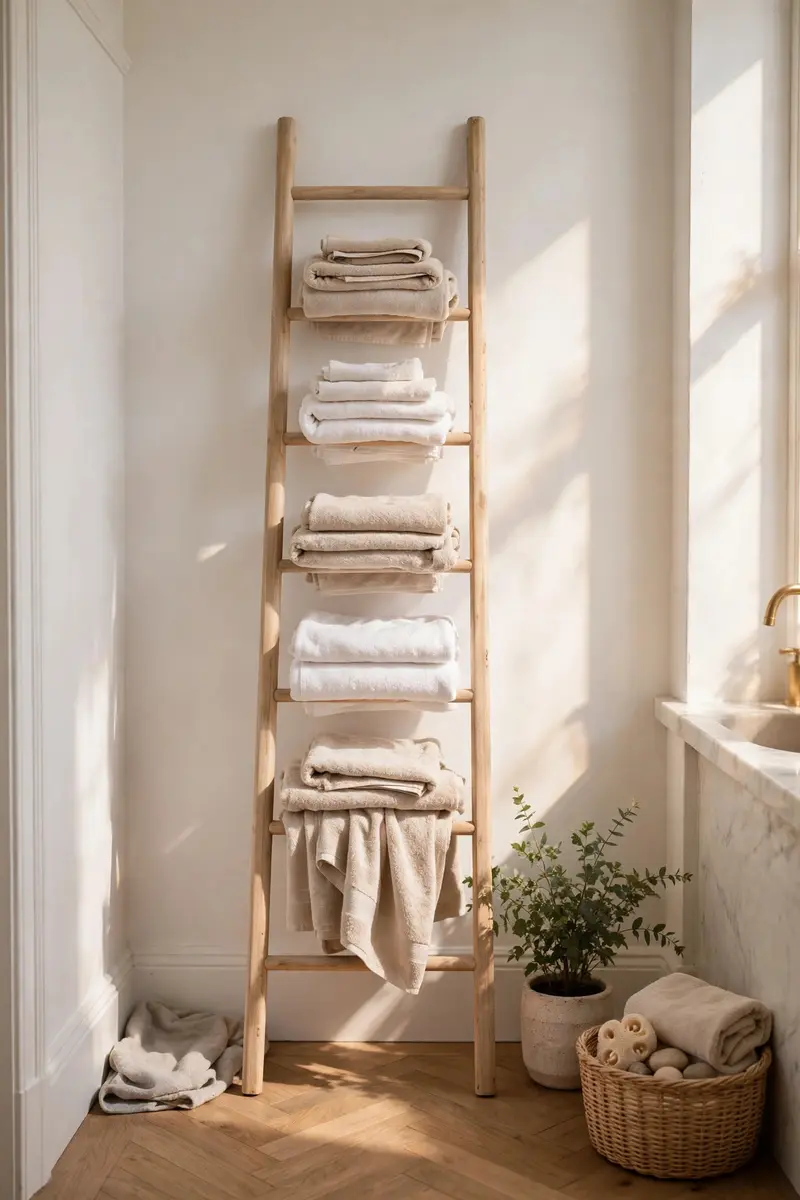
14. Lean a Wooden Ladder Against the Wall for Towels
A leaning ladder towel rack is one of the most charming budget small bathroom ideas, and it uses vertical wall space that would otherwise sit empty. It holds three or four towels, adds warm wood texture, and moves easily when you redecorate. Look for one at a thrift store, or build one from two boards and dowels.
Materials and cost: a leaning ladder rack ($30–$60 new, often under $15 thrifted), plus felt pads for the feet.
Lean it at a slight angle against a wall that is not behind the door swing, and hang towels over alternating rungs so air circulates. Keep the top rung for a small plant or a rolled hand towel.
Practical tip: Add rubber feet or felt pads so the ladder never scratches the floor or slides on tile.
Variation: A narrow blanket ladder works in a hallway or bedroom too, so it is a purchase you can reuse anywhere.
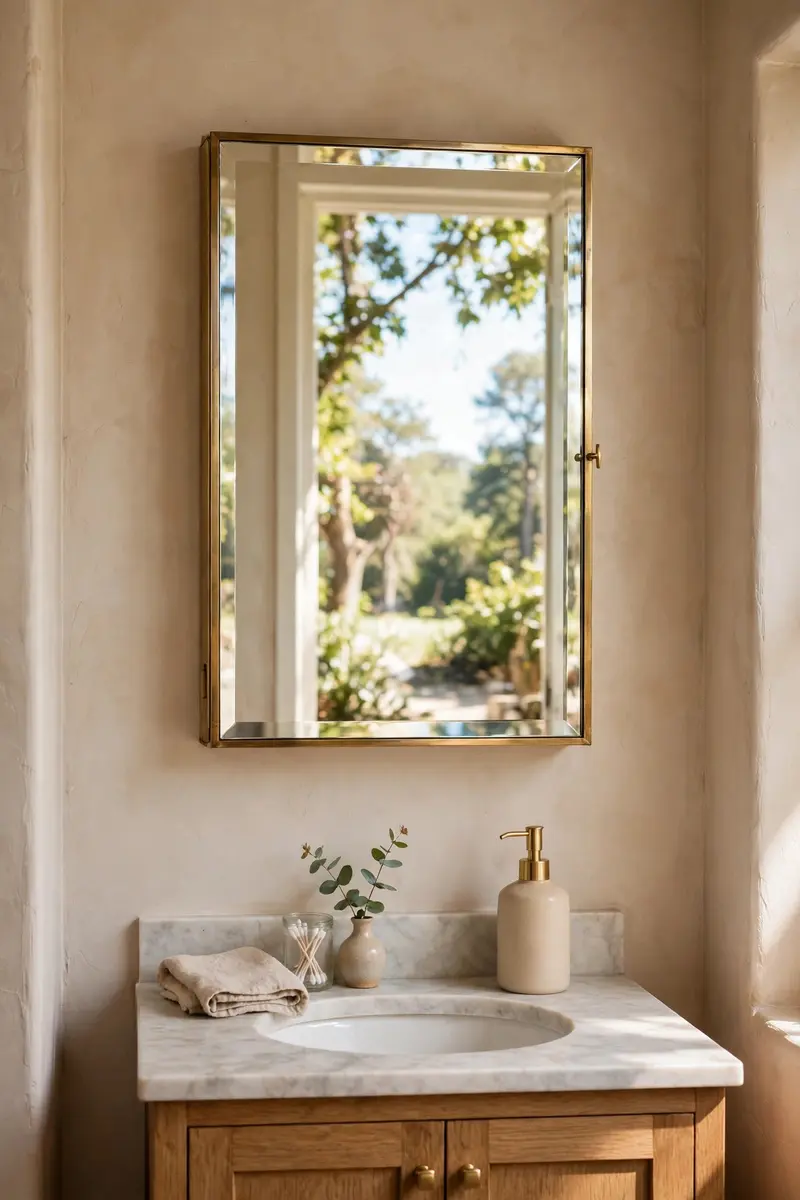
15. Swap in a Mirrored Medicine Cabinet
A mirrored medicine cabinet is two upgrades in one: a bigger mirror and hidden storage. Recessed versions sit flush with the wall, which is ideal in a tight bathroom, while surface-mounted versions install with just a few screws. Either way, you gain a place for medicines, toothbrushes, and grooming tools that keeps the counter clear.
Materials and cost: a mirrored medicine cabinet ($50–$130), wall anchors, and a level.
Center it over the sink at eye level, and measure twice — a cabinet that is too wide for the vanity looks top-heavy. Keep the inside organized with one small tray per person.
Practical tip: Put the items you reach for every morning on the middle shelf, and seasonal or backup items up high.
Variation: If you already love your mirror, add a slim mirrored cabinet on a side wall instead for bonus storage.
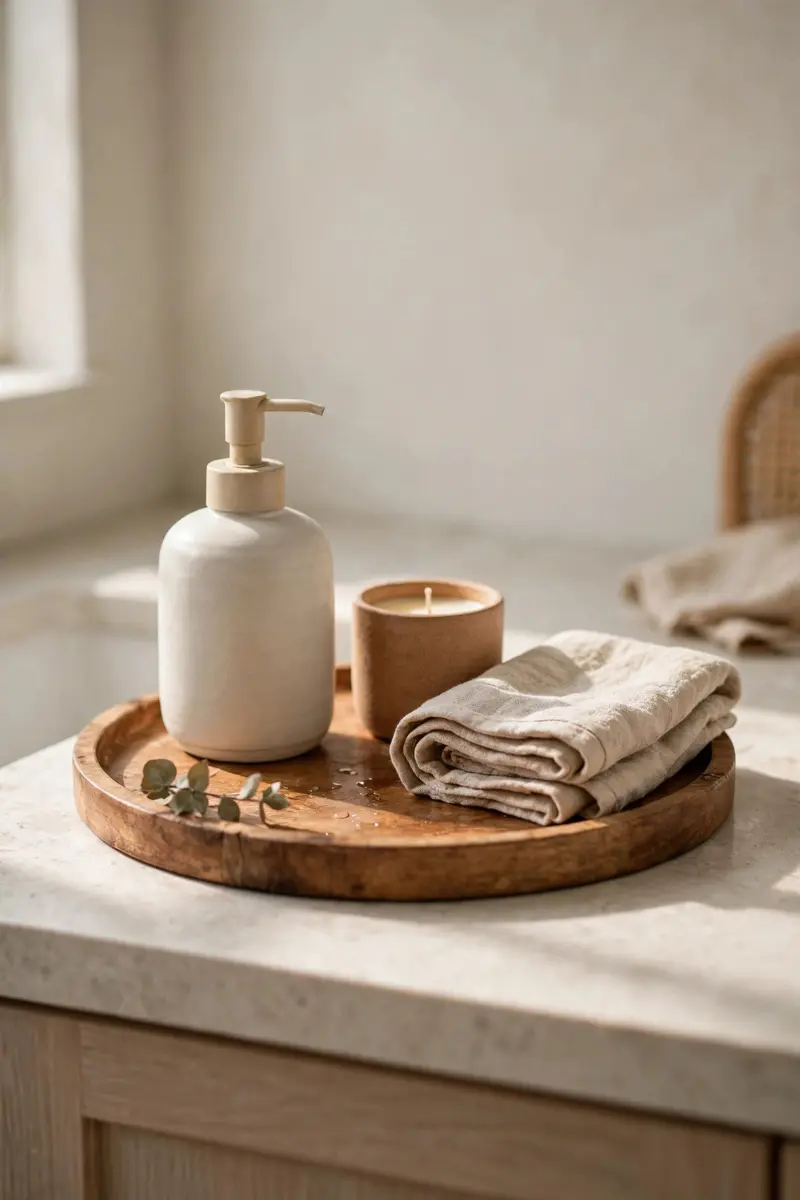
16. Style a Vanity Tray to Corral the Clutter
A counter covered in bottles always looks messy, no matter how clean the bathroom is. One tray — wood, marble, rattan, or ceramic — gathers your daily items into a single intentional group, and the rest of the counter stays clear. It is a five-minute fix with an outsized effect.
Materials and cost: one tray ($12–$30) and matching soap dispensers if you want the full effect ($10–$20 for a set).
Place the tray near the faucet, add your soap dispenser, a small vase or candle, and one or two daily items. Everything else goes in a drawer or cabinet. If it does not fit on the tray, it does not live on the counter.
Practical tip: Choose a tray with a raised edge so bottles cannot slide off when the counter gets wet.
Variation: A small cake stand makes a lovely two-tier tray for perfumes and jewelry in a primary bathroom.
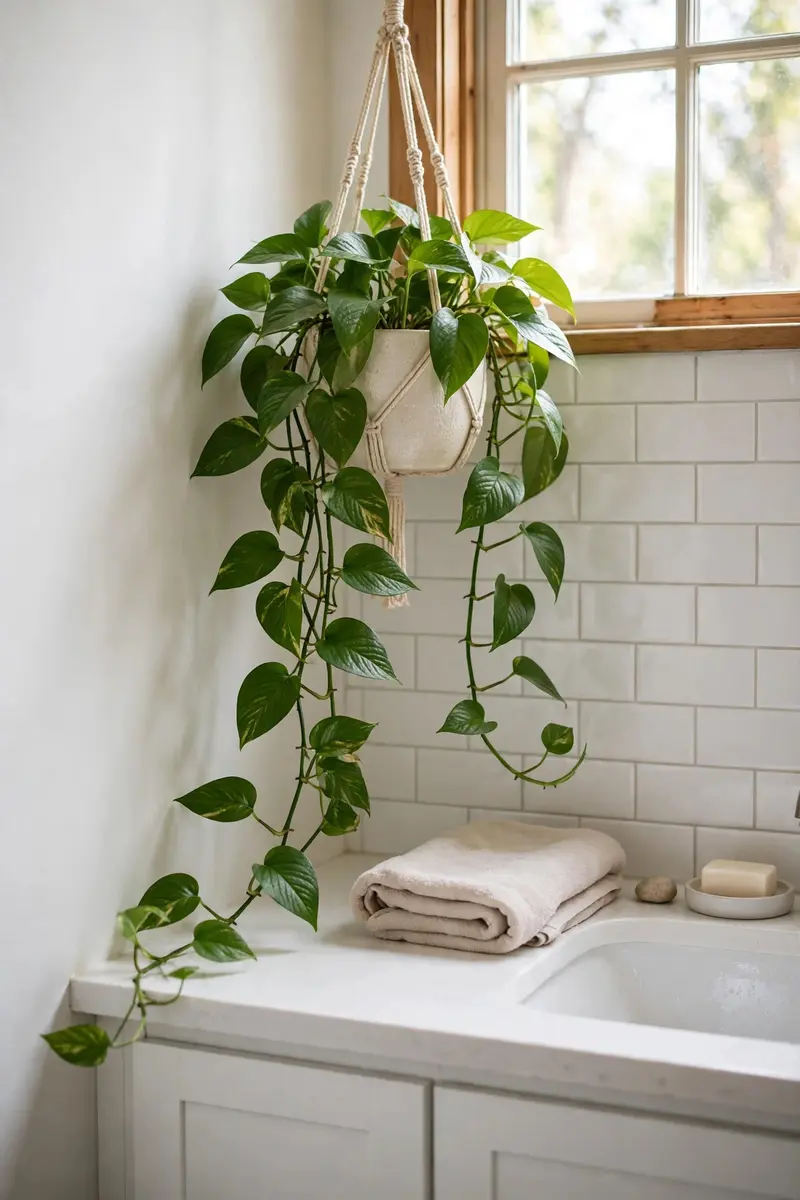
17. Add a Plant (or Two) for a Spa Feeling
Greenery is the fastest way to make a small bathroom feel like a spa instead of a utility room. Pothos, snake plants, and ferns thrive in bathroom humidity and low light, and a trailing pothos on a high shelf softens hard tile edges beautifully. Even one plant changes the whole mood.
Materials and cost: a pothos or snake plant ($8–$20), a pot with drainage, and a small hook or shelf if you want it trailing.
Hang a trailing plant from a ceiling hook or set a snake plant on the floor beside the vanity. Water sparingly — bathroom humidity means plants dry out more slowly than elsewhere.
Practical tip: If your bathroom has no window, choose a faux plant for the darkest corner and keep the real one near whatever light you have.
Variation: A tiny eucalyptus bundle hung from the showerhead releases a spa scent in the steam and costs just a few dollars.
18. Decant Soaps and Lotions Into Matching Bottles
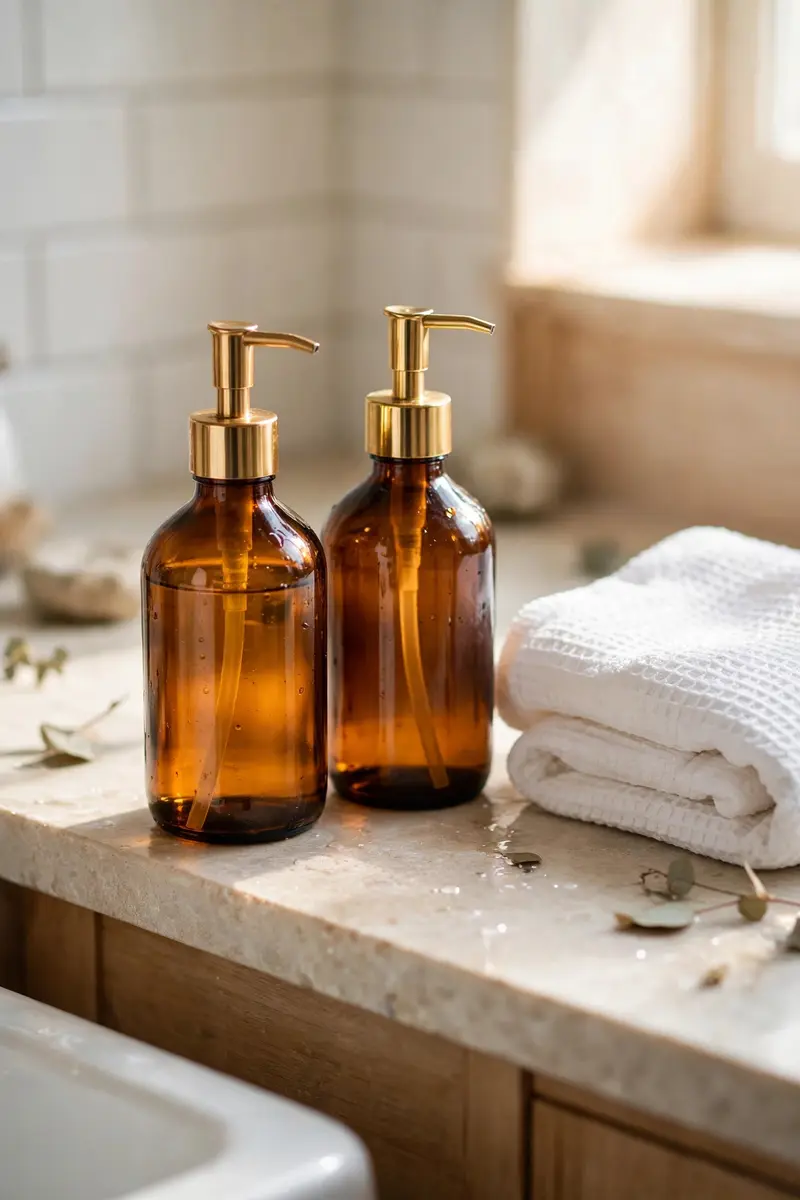
Mismatched product bottles are visual noise. Pouring soap, lotion, and shampoo into matching amber glass or ceramic dispensers makes a $10 counter look like a boutique hotel vanity. Label them simply, or not at all, and keep the originals under the sink for refills.
Materials and cost: a set of matching dispensers ($12–$25) and a funnel.
Wash and dry the dispensers before the first fill, and refill them over the sink to avoid spills. Keep one dispenser for hand soap, one for lotion, and one for your most-used product.
Practical tip: Pump dispensers last longer than squeeze bottles in a humid bathroom and are easier to clean.
Variation: Use one beautiful vintage bottle for hand soap as a single statement piece if a full set feels like too much.
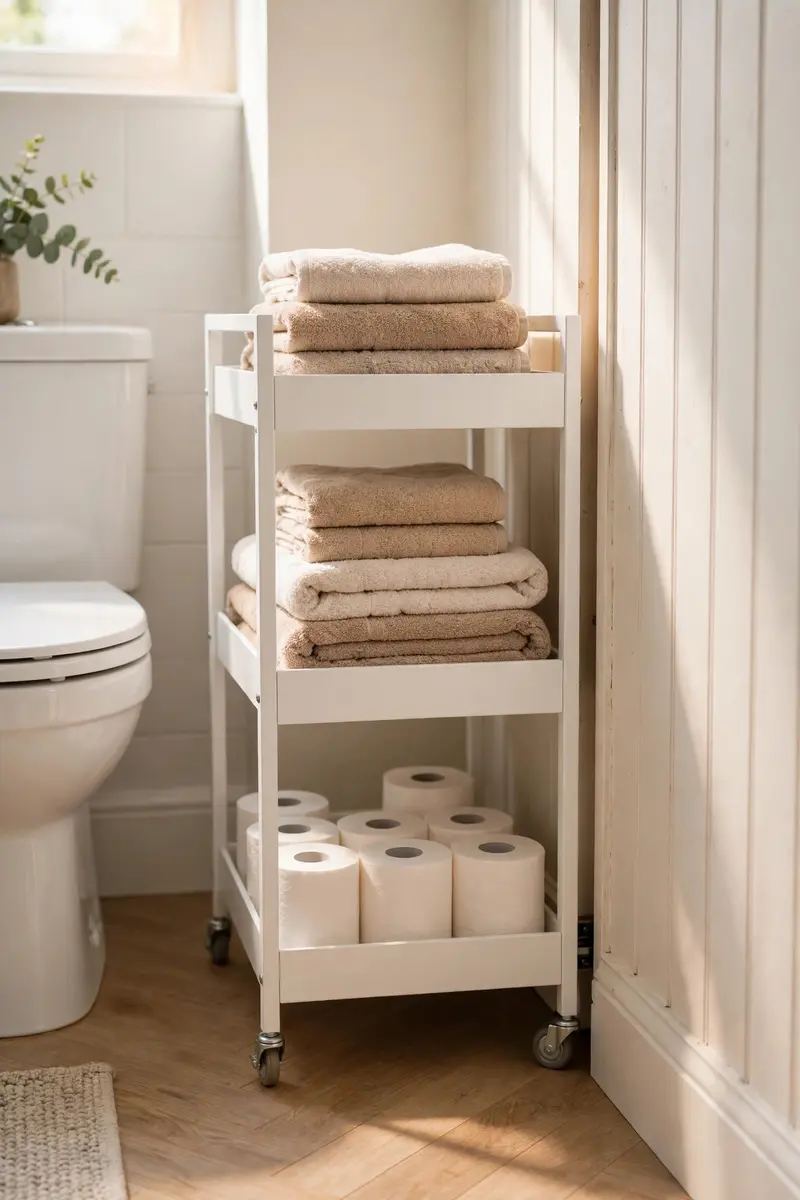
19. Slide a Slim Rolling Cart Into the Gap
Almost every small bathroom has a dead gap — between the toilet and the wall, beside the vanity, behind the door. A slim rolling cart (often just 5–7 inches wide) slides into that gap and holds cleaning supplies, extra toilet paper, or styling tools, then rolls out when you need it. It is storage that appears only when you want it.
Materials and cost: a slim rolling cart ($20–$35).
Measure your gap before ordering — carts come in several widths, and a cart that is half an inch too wide is useless. Load heavier items on the bottom shelf so it rolls smoothly.
Practical tip: Put a small label on each shelf (cleaning, extras, styling) so the cart stays organized instead of becoming a junk drawer on wheels.
Variation: A slim wooden stool in the same gap works as a plant stand and a step for reaching high shelves.
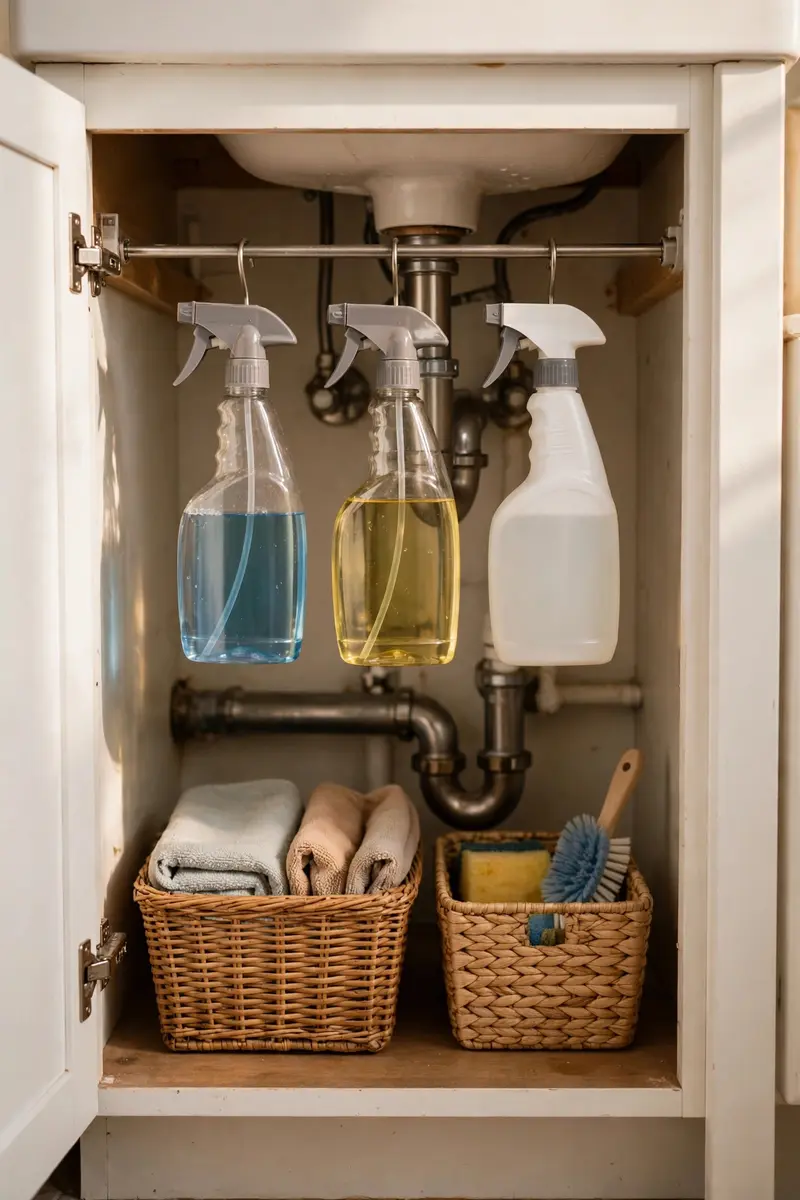
20. Organize Under the Sink With a Tension Rod and Bins
The cabinet under the sink is usually a dark jumble of bottles. A tension rod hung across the cabinet lets you hang spray bottles by their triggers, and two small bins hold everything else upright. The whole project costs less than lunch and doubles the usable space in the cabinet.
Materials and cost: a small tension rod ($5–$10) and two stackable bins ($8–$15).
Hang the rod near the top of the cabinet, hook spray bottles over it, and place one bin for cleaning supplies and one for backups. Measure the cabinet height first so the rod clears the pipes.
Practical tip: Line the cabinet floor with a washable liner — leaks and drips wipe up in seconds instead of staining the wood.
Variation: A small lazy Susan inside the cabinet makes deep corners reachable without emptying everything out.
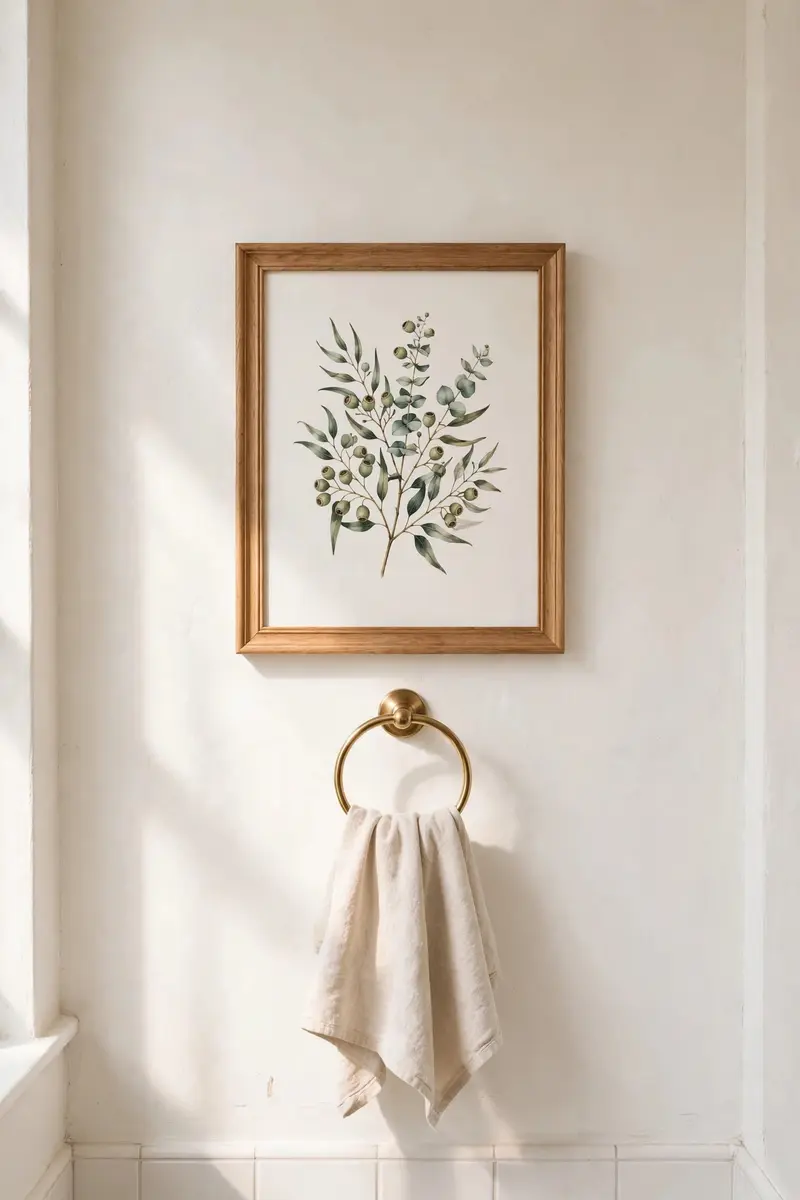
21. Hang Moisture-Safe Art That Makes You Smile
Bare walls make a small bathroom feel like a closet. One or two framed prints — botanical sketches, a coastal photo, a funny quote — give the room personality for very little money. Choose frames with glass and sealed backs, or pick ceramic, metal, or canvas pieces that handle humidity better than unprotected paper.
Materials and cost: one or two framed prints ($15–$40 total), picture-hanging strips or small hooks.
Hang art at eye level on the wall you see when you walk in, not above the toilet where it gets splashed. In a tiny bathroom, one larger piece beats a gallery wall of small ones.
Practical tip: Use removable hanging strips if you rent — they hold framed prints securely and peel off without damage.
Variation: A small framed mirror with an interesting shape counts as art and reflects light at the same time.
22. Commit to One Towel and Rug Palette
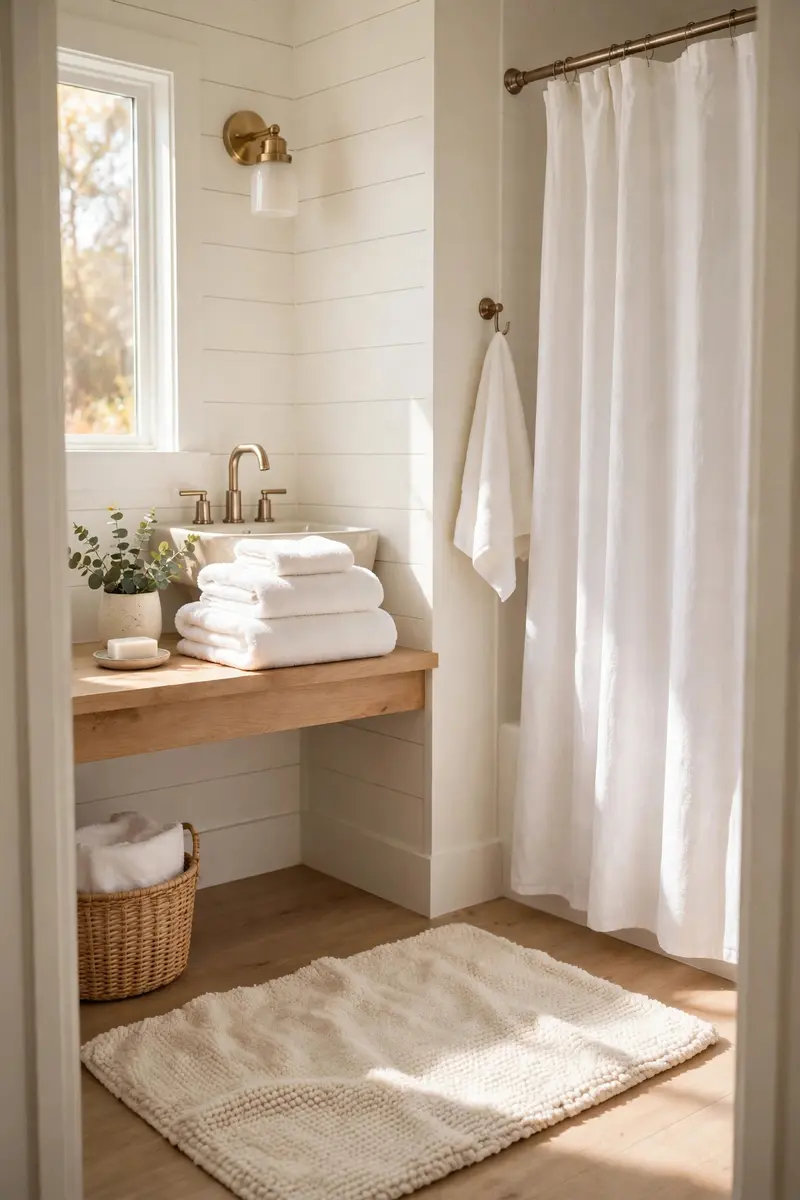
A small bathroom with five towel colors and a clashing rug looks chaotic even when it is clean. Pick one palette — all white, warm sand and sage, or navy and white — and use it for towels, the bath mat, and the shower curtain. Suddenly everything looks chosen, not accumulated.
Materials and cost: two bath towels, two hand towels, and a bath mat in your palette ($30–$60 total if you shop sales).
Wash the new set together before first use so the colors settle evenly, and retire the odd towels to the cleaning closet. A thick, absorbent rug in a light tone also makes the floor feel softer and more expensive.
Practical tip: White towels look luxurious and can all be washed together with hot water — the easiest palette to maintain.
Variation: Add one patterned hand towel in your palette for a touch of personality without breaking the scheme.
23. Warm Up the Lighting With Sconces and Warm Bulbs
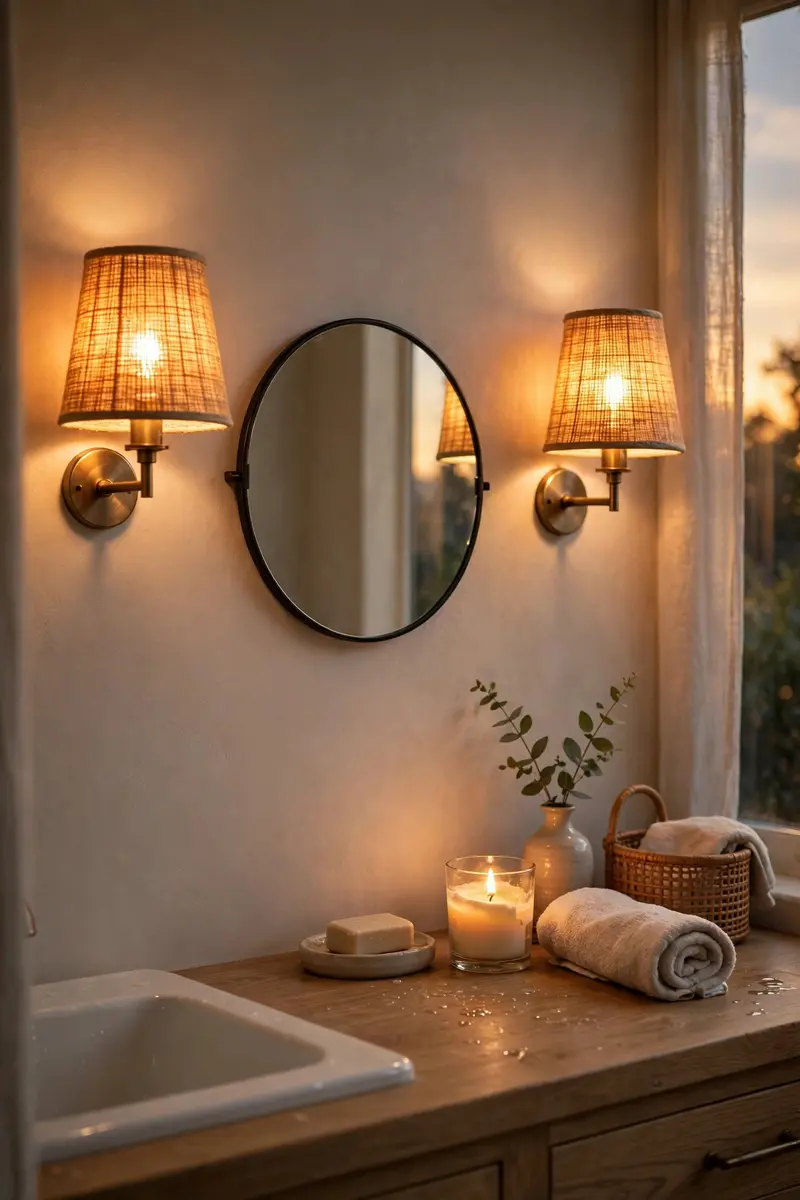
Overhead-only lighting is the reason many small bathrooms feel harsh. Two small sconces at face height beside the mirror — or even a single warm-toned bulb swap — soften shadows and make the room glow. Warm white bulbs (2700K) flatter skin and make tile look richer than cool daylight bulbs do.
Materials and cost: two plug-in or battery sconces ($25–$60 for a pair) or warm LED bulbs ($8–$15 for a pack).
If you cannot rewire, battery sconces with remote controls mount with adhesive strips and look surprisingly real. Place them at face height, about shoulder-width apart, for the most flattering light.
Practical tip: Put the sconces on a dimmer or use dimmable bulbs — a low glow for evening baths turns an ordinary bathroom into a retreat.
Variation: A small LED strip behind the mirror gives you the popular backlit-mirror glow without buying a new mirror.
24. Finish With a Five-Minute Weekly Reset
The last idea costs nothing, and it protects all the others: a five-minute weekly reset. Once a week, clear the counter, wipe the mirror and faucet, shake out the rug, and return everything to its home. Small bathrooms do not get dirty slowly — they go from tidy to chaotic in a day — so a short, regular reset keeps your budget upgrades looking like they did on day one.
Materials and cost: a microfiber cloth, an all-purpose spray you already own, and five minutes.
Set a phone reminder for the same day each week, and keep the cloth and spray under the sink so there is no excuse to skip it. Involve everyone who uses the bathroom so the reset is shared, not one person’s chore.
Practical tip: Do the reset right before guests arrive or at the start of the weekend — a fresh bathroom makes the whole home feel cared for.
Variation: Pair the reset with swapping the hand towel for a fresh one, so the room always smells and feels newly cleaned.
Frequently Asked Questions
How do I make a small bathroom look bigger on a budget?
Start with paint, a large mirror, and a high shower curtain — those three changes alone can transform the room for under $150. Then add vertical storage, clear the floor wherever possible, and stick to light colors with one accent. For more storage inspiration, see The Spruce’s guide to small bathroom storage ideas.
What is the cheapest way to update a small bathroom?
Paint is the cheapest single update, followed by new hardware and a new shower curtain. Together, those three projects usually cost under $100 and can be finished in a weekend. If you want another low-cost change, peel-and-stick wallpaper on one wall is a strong next step — The Spruce’s bathroom wallpaper ideas show how one patterned wall can carry a whole room.
Can you use dark colors in a small bathroom?
Yes — dark colors blur the corners of a room and can make a powder room feel cozy and dramatic rather than small. The trick is lighting: add sconces at face height, warm bulbs, and a large mirror so the room glows instead of feeling closed in. Save dark colors for one wall or the vanity if you are unsure.
How do I add storage to a tiny bathroom without renovating?
Use the walls: floating shelves above the toilet, hooks on the door, a slim rolling cart in a gap, and a tension rod under the sink. Every one of these adds storage without moving plumbing or knocking down walls, and most are renter-friendly.
Are peel-and-stick tiles and wallpaper renter-friendly?
Yes, when the surface underneath is smooth, clean, and dry. Peel-and-stick products are designed to remove cleanly, but test a small corner first and warm the material with a hair dryer when you peel it off. Always check your lease before making changes, and keep the original fixtures so you can restore the room when you move.
Conclusion
A small bathroom is not a problem to solve with a big budget — it is a small space that rewards smart choices. Start with the changes that cost the least and matter the most: paint, a bigger mirror, a higher curtain, and storage that climbs the walls. Add one idea at a time, live with it, and let the room evolve into a space that feels calm, bright, and completely yours.
If this list gave you an idea you love, save it to Pinterest so you can find it when you are ready to start — and if you want more room-by-room ideas, explore our small bathroom decor ideas on a budget, our farmhouse bathroom mirror ideas, and our black and white bathroom tile ideas for the next project on your list. Your tiny bathroom is about to feel a whole lot bigger.