
Your craft supplies should spark joy, not stress. But when ribbons tangle, paint tubes vanish, and your table disappears under half-finished projects, even your favorite hobby starts to feel like a chore. These craft room organization ideas fix that — one simple system at a time.
You do not need a huge room or a big budget to make it work. Most of the craft room organization ideas below cost under $25, take less than an hour to set up, and use storage you may already own. For more thrifty inspiration, see these diy home decor ideas on a budget before you start shopping.
The secret is giving every supply a visible home. When you can see what you own, you use it more, buy less, and start projects in minutes instead of spending twenty minutes hunting for scissors. Work through the list, pick the systems that fit your crafts, and build your room one zone at a time.
1. Pegboard Wall: Craft Room Organization Ideas Begin Here
A full pegboard wall is the single most flexible of all craft room organization ideas, because it turns dead wall space into storage you can rearrange in minutes. Hooks, baskets, shelves, and cups clip on and off, so the wall grows with your hobbies instead of locking you into one layout.
You will need one or two 4×4-foot pegboard panels, a French cleat or screws with spacers, and a starter set of hooks, baskets, and small shelves. Expect to spend $20–$40 for the board and $10–$15 for accessories, or under $15 total if you score a used board.
Hang the board at eye level above your main work table, leaving a 1-inch gap behind it so hooks seat properly. Start with your most-used tools — scissors, rulers, tape, brushes — then add baskets for paint tubes and small shelves for jars. Step back and check that everything is reachable without stretching.
Tip: Outline each tool’s spot with a marker on the pegboard so you can see at a glance what is missing — and so family members know exactly where things belong.
Variation: Paint the pegboard a soft sage or cream before hanging it so it doubles as wall decor, not just storage.

2. Three-Tier Rolling Cart Project Valet
A slim three-tier rolling cart is the best friend of small craft room organization ideas, because it holds one active project, its tools, and its supplies in a unit that parks anywhere. Roll it beside your chair while you work, then slide it into a closet or corner when you are done.
You will need a three-tier metal rolling cart, which usually costs $25–$35, plus a few small bins or cups to corral loose items on each tier. The top tier holds tools, the middle holds the project itself, and the bottom holds backup supplies.
Assemble the cart in about fifteen minutes, then load it by workflow rather than by category. Put the project you are actually working on in the cart, not the supplies you might use someday. Keep a small trash cup on the top tier so scraps never pile up on your table.
Tip: Dedicate one cart per active project, and cap yourself at two carts — the limit forces you to finish things instead of starting a third.
Variation: Add a clip-on cup holder and a small magnetic strip on the side for scissors and metal rulers.
3. Clear Labeled Bins by Category
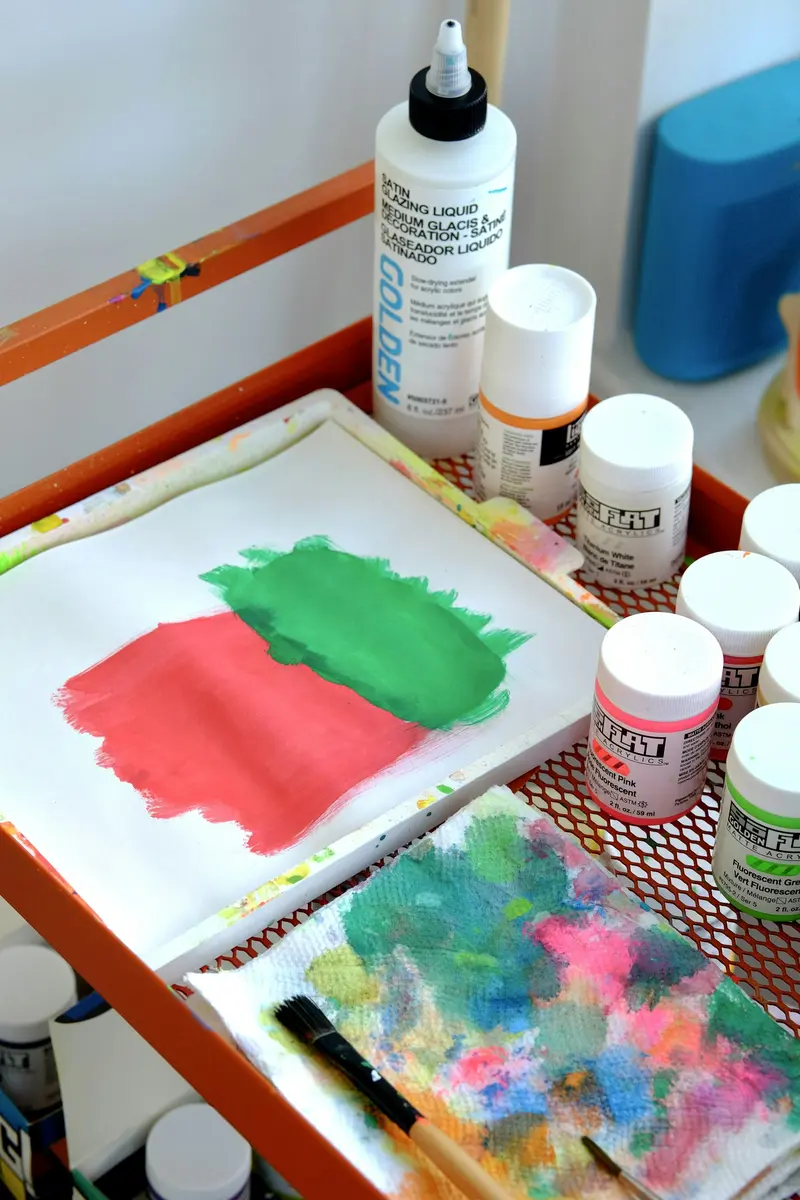
Clear bins are the backbone of practical craft room organization ideas because they solve the “out of sight, out of mind” problem. When you can see your supplies, you remember you own them, and you stop buying duplicates of things buried in opaque boxes.
You will need stackable clear bins in two or three sizes, plus a label maker or printable labels. A set of six medium bins costs about $15–$20, and a basic label maker runs $20–$30 — or use masking tape and a marker for under $2.
Sort supplies into broad categories first — paper, fabric, paint, adhesive, tools — then give each category its own bin. Label every bin on the front and the top so you can read it from any angle. Store daily-use bins at eye level and seasonal ones up high.
Tip: Label bins with what goes IN them, not what is in them right now — “Ribbon” instead of “Red Ribbon” — so the system survives restocking.
Variation: Use colored bins for kids’ supplies and clear bins for yours, so everyone knows whose system is whose.

4. Cube Shelves with Fabric Bins
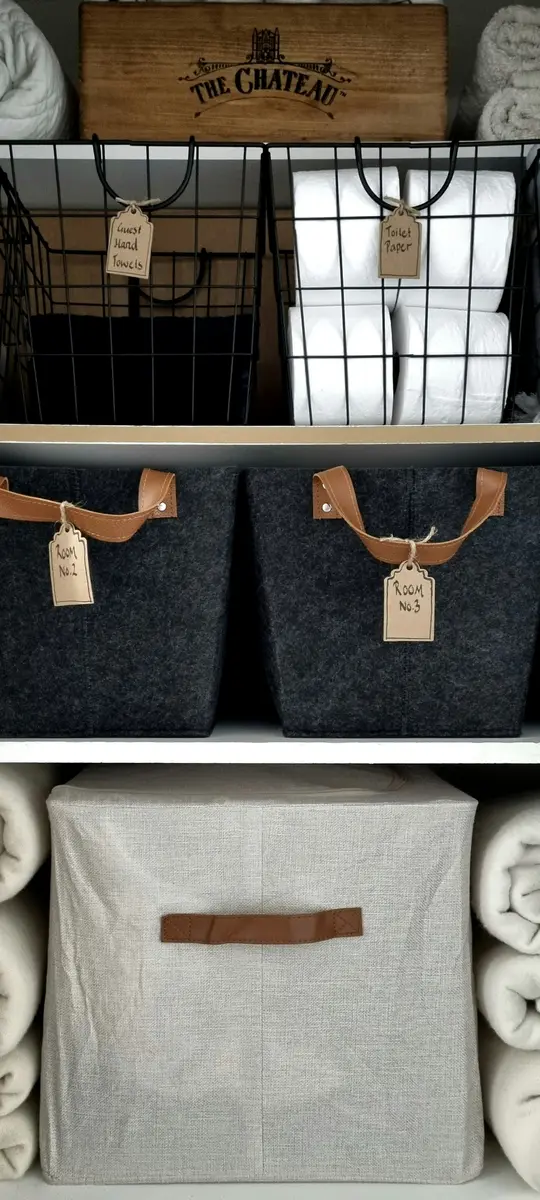
Cube shelving turns an empty wall into a tidy grid, and it is one of the most photogenic craft room organization ideas for a reason. The open cubes keep supplies visible while fabric bins hide the messier categories behind a clean, color-coordinated front.
You will need a 6- or 9-cube shelving unit ($40–$70) and one fabric bin per cube ($3–$6 each). Choose bins in two or three coordinating colors so the unit reads as furniture, not a warehouse shelf.
Place the unit against the longest free wall and sort by craft: one column for sewing, one for paper, one for paint. Put heavy items like fabric bolts and paper stacks in the bottom cubes and light items like ribbon and stickers up top. Add a label holder to each bin front.
Tip: Leave one cube empty on purpose — it becomes the landing spot for new supplies and works in progress, so they never end up on the floor.
Variation: Turn the unit sideways under a window to make a low bench with storage and a sunny seat for handwork.
5. Vertical Paper File Station
Paper is the supply that suffers most from flat stacking, so filing it vertically is one of the smartest craft room organization ideas for scrapbookers and card makers. Sheets stay flat, colors stay visible, and you can flip through them like files instead of unstacking a pile.
You will need magazine holders, desktop file sorters, or a vertical paper rack — about $10–$20 for a set of five holders. Add a few hanging file folders for odd sizes and scraps.
Sort paper by color or pattern family, then file each group upright in its own holder. Label the holder spine with the color range inside. Keep 12×12 scrapbook paper in a dedicated rack near your cutting area and letter-size cardstock near the printer.
Tip: Cap your paper scrap collection at one holder — when it is full, use scraps first before buying new sheets.
Variation: Use a dish rack from the kitchen aisle as a cheap vertical sorter for cardstock; it costs under $5 and works beautifully.

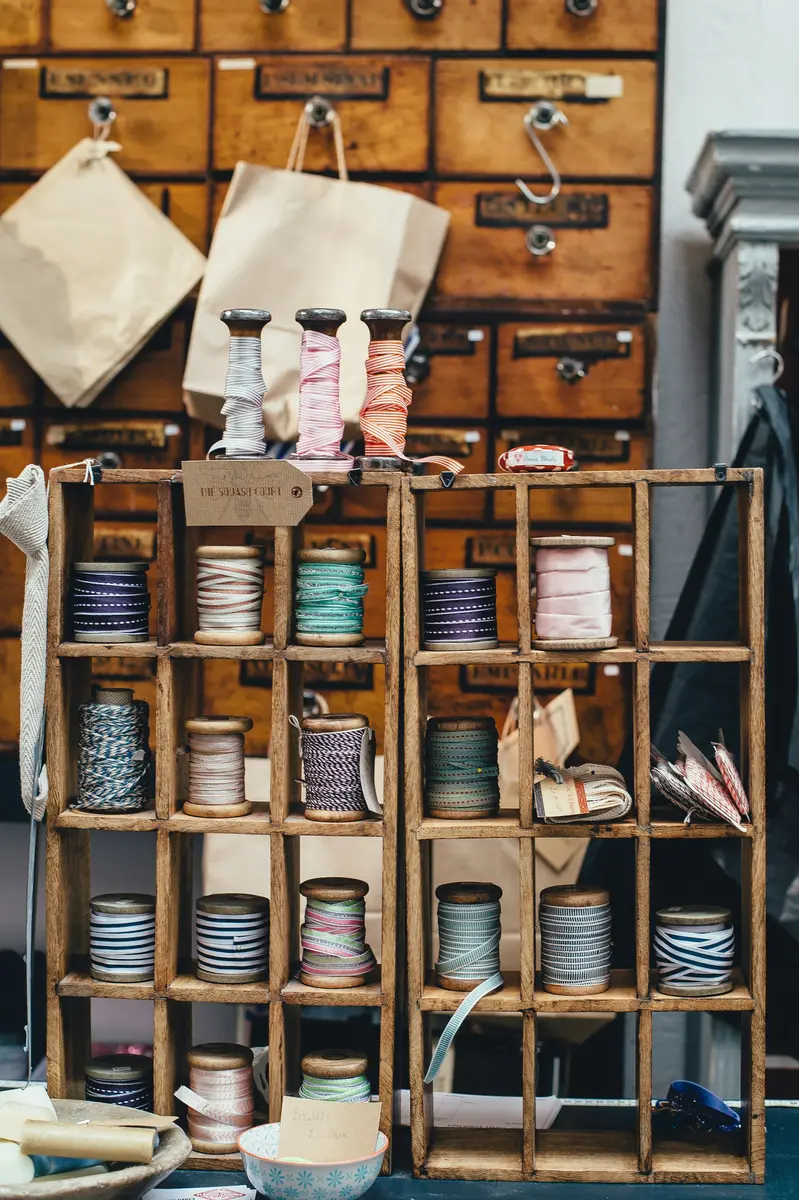
6. Ribbon and Washi Tape Rod Wall
Ribbon spools and washi tape rolls are made to be seen, and a rod wall is one of the prettiest craft room organization ideas for them. Mounted dowels or tension rods let you pull exactly the length you need, then snip — no more tangled spools rolling around a drawer.
You will need two or three wooden dowels ($2–$4 each), wall brackets, and a few cup hooks for washi tape. A full rod wall usually costs under $15, and you can build it in about thirty minutes.
Mount the rods 8 inches apart on the wall beside your wrapping or card-making station. Slide spools onto the dowels by color family, and hang washi tape on a thinner rod or a row of cup hooks below. Leave one rod empty for new arrivals.
Tip: Thread ribbon through a small binder clip attached to the rod end so the loose end never disappears back into the spool.
Variation: Use a towel bar with S-hooks for ribbon spools in a rental — it hangs over a door or cabinet with zero holes.

7. Mason Jar Small-Parts Wall
Buttons, beads, sequins, and eyelets vanish into drawers, so a mason jar wall is one of the most satisfying craft room organization ideas for tiny supplies. Glass jars keep every color visible, and a wall-mounted shelf keeps them off your work surface entirely.
You will need a narrow wall shelf or two, plus a dozen small mason jars ($1–$2 each at thrift stores). A small shelf costs $10–$15, so the whole project lands under $25.
Mount the shelf at eye level near your sewing or jewelry station. Fill each jar with one category — one for white buttons, one for gold beads, one for sequins — and label the lid, not the glass, so the contents stay visible. Line the jars in color order for a rainbow effect that doubles as decor.
Tip: Keep a small funnel and a magnetic tray beside the jars so you can pour out just a few beads without spilling the whole jar.
Variation: Screw jar lids under a shelf and hang the jars from them — you unscrew the jar to use it and screw it back when done.

8. Over-the-Door Shoe Organizer Station
The back of a door is free real estate, and a clear over-the-door shoe organizer is one of the cheapest craft room organization ideas for small spaces. Twenty-four clear pockets swallow paint tubes, markers, glue sticks, and brushes — all visible, all reachable, zero floor space used.
You will need a clear over-the-door shoe organizer ($8–$12) and two over-door hooks if your door cannot take screws. That is the whole budget.
Hang it on the inside of your craft room door or a closet door, pockets facing out. Sort by pocket row: top rows for daily tools, middle rows for paint and glue, bottom rows for bulky items like yarn and fabric scraps. Label each row with a strip of washi tape.
Tip: Put the organizer on the door you open least, so supplies are not swinging every time someone walks in.
Variation: Cut the organizer in half and hang one half inside a cabinet door for hidden storage that still keeps everything visible.

9. Sewing Station with Thread Rack
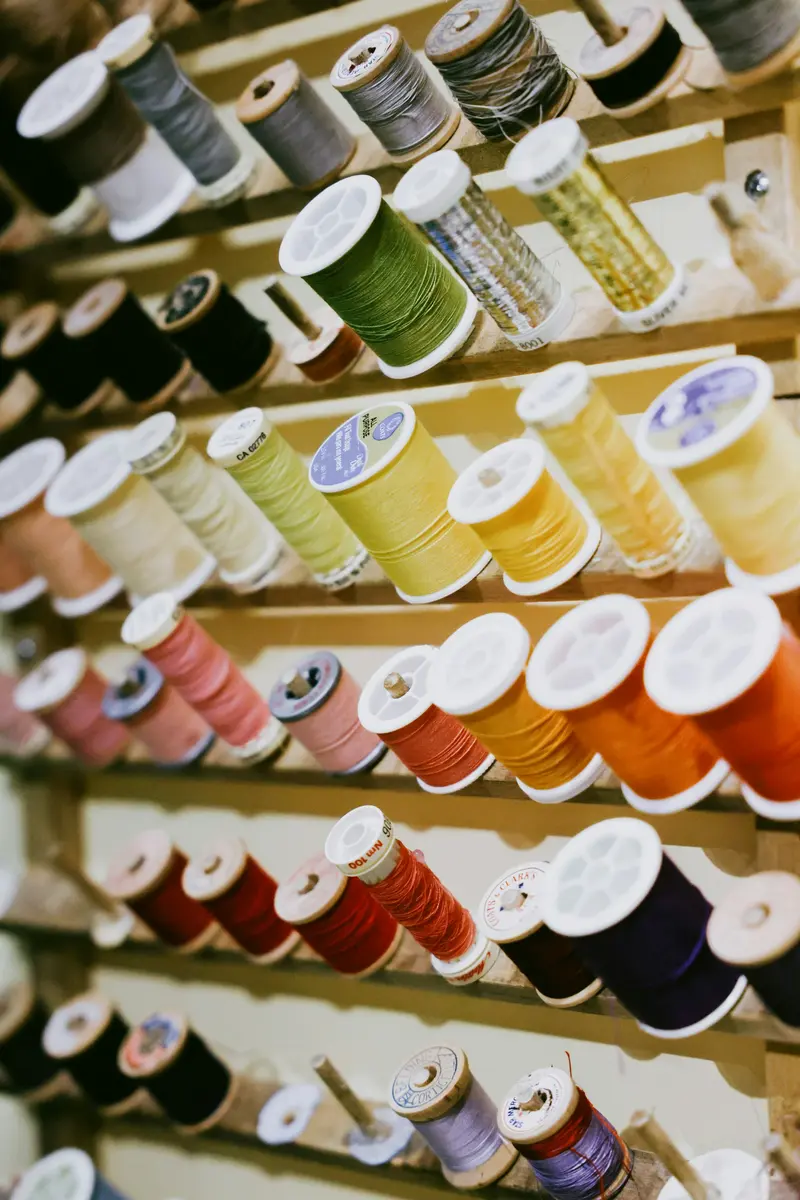
A dedicated sewing zone saves more time than any single storage buy, and a wall-mounted thread rack is the centerpiece of great craft room organization ideas for sewists. When every spool is visible in color order, you stop digging through baskets and start sewing in minutes.
You will need a wall-mounted thread rack ($15–$25) or a wooden dowel rack you build for under $10, plus a small basket for bobbins and a pincushion. Place the rack directly above your sewing machine.
Mount the rack at arm’s reach and load spools by color family, light to dark. Keep a small tray beside the machine for the project in progress, and store fabric in folded stacks on the shelf below the rack. Add a good lamp — poor light kills sewing motivation faster than clutter.
Tip: Wind a bobbin for every thread color you use often, and store bobbins on a labeled ring so matching thread is always ready.
Variation: If you sew in a shared room, use a fold-down wall shelf as your machine table so the station disappears when guests arrive.
10. Yarn Dowel Wall
Yarn is bulky, beautiful, and impossible to stack, so a dowel wall is one of the most joyful craft room organization ideas for knitters and crocheters. Skeins hang in color order like a shop display, and you can pull yarn from the center of the skein without the ball rolling away.
You will need two wooden dowels ($2–$4 each), wall brackets, and a few S-hooks. The whole wall costs under $15 and takes about twenty minutes to install.
Mount the dowels horizontally about 12 inches apart on the wall near your favorite chair. Slide skeins onto the dowels by color, and hang works in progress from S-hooks below. Keep a small basket at the base for needles, hooks, and pattern printouts.
Tip: Store yarn you are not using yet in clear bins with cedar blocks — the dowel wall is for active yarn only, so it never overflows.
Variation: Use a tension rod inside a deep bookshelf to create a yarn wall that hides behind the shelf’s front edge in a shared living space.

11. Paint Storage on a Spice Rack
Paint tubes and small bottles are exactly spice-jar sized, so a wall-mounted spice rack is one of the cleverest craft room organization ideas for painters. It keeps every color visible and upright, and it costs a fraction of a purpose-built paint organizer.
You will need one or two wall-mounted spice racks ($10–$15 each) or a repurposed wooden spice rack from a thrift store for under $5. Add small labels for colors that look alike in the tube.
Mount the rack near your painting station and sort paints by type first — acrylics together, watercolors together — then by color within each type. Keep brushes in a jar on the shelf below and a water cup on a stable surface beside it, never on the rack itself.
Tip: Store paint tubes cap-down so pigment stays near the opening and the paint is ready to squeeze the moment you uncap it.
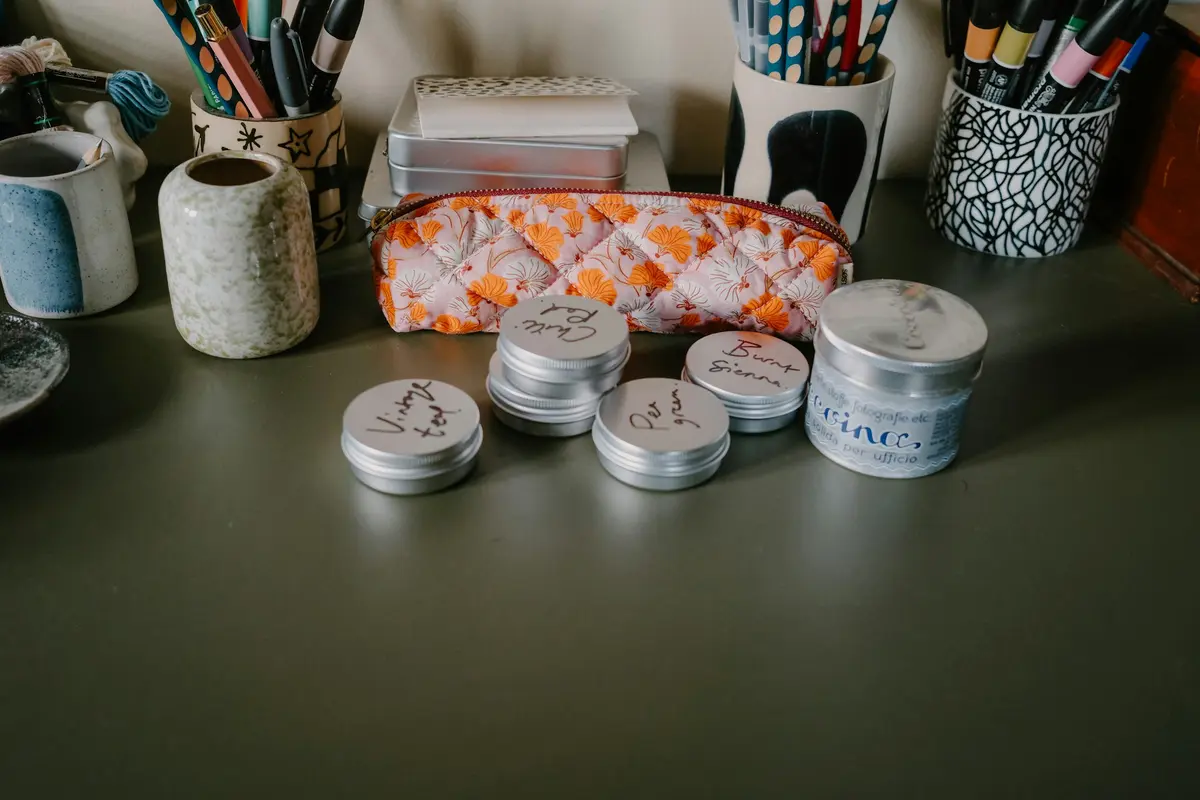
Variation: Use a magnetic spice rack with small tins for pigments, glitter, and embossing powder — the clear lids show the color instantly.
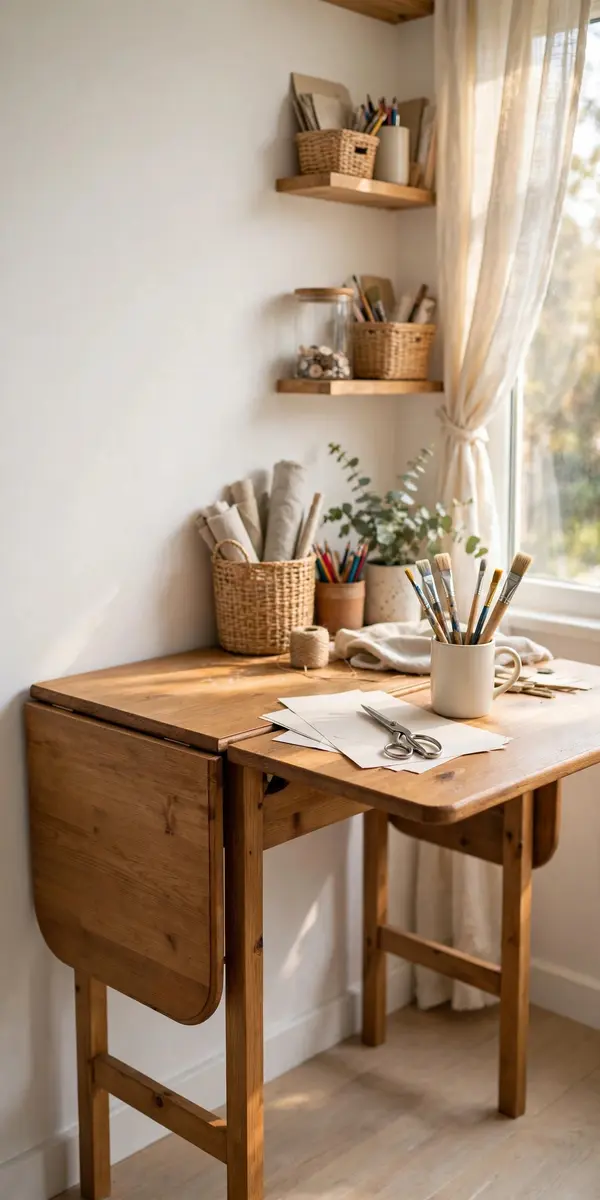
12. Drop-Leaf Table: Small-Space Craft Room Organization Ideas
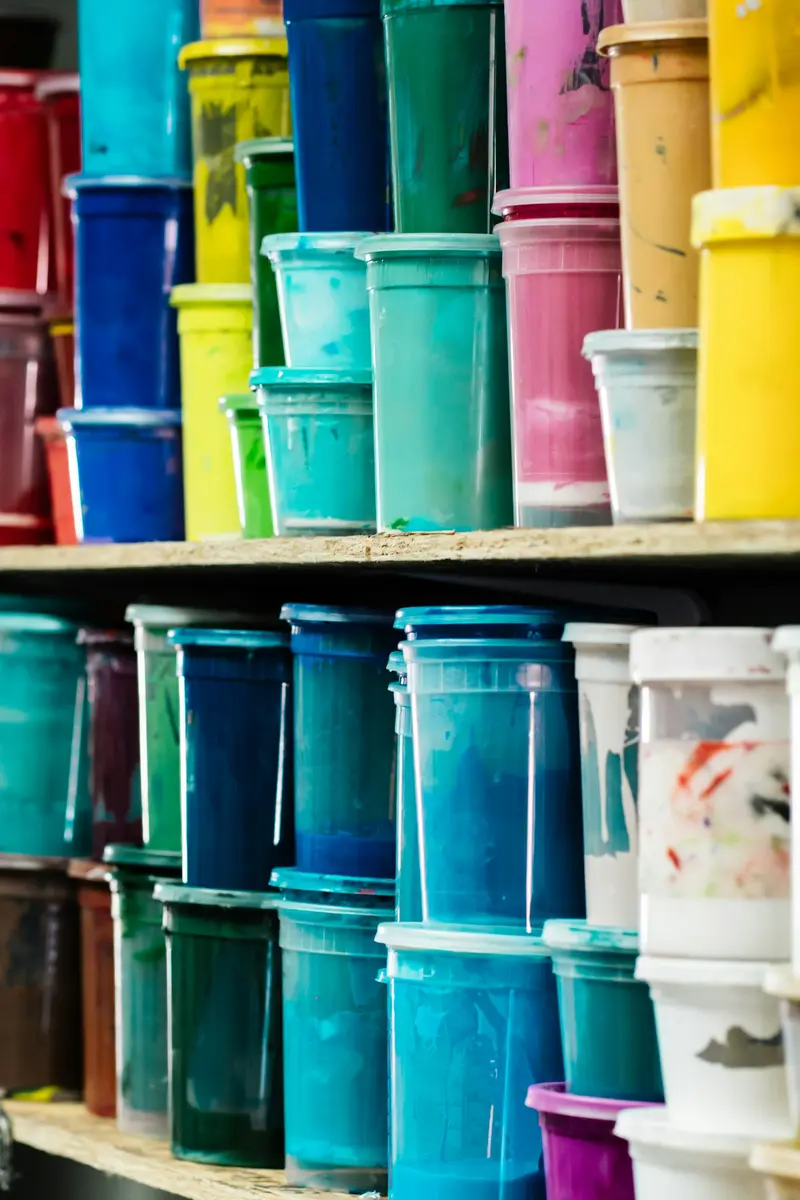
A drop-leaf table is the hero of small-space craft room organization ideas because it gives you a full work surface when you need it and your floor back when you do not. Fold one leaf down for everyday crafting, open both for big projects, and tuck it against the wall for parties.
You will need a drop-leaf table ($60–$100 new, often $20–$30 secondhand) or a wall-mounted fold-down desk kit for about $40. Add a small rolling cart underneath for supplies that live with the table.
Place the table against a wall with good light, ideally near a window. Set up your current project on the open leaf and keep a small caddy of daily tools on the table at all times. When the leaf folds down, everything else goes back to its labeled home — that is the rule that keeps the system working.
Tip: Screw a small power strip under the table so your glue gun, iron, and lamp plug in without cords crossing the floor.
Variation: Use two folding TV trays as a portable craft table in a small apartment — they fold flat into a closet when you are done.
13. DIY Drawer Dividers for Tiny Supplies
A junk drawer is where craft supplies go to die, so custom dividers are one of the highest-impact craft room organization ideas for the smallest budget. Divided drawers turn a jumbled mess into a grid where every bead, clasp, and finding has a square of its own.
You will need foam board, thin plywood, or repurposed cereal boxes, plus a craft knife and a ruler. A full drawer costs under $5 in materials, and most people already have everything at home.
Measure the drawer, then cut dividers to fit snugly so they do not slide. Make small squares for beads and findings, long channels for pens and brushes, and one wider section for tools. Line the bottom with pretty contact paper so the drawer looks finished, not improvised.
Tip: Build dividers in removable trays rather than gluing them in — you can lift the whole tray out and carry it to your work table.
Variation: Use small silicone muffin cups as instant dividers inside a shallow drawer; they grip the bottom and come in cheerful colors.

14. Wrapping Paper Station
Wrapping paper rolls are long, awkward, and always in the way, so a dedicated station is one of the most satisfying craft room organization ideas for anyone who gifts often. A tall, narrow station keeps rolls upright, tape and ribbon within reach, and gift bags filed like books.
You will need a tall narrow bin or a wall-mounted rack ($15–$25), plus a small basket for tape, scissors, and tags. An old umbrella stand or a tall laundry hamper works just as well for under $10.
Stand rolls upright in the bin or rack, sorted by occasion — birthday, holiday, plain kraft — and keep a pair of long scissors tied to the station with ribbon so they never wander. File gift bags upright in a magazine holder beside the rolls, and keep tissue paper folded flat in a labeled bin below.
Tip: Keep a small roll of kraft paper as your default wrap and dress it up with ribbon and stamps — one roll replaces ten occasion-specific ones.
Variation: Mount a horizontal dowel high on the wall and hang rolls from it with large S-hooks, so the station takes zero floor space.

15. Closet-to-Craft-Cabinet Conversion
A spare closet is a craft room waiting to happen, and converting one is among the boldest craft room organization ideas for small homes. Remove the doors, add shelves and a fold-down work surface, and you have a complete studio that closes with a curtain when guests arrive.
You will need two or three shelves ($10–$15 each), a fold-down shelf bracket set ($20–$30), and a tension rod with a curtain for the front. A good light strip inside costs $10–$15 and makes the space usable at night.
Clear the closet completely, then paint the interior a bright white or pale color so it feels bigger. Install shelves up to the ceiling for bulk storage, a work surface at table height, and a pegboard on one side wall for tools. Hang the curtain on a tension rod to hide it all in seconds.
Tip: Put a small fan or leave a gap at the top of the curtain — closed closets trap heat from lamps and glue guns fast.
Variation: If you rent, use freestanding shelves and a tension-rod curtain so the whole conversion reverses in an afternoon with no holes to patch.
16. Label Maker System
Labels are the glue that holds every other system together, and a consistent label system is one of the most underrated craft room organization ideas of all. When every bin, jar, and drawer says what it holds, anyone in the house can find things and put them back.
You will need a basic label maker ($20–$30) or a pack of printable label sheets for about $8, plus a simple naming rule you stick to. Choose one style — all caps, two words maximum — and use it everywhere.
Label the front of every bin, the lid of every jar, and the outside of every drawer. Use the same font size for the same container type so the room reads as one calm system instead of a patchwork. Add a small icon or color dot for categories kids use, so they can find things before they can read.
Tip: Print a spare set of labels and keep them in a drawer — when a bin changes contents, the new label is already waiting.
Variation: Use chalkboard labels on bins whose contents rotate seasonally, so you can wipe and rewrite instead of reprinting.

17. Inspiration and Idea Board
A beautiful room needs a beautiful focal point, and an inspiration board is one of the most personal craft room organization ideas on this list. It corrals swatches, photos, sketches, and patterns that would otherwise drift across every surface — and it keeps your next project visible.
You will need a corkboard, a framed fabric board, or a magnetic board ($15–$25), plus pins, clips, and washi tape. Hang it at eye level where you sit to plan, not where you stand to cut.
Pin current project swatches, a photo of the finished piece you are aiming for, and any pattern or color palette you love. Keep the board to one project at a time — when a project finishes, clear it and start fresh. Add a small pocket at the bottom for pattern printouts and notes.
Tip: Photograph the board before you clear it, so your idea archive lives on your phone even after the physical board changes.
Variation: Use a wire grid panel with clips instead of cork — it holds heavier items like fabric swatches and looks more modern.
18. Fabric Folded by Color on Shelves
Fabric is the bulkiest craft supply, and folding it by color is one of the simplest craft room organization ideas that also makes the room look like a shop. A rainbow shelf is easy to browse, easy to maintain, and genuinely beautiful to look at.
You will need open shelves and a folding board or a piece of cardboard cut to a standard size. No purchase is required if you already own shelves — this system costs nothing but an afternoon.
Fold every piece around the board so all stacks are the same width, then sort by color from light to dark. Stand folded stacks upright like books so you can pull one piece without toppling the pile. Put the fabrics you reach for weekly at eye level and the special-occasion pieces up high.
Tip: Wrap each folded piece with a small rubber band and a tag noting the yardage, so you know what you have before you start cutting.
Variation: Roll fabric instead of folding it and stand the rolls upright in a deep basket — rolls show the print better and never crease.

19. Mobile Cricut and Cutting Station
A Cricut and its mats, vinyl rolls, and weeding tools need a home of their own, and a mobile cutting station is one of the most practical craft room organization ideas for vinyl and paper crafters. Everything for one machine lives in one rolling unit, so you can cut anywhere with good light.
You will need a small rolling cart or a repurposed kitchen cart ($25–$40), plus a vinyl roll holder and a few small bins for tools. Store vinyl rolls upright in the holder and mats flat in a slot on the side of the cart.
Load the cart by project step: machine on top, mats and vinyl in the middle, weeding tools and transfer tape at the bottom. Keep a small trash bin clipped to the side for vinyl scraps. For more product ideas, browse HGTV’s roundup of craft storage solutions before you buy anything new.
Tip: Keep a dedicated weeding tool set in the cart and a second set at your desk, so you never carry tools back and forth mid-project.
Variation: If your craft room doubles as a small home office, park the cutting station in a closet and roll it out only when you cut.

20. Seasonal Rotation Bins
Craft supplies follow the calendar — holiday vinyl in December, pastels in spring — so seasonal rotation bins are among the smartest craft room organization ideas for keeping your prime shelves free. Off-season supplies live in labeled bins elsewhere, and only the current season earns a spot in the room.
You will need two or three large labeled bins ($8–$12 each) and a shelf in a closet, garage, or under a bed. One bin per season is plenty for most crafters.
At the start of each season, swap the bins: bring the current season’s bin into the craft room and send last season’s bin to storage. Label each bin with the season and a short contents list on the outside, and keep a small inventory card inside the lid.
Tip: Set a phone reminder for the first weekend of each season so the swap happens in ten minutes instead of becoming a dreaded weekend project.
Variation: Use clear bins for seasonal storage so you can confirm the contents at a glance without opening the lid and digging.

21. Five-Minute Reset: Craft Room Organization Ideas That Stick
The best system in the world fails without a reset habit, so the five-minute clean-up kit is one of the most important craft room organization ideas on this list. A small caddy with a trash bag, a damp cloth, and a return bin makes tidying so easy you will actually do it.
You will need a small caddy or basket ($5–$10), a roll of trash bags, a microfiber cloth, and a spray bottle. Keep the caddy on your work table at all times — never in a cabinet, or you will never reach for it.
When you finish a session, set a timer for five minutes. Toss scraps, return tools to their outlined spots, and put the project in its cart or bin. The room does not need to be perfect — it needs to be ready for you to sit down and start tomorrow without clearing a space first.
Tip: End every session by writing your next step on a sticky note and leaving it on the project — future-you will thank present-you.
Variation: Keep a second mini caddy by the door for quick tidy-ups when guests are on their way and you have only two minutes.
22. Magnetic Tool Bar for Metal Tools
Scissors, rotary cutters, and metal rulers are the tools you reach for most, so a magnetic tool bar is one of the simplest craft room organization ideas for keeping them visible and safe. It holds sharp tools up high, away from little hands, and frees a whole drawer in the process.
You will need a magnetic knife bar ($10–$20) or a magnetic strip with strong adhesive backing. Mount it on the wall beside your work table, at a height adults reach easily and children do not.
Stick metal tools to the bar in the order you use them, heaviest nearest the wall studs. Keep rotary cutters blade-down and capped, and store a small blade disposal box underneath so dull blades never end up loose in a drawer. Wipe the bar monthly so metal dust does not build up.
Tip: Add a second short bar inside a cabinet door for the tools you use rarely, so the main bar stays reserved for daily tools only.
Variation: Use magnetic spice tins on the same bar for pins, needles, and small metal findings — they stick to the bar and lift off one-handed.

Frequently Asked Questions
How do I organize a craft room on a budget?
Start with decisions, not purchases. Declutter first, then use what you already own — jars, shoe boxes, and tension rods — before buying anything. Most of these craft room organization ideas cost under $25, and several cost nothing at all. Spend money only on the one system that solves your biggest pain point, then add more later.
What is the best way to organize a small craft room?
Go vertical and mobile. Use the walls for pegboards and rods, the door for an organizer, and rolling carts for projects. A drop-leaf table gives you a full work surface that folds away. In a tiny room, every idea should earn its floor space or hang on a wall.
How should I organize craft supplies by category?
Sort by how you use supplies, not just by material. Group the tools and materials for one craft together — sewing thread with fabric, vinyl with the Cricut — so each project has a zone. Within each zone, sort by color or size, and label everything so the system survives restocking.
What is the best storage for paper, fabric, and yarn?
Store paper vertically like files so sheets stay flat and visible. Fold fabric by color on open shelves or roll it upright in baskets. Hang yarn on dowels by color so skeins stay tangle-free. The Spruce’s guide to organizing art supplies shows the same principles — clear bins, labeled categories, and vertical storage — applied across every medium.
How do I keep my craft room tidy after organizing it?
Build a five-minute reset into the end of every session and give every supply a labeled home. When something has no home, it has no place to return to, and the room drifts back to clutter. A weekly ten-minute audit — return strays, toss scraps, check the scrap cap — keeps the system working for years.
Conclusion
A well-organized craft room is not about owning the prettiest bins — it is about starting every project in minutes, finishing more of what you start, and enjoying the room itself. These craft room organization ideas work because each one gives a specific supply a specific home, and together they turn a cluttered spare room into a studio you actually love spending time in.
Pick three ideas to start with this weekend: one wall system, one rolling cart, and one labeling habit. Once those three are in place, the rest of the room falls into line surprisingly fast. Save this post to Pinterest so your future self can find it when the next craft season rolls around — and happy crafting!



Leave a Reply