
There is a reason designers keep looking up: a living room with beams instantly adds warmth, character, and architecture that flat ceilings never manage. Whether your home already has beams hiding under drywall or you are starting from a blank ceiling, the ideas below show you how to make them shine.
In this guide you will find 32 distinct looks, from rustic reclaimed timber to sleek black modern beams, each with realistic costs and simple steps. For more rustic inspiration, see our rustic sage green living room ideas, and if you love the farmhouse side of beams, our farmhouse Christmas decor ideas pair beautifully with garland-dressed beams. The Spruce also has a lovely roundup of wood ceiling ideas if you want even more ceiling inspiration.
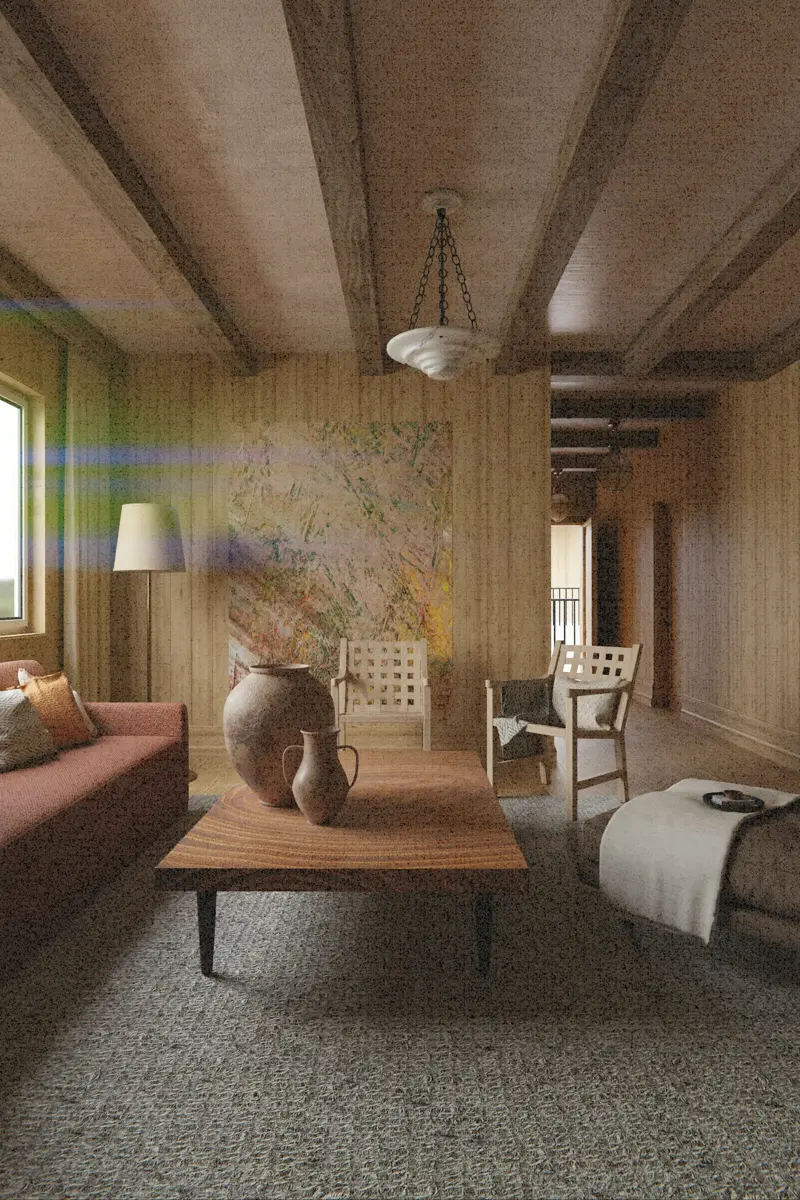
1. Reclaimed Barn Wood Beams
Nothing gives a living room with beams instant soul like salvaged timber. Old barn beams carry nail holes, saw marks, and a weathered patina that new wood simply cannot fake, so the ceiling feels storied rather than decorated.
Materials: two or three salvaged beams or reclaimed-look box beams, heavy-duty mounting brackets, wood stain, and a matte sealant. Budget roughly $150–$500 per beam for materials, plus labor if you hire the lift and install.
Start by mapping the joists and marking beam positions evenly across the ceiling. Lift each beam with a helper, secure it to blocking or joists with lag bolts, then fill gaps with stain-matched caulk. Finish with one coat of sealant so the grain stays visible.
Tip: Tip: Ask the salvage yard for beams from the same barn so the color and wear match across the room.
Variation: Pair reclaimed beams with a chunky reclaimed mantel for a fireplace wall that echoes the ceiling.
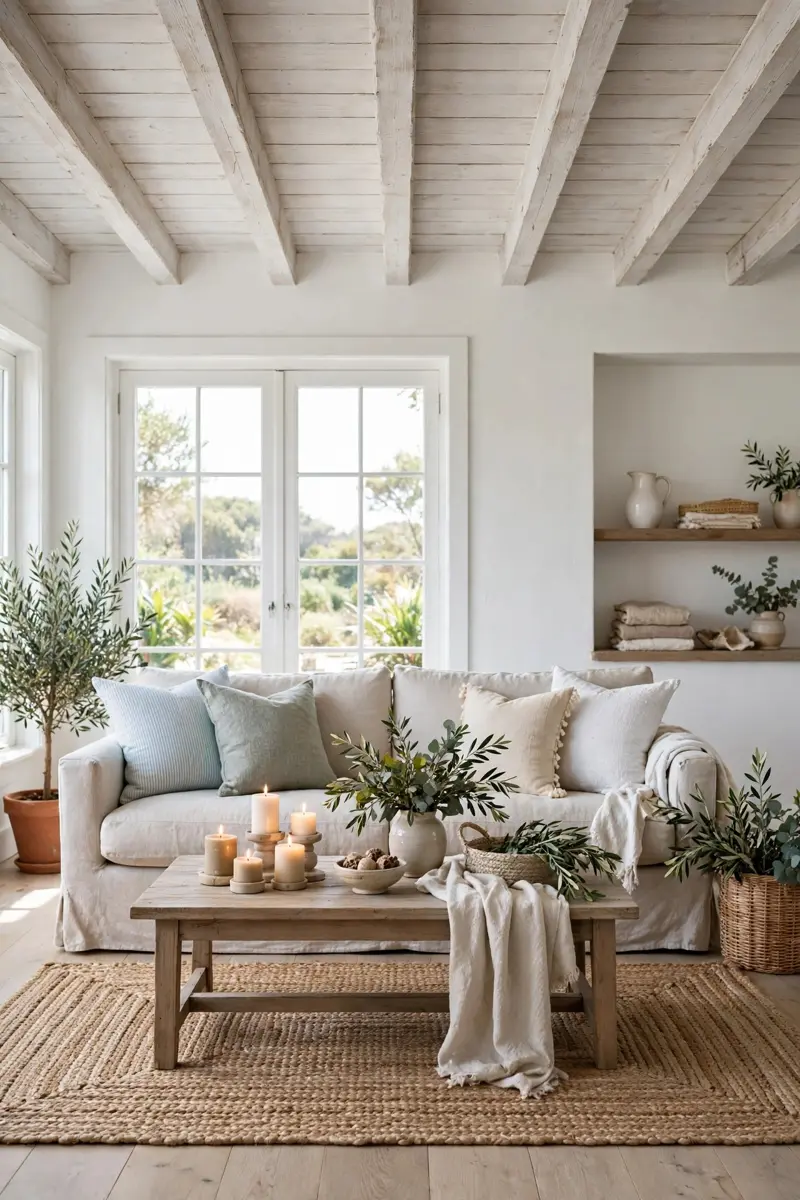
2. Whitewashed Beams
A whitewash keeps the wood grain visible while lifting the whole room, which is why a living room with beams in this finish feels bright instead of heavy. It suits coastal, farmhouse, and Scandinavian rooms alike.
Materials: pine or faux beams, whitewash stain or diluted white latex paint, a rag, and clear matte topcoat. DIY cost runs about $15–$40 per beam.
Brush the whitewash on along the grain, then wipe most of it back off with a rag before it dries. Add a second pass only where you want more coverage, and seal once dry so the finish does not yellow.
Tip: Tip: Test your whitewash mix on a scrap piece first — the same mix looks darker on rough-sawn wood.
Variation: Leave one beam natural and whitewash the rest for a subtle two-tone rhythm overhead.
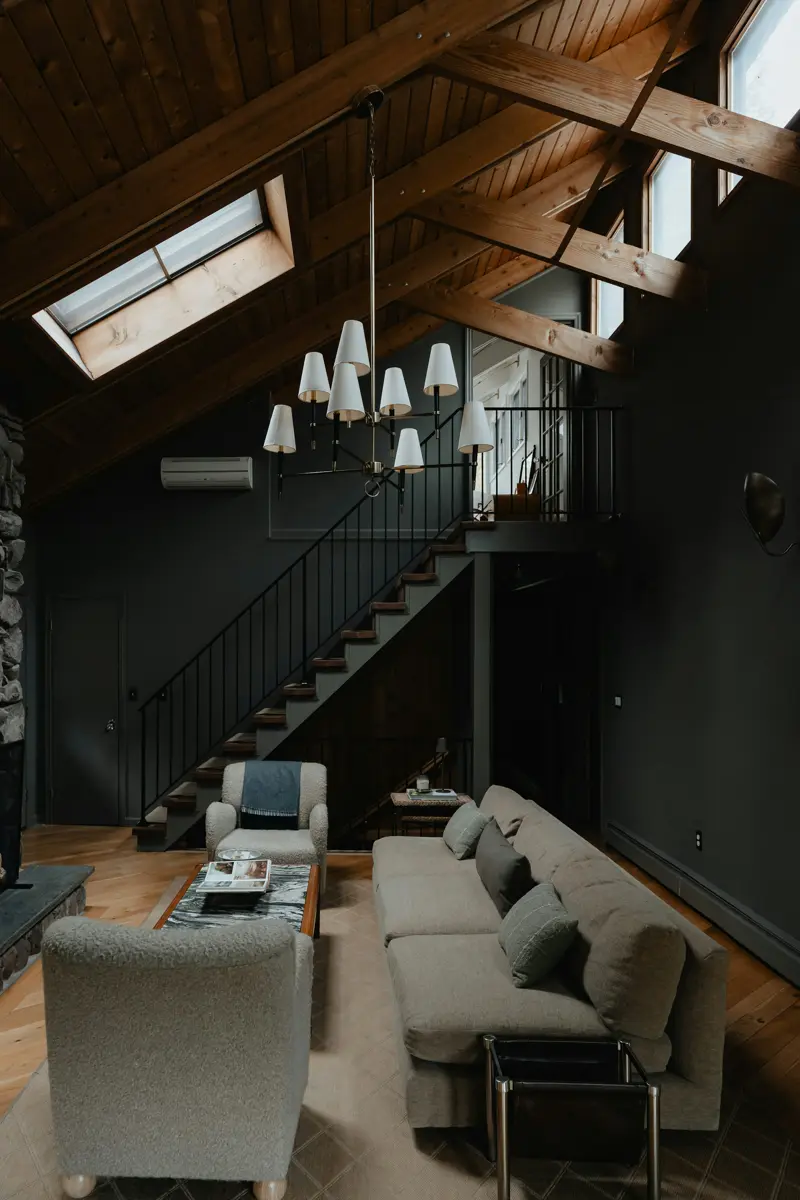
3. Dark Walnut Stained Beams
Deep walnut beams ground a pale room and add instant drama, making a living room with beams feel intimate and expensive. They pair beautifully with cream walls, brass accents, and jewel-toned velvet.
Materials: hardwood or stain-grade box beams, walnut gel stain, pre-stain conditioner, and satin polyurethane. Budget about $100–$300 per beam for materials.
Condition the wood first so the stain absorbs evenly, then apply gel stain in thin coats, wiping off the excess. Seal with two coats of satin polyurethane for a soft sheen that is easy to dust.
Tip: Tip: Keep the walls light and the rug pale so dark beams read as contrast, not as a cave.
Variation: Stain the beams espresso instead of walnut for an even moodier, modern take.
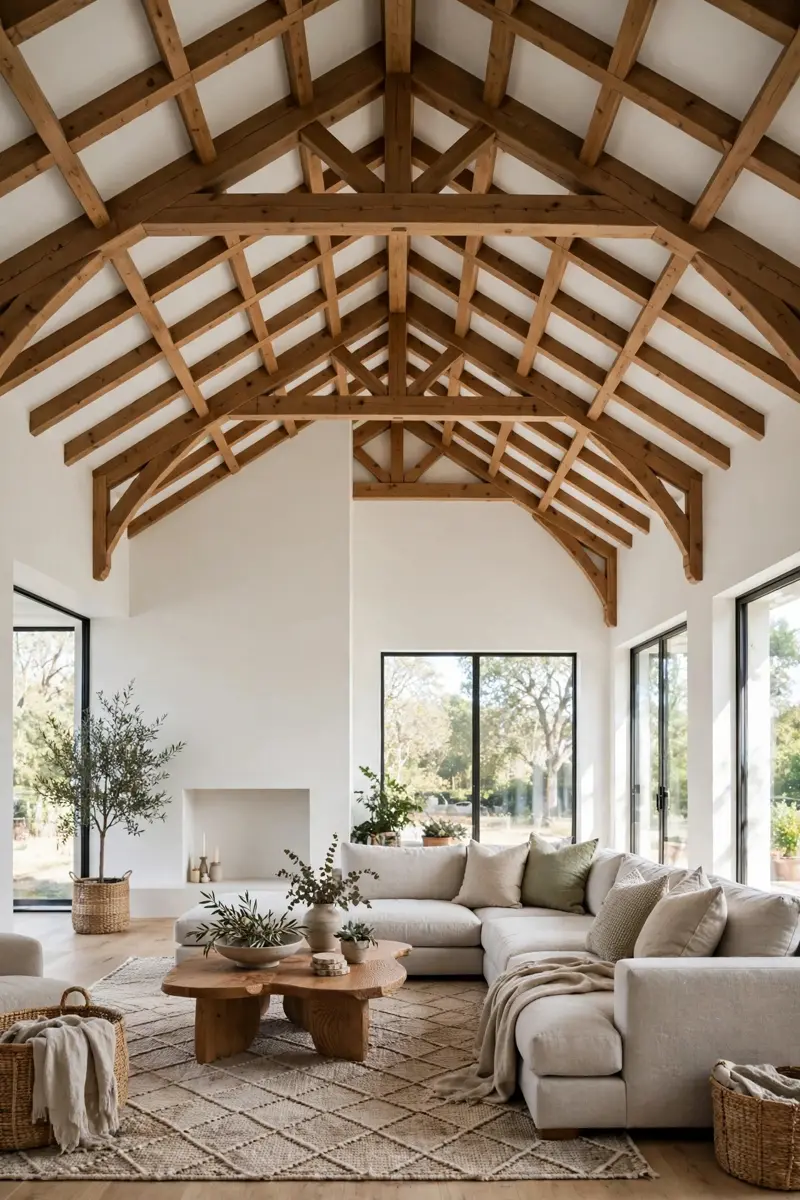
4. Vaulted Ceiling Beam Grid
A vaulted ceiling can feel cavernous until beams give it structure, and a living room with beams arranged as a grid turns empty height into architecture. The lines draw your eye up and make the room feel grand without adding clutter.
Materials: long-span beams or trusses, a ridge beam, collar ties, and matching stain. This is a structural job, so budget $2,000–$8,000 for a full vaulted grid, installed.
Work with a contractor to size the beams for the span and to place them symmetrically from the ridge down. Add cross ties at the same spacing on both slopes so the pattern reads as intentional from every seat.
Tip: Tip: Paint the ceiling between beams a soft white so the grid, not the drywall, does the talking.
Variation: Add a single king-post truss over the fireplace for a focal point inside the grid.
5. Faux Wood Beams on a Budget
Polyurethane faux beams weigh almost nothing and cost a fraction of timber, which is why a living room with beams on a budget usually starts here. From the floor, even designers struggle to tell them from real wood.
Materials: hollow faux beams, construction adhesive, screws, and mounting blocks. Expect $100–$250 per beam, all-in for a DIY install.
Screw mounting blocks to the joists, slide each hollow beam over the blocks, and glue the seams. Caulk the ends where beams meet the wall, then touch up with the manufacturer’s stain pen.
Tip: Tip: Order one sample first and hold it up in your room’s light — cheap faux grain can look flat under bright LEDs.
Variation: Mix one real wood mantel with faux ceiling beams to get authentic texture where hands actually touch.

6. Beams with Recessed Lighting
Lighting tucked between beams solves the darkest-beam problem, and a living room with beams lit this way glows evenly instead of throwing hard shadows. Dimmers let you shift from bright daytime to cozy evening in seconds.
Materials: slim LED recessed lights or puck lights, a dimmer switch, and cable clips. Budget $25–$60 per light plus wiring.
Plan lights in the bays between beams, not through them, and keep spacing even — roughly one light every four to five feet. Wire them to a single dimmer so the whole ceiling warms up together.
Tip: Tip: Choose 2700K warm-white bulbs so the wood reads golden, never clinical.
Variation: Add LED strip lights along the top edge of one beam for a soft uplight halo at night.
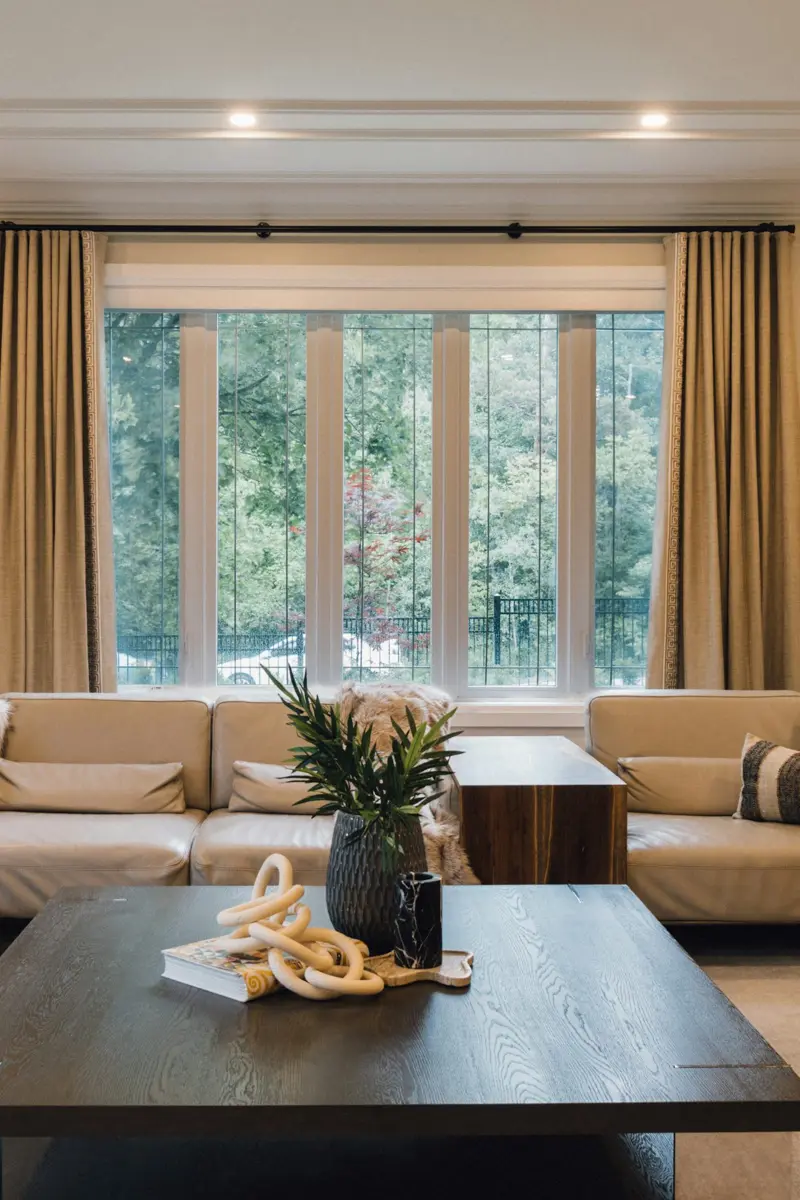
7. Farmhouse Beams plus Shiplap Ceiling
Shiplap between beams is the farmhouse ceiling done right, and a living room with beams framed by white planks feels crisp, cozy, and collected. The planks hide old drywall sins while the beams add the muscle.
Materials: shiplap boards or MDF planks, beams, white satin paint, and a nail gun. Budget $3–$7 per square foot for planks plus beams.
Install the shiplap first, running boards perpendicular to the beams, then mount the beams over the seams. Paint everything the same white, then stain or leave the beams natural for contrast.
Tip: Tip: Run the shiplap the length of the room so the ceiling feels longer, not chopped up.
Variation: Paint the shiplap a pale sage and keep the beams natural for a softer farmhouse look.
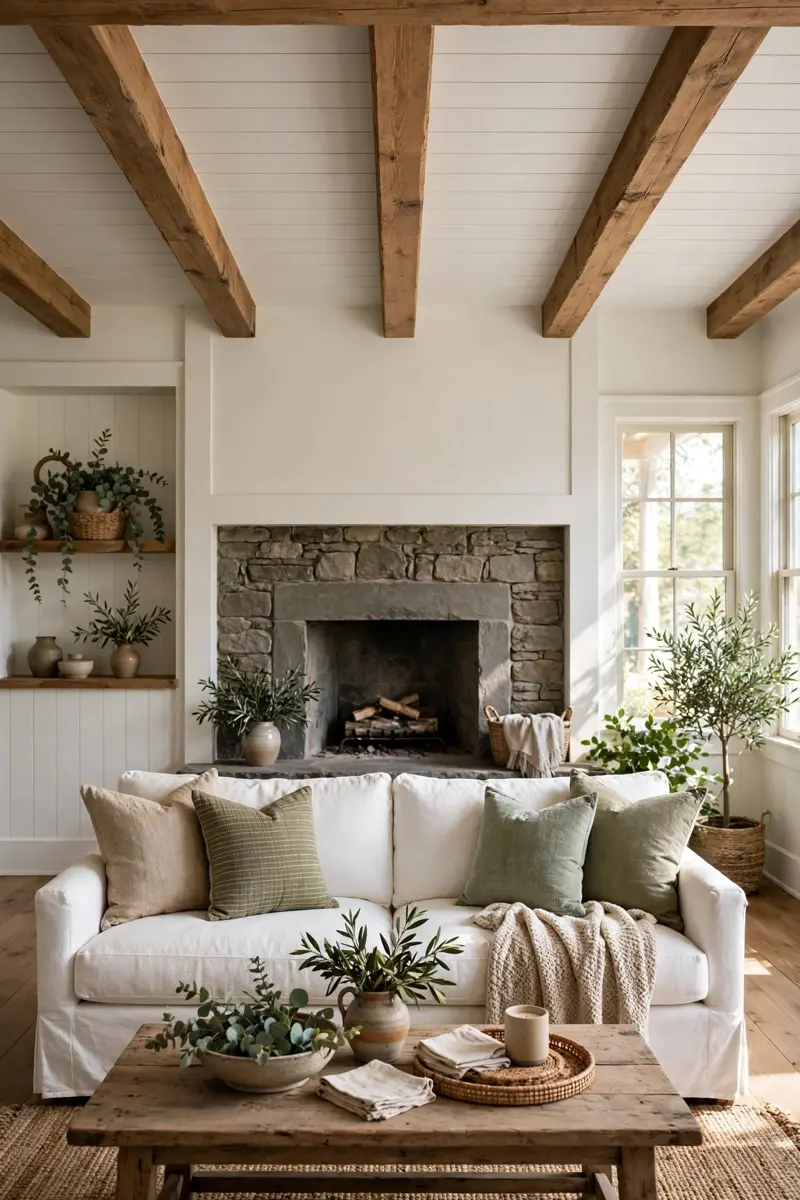
8. Beams Above the Fireplace
A single beam over the firebox anchors the whole wall, and a living room with beams used this way gains a mantel, a display shelf, and a focal point in one move. It is the smallest beam project with the biggest payoff.
Materials: one chunky beam or box mantel, corbels or hidden brackets, and heat-safe sealant. Budget $80–$400 depending on wood and size.
Mount the beam at least 12 inches above the firebox opening and level it carefully — a crooked mantel is visible from everywhere. Seal it against heat and soot, and keep decor on top light so the beam itself stays the star.
Tip: Tip: Let the mantel beam extend six inches past the fireplace on each side for a finished, built-in look.
Variation: Stack two slim beams as a double mantel for a more architectural fireplace wall.
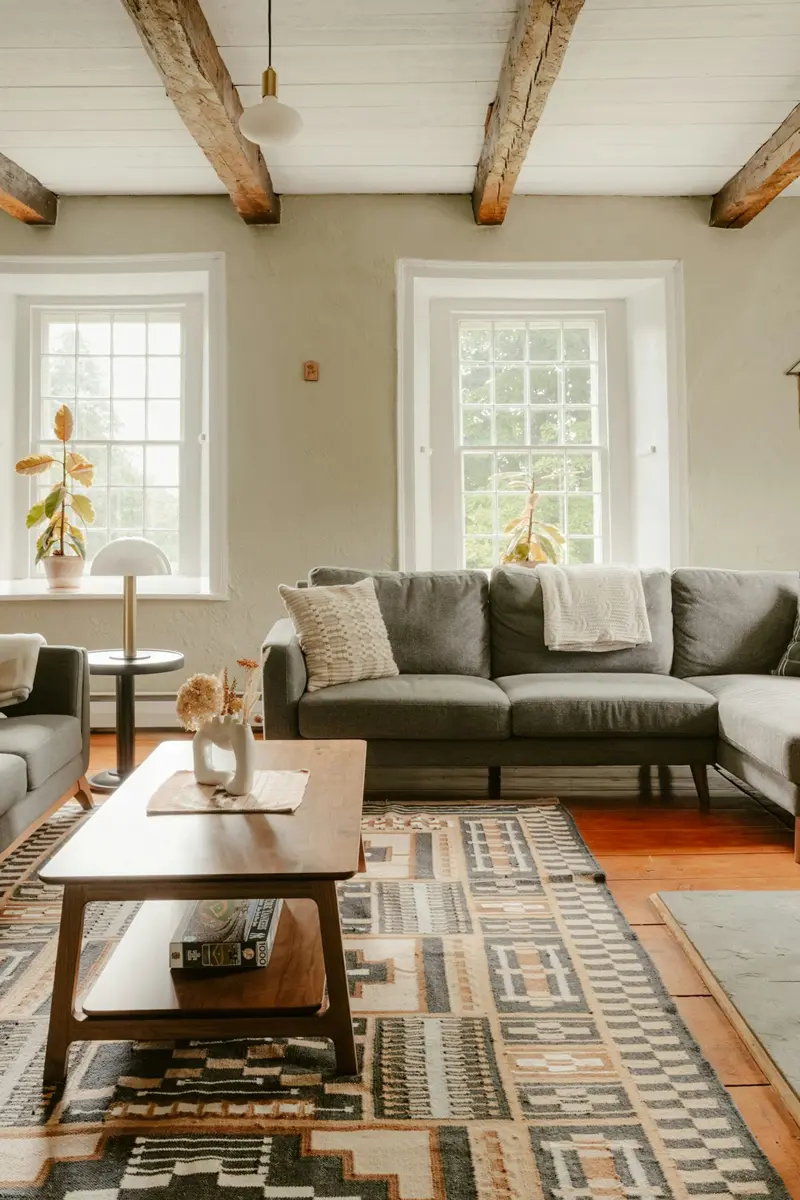
9. Matte Black Beams, Modern Edge
Painted black, beams stop reading rustic and start reading graphic, so a living room with beams in matte black suits modern, industrial, and transitional rooms. The dark lines sharpen white walls like eyeliner.
Materials: beams or box beams, matte black paint, primer, and a mini roller. Budget $20–$60 per beam to paint existing beams.
Prime first — raw wood drinks paint unevenly — then roll on two thin coats of matte black, cutting in carefully at the ceiling line. A matte finish hides imperfections better than gloss and keeps the look soft.
Tip: Tip: Repeat the black once elsewhere, in a frame or light fixture, so the beams feel connected to the room.
Variation: Paint only the beams black and leave the ceiling warm white for maximum graphic contrast.
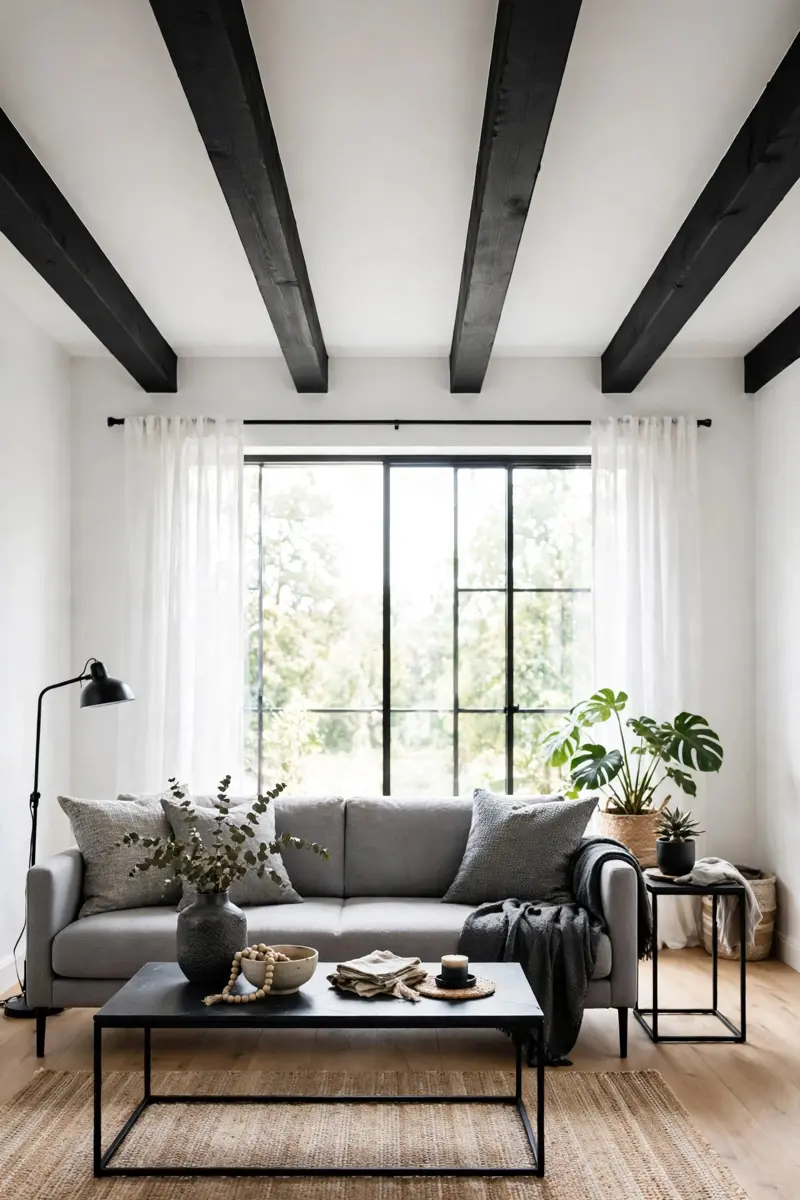
10. Light Oak Beams, Scandinavian Calm
Pale oak beams bring warmth without weight, which is why a living room with beams in this finish feels calm, bright, and unmistakably Scandinavian. They work with white walls, linen sofas, and light wood floors.
Materials: white oak or pale pine beams, clear matte oil finish, and fine sandpaper. Budget $120–$350 per beam for materials.
Sand the beams smooth, then rub in a clear matte oil rather than a yellow-toned polyurethane. The oil keeps the oak pale and lets the grain show, and it is easy to refresh later without sanding back to bare wood.
Tip: Tip: Pair pale beams with a jute rug and boucle cushions to keep the palette soft and tactile.
Variation: Use pale beams with black metal brackets for a Scandinavian-industrial hybrid.
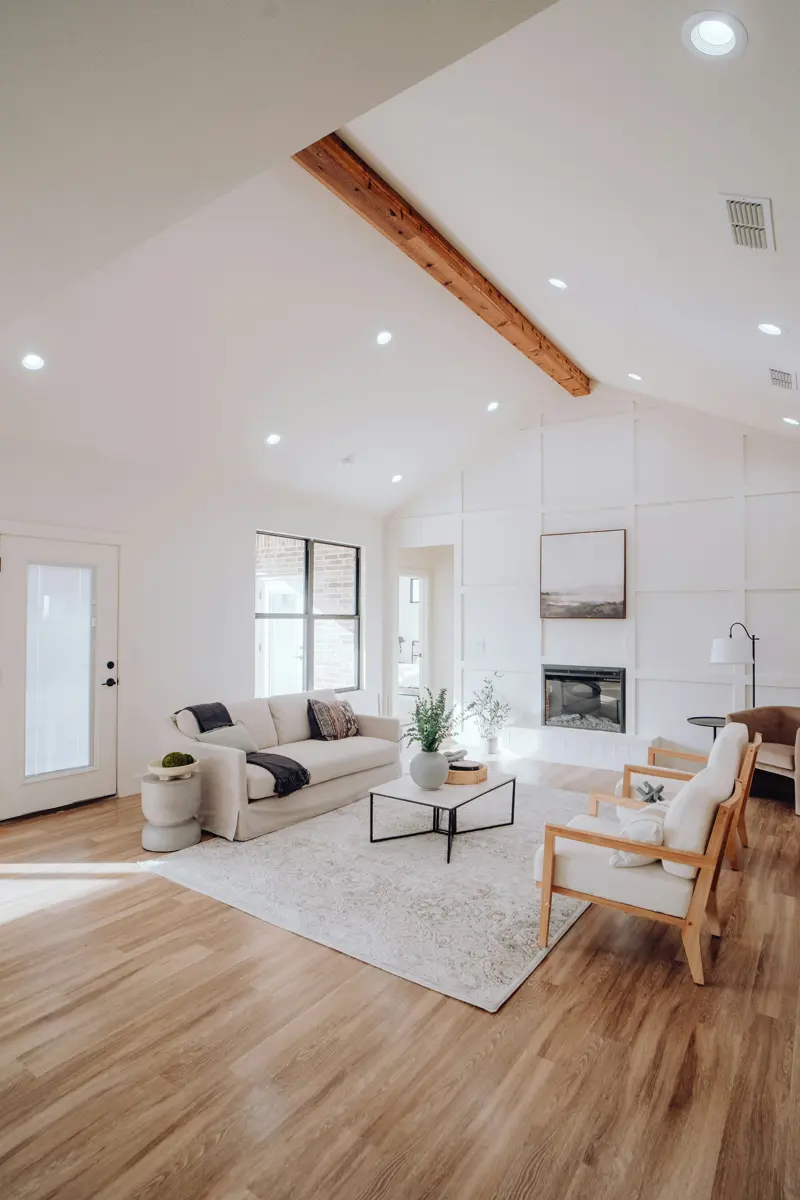
11. Beams plus Skylights
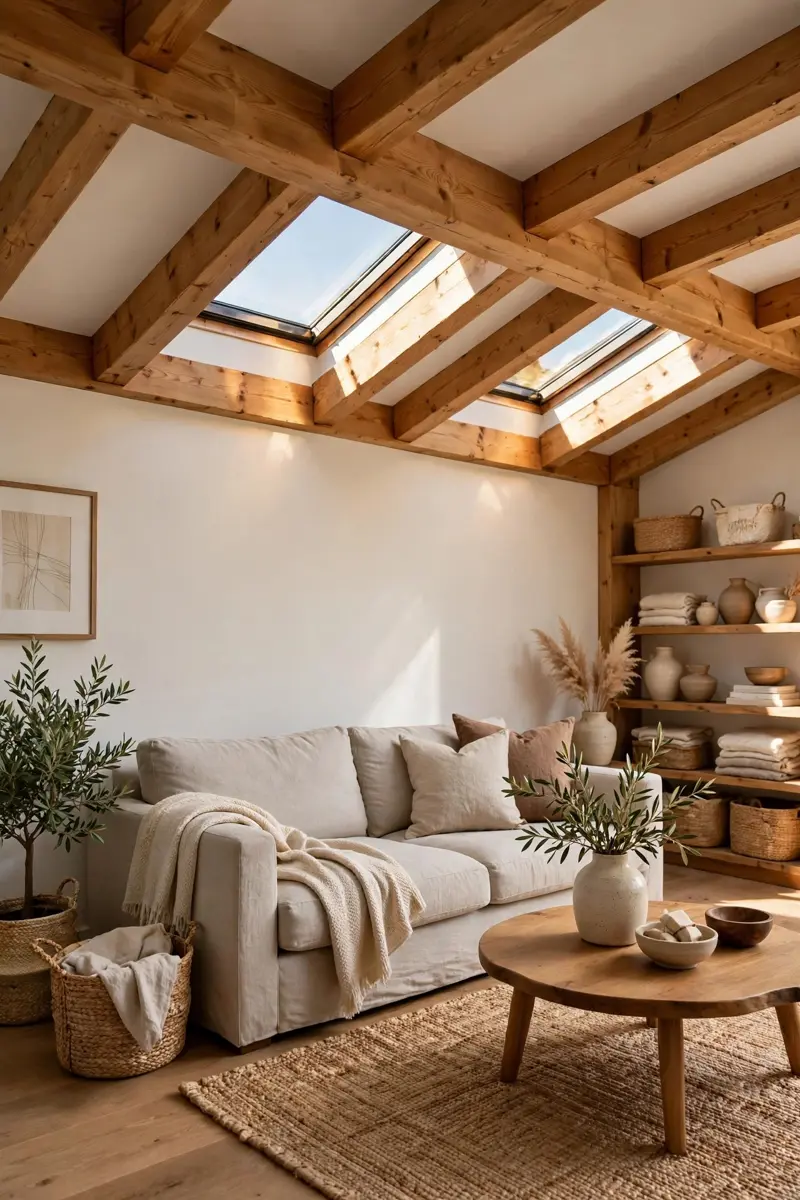
Skylights pour daylight across wood grain, and a living room with beams beside skylights changes all day as the sun moves. The beams frame each shaft of light like a picture frame.
Materials: fixed or venting skylights, flashing kits, and beams to frame each opening. Budget $500–$1,500 per skylight installed, plus beam costs.
Place skylights in the bays between beams, never cutting through a beam, and align them with seating or a rug below. Flash carefully and insulate the shafts so the beautiful light does not bring drafts.
Tip: Tip: Add a solar shade to each skylight so summer afternoons stay comfortable without losing the glow.
Variation: Run a row of small square skylights between two long beams for a gallery-like rhythm.
12. Coffered Beam Ceiling
A coffered grid turns a flat ceiling into panelled architecture, and a living room with beams laid out as coffers feels tailored and quietly luxurious. It suits traditional rooms and formal living spaces best.
Materials: beams for the grid, trim molding, paint, and a nail gun. Budget $15–$30 per square foot for a painted coffered ceiling.
Lay out the grid on paper first, keeping panels square and evenly sized, then install the beams before adding the inner trim. Paint the whole ceiling one color so the coffers read as a single piece of millwork.
Tip: Tip: Keep coffer depth shallow, around four inches, in rooms under nine feet tall.
Variation: Paint the coffers a shade darker than the walls for depth without a full color commitment. For more vaulted and beamed ceiling inspiration, see The Spruce’s country living room ideas.

13. Beams in a Small Living Room
Small rooms can absolutely carry beams, and a living room with beams sized right actually feels taller, not smaller. Slim beams, wide spacing, and a light finish do the trick.
Materials: slim 4×4 or faux beams, light stain or white paint, and low-profile brackets. Budget $60–$200 per beam.
Use fewer, slimmer beams than a big room would take, and space them wider apart so the ceiling still breathes. Run them across the shorter span of the room to avoid a tunnel effect.
Tip: Tip: Match the beam color closely to the ceiling in a tiny room — the texture shows, the contrast does not crowd.
Variation: Add just two beams over the seating area to define the lounge zone without covering the whole ceiling.

14. Two-Tone Beams and White Ceiling
Crisp white ceilings with mid-tone beams are the classic contrast, and a living room with beams in this two-tone scheme photographs beautifully and never dates. It is the safest way to go bold.
Materials: stain-grade beams, white ceiling paint, and painter’s tape. Budget $80–$250 per beam for materials.
Paint the ceiling first, then install and stain the beams so drips never ruin the finish. Keep the stain mid-toned — honey oak or weathered gray — rather than near-black for a balanced look.
Tip: Tip: Echo the beam tone in one furniture piece, like a walnut coffee table, to tie the room together.
Variation: Flip the scheme with white beams on a pale sage ceiling for a softer two-tone effect.
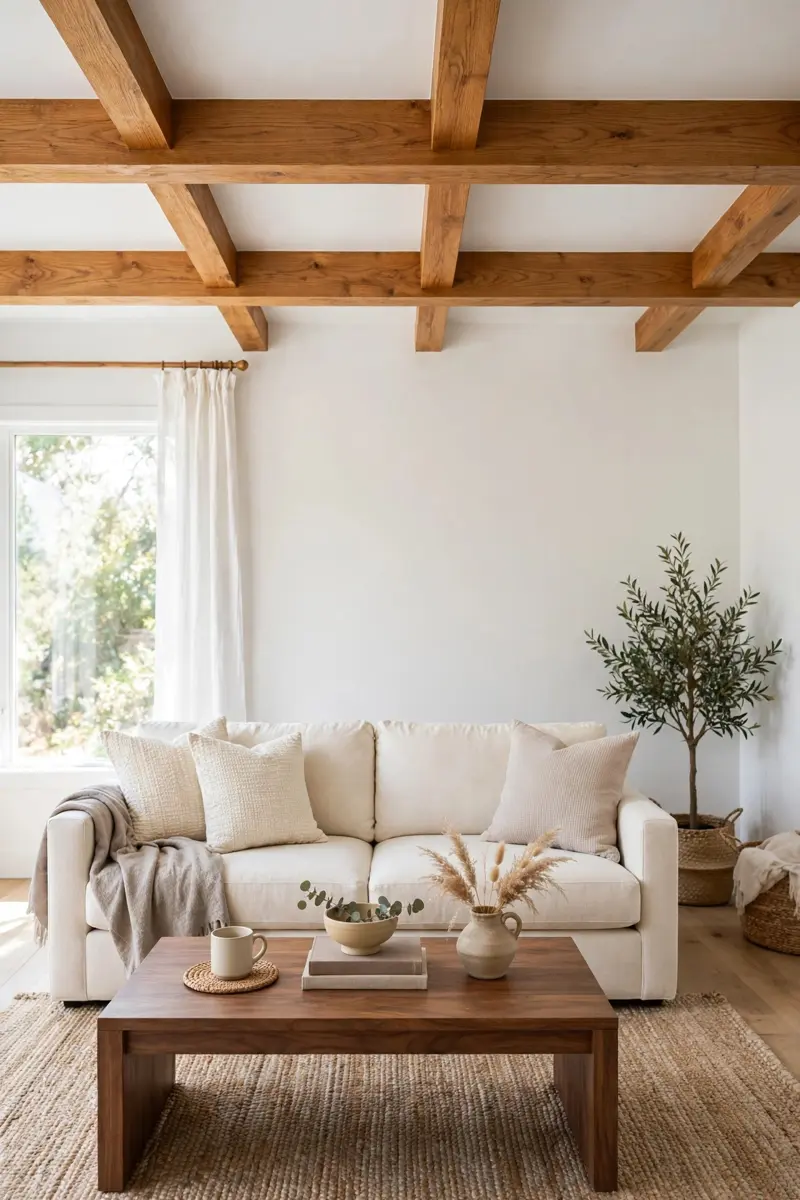
15. Pendant Lights Hung from Beams
Beams are ready-made mounting rails for pendants, and a living room with beams carrying rattan or linen pendants gets layered light and a boutique-hotel feel. No ceiling rewiring gymnastics required.
Materials: pendant lights with long cords, beam hooks or clamps, and cord covers. Budget $40–$150 per pendant.
Hang pendants from sturdy hooks screwed into the beam’s underside, staggering heights slightly over a coffee table or reading chairs. Keep the lowest pendant above eye level when seated so conversation stays easy.
Tip: Tip: Hang pendants in odd numbers — three over a long table beats two or four.
Variation: Swap one pendant for a woven basket shade to add texture without buying a whole new fixture.
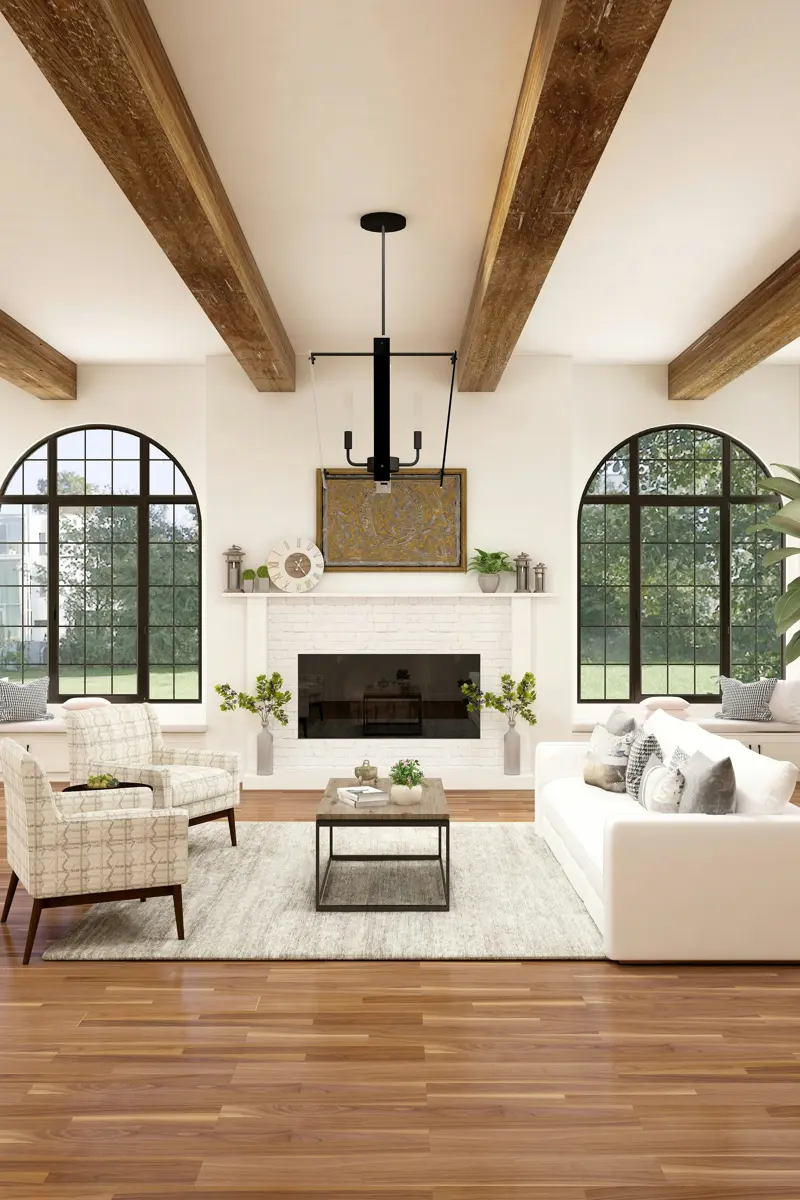
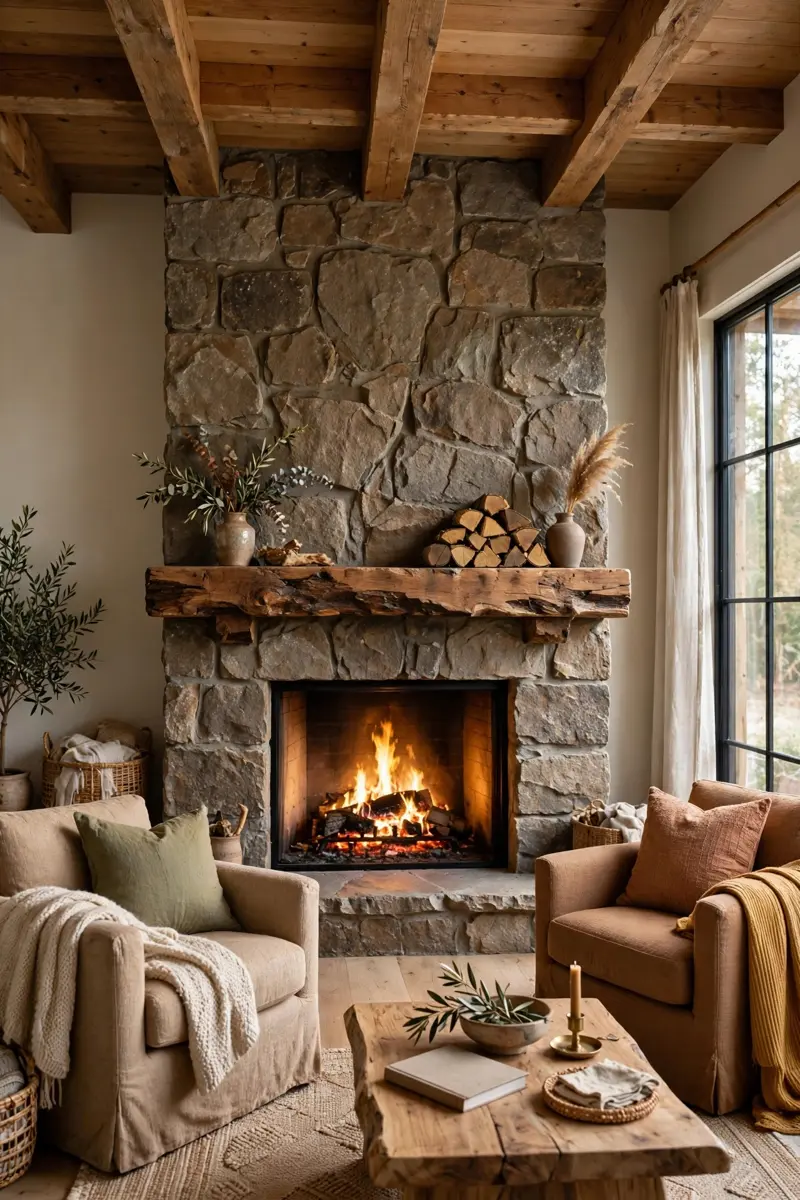
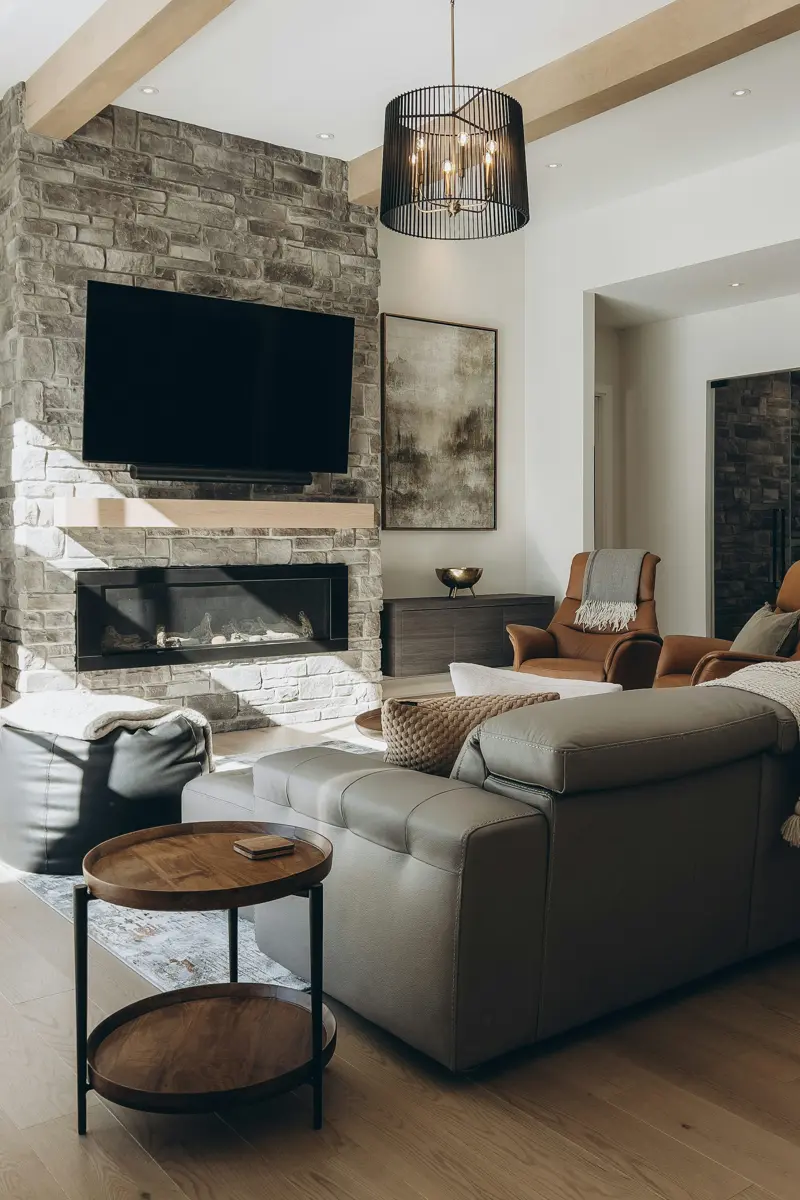
16. Beams with a Stone Fireplace
Stone and timber are a natural pair, and a living room with beams beside a stone fireplace feels like a lodge that happens to have good Wi-Fi. The rough textures balance each other perfectly.
Materials: beams, stone veneer or natural stone, mortar, and a chunky mantel. Budget $10–$25 per square foot for stone veneer plus beams.
Let the beams and the stone share a warm undertone — honey oak with sandstone, gray wash with limestone. Run the beams perpendicular to the fireplace wall so the eye travels between the two features.
Tip: Tip: Keep the mantel decor minimal so stone and beams, not objects, carry the wall.
Variation: Use a slim stacked-stone surround for the same pairing in a smaller, modern room.
17. Beams with Seasonal Garland
Garland draped along a beam is the easiest seasonal decorating you will ever do, and a living room with beams dressed for the holidays feels festive without a single nail in the wall. Swap the garland with the seasons.
Materials: faux garland, pinecones, fairy lights, and removable beam clips. Budget $20–$60 per beam for garland and lights.
Drape garland along the top edge of the lowest beam, securing it with clips rather than staples so the wood stays pristine. Weave in battery fairy lights and let a few ends trail at the corners for a relaxed look.
Tip: Tip: Use one garland style per beam and repeat it — mixed garlands on every beam look cluttered fast.
Variation: Try eucalyptus garland in spring and dried orange slices at Christmas for a natural, scented twist.

18. Wood and Black Metal Industrial Beams
Steel plates, bolts, and dark metal brackets turn timber beams industrial, and a living room with beams styled this way suits lofts, converted spaces, and modern rustic rooms. The metal edge keeps the wood from feeling too cabin.
Materials: wood beams, black steel straps or brackets, bolts, and matte black spray paint. Budget $150–$400 per beam.
Wrap each beam end with a steel strap and bolt it through for the factory look, then add matching black brackets at the wall joints. Keep the metal matte so it reads as structure, not decoration.
Tip: Tip: Repeat black metal in the coffee table legs or curtain rods so the beams feel intentional.
Variation: Use galvanized steel instead of black for a brighter, warehouse-style finish.
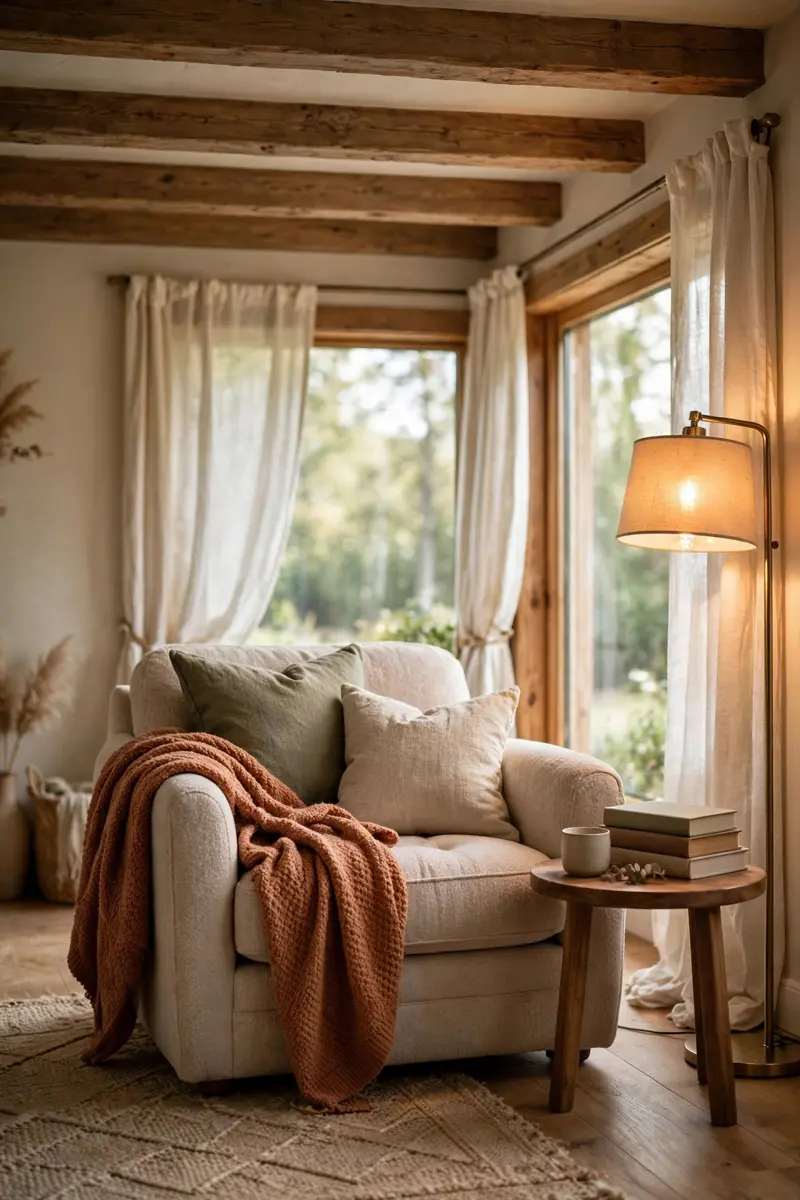
19. Beams Framing a Reading Nook
A low beam bay makes a natural nook ceiling, and a living room with beams framing a reading corner feels like a room within a room. Add a chair, a lamp, and a stack of books, and the nook designs itself.
Materials: two short beams or a beam frame, a comfy armchair, a floor lamp, and a small side table. Beam cost $60–$200.
Choose a corner where two beams already meet the wall, or add a short perpendicular beam to mark the nook’s edge. Place the chair so the beam sits just behind it, framing rather than looming over the reader.
Tip: Tip: Add a plug-in wall sconce on the nook wall so evening reading never means a harsh overhead light.
Variation: Build a window seat under the beam bay and line it with cushions for a family reading spot.
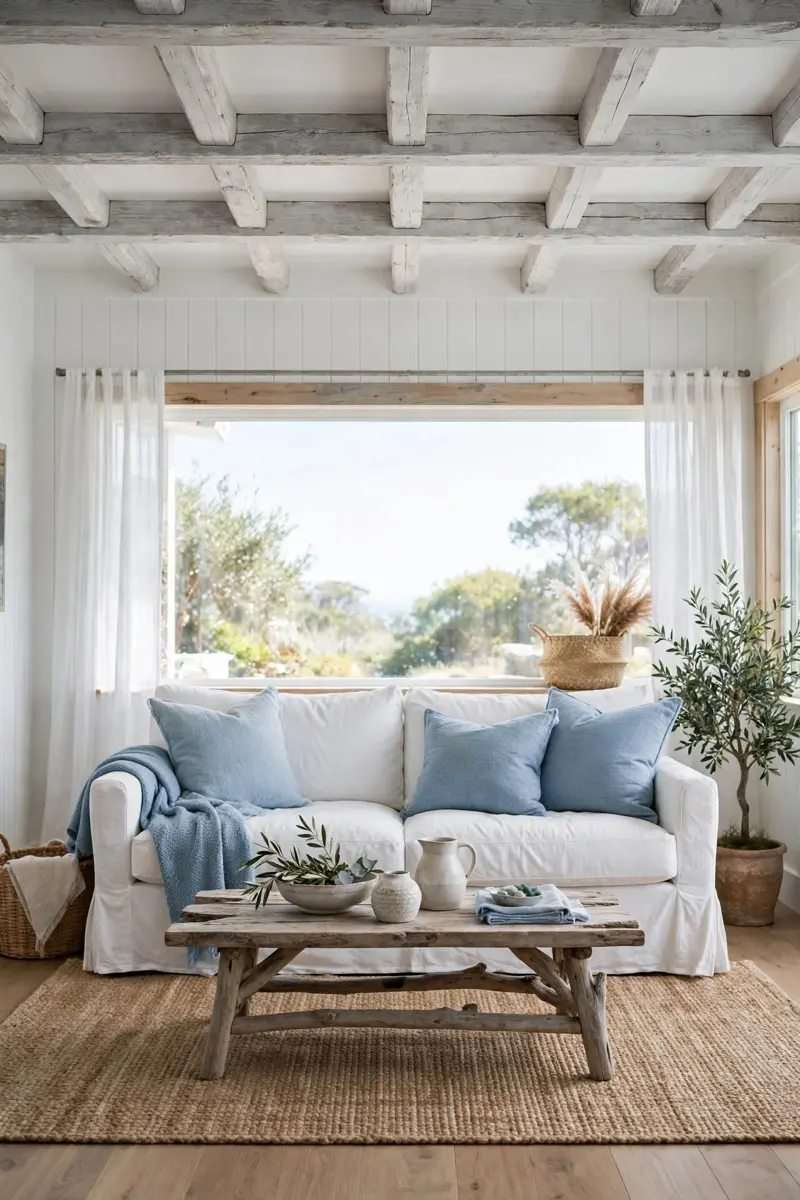
20. Coastal White Beams
White and driftwood-gray beams keep the coastal look airy, and a living room with beams in pale coastal tones pairs with jute, linen, and soft blue without ever feeling themed. It reads as fresh, not beachy-costume.
Materials: beams, whitewash or driftwood-gray stain, and clear sealant. Budget $15–$50 per beam to finish.
Whitewash the beams and let the wood grain peek through, then style below with a natural rug, white slipcovered seating, and one blue accent. Keep the ceiling bright white so the beams float rather than press down.
Tip: Tip: Add one weathered wood accent, like a driftwood mirror frame, to echo the beam finish.
Variation: Try a pale blue-gray wash on the beams for a mistier coastal mood.
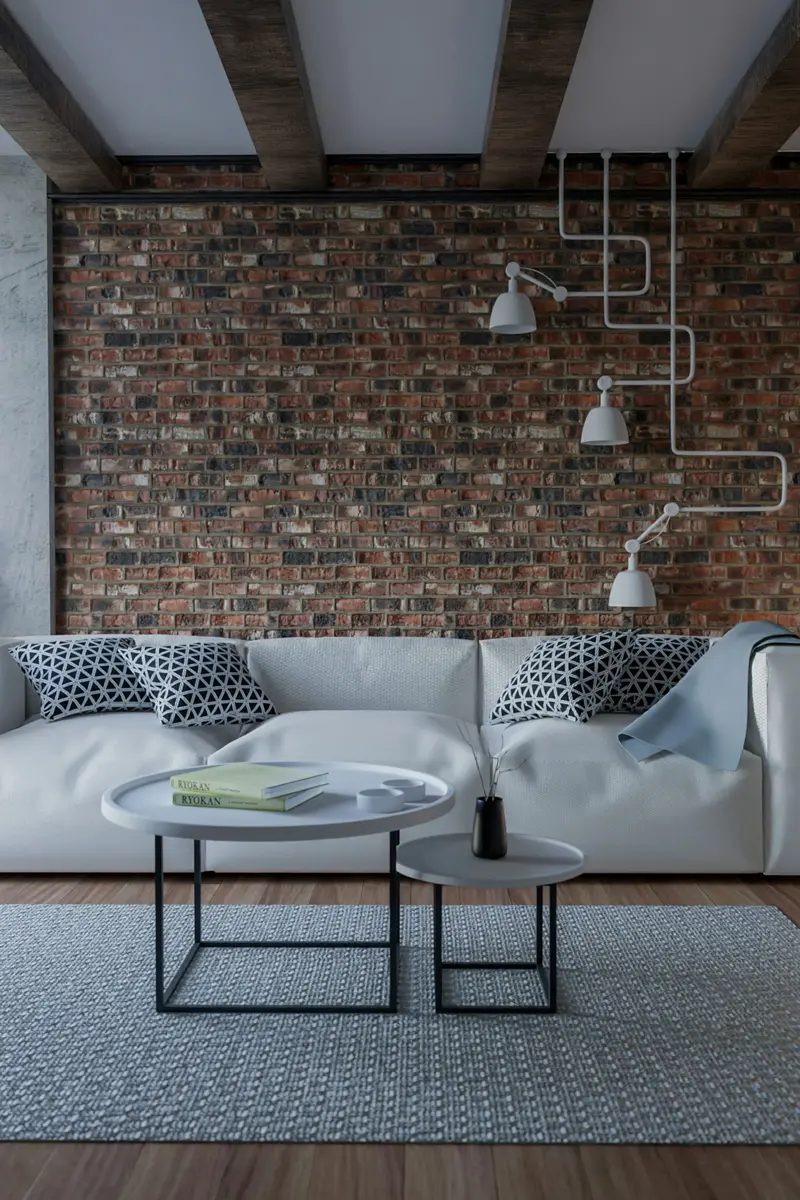
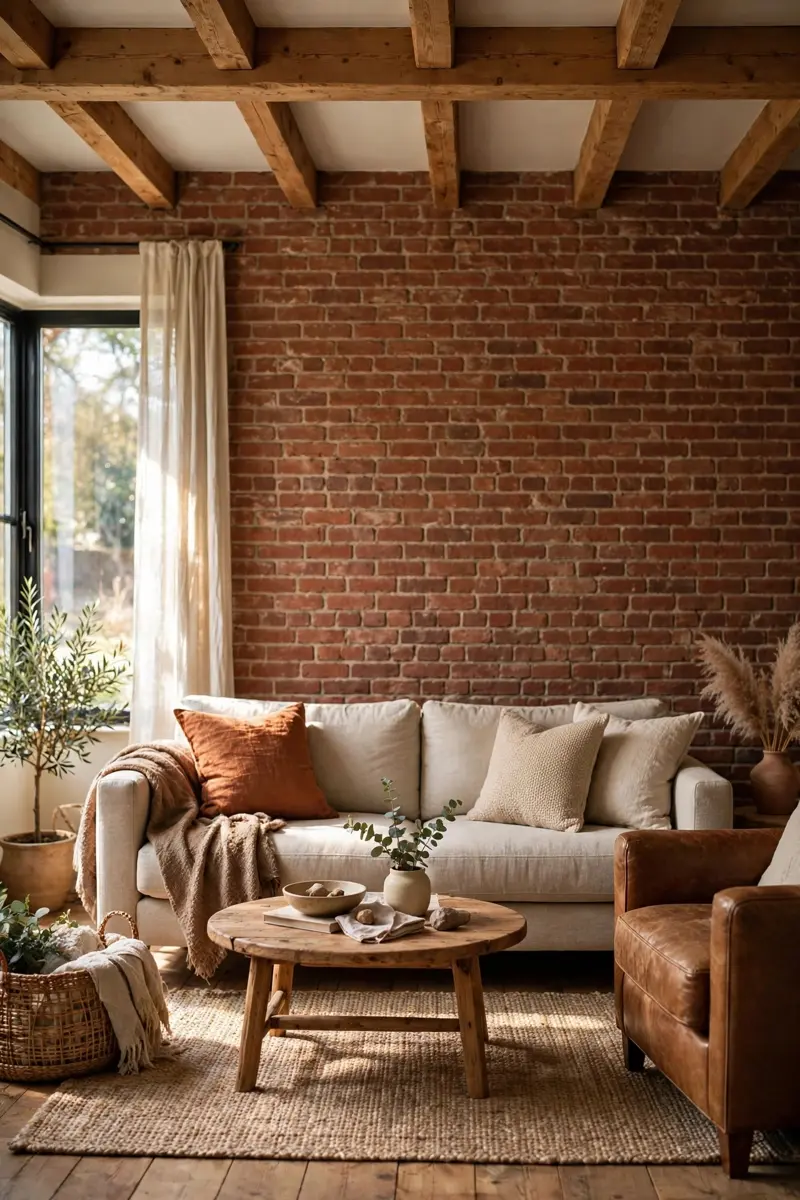
21. Beams with an Exposed Brick Wall
Brick and beams are old friends, and a living room with beams against an exposed brick wall feels warm, storied, and effortlessly collected. The two textures do most of the decorating for you.
Materials: beams, brick veneer or exposed original brick, mortar wash, and sealant. Budget $8–$20 per square foot for brick veneer plus beams.
Match the beam tone to the brick’s warm notes — honey oak with red brick, gray wash with whitewashed brick. Run beams perpendicular to the brick wall so the lines cross and create movement.
Tip: Tip: Limewash the brick if it feels too orange, and let the beams stay warm to balance it.
Variation: Paint the brick white and keep the beams dark for a high-contrast modern farmhouse wall.
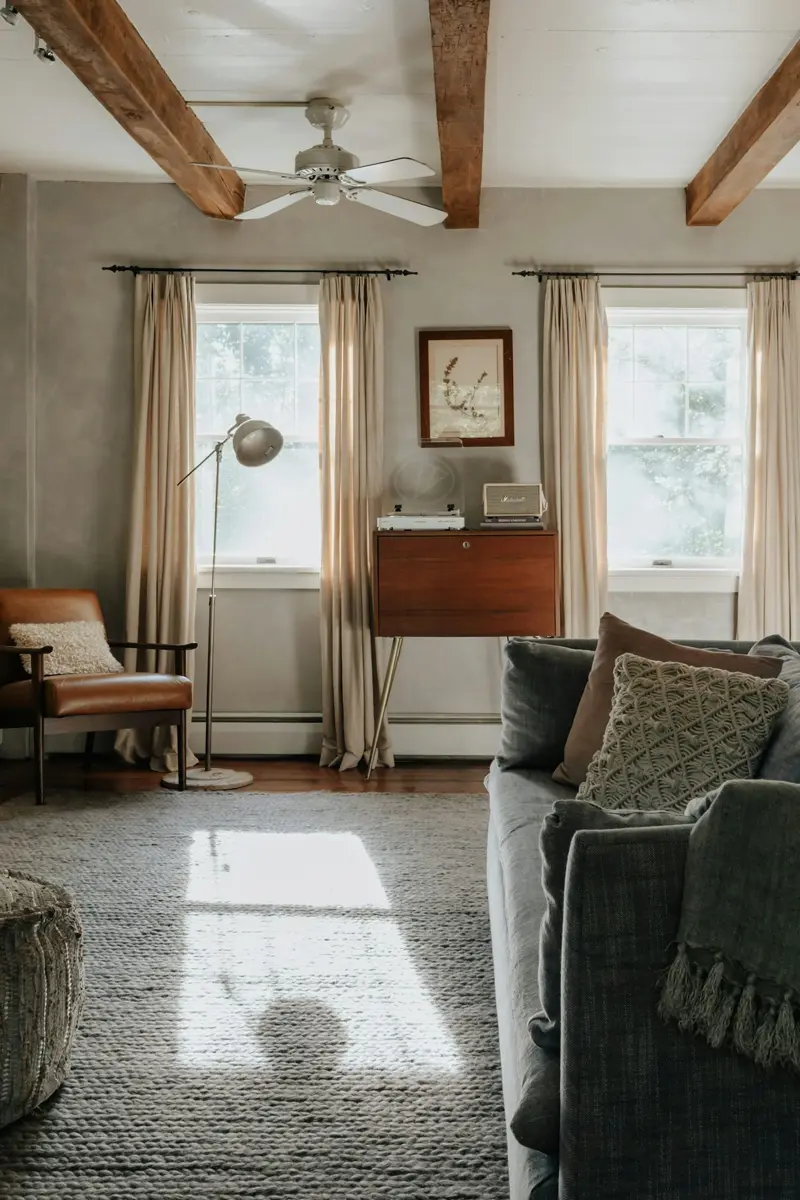
22. Beams with a Ceiling Fan
A beam is the sturdiest place to hang a fan, and a living room with beams carrying a ceiling fan gets airflow without a wobbly downrod mount. It also centers the fan beautifully over the seating area.
Materials: ceiling fan with a beam mount kit, downrod, and a fan-rated brace. Budget $100–$300 for the fan plus mount.
Bolt a fan-rated brace directly into the beam, not just the drywall, and choose a downrod that drops the fan to eight or nine feet above the floor. Balance the blades before first use to avoid any wobble.
Tip: Tip: Pick a fan with wooden blades that echo the beam tone for a cohesive ceiling.
Variation: Use a hugger-style fan on a low beam in rooms with ceilings under eight feet.
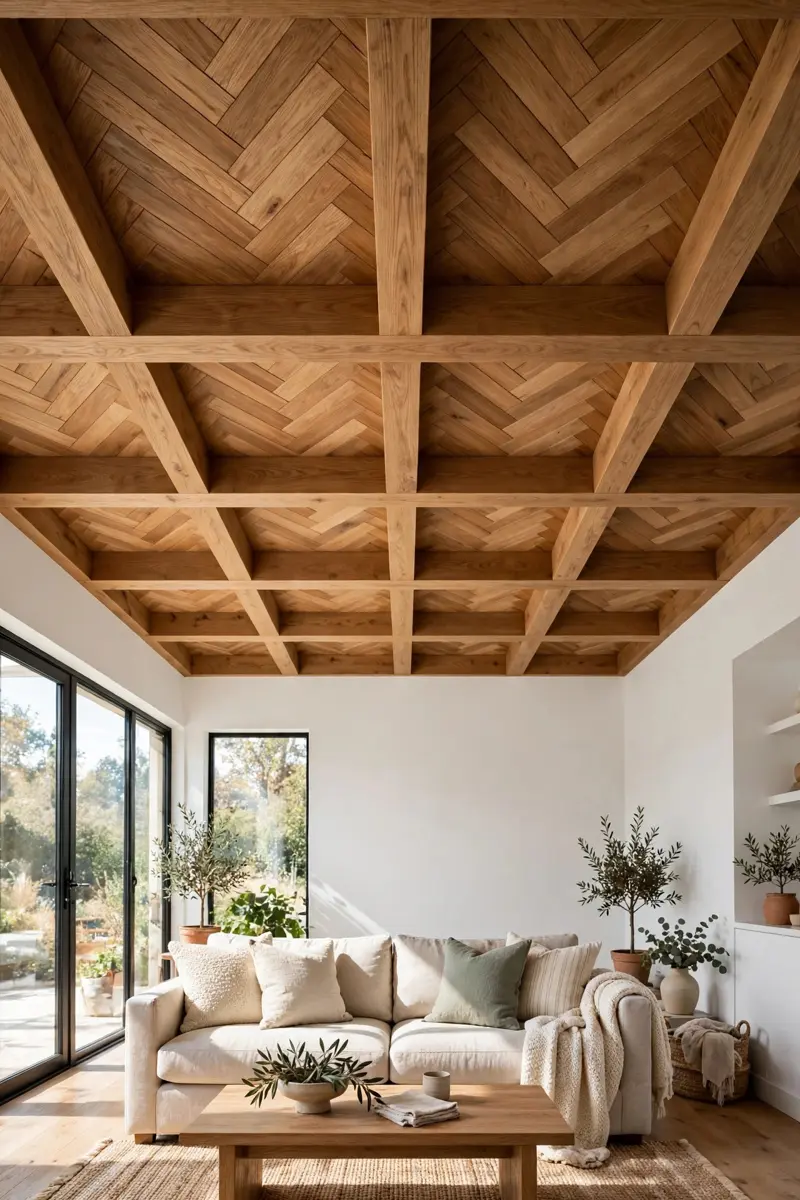
23. Box Beams in a Geometric Pattern
Box beams arranged in herringbone or diamond patterns turn the ceiling into art, and a living room with beams laid geometrically feels custom and current. It is the boldest beam idea on this list, and the most photographed.
Materials: hollow box beams, miter saw, adhesive, and paint or stain. Budget $200–$600 for a feature ceiling area.
Sketch the pattern to scale first — herringbone needs precise 45-degree cuts — then build the boxes on the floor before lifting them. Start from the room’s center so the pattern stays symmetrical at the edges.
Tip: Tip: Paint geometric beams the same color as the ceiling for a subtle texture, or stain them for drama.
Variation: Try a simple grid of squares first if herringbone feels too ambitious for a weekend.
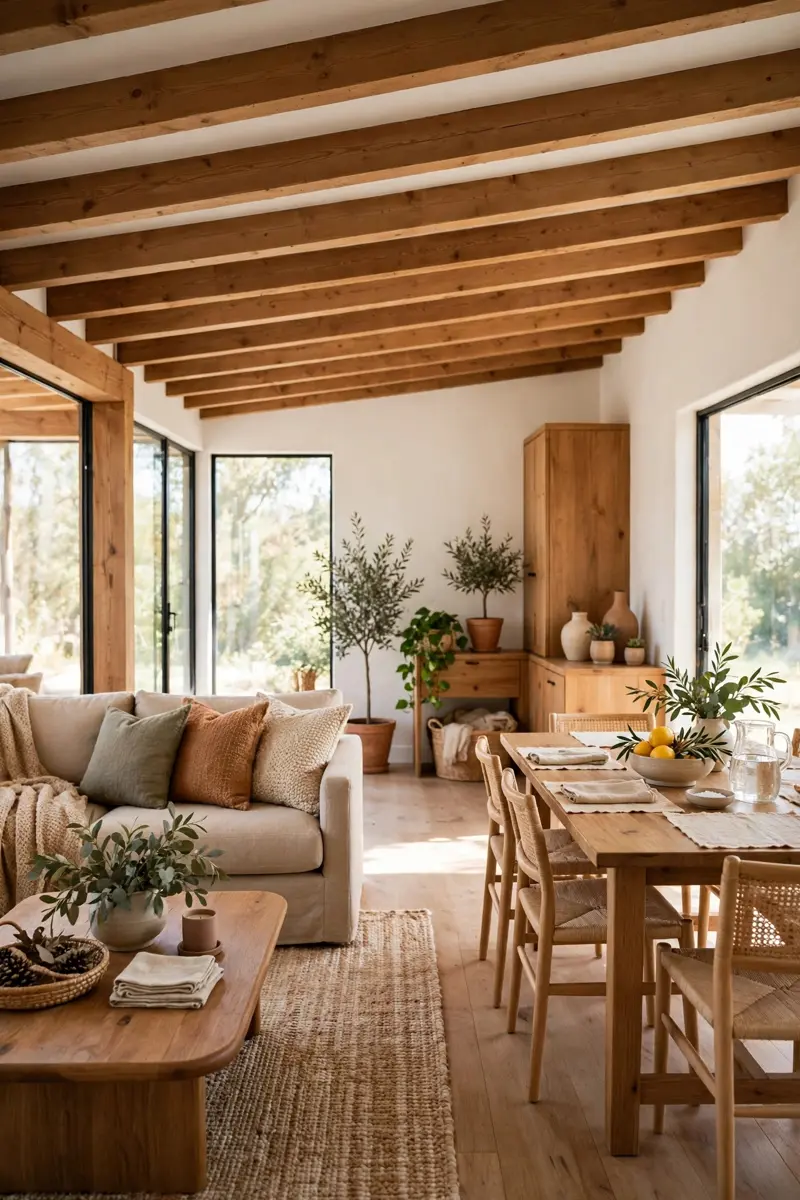
24. Beams Over Open-Plan Living and Dining
In open plans, beams mark where one zone ends and another begins, and a living room with beams running across the living-dining boundary gives each area its own identity without a single wall. The ceiling becomes the floor plan.
Materials: continuous beams across the space, matching stain, and brackets. Budget $100–$350 per beam.
Run the beams in one direction across the whole open space, then change the rug and lighting under each zone. Keep the beam finish identical throughout so the zones feel connected, not divided.
Tip: Tip: Align the beam line with the edge of the dining table or rug for a crisp zone boundary.
Variation: Lower a beam slightly over the dining table to create an intimate dining canopy.
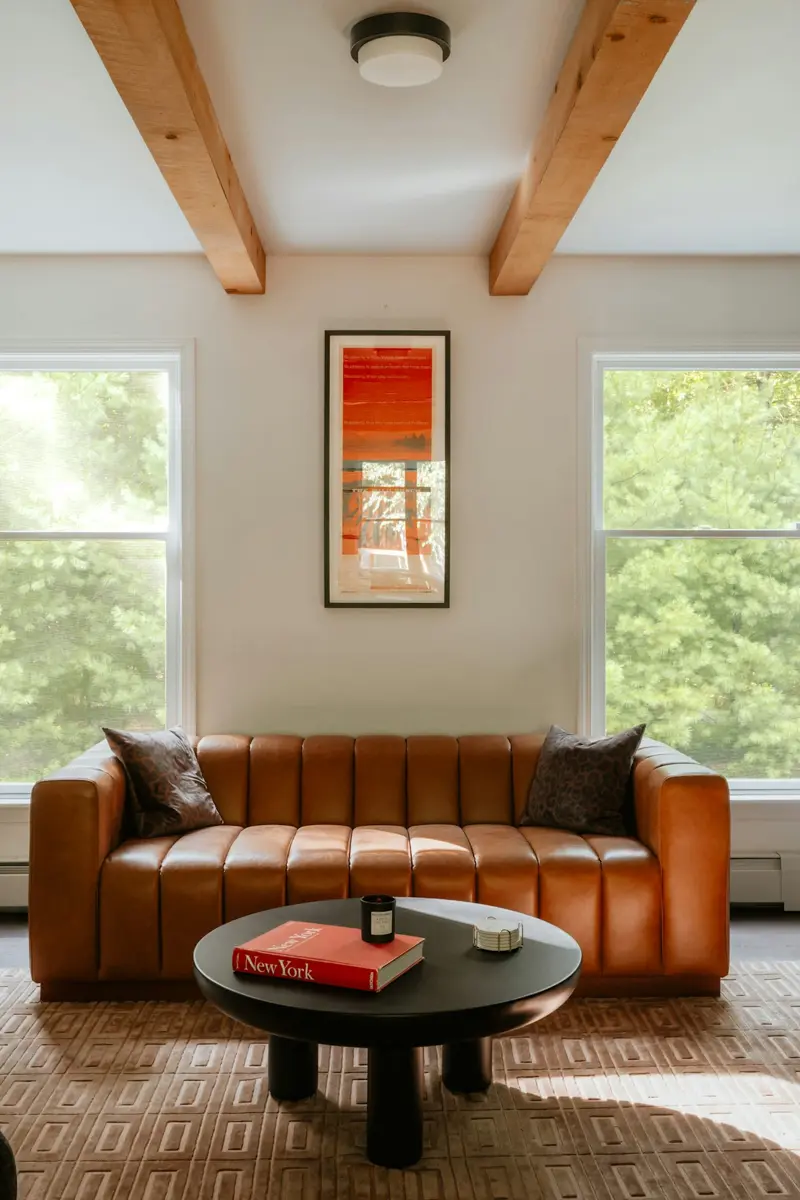
25. Chunky Beams and a Leather Sofa
Nothing says lodge luxury like thick beams over deep leather seating, and a living room with beams this chunky plus a cognac sofa feels like a fireside retreat every single night. The materials do the talking.
Materials: chunky 8×8 beams or box beams, a leather sofa, and a wool rug. Budget $200–$600 per chunky beam.
Size the beams to the room — eight-inch beams suit rooms over 300 square feet — and place the sofa perpendicular to them so the lines cross. Add a wool rug and a wood coffee table to complete the lodge palette.
Tip: Tip: Condition leather twice a year so it ages as beautifully as the beams above it.
Variation: Swap cognac for dark espresso leather and black beams for a moodier lodge look.
26. Beams with Warm String Lights
String lights wrapped around beams are instant magic, and a living room with beams glowing softly feels like a celebration even on an ordinary Tuesday. It is the cheapest transformation on this list.
Materials: warm-white LED string lights, small clear clips, and a timer plug. Budget $10–$30 per beam.
Wrap lights loosely along the beam, spacing the loops evenly, and hide the plug end behind furniture. Set a timer so the glow switches on at dusk without you thinking about it.
Tip: Tip: Choose warm-white, never cool-white, bulbs — cool light turns wood gray and flat.
Variation: Drape lights in swags between beams instead of wrapping for a softer, canopy effect.

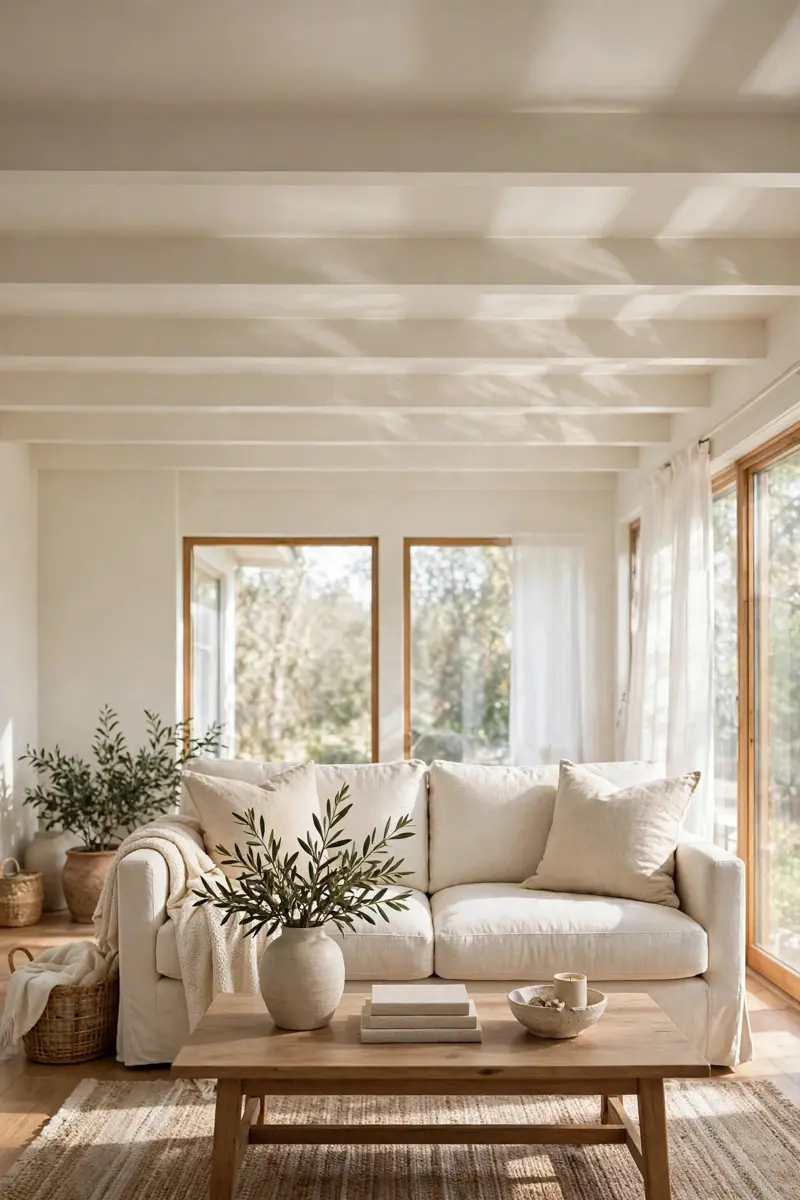
27. Tone-on-Tone Painted Beams
Painting beams the ceiling color is the 2026 way to do beams, and a living room with beams in a tone-on-tone finish gains texture and shadow without contrast. Designers call the ceiling the fifth wall for exactly this reason.
Materials: beams, ceiling paint in your chosen tone, and primer. Budget $20–$60 per beam to paint.
Paint beams and ceiling the same color — a warm white, soft greige, or pale sage — and let the beam shadows create the pattern. Two coats with a small roller give the smoothest result on box beams.
Tip: Tip: In a north-facing room, choose a warm white so tone-on-tone beams never feel cold.
Variation: Go one shade darker than the ceiling on the beams for a whisper of contrast.
28. Beams with a Gallery Wall
A gallery wall hung below the beam line feels curated, and a living room with beams above a gallery gains a natural top border for the art. The beams stop the wall from feeling like a random collage.
Materials: beams, picture ledges or frames, and a level. Beam cost $60–$250 each if adding new ones.
Hang the gallery so its top edge sits a few inches below the lowest beam, keeping the spacing consistent. Mix frame sizes but keep one frame color so the wall reads as a collection, not clutter.
Tip: Tip: Lay the gallery out on the floor first and photograph it before a single nail goes in.
Variation: Use a single picture ledge under the beam and rotate art seasonally without new holes.
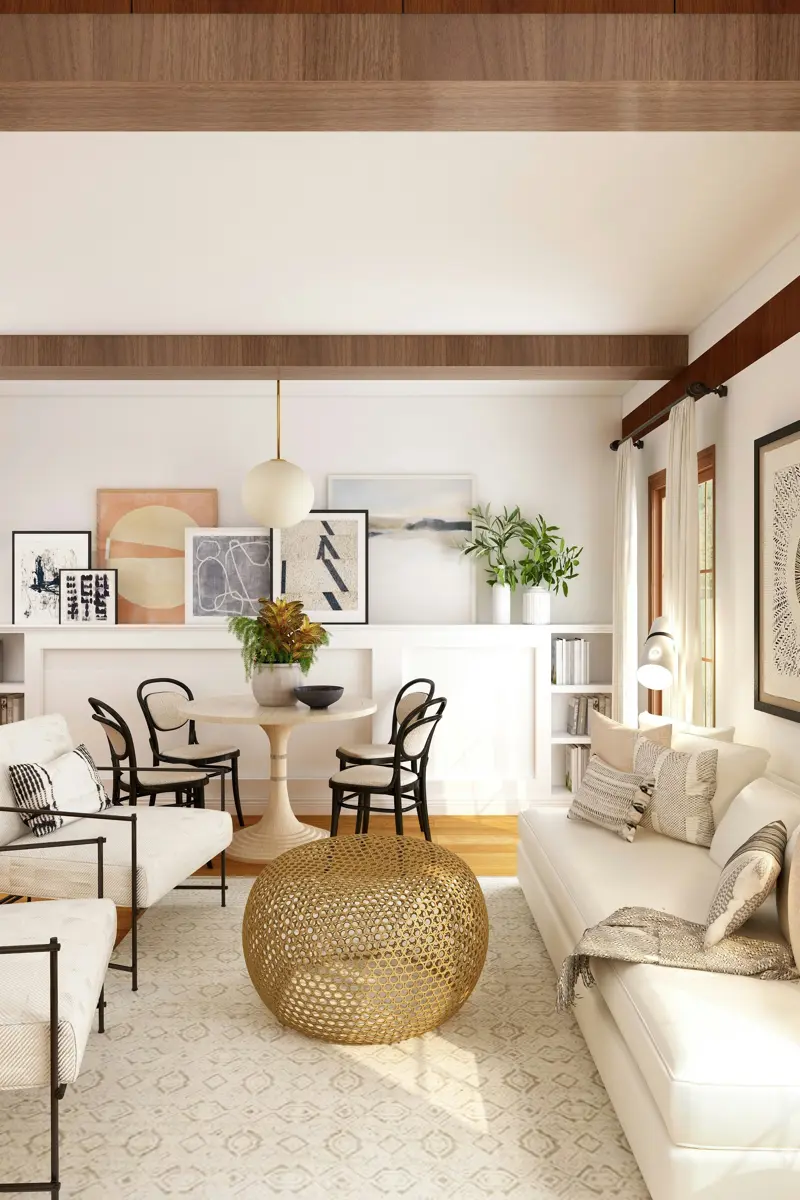
29. Beams Matched to Wood Floors
Matching beam stain to floor stain unifies a room instantly, and a living room with beams in the same wood family as the floor feels designed rather than decorated. The eye travels up and down without stopping.
Materials: beams, floor stain samples, and clear finish. Budget $100–$300 per beam for stain-grade material.
Bring a floor sample to the stain shop and test beam stain on offcuts until the match is close — exact is unnecessary, same family is enough. Finish both with a similar sheen so light reflects consistently.
Tip: Tip: If an exact match is impossible, go one shade lighter on the beams so the floor stays the anchor.
Variation: Match the beams to a wood accent wall instead when the floors are tile or stone.
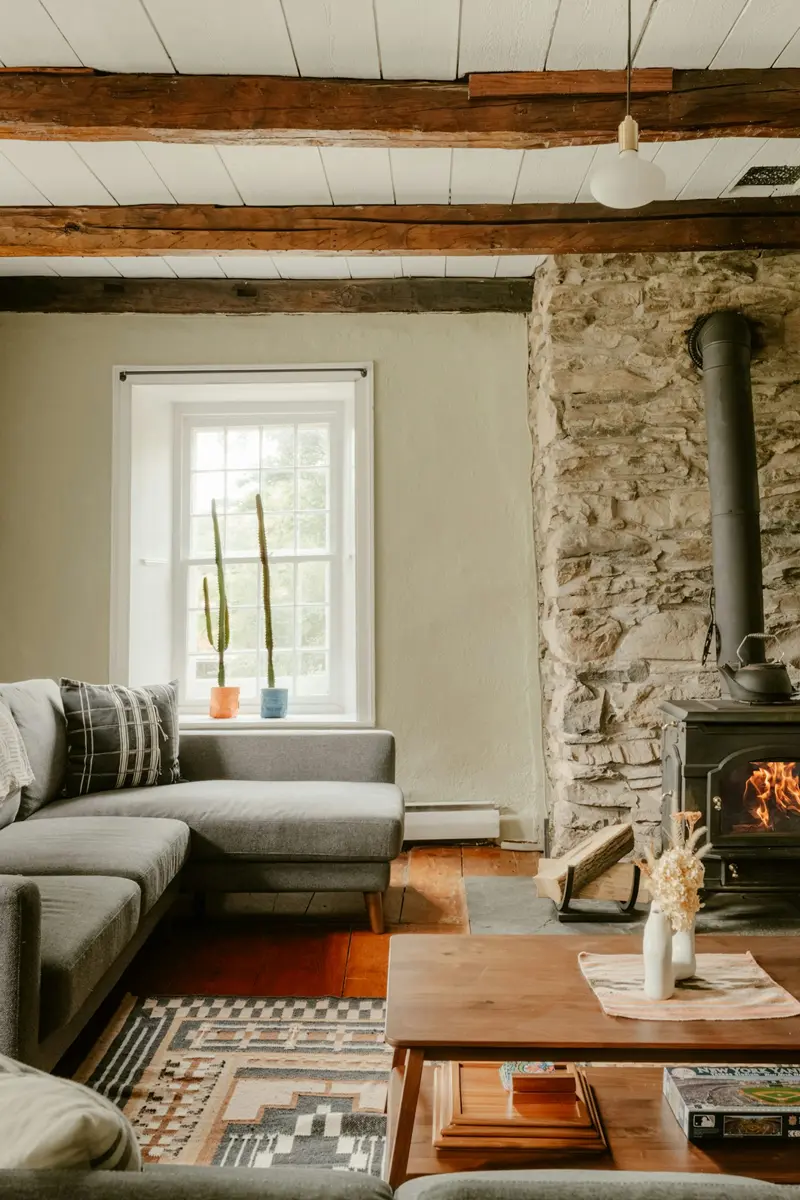
30. Beams in a Loft Apartment
Lofts and concrete ceilings love faux beams, and a living room with beams in a rental loft gets warmth without structural work or landlord battles. Lightweight beams and adhesive-friendly mounts keep it reversible.
Materials: lightweight faux beams, concrete anchors or adhesive mounts, and paint. Budget $100–$250 per beam.
Map the concrete joists or use adhesive mounting blocks rated for the beam weight, and keep beams slim so the industrial ceiling still shows. Style below with metal, leather, and plants for the classic loft mix.
Tip: Tip: Check your lease before drilling concrete — adhesive blocks often keep the deposit safe.
Variation: Run a single long beam across the loft to define the living zone in a studio layout.

31. Beams with Hanging Plants
Trailing plants hung from beams bring the ceiling to life, and a living room with beams carrying pothos and ferns feels like a greenhouse crossed with a living room. The greenery softens every hard line.
Materials: beams, ceiling hooks, macrame hangers, and trailing plants. Budget $15–$40 per plant setup.
Screw hooks into the underside of sturdy beams and hang plants at staggered heights so they trail without blocking light. Choose low-light trailers like pothos for beams away from windows.
Tip: Tip: Water with a long-spout can over a towel, and never hang a plant heavier than the hook rating.
Variation: Hang a single dramatic fern from the center beam and keep the rest of the ceiling clear.

32. Beams with a Statement Chandelier
A chandelier hung from the center beam is the grand finale, and a living room with beams crowned by a statement fixture feels finished in a way no other single purchase achieves. The beam carries the weight and the drama.
Materials: chandelier, beam-rated mounting hardware, and a dimmer. Budget $150–$800 for the fixture plus hardware.
Center the chandelier on the room’s main beam and hang it so its lowest point sits at least seven feet above the floor. Wire it to a dimmer so the same fixture works for dinner parties and quiet evenings.
Tip: Tip: Size the chandelier to the room — roughly one inch of diameter per foot of room width is a good rule.
Variation: Hang a beaded or rattan chandelier from the beam for the same drama with a softer, coastal feel.
Frequently Asked Questions
Are ceiling beams expensive to add?
Not necessarily. Faux beams cost about $100–$250 each and are a realistic weekend DIY project, while real timber beams run $200–$600 each for materials plus labor. The total depends on beam size, room span, and whether you hire help for lifting and mounting.
Can you add beams to a low ceiling?
Yes, if you size them right. Choose slim, low-profile beams, space them widely, and paint them close to the ceiling color so they add texture without pressing down on the room. In ceilings under eight feet, skip chunky beams and use a few slim ones over the seating area only.
Should you choose faux or real beams?
Faux beams win on weight, cost, and easy installation, and they look convincing from floor level. Real beams win on authenticity, resale charm, and structural honesty. For most living rooms, faux beams deliver the look for less, while real beams suit period homes and forever houses.
Do beams make a living room feel dark?
They can, but only when paired with dark walls and poor lighting. Keep walls light, add recessed or pendant lighting between the beams, and consider a whitewash or tone-on-tone finish. With those three moves, beams add coziness, never gloom.
How do you clean and maintain ceiling beams?
Dust beams monthly with an extendable duster, wipe them occasionally with a barely damp cloth, and reseal stained wood every three to five years. Check brackets and bolts once a year, especially for heavy real-timber beams, and touch up paint or stain where sunlight fades it.
Final Thoughts
Beams are one of the few upgrades that change how a whole room feels without changing how you live in it. Pick the one idea that matches your home’s style, start with a single beam or a single wall, and let the ceiling do the rest of the work.
Found your favorite? Save this post to Pinterest so you can find it when the project weekend arrives, and share it with anyone whose plain ceiling is begging for a little architecture.




Leave a Reply