
Your blank wall is waiting to tell your family’s story, and family wall decor is how you turn it into the warmest spot in your home. Whether you have a shoebox of old prints, a phone full of candids, or one perfect portrait from last summer, there is a layout here that fits your wall, your budget, and your style. Below you will find 20 ideas that range from a $15 washi-tape wall to a full salon display, each with real costs, simple steps, and a tip that saves you from the most common mistake.
Pick one wall to start with, gather your favorite photos, and by this weekend your home will feel more like yours than it ever has.
1. Classic Symmetrical Gallery Grid
A symmetrical grid is the calmest form of family wall decor, and the easiest to get right on your first try. Identical frames in even rows turn a jumble of snapshots into a display that looks planned, not accidental.
Materials: 6-9 matching frames ($8-$25 each), printed photos ($1-$4 each), a level ($10-$20), and picture-hanging hooks ($5-$10). Total: about $70-$260.
Pick one wall, usually above a sofa or console, and keep the whole grid about two-thirds the width of the furniture below it. Hang the center of the arrangement at eye level, around 57 inches from the floor, and leave 2-3 inches between frames.
Tip: Print every photo in the same finish, all color or all black-and-white. One finish unifies different years, cameras, and lighting in a single glance.
Variation: Swap the grid for a single row of four large frames in a hallway, where a long, low arrangement suits the shape of the wall.

2. Eclectic Mixed-Frame Salon Wall
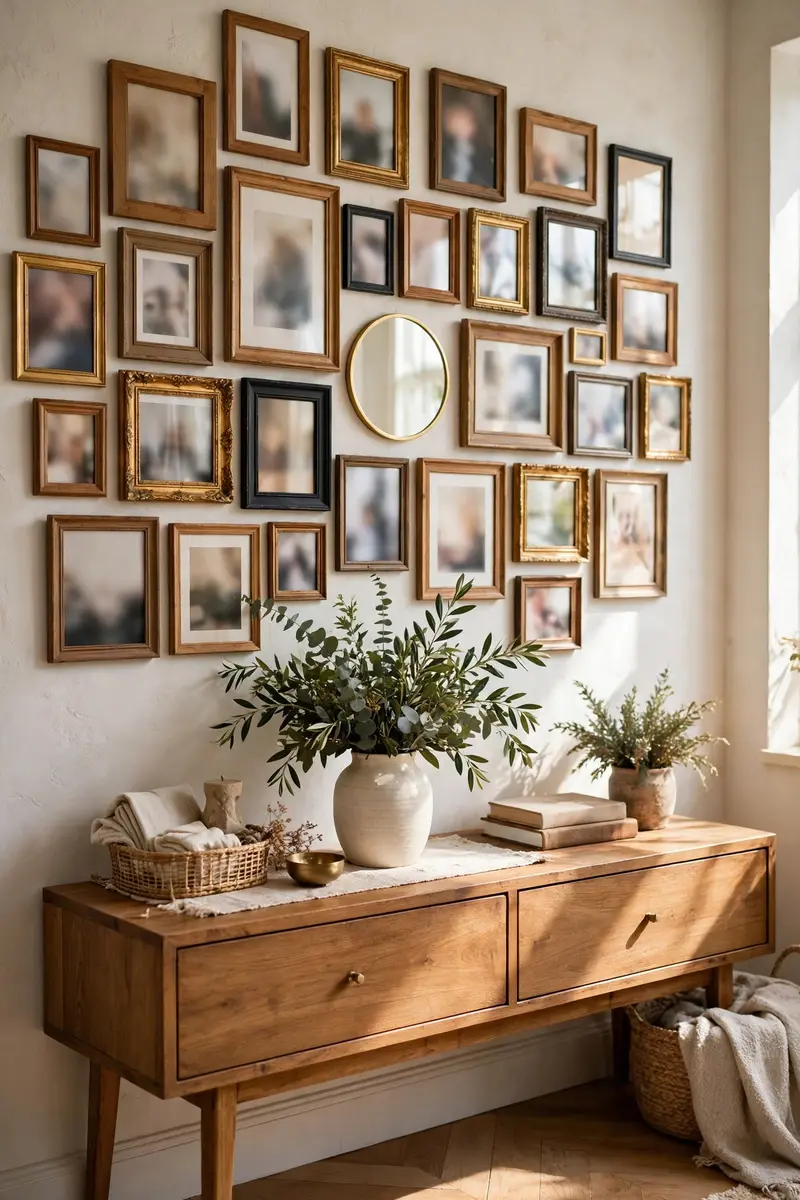
A salon wall is the collected, lived-in side of family wall decor, where frames of different sizes, finishes, and ages hang together like a story. It suits homes where matching sets feel too formal.
Materials: 10-15 thrifted and new frames ($3-$20 each), prints in mixed sizes ($1-$6 each), and a roll of kraft paper ($8-$12) for planning. Total: about $60-$300.
Start with one large anchor piece slightly off-center, then build outward, mixing orientations and sizes. Trace each frame on kraft paper, tape the shapes to the wall, and live with the layout for a day before you hammer a single nail.
Tip: Keep 2-3 inches of space between frames, even in a dense salon wall. Tight, even gaps are what separate a curated wall from clutter.
Variation: Weave in one mirror, a small woven basket, or a piece of kids’ art so the wall reads as a family collection, not just a photo lineup.
3. Picture Ledges You Can Restyle
Picture ledges are the most flexible family wall decor you can buy, because nothing is nailed in place. You lean frames on the shelf, overlap them slightly, and swap photos whenever a new favorite appears.
Materials: 2-3 wood picture ledges ($20-$45 each), frames in mixed sizes ($5-$20 each), and wall anchors ($5-$10). Total: about $60-$200.
Mount ledges into studs, spacing them 12-18 inches apart vertically, and lean larger frames at the back with smaller ones in front. Add a small plant or candle at one end so the shelf feels styled, not just stored.
Tip: Put the heaviest frames on the lowest ledge. A top-heavy ledge looks tense and is more likely to get knocked.
Variation: Use one long ledge in a bedroom for a calm, single-line family wall decor display, or stack three short ledges in a stairwell for a stepped effect.

4. Staircase Story Wall
A staircase wall turns the most ignored vertical space in your home into a family timeline. The slope naturally guides the eye upward, so photos feel like they are climbing with you.
Materials: 8-12 frames in one finish ($6-$18 each), prints ($1-$4 each), and a laser level or long level ($15-$30). Total: about $70-$280.
Follow the angle of the stair rail, keeping the center of each frame about 57 inches above its own step. Step back to the landing often, since a staircase wall looks very different from below than it does up close.
Tip: Start with a large family portrait at the bottom of the stairs as an anchor, then let smaller photos step up beside it.
Variation: Arrange photos chronologically from bottom to top, so climbing the stairs literally walks through your family’s years.

5. Hallway Timeline in Order
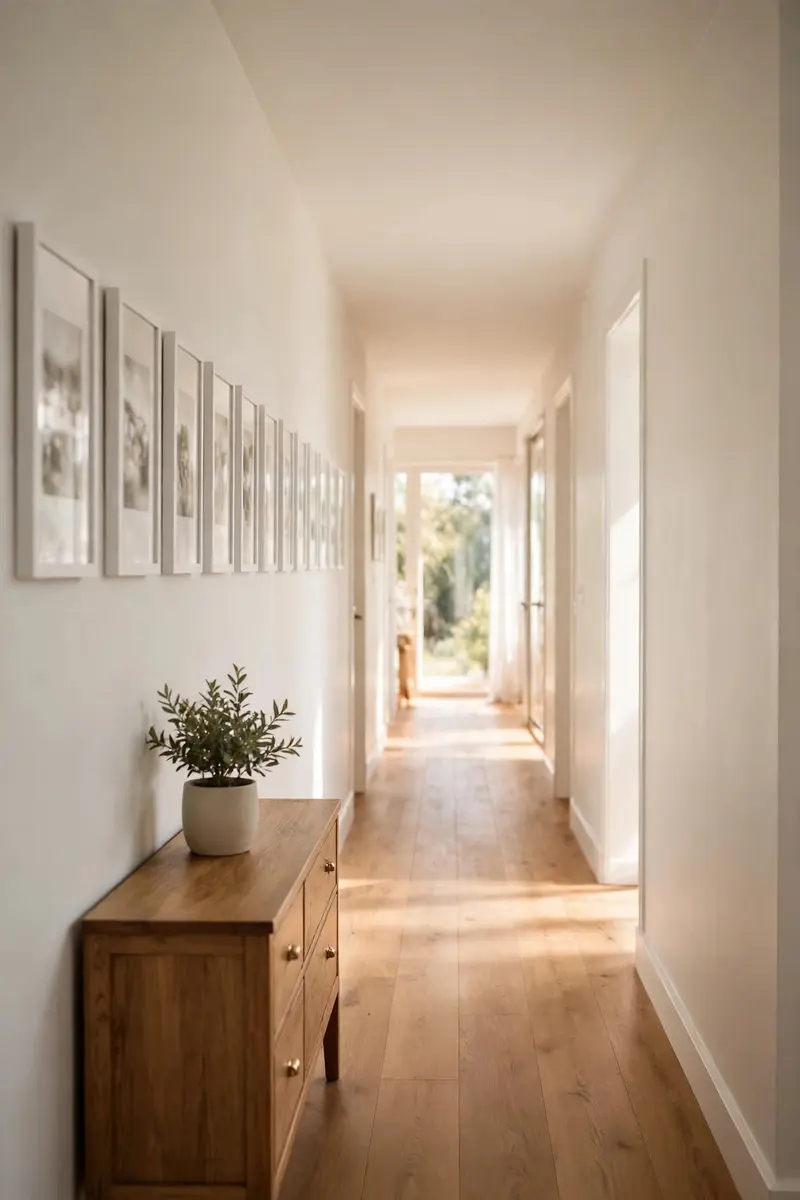
A hallway timeline is family wall decor with a plot: oldest photos at one end, newest at the other. Guests walk the story without needing a single caption.
Materials: 10-14 slim frames in one color ($5-$15 each), prints ($1-$4 each), and small date labels or a label maker ($10-$20). Total: about $70-$250.
Measure the hallway and divide it into equal sections, one per era or per child, so the timeline reads evenly. Keep frames at one consistent height, even if the photos inside vary in size.
Tip: Add tiny year labels under just the milestone photos, not every frame. A few dates tell the story; a date on everything turns the wall into a textbook.
Variation: Give each child their own hallway section, so everyone gets equal wall space and no one feels like a supporting character.
6. Oversized Single Family Portrait
One oversized portrait is the boldest family wall decor move, and sometimes the simplest. A single large print above a sofa or fireplace stops the eye in a way twenty small frames never will.
Materials: One large canvas or framed print, 24×36 inches or larger ($60-$200), and a heavy-duty wall hook ($5-$15). Total: about $65-$215.
Choose a photo with a clean background and at least one face in sharp focus, then print it large enough to fill about two-thirds of the furniture width below it. Hang it so its center sits at eye level, not above the mantel’s sightline.
Tip: Order a test print at 8×10 first to check sharpness. A phone photo that looks fine on screen can turn soft at poster size.
Variation: Print the portrait in black-and-white for a timeless look that survives every future paint color and sofa change.

7. Black-and-White Photo Wall
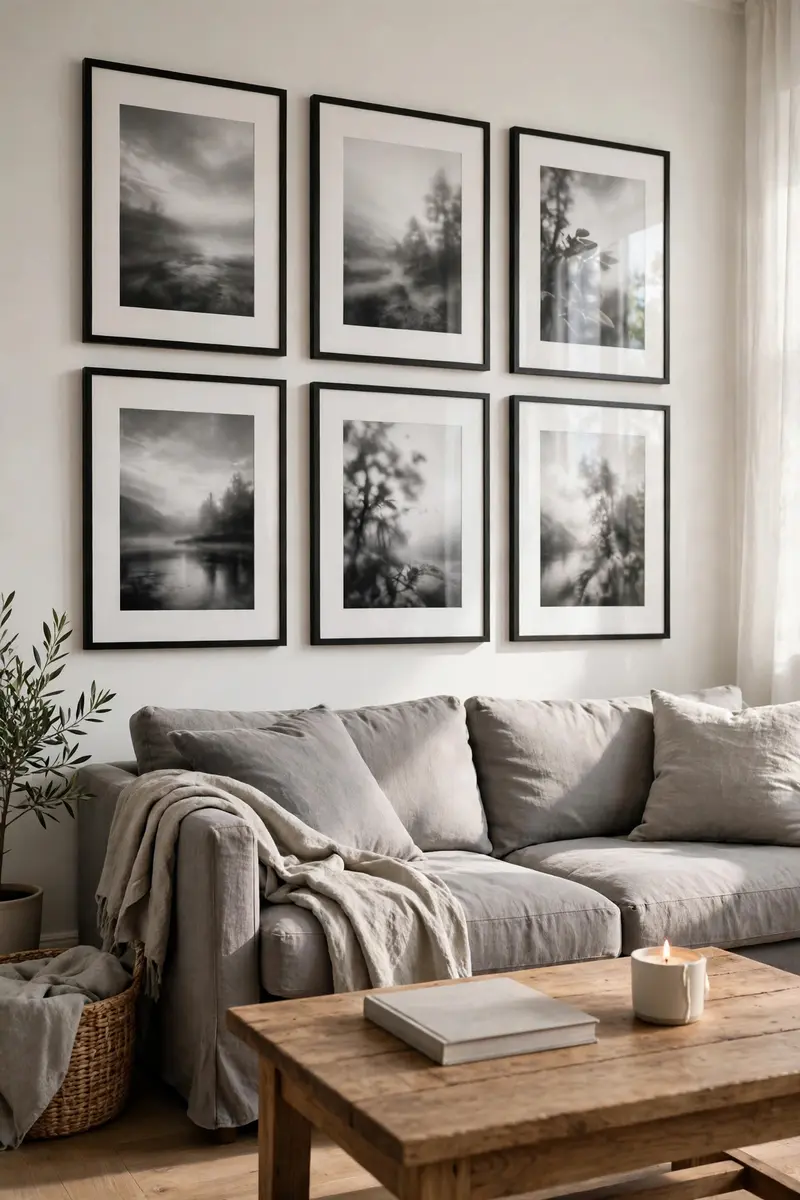
Converting photos to black-and-white is the fastest way to make mismatched family snapshots look like one intentional collection. Color differences vanish, and faces take over.
Materials: 8-12 black or white frames ($6-$20 each), black-and-white prints ($2-$6 each), and wide white mats ($3-$8 each). Total: about $80-$320.
Pick photos with strong expressions and good contrast, since flat, gray images look muddy in monochrome. Use wide mats to give each photo breathing room, and keep frames identical for a tailored finish.
Tip: Mix one warm sepia print into a black-and-white wall for an old-photo feel, but only one. Two sepia prints start a second theme.
Variation: Hang the black-and-white set on a dark accent wall, where white mats glow and the whole family wall decor display reads like a gallery.
8. Family Tree Wall Display
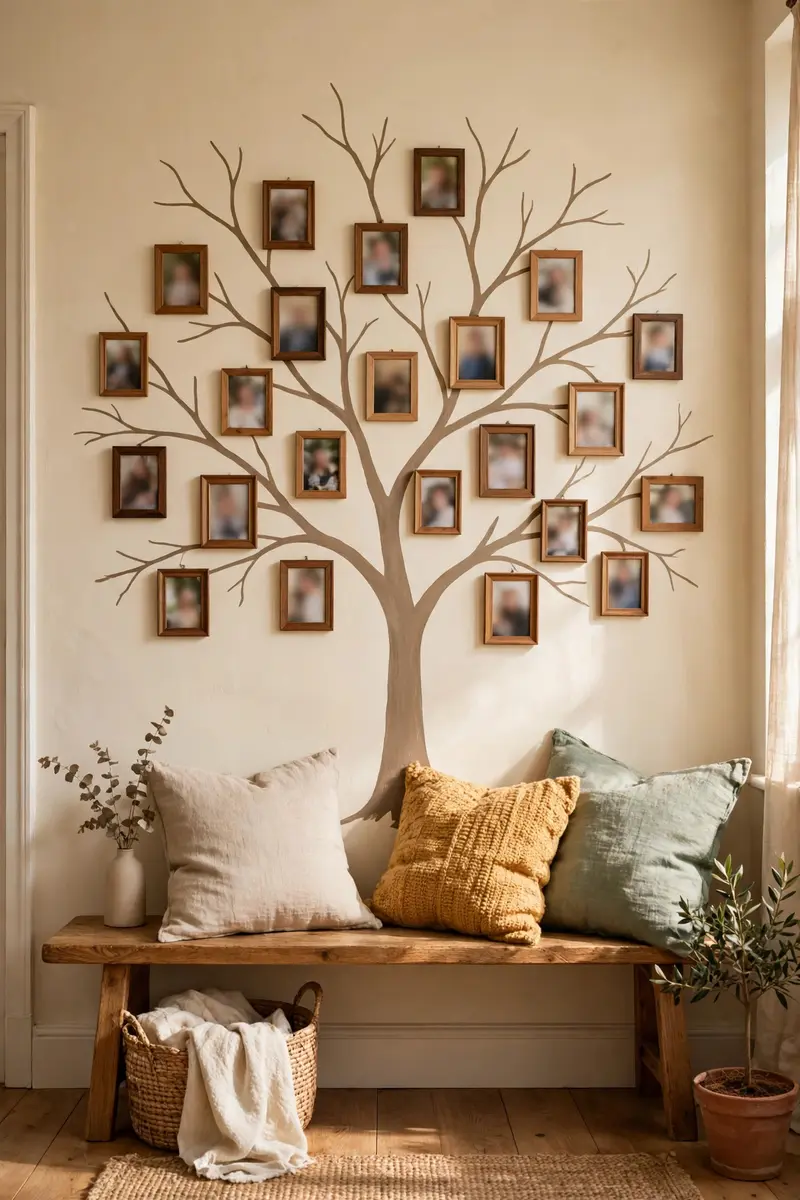
A family tree wall turns genealogy into art, connecting generations with branches, frames, or a painted tree shape. Kids especially love finding themselves on it.
Materials: A wall decal tree or painted branches ($20-$60), 8-15 small frames ($4-$12 each), and prints ($1-$4 each). Total: about $60-$250.
Place grandparents at the top or the trunk, then branch downward to parents and children so the structure reads naturally. Leave two or three empty frames for new babies, partners, and future milestones.
Tip: Write names in pencil on the back of each frame, not on the wall. Family trees change, and pencil lets the wall keep up.
Variation: Skip the tree shape and use a simple branching line of washi tape, which peels off cleanly when the tree outgrows the wall.
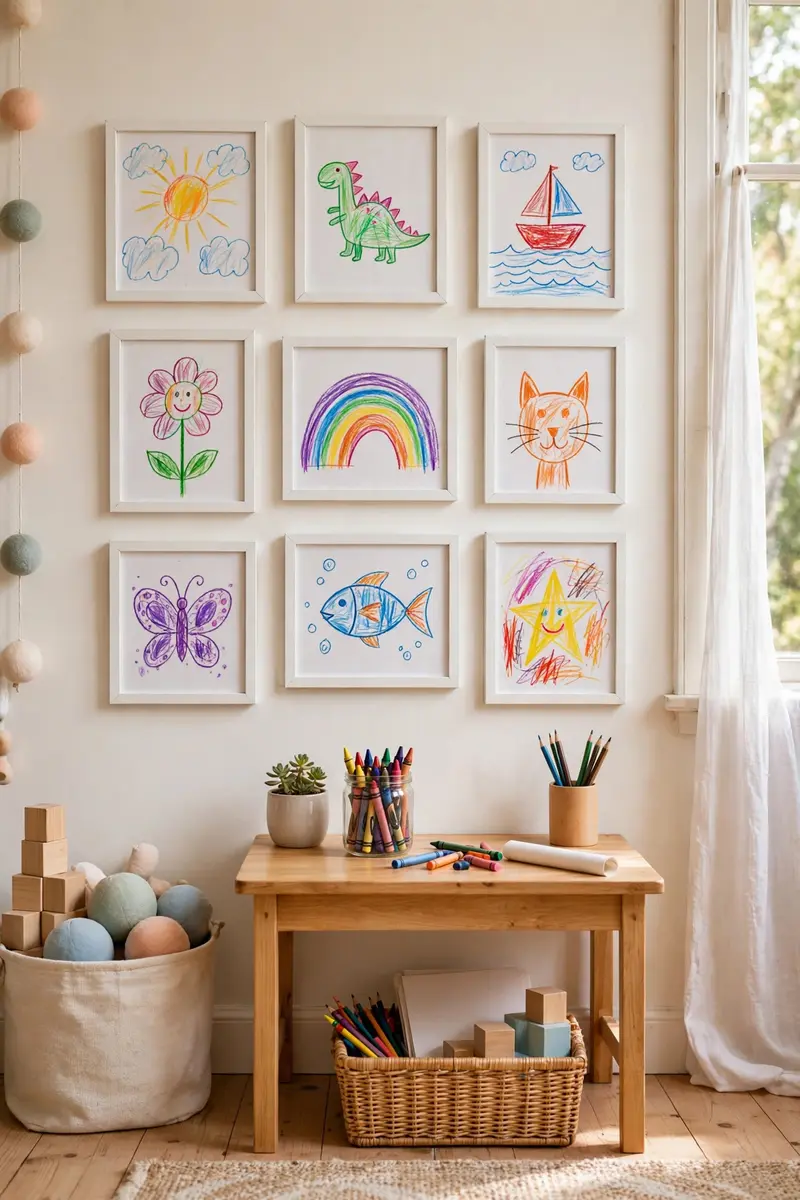
9. Kids’ Art Gallery Wall
A kids’ art gallery gives children’s drawings the same respect as framed photography, and kids notice. It is also the cheapest family wall decor on this list, since the art already exists.
Materials: 6-10 simple frames ($4-$12 each), or a wire and clip system ($15-$30), and a scanner or phone camera for archiving. Total: about $25-$120.
Choose each child’s three best pieces, not every piece, and rotate the display every season. Scan or photograph everything before it goes up, so the originals can be stored safely.
Tip: Hang kids’ art at their eye level in their own room, and at adult eye level in shared rooms. Both audiences deserve a good view.
Variation: Dedicate one frame per child with a clip inside, so new art swaps in without tools and every child gets a permanent spot.
10. Travel Memory Map Wall
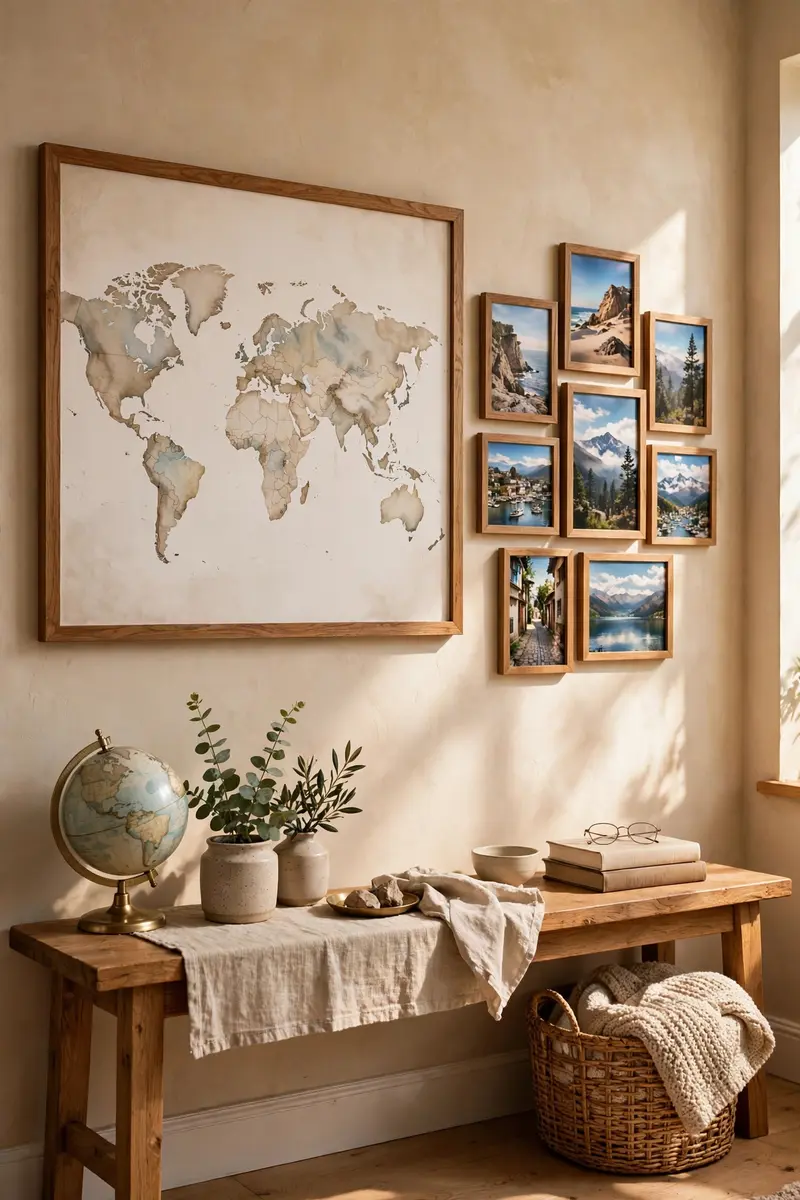
A travel memory map wall pairs a large map with photos from the places your family has actually been. It turns vacations into a geography lesson guests can walk through.
Materials: A large framed map or cork map ($40-$120), pins or string ($5-$15), and 6-10 small travel prints ($1-$4 each). Total: about $60-$200.
Mark each trip with a pin, then cluster its photos nearby, either in small frames or clipped to the map’s edge. Add one ticket stub or postcard per trip in a small shadow box beside the map.
Tip: Keep the map current by adding a photo within a week of every trip. A map that stops in 2019 tells guests you stopped traveling, even when you did not.
Variation: Use a scratch-off world map for a playful version, or a framed map of just your home state for a deeper local story.
11. Milestone Moments Wall
A milestone wall gathers the big days, weddings, graduations, first steps, and new homes, in one place. It works because every photo on it already carries its own story.
Materials: 8-12 frames in a single metallic finish ($8-$22 each), prints ($1-$5 each), and small caption cards ($5-$10). Total: about $80-$300.
Group milestones by event rather than by date, so a wedding cluster, a graduation cluster, and a new-baby cluster each read clearly. Add one short caption card per cluster, with the event and year, and nothing more.
Tip: Limit the wall to true milestones. When every weekend photo qualifies, the milestones stop feeling special.
Variation: Build the milestone wall in a dining room, where guests linger and actually read the captions during long meals.

12. Canvas Print Trio Above the Sofa
A trio of canvas prints is the most renter-friendly statement family wall decor, because three light panels hang with minimal holes and fill a wide sofa wall fast.
Materials: Three canvas prints, 16×20 inches or larger ($25-$70 each), and three picture hooks ($3-$8 each). Total: about $80-$220.
Choose three photos from one shoot or one theme, so the trio reads as a set rather than three random prints. Space them 2-4 inches apart, and keep the total width near two-thirds of the sofa.
Tip: Order all three canvases from the same printer in one batch. Different printers render color differently, and a trio must match.
Variation: Try one panoramic canvas flanked by two square prints, or a vertical trio in a narrow hallway where a horizontal family wall decor set will not fit.

13. Clipboards and Wire Rotating Display
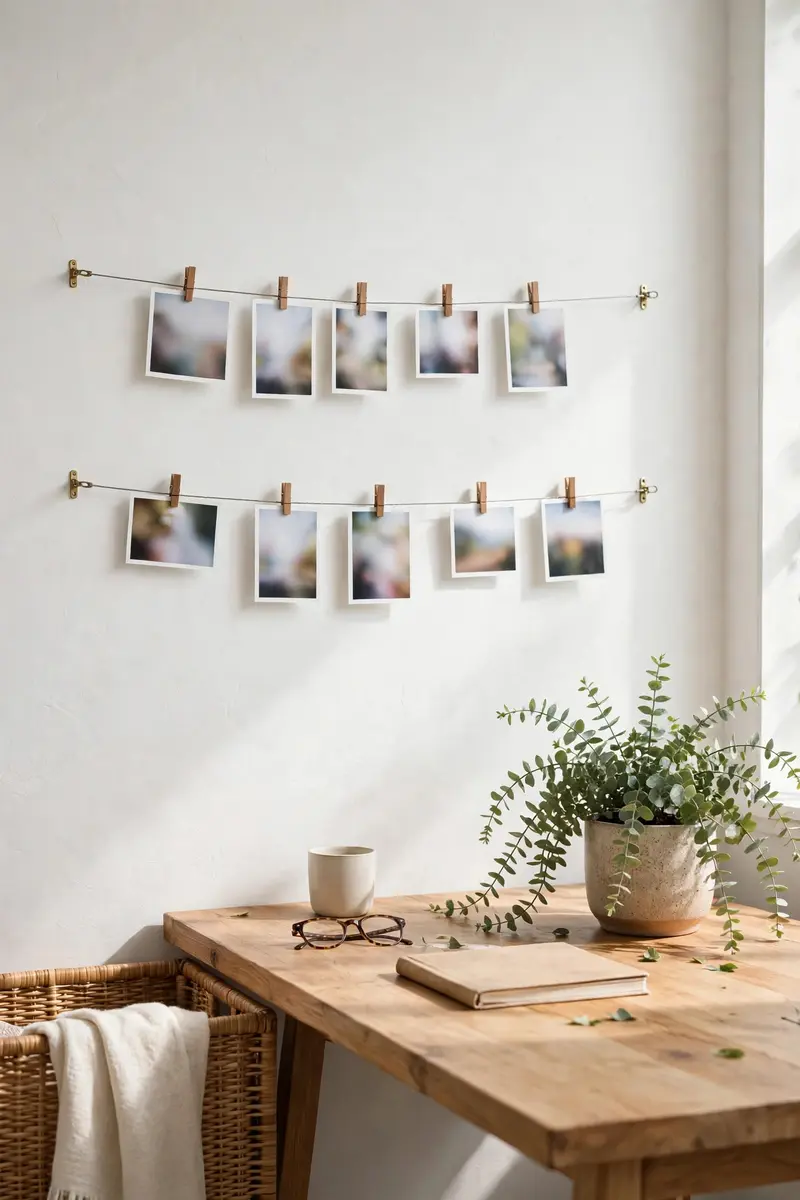
A wire and clip display is family wall decor that expects change. Photos clip on and off in seconds, so the wall always shows this month’s favorites, not 2019’s.
Materials: A wire cable kit ($12-$25), clips ($5-$10), and prints ($1-$3 each). Total: about $20-$60.
Mount the wire into studs, pulling it taut so photos hang straight, and space clips 6-8 inches apart. Print new photos on matte paper, which clips cleanly and avoids glare from nearby windows.
Tip: Replace at least two photos every month. A rotating display that never rotates is just a gallery wall with extra hardware.
Variation: Run two parallel wires in a kids’ room, one for art and one for photos, so both collections get equal billing.
14. Shadow Box Memory Wall
A shadow box wall displays the objects behind the photos: a baby’s first shoes, a wedding invitation, a medal, a ticket stub. It adds depth that flat frames cannot.
Materials: 3-6 shadow boxes ($15-$40 each), acid-free backing ($5-$10), and small mounting pins ($3-$8). Total: about $55-$260.
Pick one object and one photo per box, so each box tells a single story instead of becoming a junk drawer behind glass. Mount boxes at eye level in a tight group, with 2 inches between them.
Tip: Use museum putty on every object, not just glue. Putty holds through humidity changes and lets you rearrange without damage.
Variation: Build a shadow box per child, one per year, and let the row grow along the hallway as the kids grow.

15. Washi Tape No-Nail Photo Wall
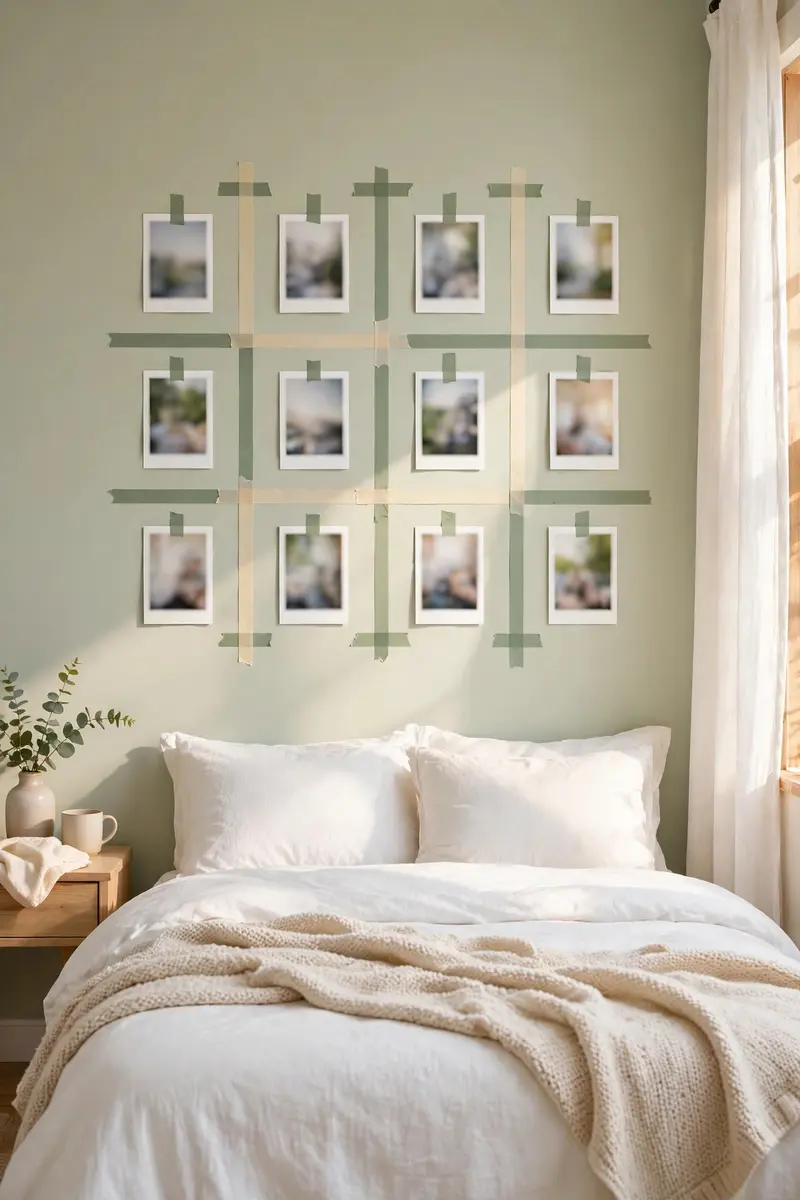
Washi tape walls are the renter’s answer to family wall decor, because they need no nails, no holes, and no landlord negotiations. Tape frames the photos directly on the wall.
Materials: 3-4 rolls of washi tape ($3-$7 each), prints ($1-$3 each), and scissors. Total: about $15-$40.
Lay photos on the floor first to settle the layout, then tape each one with a small border of tape, like a drawn frame. Keep tape lines straight with a level, since crooked tape is the one thing that makes this look accidental.
Tip: Choose tape colors that match your room, not rainbow tape. Two coordinating colors look designed; six look like a craft explosion.
Variation: Tape photos in a grid for a clean look, or in a loose heart or house shape in a kids’ room for a playful twist.
16. Mirror-Centered Family Wall
A round mirror at the center of a photo wall does two jobs at once: it reflects light into the room and gives the eye a resting place among many frames.
Materials: One round mirror, 24-30 inches ($40-$120), 6-10 smaller frames ($5-$15 each), and prints ($1-$4 each). Total: about $80-$280.
Hang the mirror first, at eye level, then arrange frames around it in a loose halo, keeping 3-4 inches between the mirror’s edge and the nearest frame. Balance the sides by weight, not by count, so one side does not feel heavier.
Tip: Hang the mirror where it reflects a window or a bright wall, never a cluttered corner. A mirror doubles whatever it faces.
Variation: Use an arched mirror for a softer look, or a sunburst mirror when the photo wall needs a single bold centerpiece.

17. Shelf and Photo Combo Wall
Combining floating shelves with framed photos gives family wall decor a third dimension. Books, plants, and small objects sit beside the photos, so the wall feels like a room, not a catalog.
Materials: 2-3 floating shelves ($20-$40 each), frames ($5-$15 each), and small decor objects you already own. Total: about $60-$180.
Mount shelves into studs, then style each shelf with one framed photo, one object, and one empty stretch of space. Repeat the same rhythm across shelves so the wall reads as a set.
Tip: Leave at least a third of every shelf empty. A shelf packed edge to edge reads as storage, while a shelf with breathing room reads as display.
Variation: Add a small trailing plant to the top shelf, so greenery softens the hard lines of frames and shelves in this family wall decor combo.

18. Vintage Frames and Heirlooms Wall
A vintage frame wall mixes gilt, wood, and brass frames with heirlooms like a grandmother’s mirror or a father’s camera. It suits old houses and anyone who inherits more than they buy.
Materials: 6-10 vintage or thrifted frames ($3-$15 each), prints, including scanned old photos ($2-$6 each), and brass hooks ($5-$10). Total: about $40-$200.
Scan old family photos before framing them, since sunlight fades originals, and print the scans for display. Mix frame finishes freely, but keep mat colors consistent so the wall still feels unified.
Tip: Hang the single most meaningful heirloom at eye level in the center. Guests will find it first, and it anchors the whole wall.
Variation: Add one heirloom object per wall, like a vintage clock or a set of keys, so the wall tells a family story beyond photographs.

19. Seasonal Rotating Family Wall
A seasonal wall keeps family wall decor fresh by changing with the year: beach photos in summer, cozy indoor shots in winter, school photos in fall. The frames stay, the photos change.
Materials: 8-10 frames with easy-open backs ($6-$15 each), seasonal print sets ($1-$3 each per season), and a labeled storage box ($8-$12). Total: about $70-$180.
Choose one wall near the entry or living room, where the change gets noticed, and store each season’s prints in a labeled envelope. Swap the set on the first weekend of each season, and let kids pick one photo per season.
Tip: Keep a master list of which photo belongs to which season inside the storage box. Without it, the swap turns into a sorting project every time.
Variation: Rotate by holiday instead of season, with a small Halloween, Christmas, and birthday set that kids look forward to each year in this family wall decor rotation.

20. Entryway Welcome Wall
An entryway wall is the first family wall decor guests see, so it should say who you are in one glance: one warm portrait, a family name sign, and a few favorite moments.
Materials: One large portrait or name sign ($30-$90), 4-6 smaller frames ($5-$15 each), and a console or bench below ($80-$250, optional). Total: about $60-$400.
Hang the portrait or sign at eye level as guests enter, then flank it with smaller photos at the same height. Keep the wall above a console clear of coats and keys, so the display stays visible.
Tip: Put your favorite, most welcoming photo here, not your most formal one. An entryway should feel like a hello, not a boardroom.
Variation: Add a small chalkboard or letter board under the photos for a rotating family motto, greeting, or countdown to the next trip.

Frequently Asked Questions
How many photos should a family wall have?
There is no magic number, but most family wall decor looks best with 6 to 15 photos. Fewer than six can look sparse on a large wall, while more than twenty needs a big wall and careful spacing to avoid clutter. Start with nine, step back, and add more only if the wall still looks empty.
What is the best height to hang family photos?
Hang the center of your arrangement about 57 inches from the floor, which is average eye level. Above a sofa or console, leave 6 to 8 inches between the furniture and the bottom of the lowest frame. On a staircase, measure 57 inches above each step instead of using one flat height.
How do I arrange family photos without damaging the walls?
Use picture ledges, adhesive strips rated for your frame weight, washi tape, or a wire system for a no-damage family wall decor display. For heavier frames, a single small nail in a stud is still the safest option, and one tiny hole is easy to fill when you move out.
Should all my frames match?
Matching frames give a clean, tailored look, while mixed frames feel collected and personal. Both work, so pick one rule and stick to it: either identical frames, or mixed frames with one unifying element, like the same mat color or the same photo finish.
How often should I update my family wall?
Swap two or three photos every season, and do a bigger refresh once a year. Regular updates keep the wall feeling alive, and they stop it from becoming a time capsule of one single year. Keep old favorites in a labeled box so nothing precious gets lost in a refresh.
Conclusion
The best family wall decor is not the most expensive one, it is the one that actually gets hung. Start small with one wall, one layout, and photos you already love, then let the display grow as your family does. If this guide helped you, save it to Pinterest so you can find it again when the frames arrive, and share it with someone whose blank wall is still waiting. Save this guide, then start with the wall you see most often. That daily view is exactly why this kind of family wall decor earns its place in a home.
For extra gallery inspiration, browse The Spruce’s gallery wall ideas. And when you are ready for the next wall, see our small apartment decor ideas, our DIY wall decor ideas for the living room, and our handmade boho wall decor ideas.




Leave a Reply