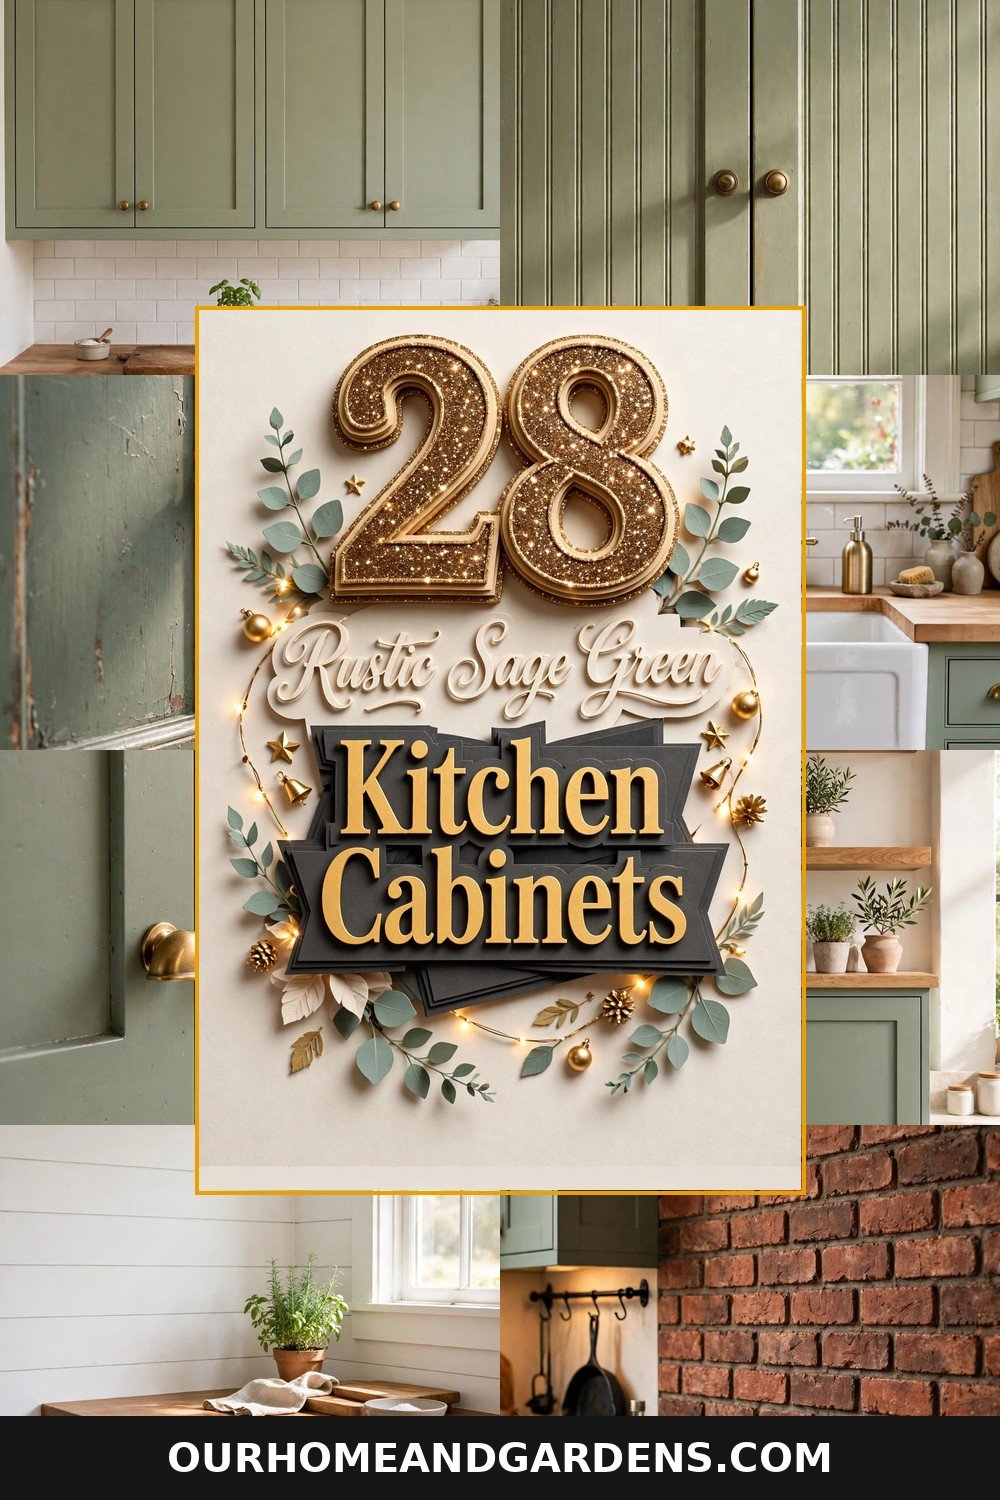
Rustic Sage Green Kitchen Cabinets: 28 Stunning Looks
Rustic sage green kitchen cabinets have a way of making a whole house feel calmer. The soft, grey-green shade sits somewhere between a garden herb and a misty morning, so it brings nature indoors without shouting for attention. Paired with warm wood, creamy whites, and aged metals, it creates a kitchen that feels collected over time rather than bought in one weekend. Whether you are planning a full remodel or simply dreaming about a paint color that will still look good in ten years, these 28 ideas will help you find your version of the look — from classic Shaker doors to budget-friendly painted makeovers.
1. Classic Shaker Cabinets in Soft Sage
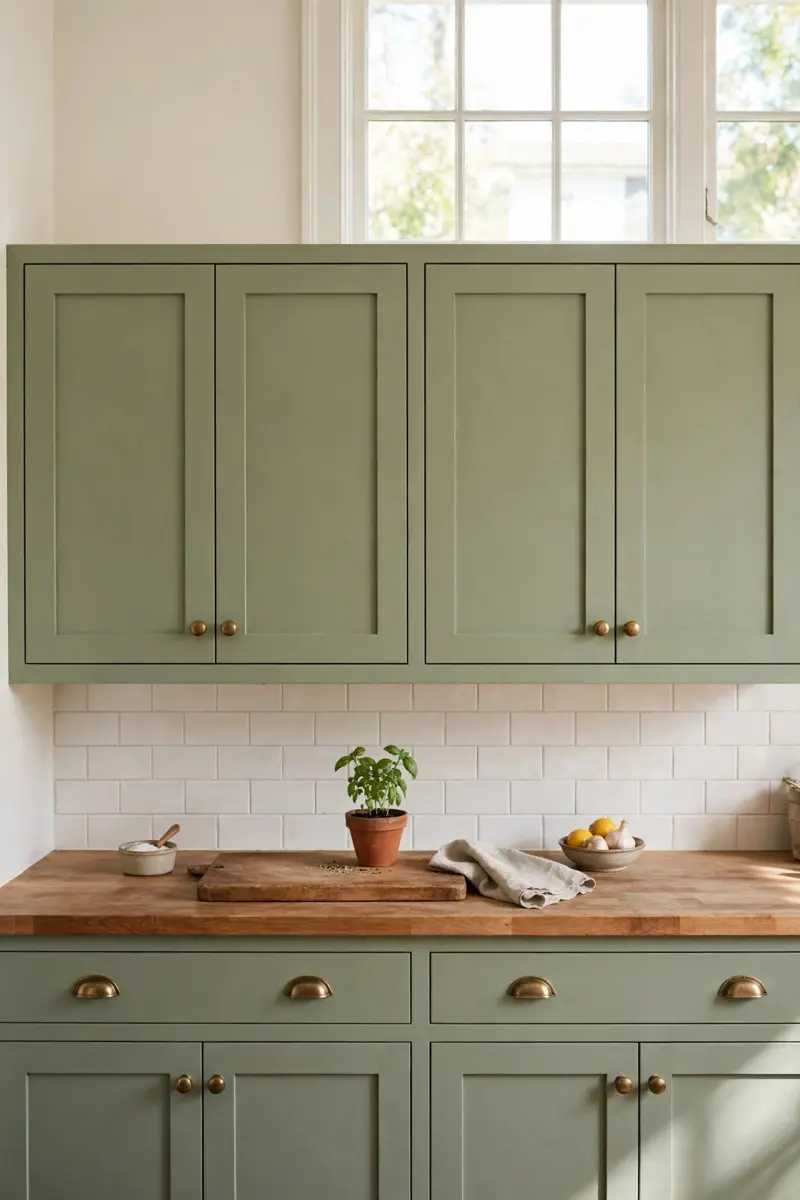
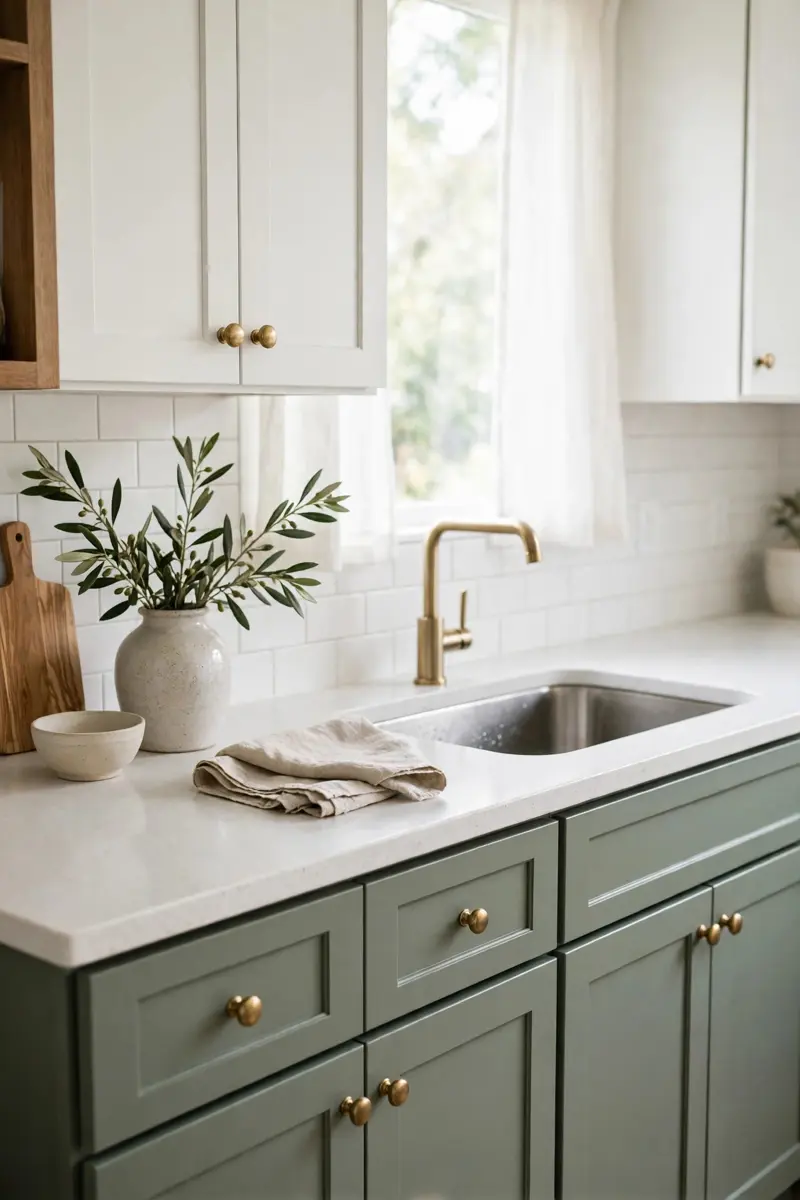
Shaker doors are the safest starting point for rustic sage green kitchen cabinets, and for good reason. The simple recessed panel adds just enough detail to feel crafted without looking fussy, and sage softens the lines even further. This pairing works in farmhouse, cottage, and transitional kitchens alike, which is why it shows up in so many saved photos.
Materials and cost: Shaker-style cabinet doors or a full stock cabinet run; sage paint in a satin or matte finish; simple cup pulls. Painting existing cabinets runs about $150–$400 in supplies, while new stock Shaker cabinets start around $3,000–$6,000 for a small kitchen.
Start by testing two or three sage swatches on a door in your own daylight, since sage shifts with warm and cool light. Paint in thin coats with a self-leveling enamel, and finish with a clear topcoat on high-touch areas like the sink base. Keep walls warm white so the green stays the star.
Practical tip: Choose a sage with grey undertones rather than yellow ones if your kitchen gets cool northern light — it will read softer, not minty.
Variation: Try a slightly deeper sage on the island only, keeping the perimeter cabinets lighter for a gentle two-tone effect.
2. Sage Lowers with Crisp White Uppers
If a full wall of green feels like a lot, split the difference. Sage green lower cabinets ground the room while white uppers keep it bright and open — one of the most-pinned rustic sage green kitchen cabinets combinations for a reason. The contrast also makes a small kitchen feel taller, since the eye travels up to the lighter color.
Materials and cost: Sage paint for base cabinets, white paint for uppers, and matching hardware to tie both together. A DIY two-tone paint job costs roughly $200–$500; hiring a painter adds $1,500–$3,500.
Paint the lowers first, then the uppers, using the same sheen on both so the finish looks intentional. Carry one unifying element across both — the same knobs, the same countertop, or a shared backsplash — so the split feels designed, not accidental.
Practical tip: Use the exact same white on the uppers, trim, and ceiling to avoid three competing whites fighting the sage.
Variation: Flip it for a moodier look with sage uppers and warm wood lower cabinets in a larger, well-lit kitchen.
3. Beadboard Cabinets with Cottage Charm
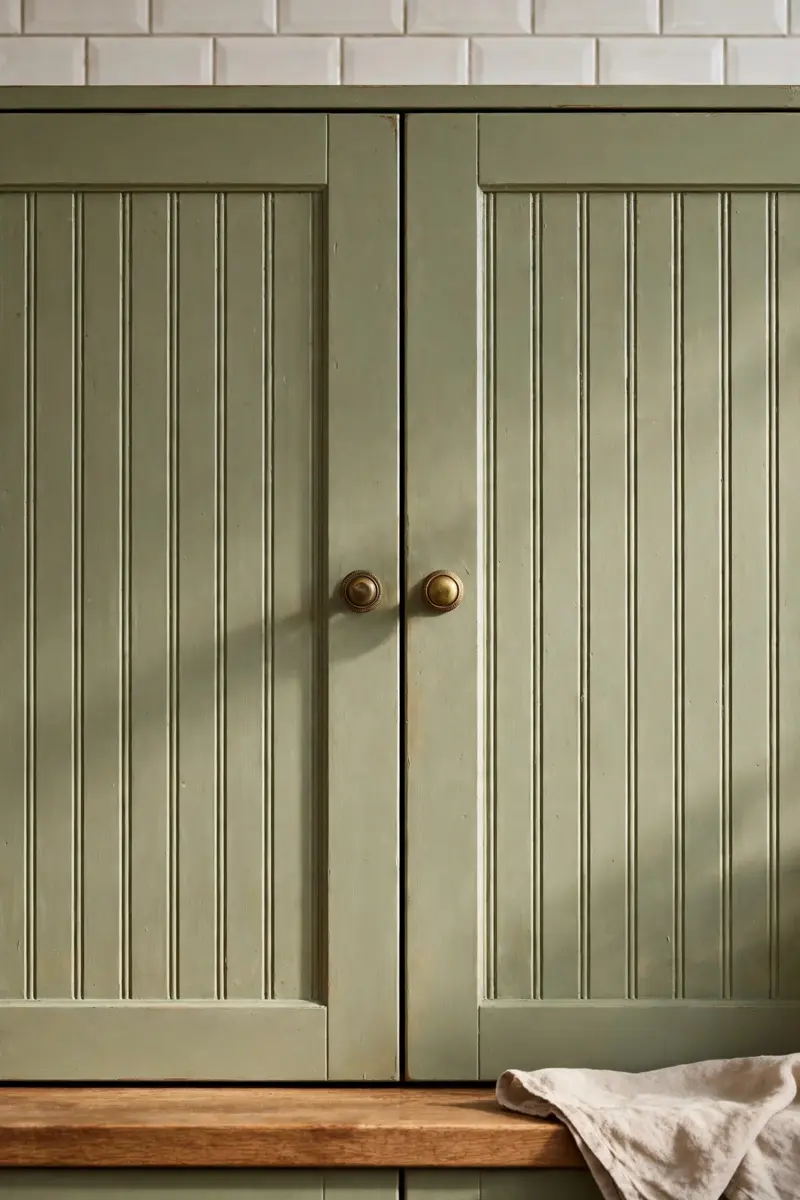
Beadboard brings instant cottage character to rustic sage green kitchen cabinets. The narrow vertical grooves catch light and shadow, giving flat doors a handcrafted texture that reads beautifully in a farmhouse or coastal-cottage kitchen. In sage, the texture feels warm and grassy rather than stark.
Materials and cost: Beadboard panels or beadboard-front doors; sage paint with a slightly warm undertone; vintage-style knobs. Expect $100–$300 to clad existing doors with beadboard panels, or $2,500+ for new beadboard cabinetry.
Apply beadboard panels to flat door fronts with construction adhesive and pin nails, caulk the edges, then prime and paint. Sand lightly between coats so the grooves stay crisp. Pair with a simple subway tile backsplash so the texture, not the tile, does the talking.
Practical tip: Seal beadboard grooves well near the sink and stove — moisture and grease love to settle into those lines.
Variation: Use beadboard only on the island or a hutch-style pantry for texture in one focal spot.
4. Glass-Front Uppers for Display
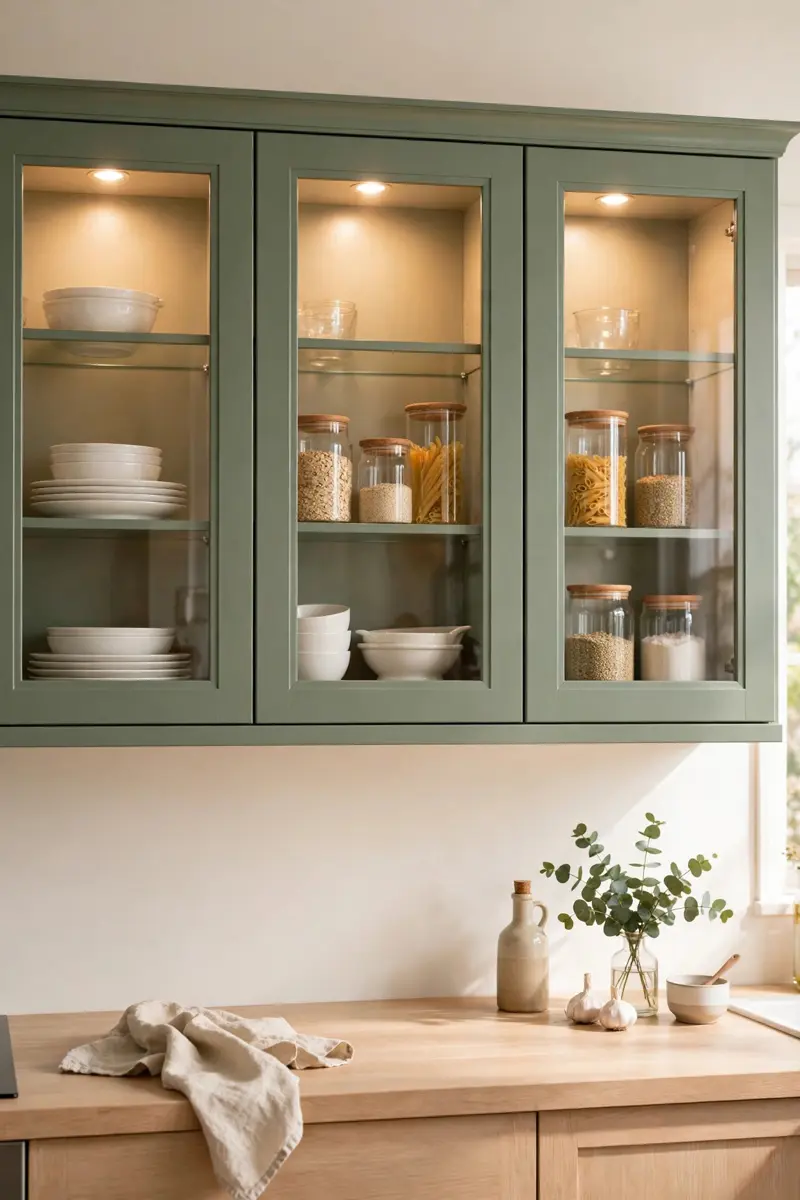
Glass-front upper cabinets lighten the look of rustic sage green kitchen cabinets while giving you a place to show off pretty dishes, jars, and cookbooks. Clear glass keeps things airy; seeded or reeded glass hides everyday clutter while still glowing when the interior lights are on.
Materials and cost: Glass inserts or replacement glass-front doors, interior puck lights, and sage paint for the frames. Budget $300–$900 for a few uppers, more if you add wiring for lights.
Order doors with the glass already fitted if you can, since retrofitting old doors takes patience. Style the shelves loosely — group dishes by color, leave breathing room, and put everyday items low and display pieces high. Add dimmable puck lights so the cabinets glow softly in the evening.
Practical tip: Stick to two or three colors inside the cabinets (white, cream, and wood, for example) so the display looks curated, not crowded.
Variation: Try glass fronts on just the cabinets flanking the range or sink, keeping the rest solid for hidden storage.
5. Distressed Matte Finish for a Lived-In Feel
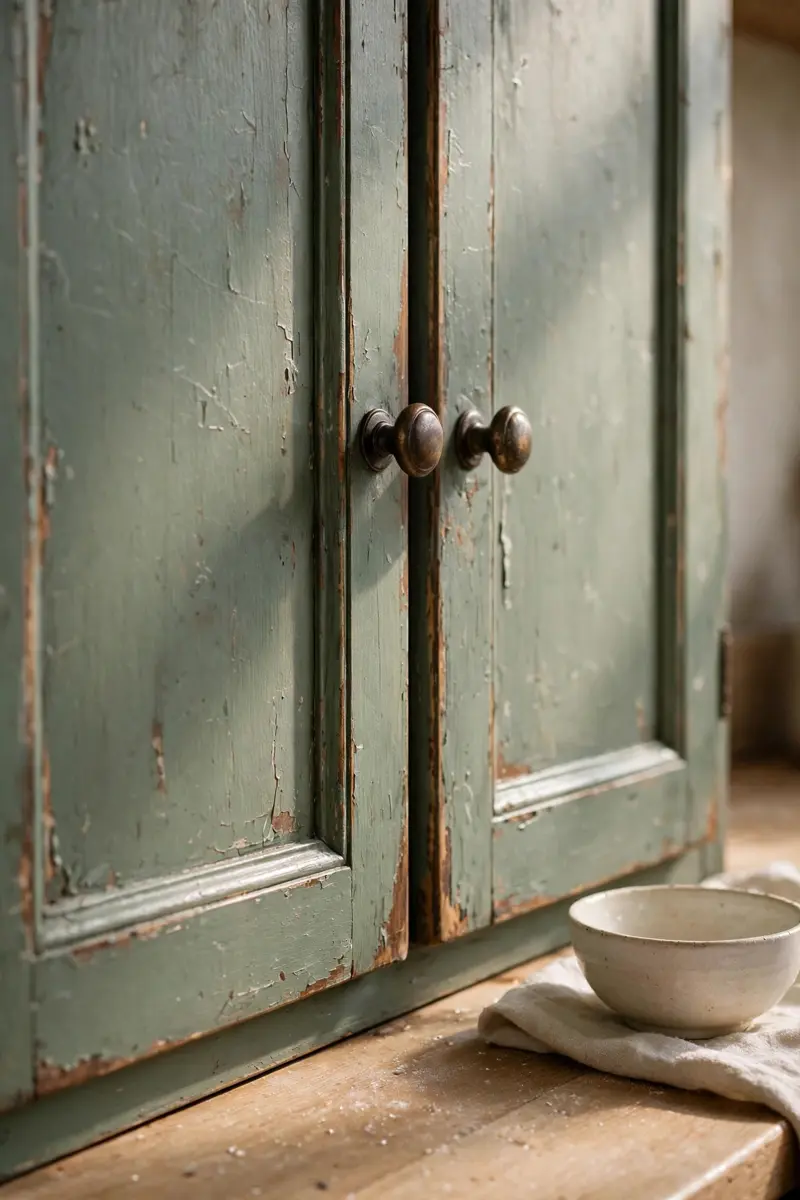
A distressed or matte finish is what makes rustic sage green kitchen cabinets feel like they have a history. Matte paint softens the green and hides fingerprints and small marks better than gloss, while light distressing on edges and corners suggests years of gentle use.
Materials and cost: Matte or chalk-style cabinet paint, sandpaper in several grits, dark wax or glaze, and a matte topcoat. A DIY distressed finish costs about $120–$350 in supplies.
Paint two coats, let them cure, then sand edges, corners, and raised details just enough to reveal hints of wood beneath. Work slowly — you can always distress more, but you cannot easily undo it. Seal with wax or a matte polyurethane, especially around handles where hands wear the finish fastest.
Practical tip: Distress only the spots that would naturally wear — edges, corners, and around pulls — and leave flat panels alone for a believable result.
Variation: Skip the sanding and simply use a dead-matte finish for the same soft look with a cleaner, more modern edge.
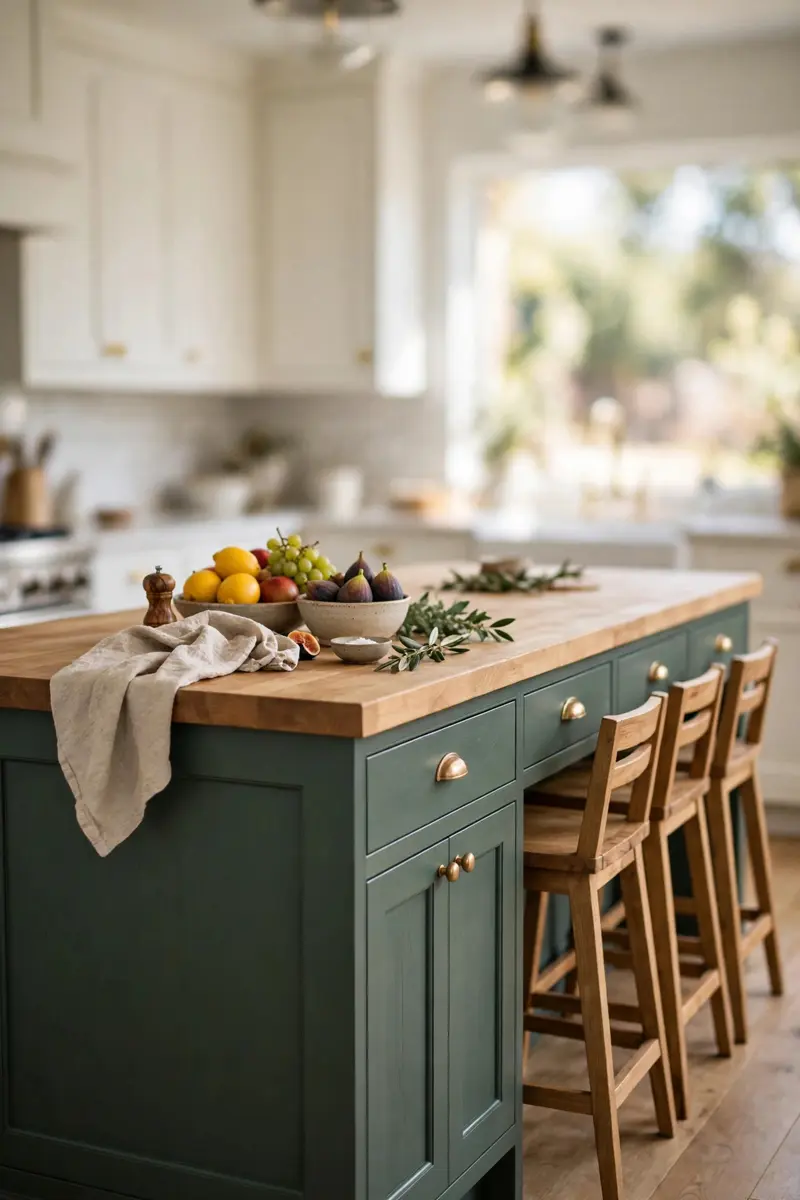
6. A Sage Green Island as the Centerpiece
If you are not ready to commit every cabinet to green, paint just the island. A sage island becomes the centerpiece of rustic sage green kitchen cabinets schemes, anchoring the room while white or wood perimeter cabinets keep things light. It is also the easiest version to repaint later if your taste changes.
Materials and cost: Sage paint, new hardware, and possibly a contrasting countertop for the island. Painting an island alone costs $80–$250 DIY.
Choose a sage one or two shades deeper than you would use on a full kitchen, since a small area can handle more depth. Pair it with a butcher block or marble-look top that differs from the perimeter counters to mark the island as furniture, not just more cabinetry.
Practical tip: Repeat the island’s sage somewhere small — a pantry door, bar stools, or a window valance — so the color feels connected to the room.
Variation: Add turned legs or furniture-style feet to the island so it reads like a freestanding farmhouse table.
7. Farmhouse Apron Sink Pairing
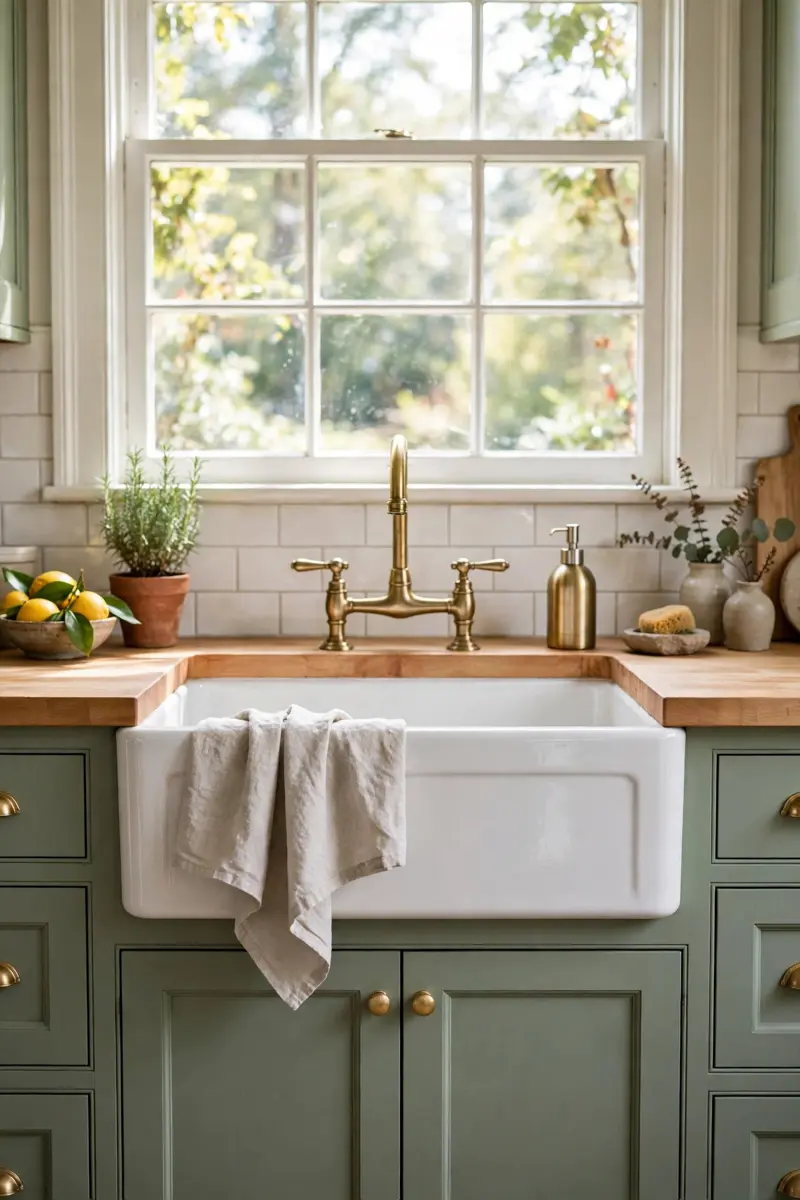
Few combinations feel as classically farmhouse as sage cabinets and a white apron-front sink. The sink’s deep basin and exposed front break up a long run of cabinetry, while its crisp white keeps the sage from feeling heavy. It is a hardworking choice too, with room for big pots and baking sheets.
Materials and cost: A fireclay or cast-iron apron sink ($300–$900), a cabinet base modified or built for apron installation, and a bridge or vintage-style faucet. Budget $600–$1,500 all in for a DIY swap.
Check your base cabinet width before ordering — apron sinks need a specific cabinet size and sometimes a support frame. Keep the faucet simple (brushed brass or matte black) so the sink and cabinets stay the focus, and add a folded linen towel over the apron edge for instant farmhouse charm.
Practical tip: Seal the seam between the sink and the countertop carefully; apron sinks are notorious for slow drips into the cabinet below.
Variation: Pair the apron sink with open shelving on either side for a true farmhouse work-wall look.
8. Sage Cabinets with White Marble Countertops
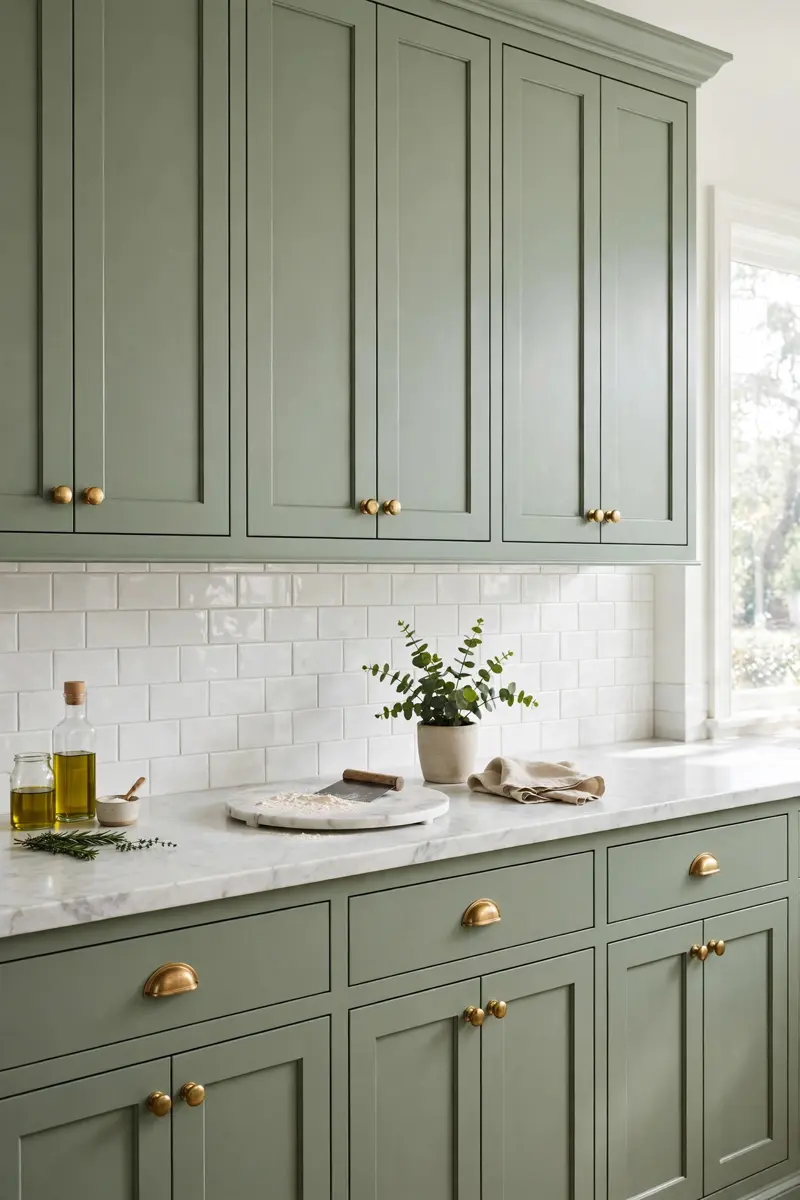
White marble — or a convincing marble-look quartz — is the most elegant partner for rustic sage green kitchen cabinets. The veining adds movement and a touch of luxury, while the bright surface keeps the soft green from feeling dark. It is the combination behind many of the most-photographed sage kitchens.
Materials and cost: Marble-look quartz runs $60–$100 per square foot installed; real marble $75–$150. For a budget version, a white laminate with soft veining costs $20–$40 per square foot.
Keep the backsplash quiet — white subway tile or a simple slab of the same countertop material — so the marble veining and the sage can share the spotlight. Warm brass hardware bridges the cool marble and the earthy green beautifully.
Practical tip: If you love real marble but fear stains, use quartz on the main counters and save a small marble slab for a baking station or pastry corner.
Variation: Choose a warmer, cream-veined marble if your sage leans yellow, and a cooler grey-veined stone if your sage leans grey.
9. Warm Brass and Aged Gold Hardware
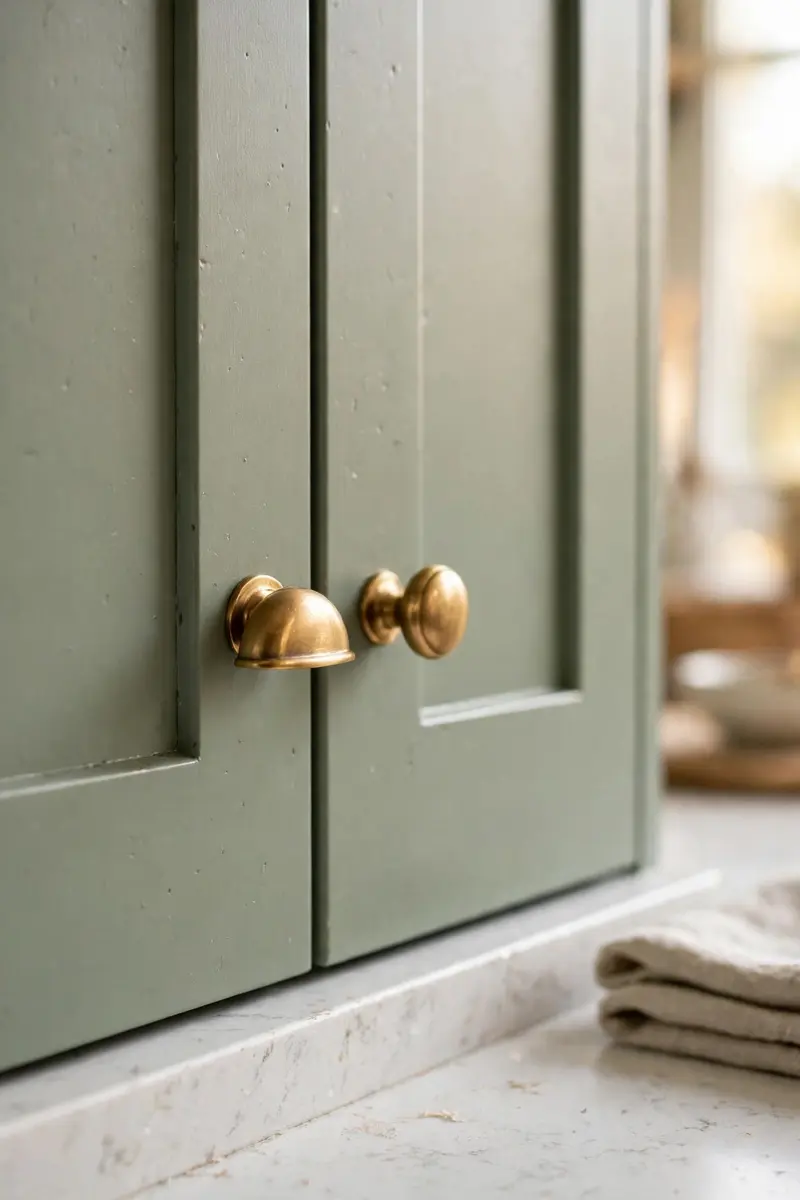
Hardware is the jewelry of rustic sage green kitchen cabinets, and warm brass is the classic choice. Unlacquered brass develops a soft patina over time, which suits the rustic story perfectly, while polished brass adds a dressier sparkle. Either way, the warm metal makes the cool green glow.
Materials and cost: Cup pulls ($5–$15 each), knobs ($4–$10 each), and longer bar pulls for drawers. Outfitting an average kitchen costs $150–$400.
Mix shapes thoughtfully: cup pulls on drawers, knobs on doors, and one longer pull on wide drawers. Keep the finish consistent across the kitchen, and let it echo in the faucet and light fixtures for a pulled-together feel.
Practical tip: Buy one sample pull first and live with it for a week — brass tones vary wildly, and the wrong gold can clash with sage.
Variation: Try aged bronze or pewter hardware if brass feels too dressy for your rustic space.
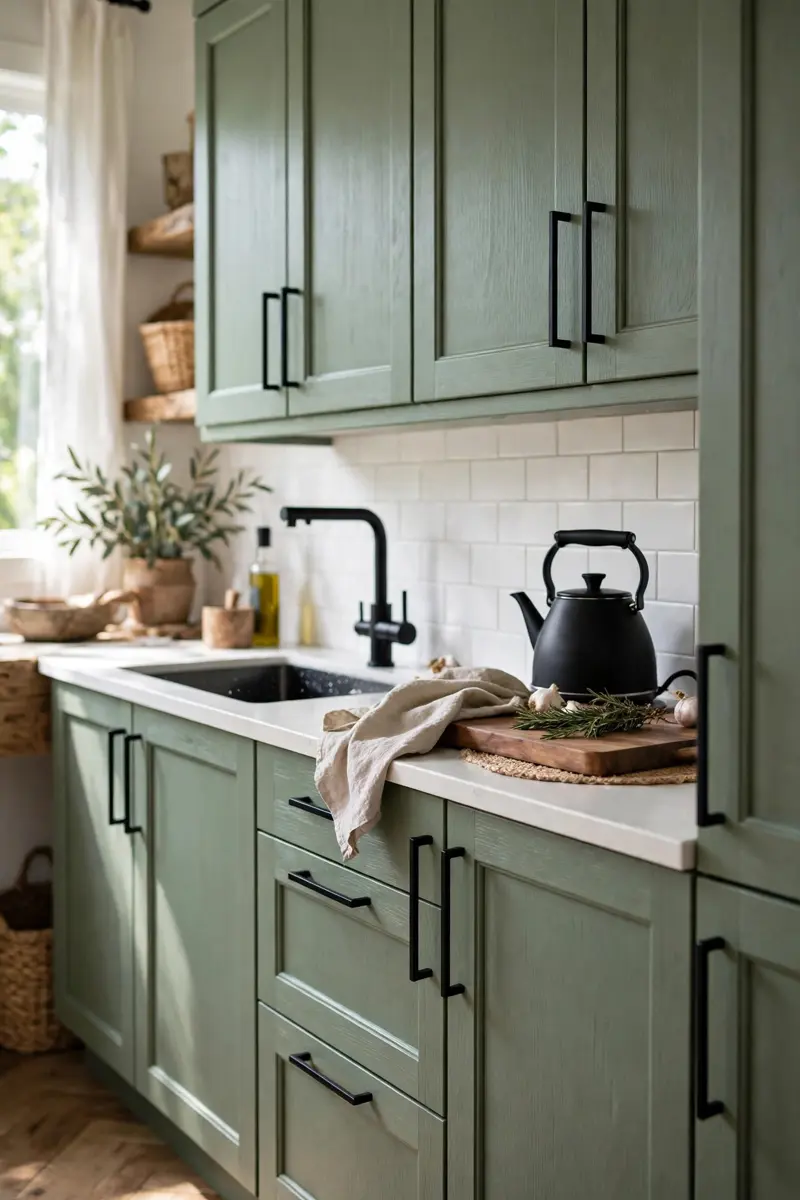
10. Matte Black Hardware for Modern Contrast
For a more modern rustic edge, pair rustic sage green kitchen cabinets with matte black hardware. The dark metal grounds the soft green and adds definition to each door, like eyeliner for cabinetry. It works especially well with black faucets, black window frames, or a dark range.
Materials and cost: Matte black knobs and pulls, $3–$12 each; a full kitchen set typically $120–$300.
Use slim bar pulls for a contemporary feel or chunky iron-style pulls for a farmhouse-forged look. Keep the black to hardware and one or two accents — too much black can overwhelm the gentle sage.
Practical tip: Wipe matte black hardware with a damp cloth only; harsh cleaners can wear the finish to a patchy grey.
Variation: Combine matte black pulls with a single brass faucet for a mixed-metal look that still feels intentional.
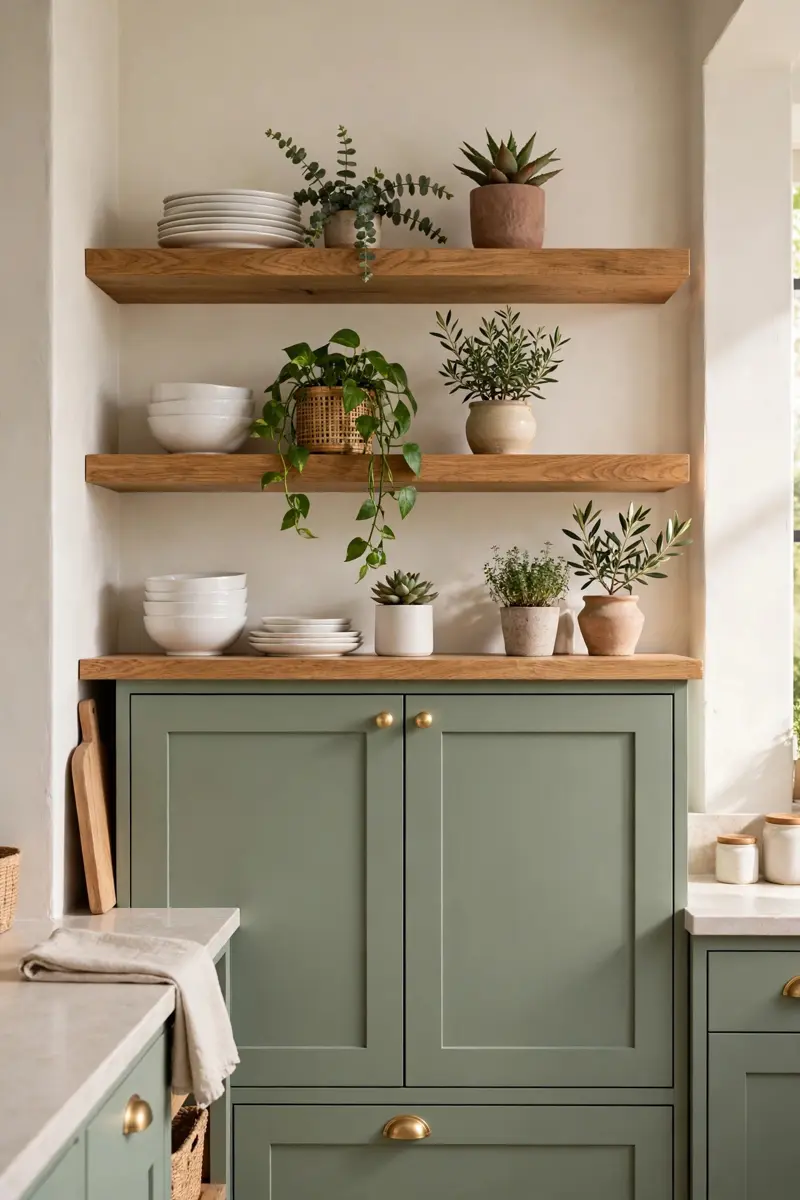
11. Open Wood Shelving Above Sage Lowers
Swap upper cabinets for open wood shelving and rustic sage green kitchen cabinets instantly feel more relaxed. The warm oak or reclaimed wood shelves break up the green, give you easy access to daily dishes, and let you style a display that changes with the seasons.
Materials and cost: Two or three solid wood shelves with brackets or a floating-shelf kit, $100–$400. Styling pieces can come from what you already own.
Hang shelves at a height you can actually reach — about 18 inches above the countertop — and keep the bottom shelf for everyday items. Style the upper shelves lightly with stacked bowls, a plant, and a cutting board or two, leaving empty space so the wall can breathe.
Practical tip: Limit open shelves to items you use weekly; anything that sits untouched will collect kitchen grease and dust.
Variation: Paint the shelf brackets sage to match, or use black iron brackets for a rustic-industrial note.
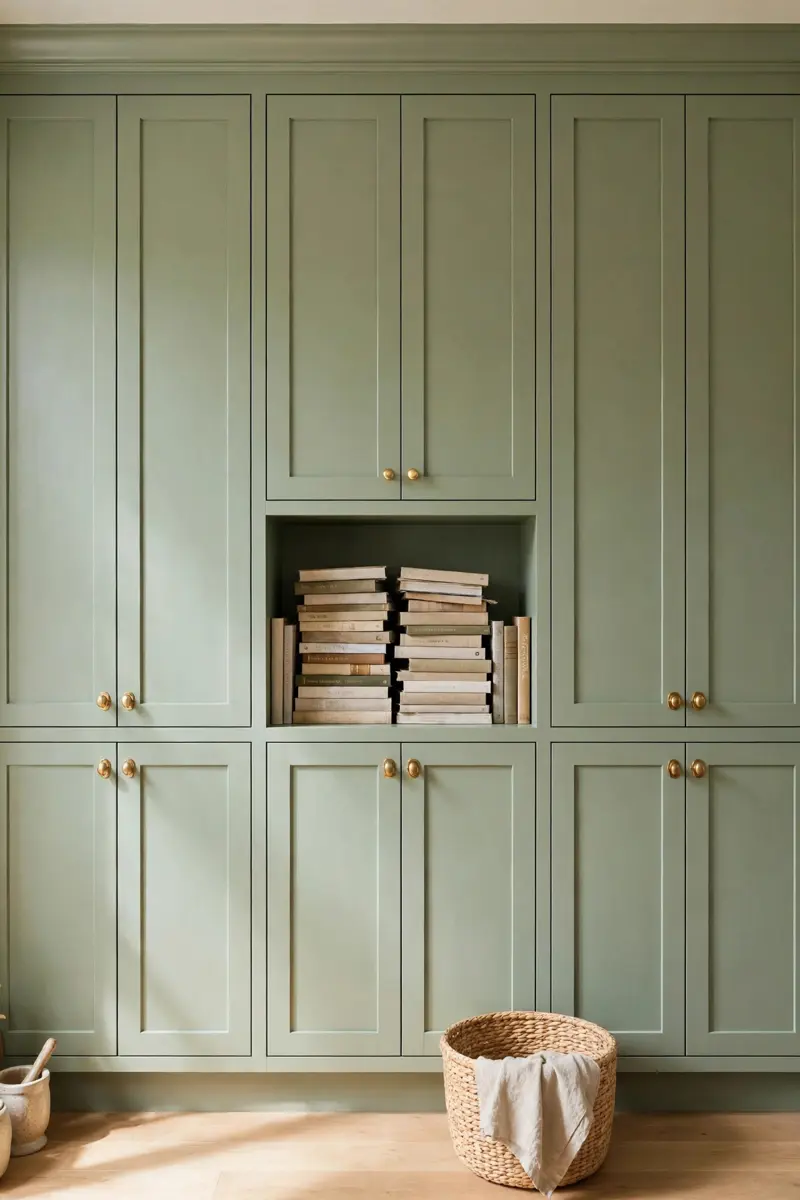
12. A Full Sage Pantry Wall
A floor-to-ceiling wall of sage cabinets turns storage into a design feature. Pantry walls work brilliantly for rustic sage green kitchen cabinets because the uninterrupted green reads like furniture — think of a grand country-house dresser stretched across the wall.
Materials and cost: Tall pantry cabinets or a mix of stock tall units, sage paint, and matching hardware. Budget $1,000–$3,500 depending on width and interior fittings.
Include a mix inside: deep drawers for pots, pull-out shelves for pantry goods, and one tall unit with doors for brooms or baking trays. Add simple crown molding at the top so the wall reads as built-in, not just a row of boxes.
Practical tip: Fit interior LED strips on a door switch so the pantry lights itself when you open it — a small luxury you will use daily.
Variation: Break the wall with one open niche for cookbooks or a coffee station so the green does not feel monolithic.
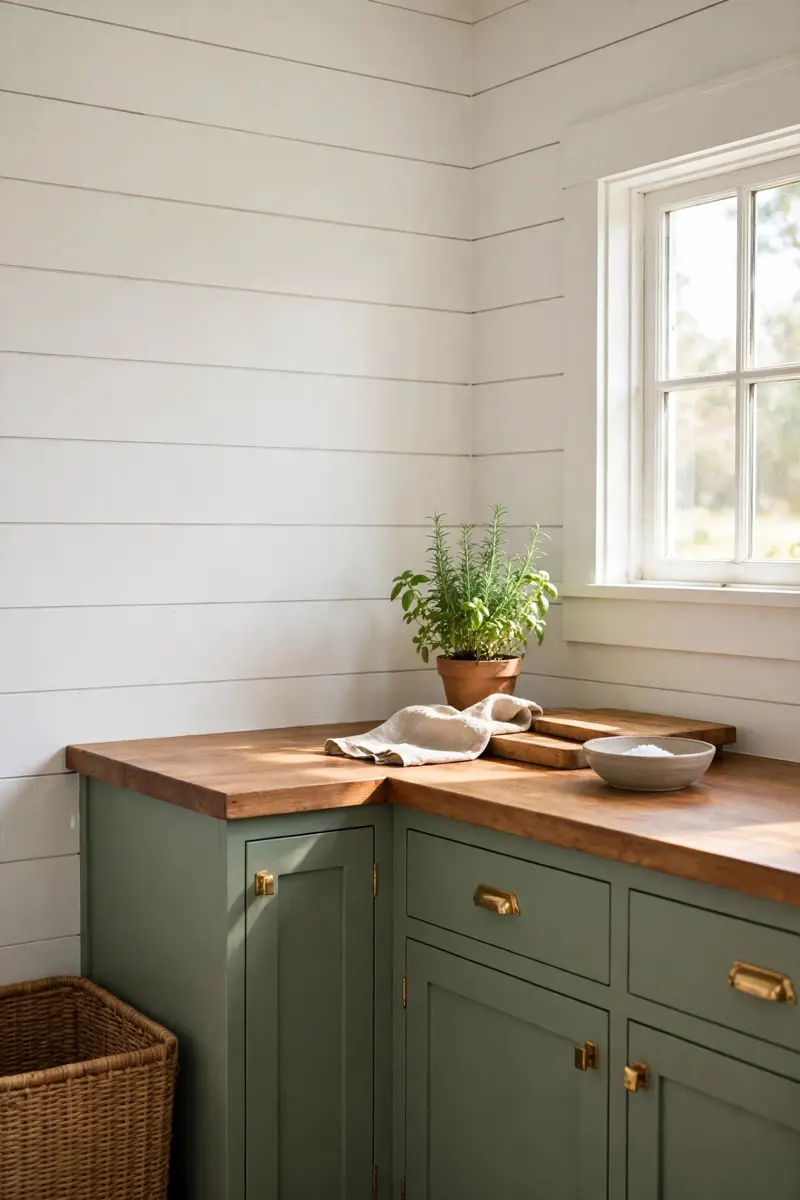
13. Sage Cabinets with Shiplap Walls
Shiplap walls and rustic sage green kitchen cabinets are a natural farmhouse pairing. Horizontal boards add texture and a sense of history, and when painted white or cream they make the sage pop. Even one shiplap accent wall behind the range or sink changes the whole room.
Materials and cost: Shiplap boards or MDF shiplap panels, $150–$500 for an accent wall, plus paint and trim.
Run boards horizontally for a classic farmhouse feel, or vertically behind a hutch for a taller look. Paint the shiplap a warm white rather than stark white so it sits softly next to the sage, and caulk the seams for a finished edge.
Practical tip: In a kitchen, use primed MDF or PVC shiplap near wet zones — real wood boards can warp with steam and splashes.
Variation: Paint the shiplap the same sage as the cabinets for a fully color-drenched, cocooning kitchen.
14. Exposed Wood Beams Overhead
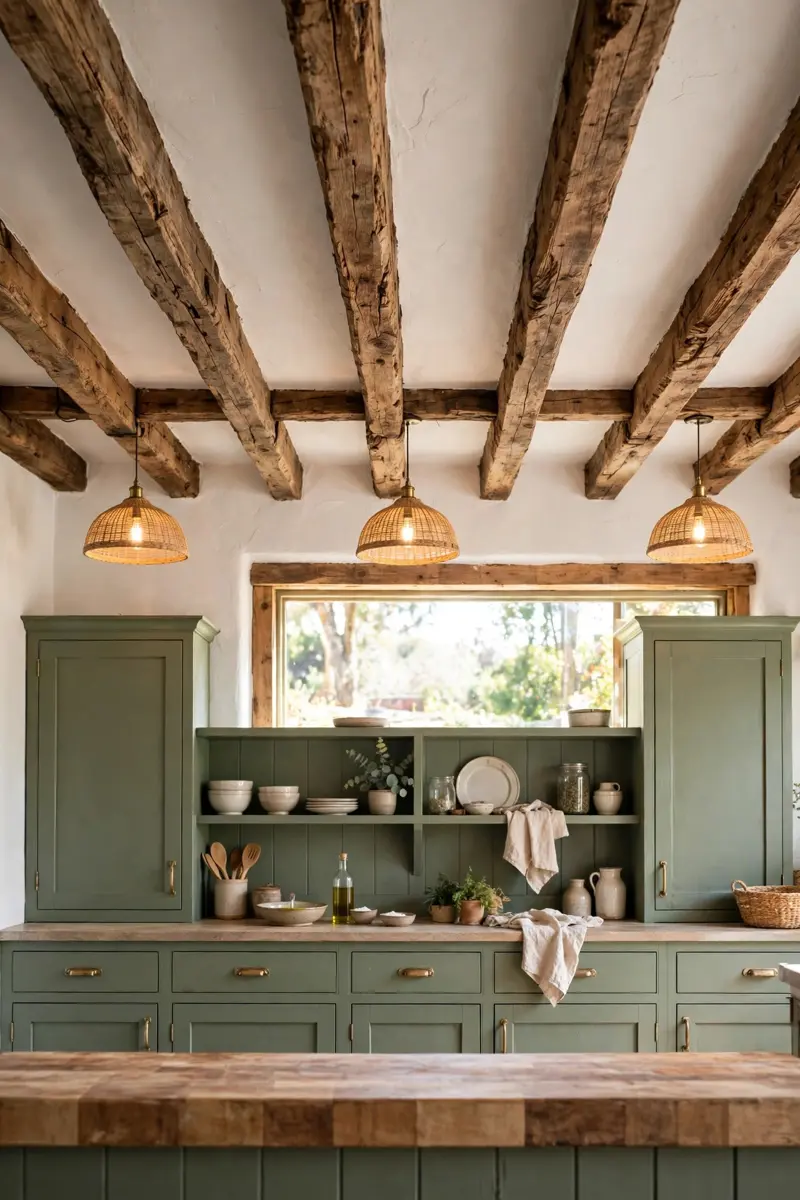
Nothing says rustic like exposed beams, and they are a perfect ceiling partner for rustic sage green kitchen cabinets. The rough wood warms up the green, draws the eye upward, and makes even a new kitchen feel like it has stood for a century.
Materials and cost: Real reclaimed beams ($200–$600 each) or lightweight faux wood beams ($80–$200 each), plus mounting hardware.
Space beams evenly across the ceiling and stain them a warm mid-brown that echoes your floor or island top. If your ceiling is low, choose slimmer faux beams so the room does not feel weighed down, and keep the beams clear of pendant lights.
Practical tip: Run a quick check for ceiling joists before ordering — beams need solid anchoring, not just drywall screws.
Variation: Whitewash the beams for a softer Scandinavian-farmhouse blend that still adds texture.
15. Warm Brick Backsplash
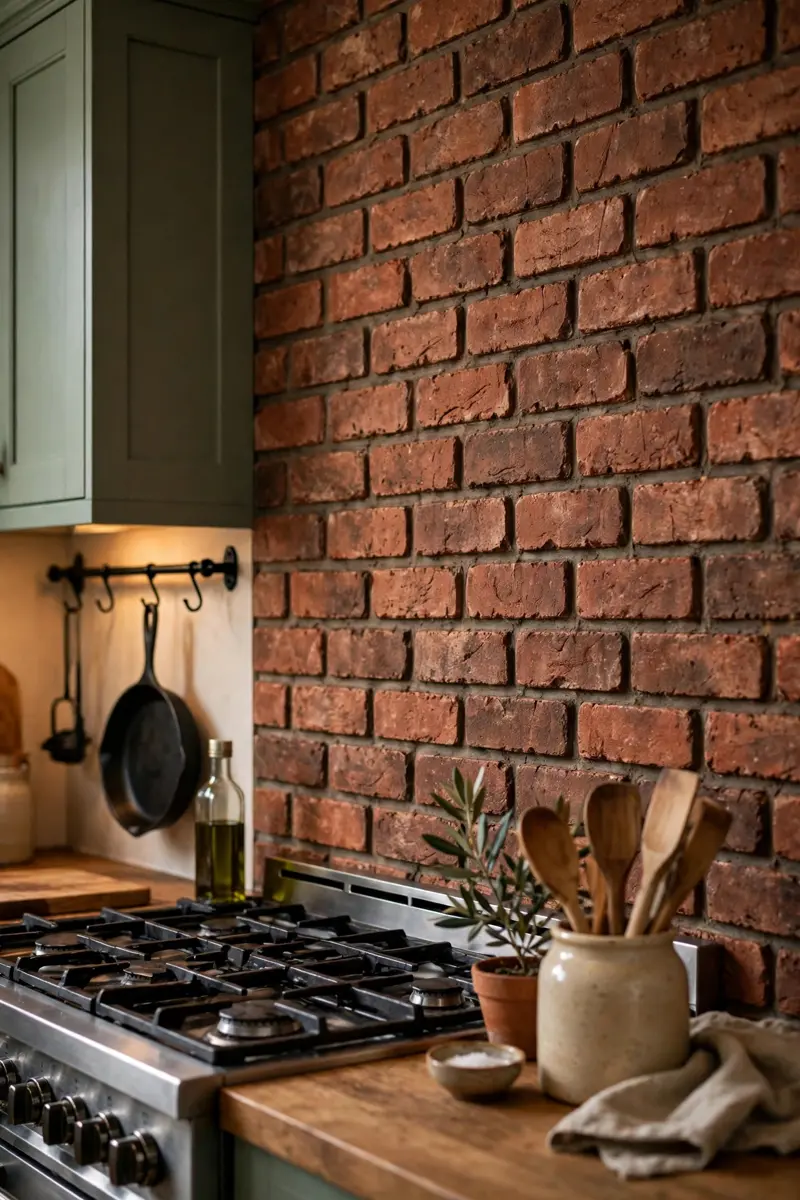
A brick backsplash adds old-world texture that flat tile cannot match, and it is a gorgeous partner for rustic sage green kitchen cabinets. The warm red-brown tones of brick play against the cool green in the best way, like a garden wall inside your kitchen.
Materials and cost: Thin brick veneer or brick-look tile, $8–$20 per square foot, plus mortar and sealer. A typical backsplash runs $400–$1,200 installed.
Seal the brick well — unsealed brick soaks up cooking splashes. Use a matte masonry sealer, and wipe it down regularly. Keep grout lines slightly irregular for an authentic handmade feel, and pair with simple wood shelves or iron brackets.
Practical tip: Whitewash the brick lightly if full red brick feels too strong; the wash lets the texture show while softening the color.
Variation: Use brick only behind the range as a feature panel, with plain tile elsewhere for easier cleaning.
16. Handmade Zellige Tile Backsplash
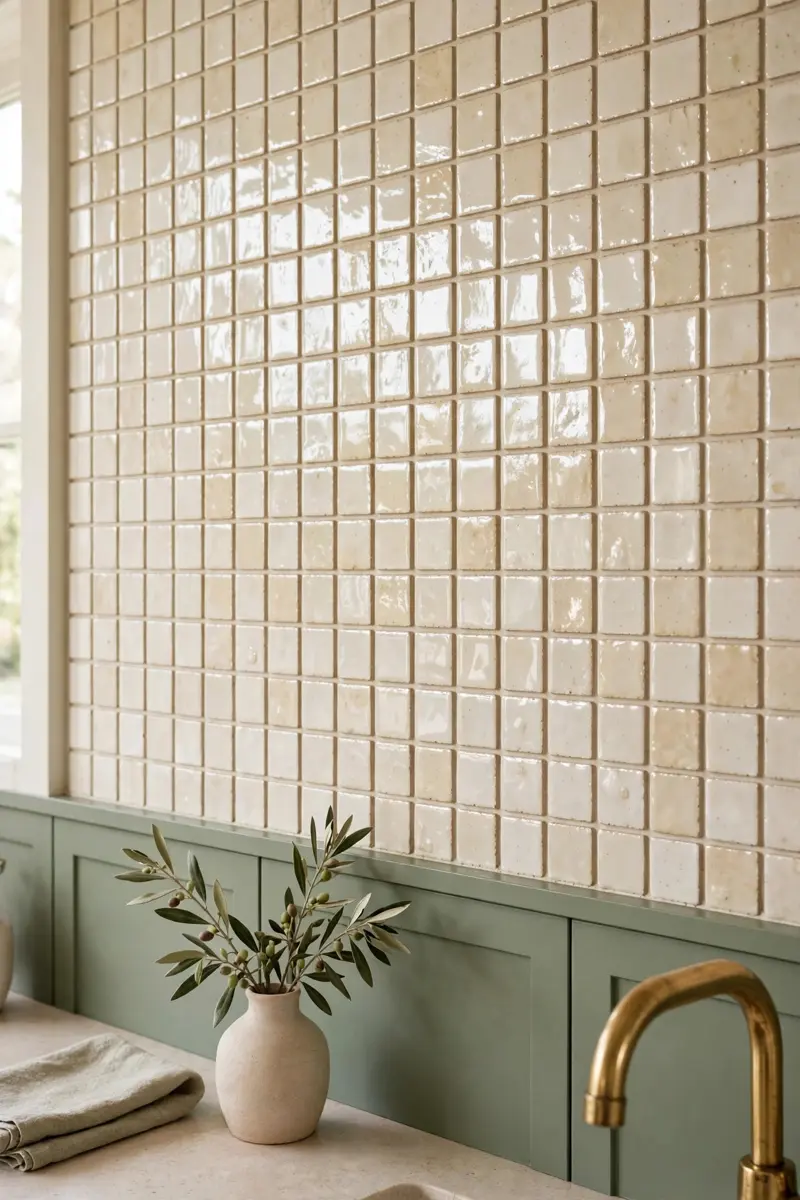
Zellige tiles, with their glossy, uneven glaze, bring artisan character to rustic sage green kitchen cabinets. Each tile varies slightly in tone, so the backsplash shimmers instead of looking flat — a beautiful contrast to the calm, matte green.
Materials and cost: Zellige or zellige-look tile, $15–$35 per square foot; a standard backsplash $600–$1,500.
Choose a soft cream, pale sage, or warm white glaze so the backsplash complements rather than competes with the cabinets. Lay the tiles in a simple stacked or running-bond pattern and let their natural variation be the decoration.
Practical tip: Order 15% extra tile — handmade tiles vary, and you will want spares for cuts and future repairs.
Variation: Use a soft pink or terracotta zellige for warmth if your kitchen leans heavily green and white.
17. Moody Soapstone Countertops
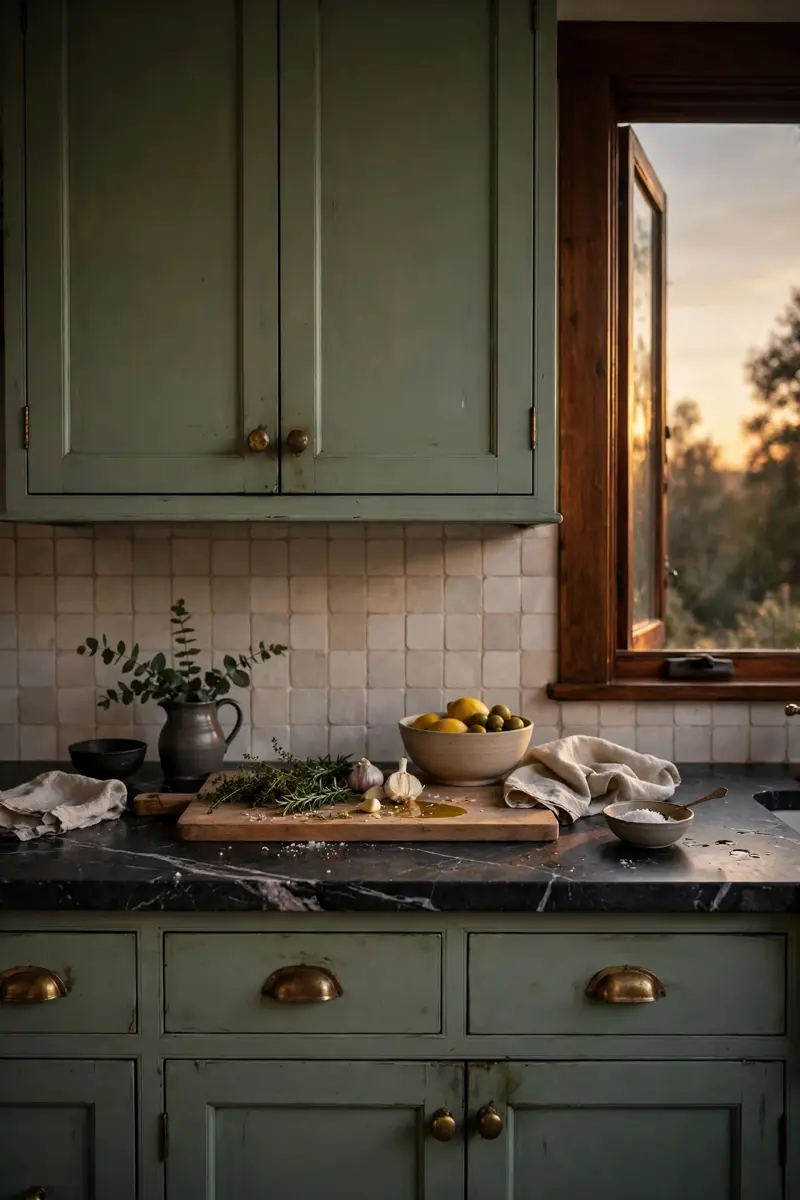
Soapstone is the moody, dramatic partner for rustic sage green kitchen cabinets. Its deep charcoal-grey surface with soft white veining makes the sage look fresher by contrast, and it ages gracefully, developing a patina that suits rustic style perfectly.
Materials and cost: Soapstone slabs run $70–$120 per square foot installed. It is softer than granite, so expect some patina and the occasional scratch as part of its charm.
Oil the soapstone occasionally to deepen its color, or let it lighten naturally for a more weathered look. Pair it with aged brass hardware and wood accents to keep the dark counters from feeling cold.
Practical tip: Test soapstone’s softness honestly before committing — if knife marks and patina will bother you, choose honed granite or dark quartz instead.
Variation: Use soapstone on the island only and a lighter counter on the perimeter for the best of both moods.
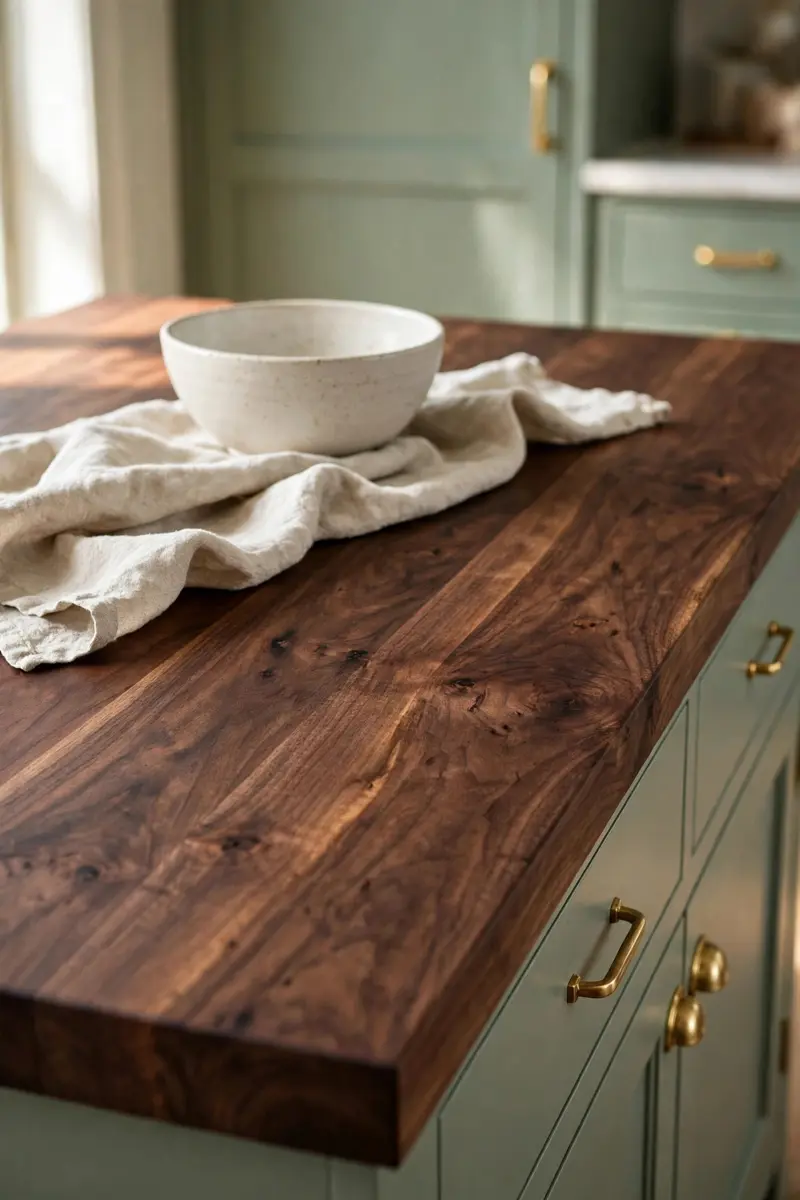
18. Sage Cabinets with a Walnut Island
Walnut is the richest wood partner for rustic sage green kitchen cabinets. A walnut island top or walnut base cabinets add depth and warmth, turning a pretty kitchen into a luxurious one. The dark brown grain makes the sage look more sophisticated, less sweet.
Materials and cost: A walnut butcher-block island top runs $500–$1,500; full walnut cabinetry is a premium choice at $8,000+ for a kitchen.
Keep walnut to one hero piece — the island top, a range hood surround, or open shelves — so its richness stays special. Oil the walnut regularly to protect it, and pair it with simple brass pulls rather than ornate hardware.
Practical tip: Match the walnut’s tone to your floor: warm walnut with warm floors, cooler walnut with grey-toned floors, or the pairing will fight.
Variation: Use walnut bar stools and cutting boards to echo a walnut island top without the cost of more walnut cabinetry.
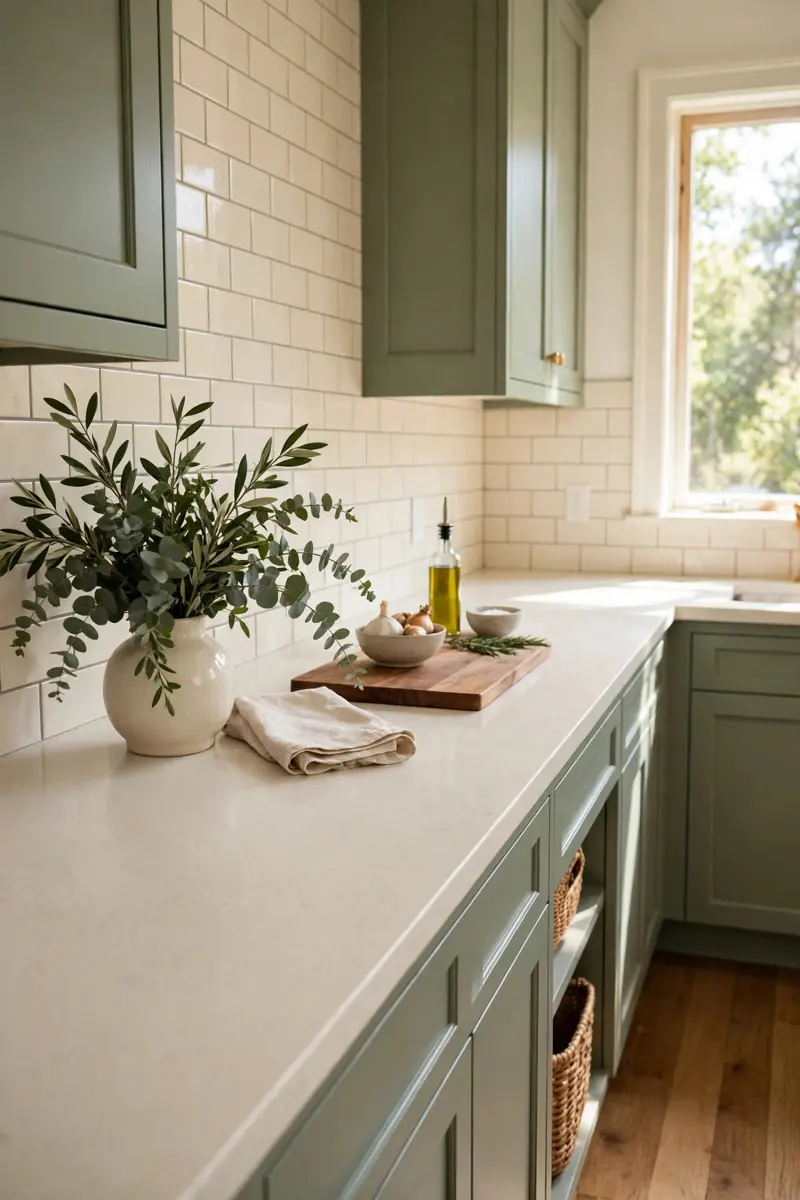
19. Cream Quartz for a Bright, Easy Kitchen
Cream quartz is the low-maintenance brightener for rustic sage green kitchen cabinets. It reflects light, resists stains, and its warm cream tone sits beautifully against sage without the stark contrast of pure white. For busy family kitchens, it is often the smartest countertop choice.
Materials and cost: Cream quartz, $55–$95 per square foot installed. It needs no sealing and shrugs off coffee, wine, and tomato sauce.
Choose a quartz with subtle veining or a soft speckle rather than a bold pattern, so the counters stay a calm backdrop. Pair with a cream subway tile backsplash and warm wood floors for a cohesive, sunny kitchen.
Practical tip: Bring a cabinet door sample when choosing quartz — “cream” ranges from yellow to pink, and only your sage can tell you which one works.
Variation: Extend the cream quartz up the wall as a full-height backsplash for a seamless, easy-clean look.
20. A Sage Coffee Bar Nook
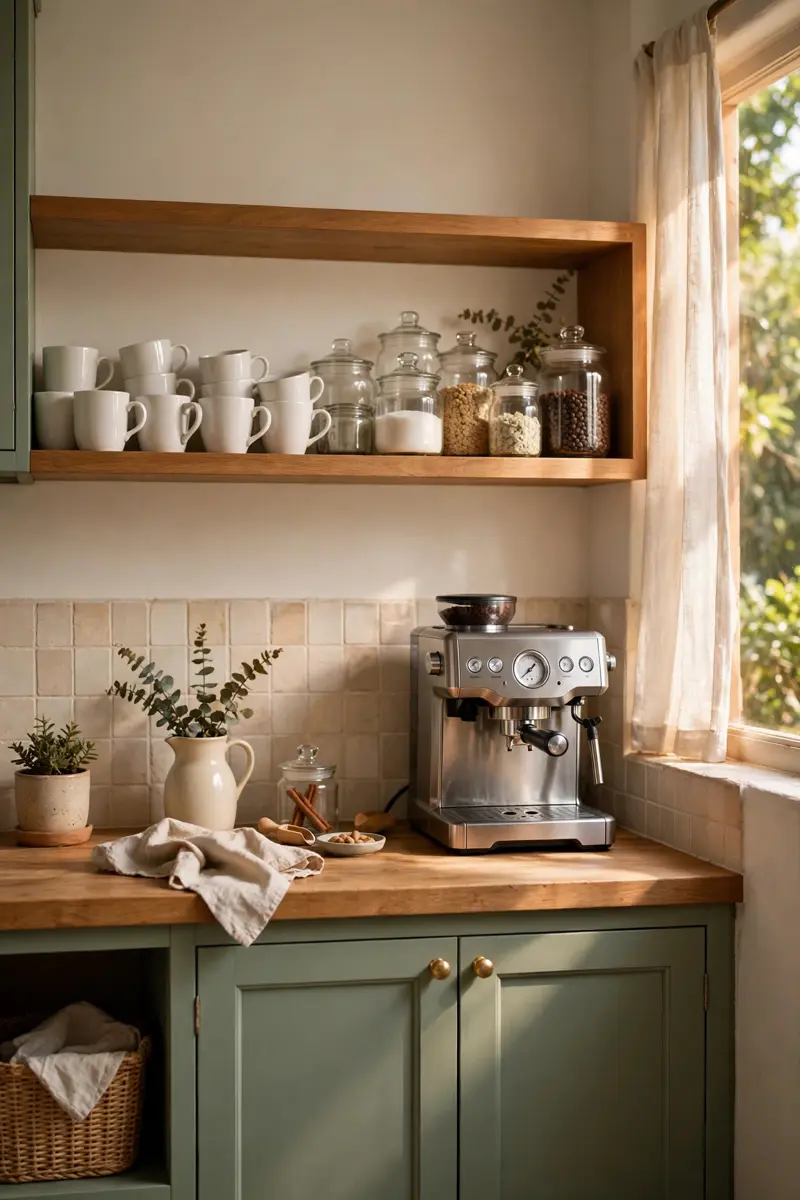
Carve a small coffee bar from a stretch of rustic sage green kitchen cabinets and you get a daily ritual spot that feels like a boutique cafe. A sage-painted hutch or a few base cabinets with open shelving above can hold the machine, mugs, and beans in one charming corner.
Materials and cost: A small cabinet section or freestanding hutch, sage paint, a shelf or two, and mug hooks. Budget $150–$600 for a DIY nook.
Keep the coffee zone self-contained: a small tray for the machine, hooks for mugs, and a jar for beans. Add a tiny chalkboard or a framed print above for cafe character, and keep the counter clear except for the daily essentials.
Practical tip: Add a power strip inside the cabinet or behind the machine so cords stay hidden and the nook looks tidy.
Variation: Turn the same nook into a tea station or a baking station with jars of flour and sugar instead of coffee gear.
21. Rattan and Woven Accents
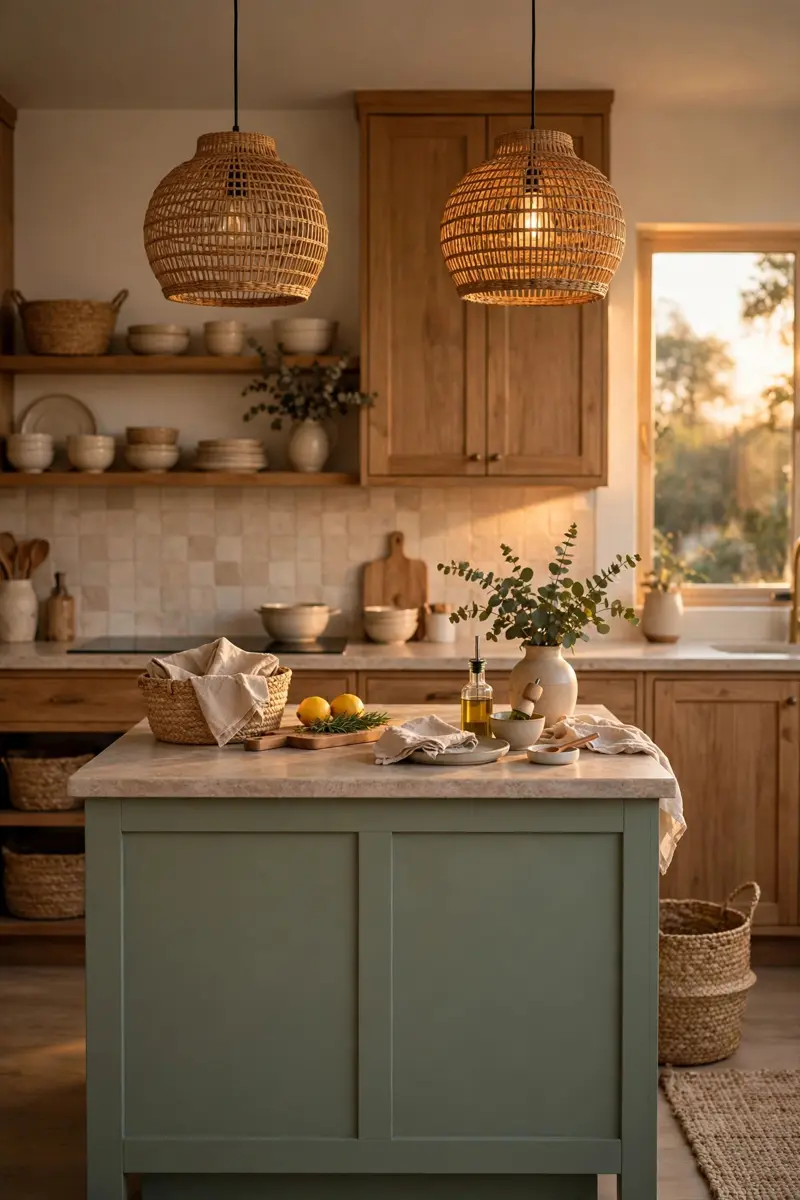
Rattan and woven textures soften rustic sage green kitchen cabinets and add a breezy, collected feel. Think woven pendant shades, rattan bar stools, seagrass baskets on top of cabinets, and cane-front inserts on a few doors.
Materials and cost: Rattan pendant lights ($40–$120 each), woven baskets ($15–$40 each), cane webbing for door inserts ($30–$80 per door).
Use woven accents in two or three spots rather than everywhere — pendants plus stools is plenty. The natural tan tones warm up the sage, while the open weave keeps the kitchen feeling light.
Practical tip: Dust woven pieces with a soft brush regularly; kitchen grease settles into rattan faster than onto smooth surfaces.
Variation: Try a single cane-front cabinet door on a hutch or pantry for texture without committing the whole kitchen.
22. Crisp White Trim and Molding
White trim is the frame that makes rustic sage green kitchen cabinets look finished. Crisp baseboards, window casings, and crown molding in warm white sharpen the green, define the room’s architecture, and keep a sage kitchen from feeling murky.
Materials and cost: Paint and trim stock, $100–$400 for a refresh; adding crown molding runs $500–$1,500 for a kitchen.
Paint all trim the same warm white as your uppers or backsplash grout for consistency. Add a simple crown at the top of tall cabinets to bridge the gap to the ceiling, and keep window trim chunky enough to read against the sage.
Practical tip: Use semi-gloss on trim and matte or satin on cabinets — the sheen difference makes the trim pop without extra color.
Variation: Paint interior window frames sage to match the cabinets, leaving the outer trim white for a subtle framed effect.
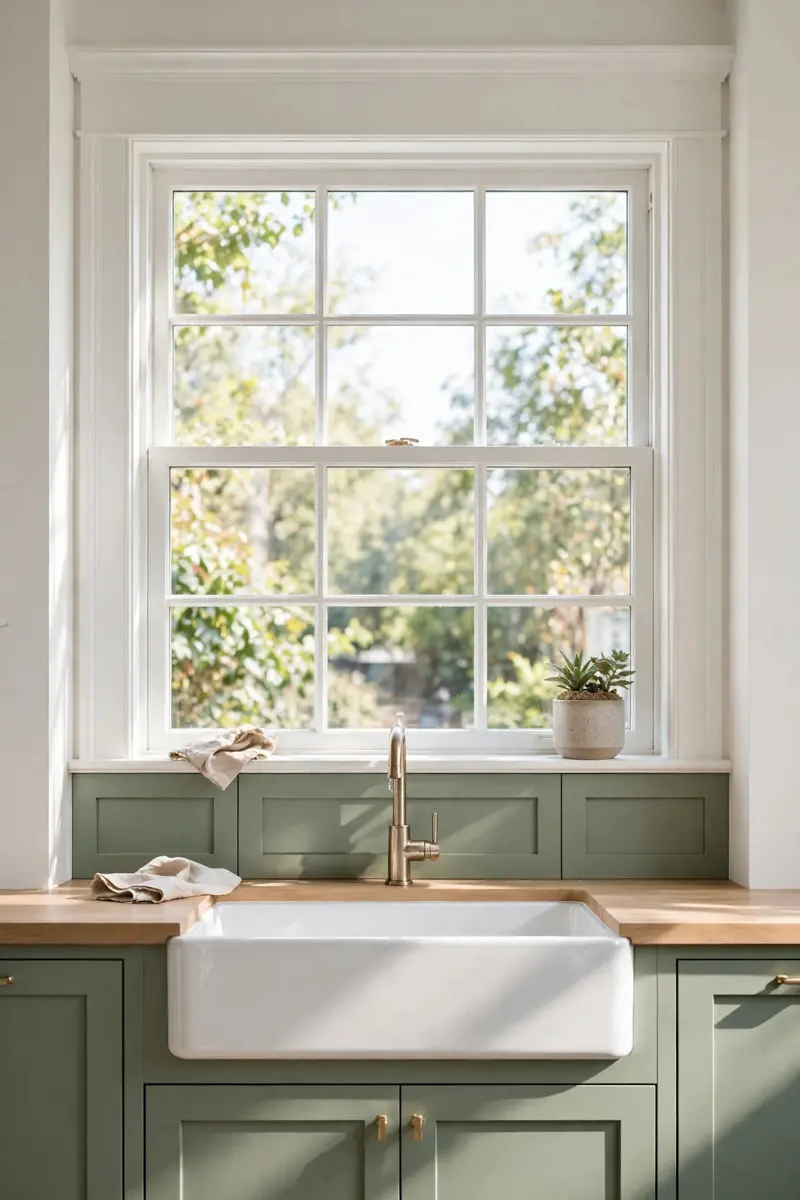
23. Botanical Prints and Living Plants
Plants and botanical prints are the easiest way to make rustic sage green kitchen cabinets feel alive. The green-on-green layering — sage cabinets, leafy plants, framed herb prints — creates a garden-room feeling that is calm, fresh, and deeply rustic.
Materials and cost: Potted herbs ($5–$15 each), hanging planters ($15–$40), framed botanical prints ($20–$60 each).
Place a trailing pothos on top of uppers, herbs on the windowsill, and one large plant in a floor basket near the island. Hang two or three botanical prints in a row on the largest blank wall, keeping frames consistent — natural wood or thin black.
Practical tip: Choose plants that tolerate kitchen humidity and occasional neglect, like pothos, snake plants, and herbs you actually cook with.
Variation: Press your own herb specimens into simple frames for botanical art that costs almost nothing and means something.
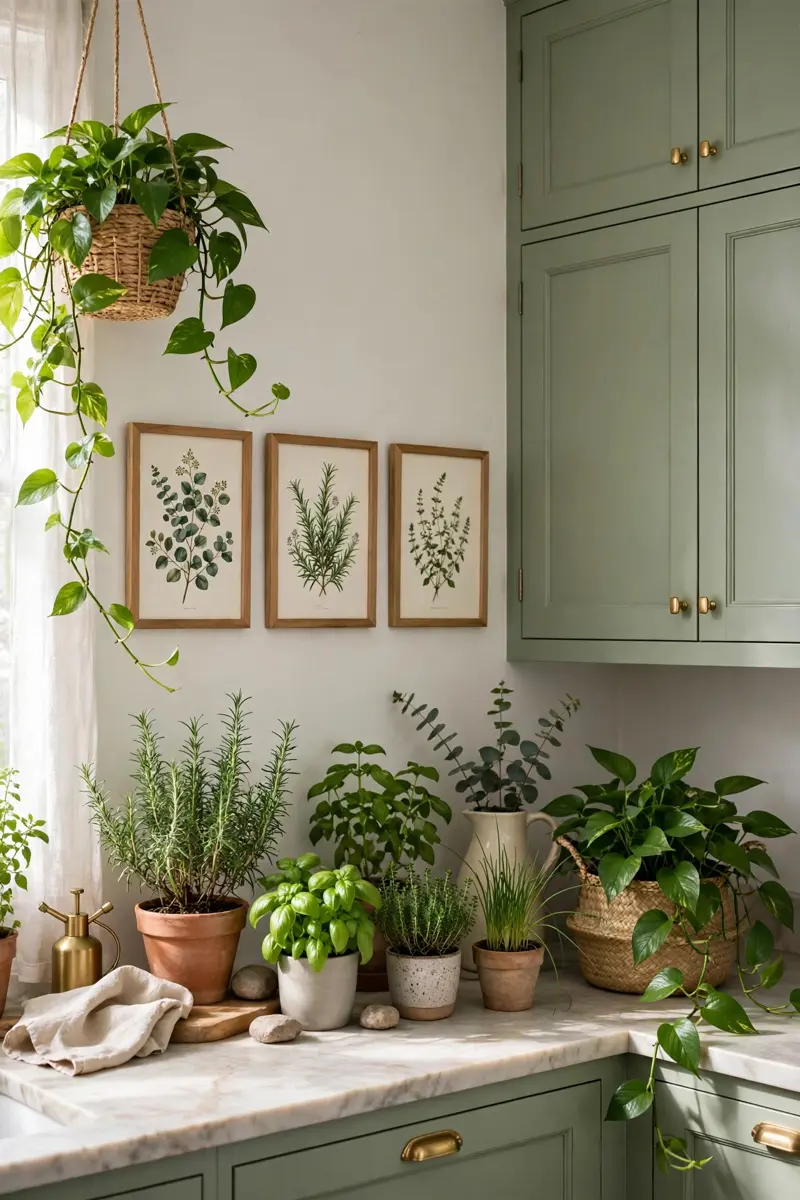
24. Wooden Barstools at a Breakfast Bar
Wooden barstools turn a sage island into the gathering spot of the house. Their warm timber tones are the perfect counterpoint to rustic sage green kitchen cabinets, and their simple shapes keep the kitchen feeling relaxed rather than formal.
Materials and cost: Solid wood barstools, $80–$250 each; budget-friendly versions $40–$80 each. Three stools typically $150–$600.
Choose stools with a back if people linger over breakfast, or backless stools that tuck fully under the counter in a tight kitchen. Match the stool wood roughly to your floor or island top, not necessarily exactly — close enough reads as intentional.
Practical tip: Measure counter height before buying: leave 10–12 inches between the seat and the countertop for comfortable legs.
Variation: Mix a bench on one side of the island with stools on the other for a casual, family-friendly seating plan.
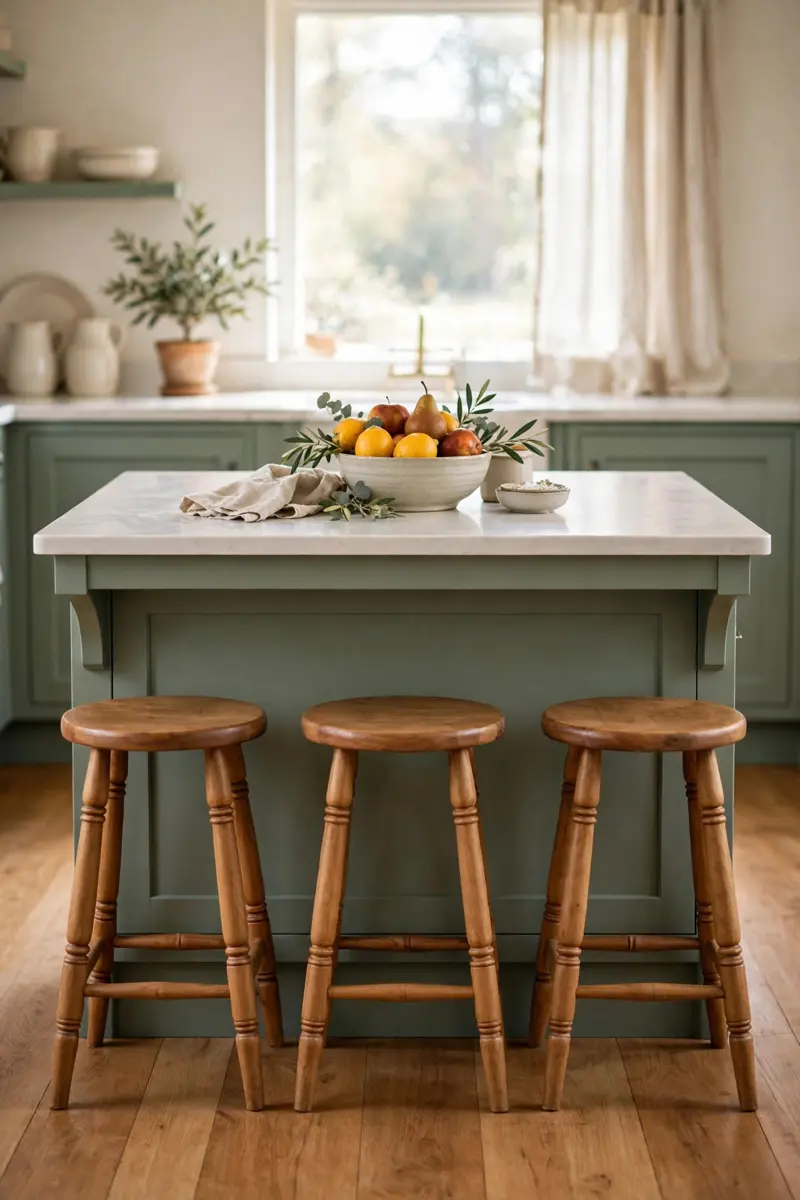
25. Patterned Floor Tile Underfoot
A patterned floor is the surprise element that elevates rustic sage green kitchen cabinets from pretty to memorable. Encaustic-look cement tiles or patterned porcelain in soft cream, grey, and sage tones add artistry underfoot without competing with the cabinets.
Materials and cost: Patterned porcelain tile, $8–$20 per square foot, plus installation. A small kitchen floor runs $800–$2,500.
Keep the pattern’s palette quiet — cream, soft grey, and a touch of sage — so the floor complements rather than shouts. Use a simple grout color pulled from the tile, and keep the rest of the kitchen calm so the floor can shine.
Practical tip: Order a full box extra and keep the spares; patterned tiles are hard to match later if one cracks.
Variation: Use patterned tile only in a small zone — an entry strip or the area in front of the sink — with plain wood elsewhere.
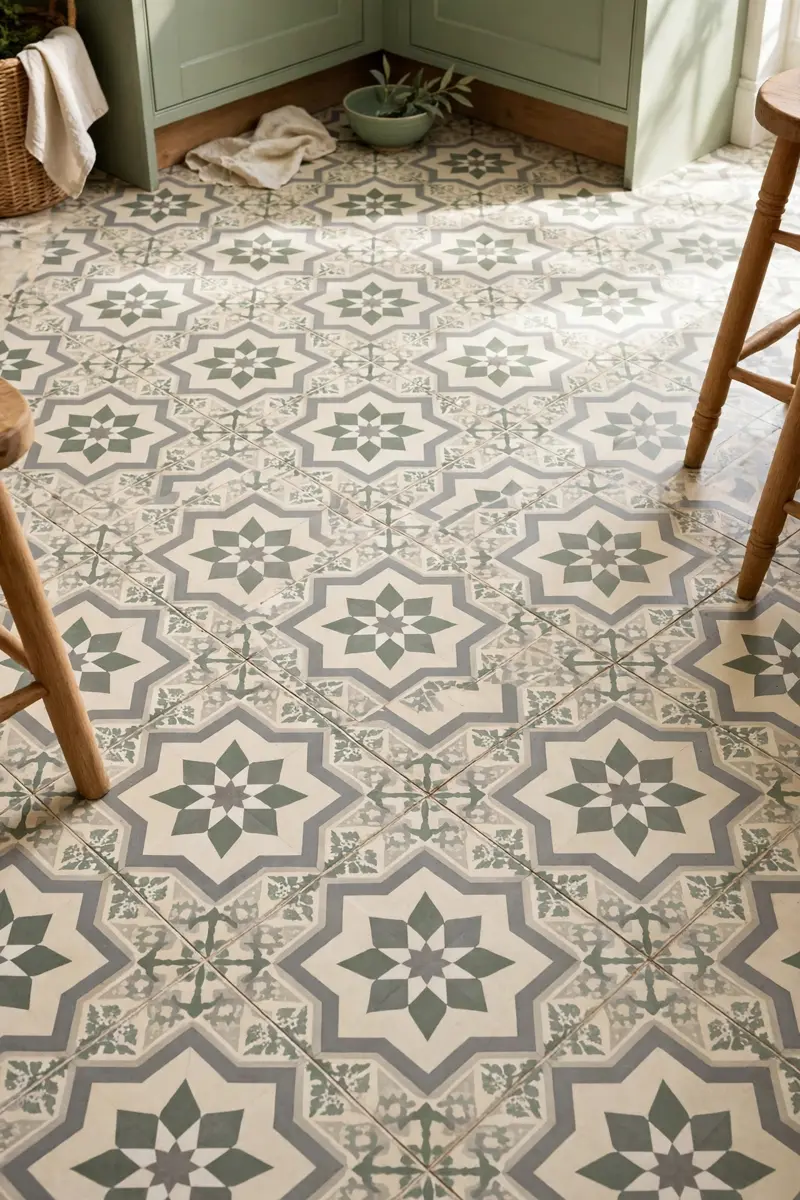
26. Reclaimed Wood Accents
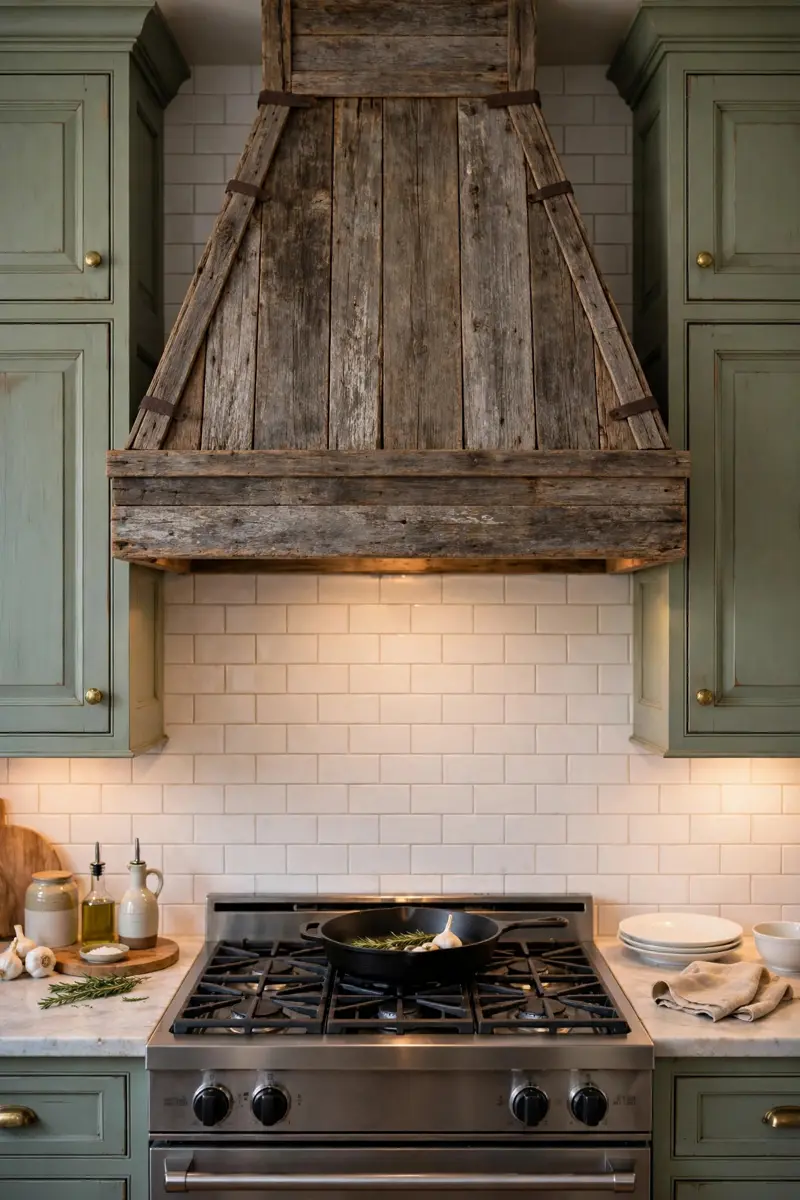
Reclaimed wood is the soul of rustic style, and it pairs beautifully with rustic sage green kitchen cabinets. A reclaimed mantel-style range hood, a salvaged beam shelf, or a weathered wood vent cover adds history and texture no new material can fake.
Materials and cost: Reclaimed boards or beams, $100–$500 depending on size; a reclaimed range-hood surround $400–$1,200.
Use reclaimed wood in one or two hero spots — the hood surround and a floating shelf, for example — rather than cladding everything. Clean and seal the wood well for kitchen use, and check salvaged pieces for nails and pests before bringing them indoors.
Practical tip: Ask your supplier where the wood came from; barn wood and old floorboards vary in hardness, and soft pieces dent easily near work zones.
Variation: Use reclaimed wood for a single open shelf display, styled with white dishes that pop against the weathered grain.
27. Two Shades of Green Together
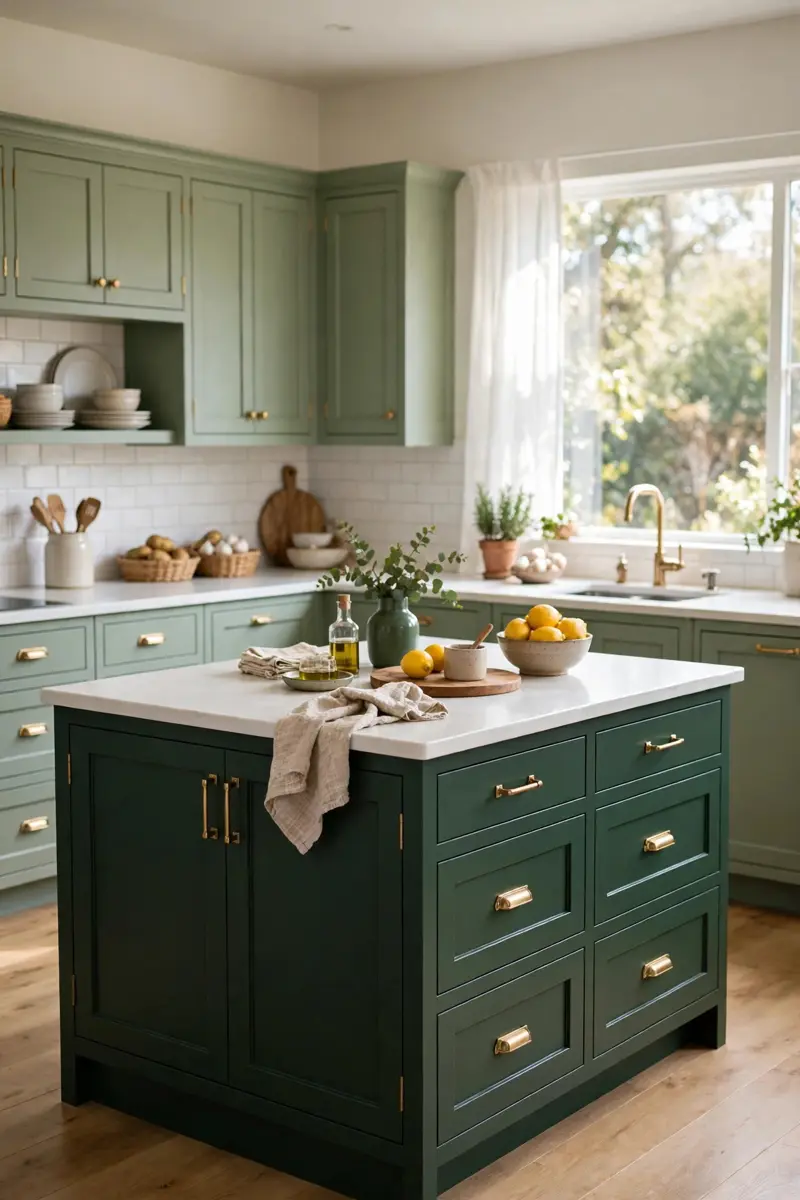
Pairing sage with a deeper green is a bold, designer-approved move for rustic sage green kitchen cabinets. Try sage on the perimeter and a deep forest or olive green on the island, pantry, or range alcove. The tonal layering adds depth while staying in the same calming color family.
Materials and cost: Two coordinating green paints; the cost is the same as a single-color paint job, $150–$400 DIY.
Test the two greens side by side in your kitchen light — they should look related, not clashing. Keep the deeper green to about a third of the cabinetry so the kitchen stays light, and use the same hardware throughout to unify both shades.
Practical tip: Pick both greens from the same paint brand’s color strip — shades that sit near each other on the strip are designed to harmonize.
Variation: Use the deeper green on the walls instead, with all cabinets in sage, for a fully enveloping green room.
28. Budget DIY Paint Makeover
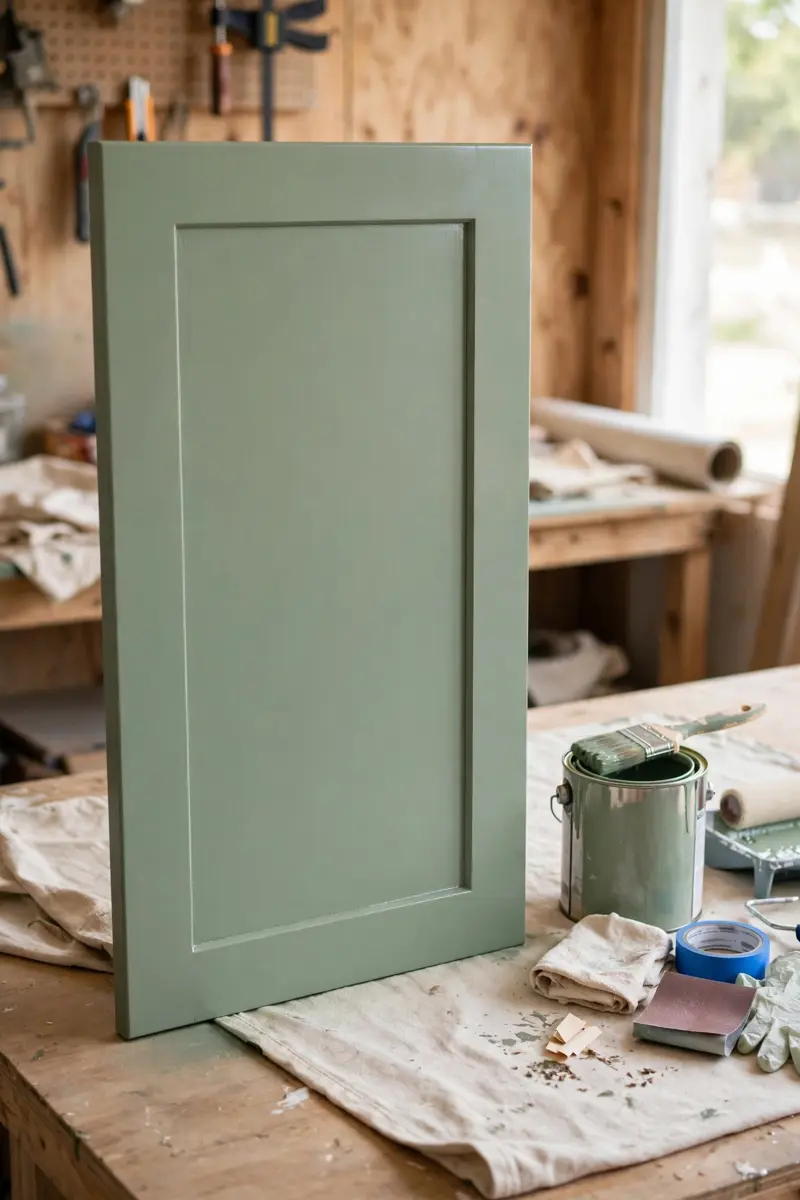
The most satisfying version of rustic sage green kitchen cabinets is the one you paint yourself. A careful DIY paint job can transform tired oak or white cabinets into a sage showpiece for a fraction of replacement cost — and it is a project most homeowners can finish in a long weekend.
Materials and cost: Degreaser, primer, sage cabinet enamel, brushes and a small foam roller, new hardware. Total $150–$450, plus $100–$300 for hardware if you replace it.
Clean and degrease thoroughly, sand lightly, prime, and apply two to three thin coats of enamel, sanding gently between coats. Remove doors and label them so reassembly is painless. If you are short on time, check out these budget-friendly DIY home decor ideas for more low-cost transformations, and consider giving old pieces a second life the way these thrift store home decor flips do. For a tiny kitchen, borrow space-saving tricks from these small apartment decor ideas too.
Practical tip: Never skip the primer on oak or stained cabinets — tannins can bleed through sage paint and turn it yellow.
Variation: If painting feels daunting, start with just the island or a single hutch; you can always paint the rest later once you love the color.
Frequently Asked Questions
What color goes best with rustic sage green kitchen cabinets?
Warm whites, creams, natural woods, and aged brass are the most reliable partners. Warm white keeps the kitchen bright, wood adds rustic warmth, and brass hardware ties the whole palette together. Avoid competing greens on walls or backsplashes — let the cabinets be the only green star.
What countertop looks best with sage green cabinets?
Butcher block is the warmest, most rustic choice, while white quartz or marble-look quartz is the brightest and most practical. Soapstone adds drama, and cream quartz splits the difference beautifully. Your best pick depends on how much maintenance you want and how light your kitchen is.
Are sage green kitchen cabinets timeless or just a trend?
Sage has been used in country and farmhouse kitchens for decades, which gives it real staying power. Unlike bolder greens, its grey undertones keep it neutral and calm, so it ages gracefully. For more inspiration on how designers style sage kitchens, see this gallery of sage green kitchens from The Spruce.
What hardware finish suits sage green cabinets best?
Aged brass or unlacquered brass is the classic choice, developing a patina that suits rustic style. Matte black is the modern alternative, adding crisp contrast. Both work — choose brass for warmth and tradition, black for a cleaner, more contemporary edge.
Can I paint my existing cabinets sage green on a budget?
Absolutely. A DIY paint job with quality cabinet enamel costs roughly $150–$450 in supplies, and new hardware adds $100–$300. The keys are thorough cleaning, good primer, and thin coats. Even painting just the island or lowers first lets you test the color before committing the whole kitchen.
Conclusion
Rustic sage green kitchen cabinets work because they are both calming and full of character — soft enough to live with every day, interesting enough to make your kitchen feel special. Whether you choose classic Shaker doors, a two-tone scheme, a budget paint makeover, or a single sage island, the formula stays the same: warm wood, creamy whites, honest textures, and hardware with a little patina. Save this post to Pinterest for your remodel board, pick the idea that feels most like home, and start with a swatch — your dream sage kitchen is closer than you think.