
A narrow kitchen does not have to feel like a hallway you just pass through. With the right layout, storage and light, small galley kitchen ideas can turn two parallel runs of counters into one of the most efficient rooms in your home. Chefs love galley kitchens for a reason: everything is within a step or two, so cooking feels fast and effortless. The trick is to keep the corridor clear, use every inch of wall height, and let light do the heavy lifting.
Below you will find 24 genuinely different small galley kitchen ideas, from weekend-friendly updates that cost under $100 to bigger layout changes worth planning for a remodel. Pick one or two to start with — you do not need to do them all at once — and your narrow kitchen will start feeling bigger, calmer and much easier to cook in.
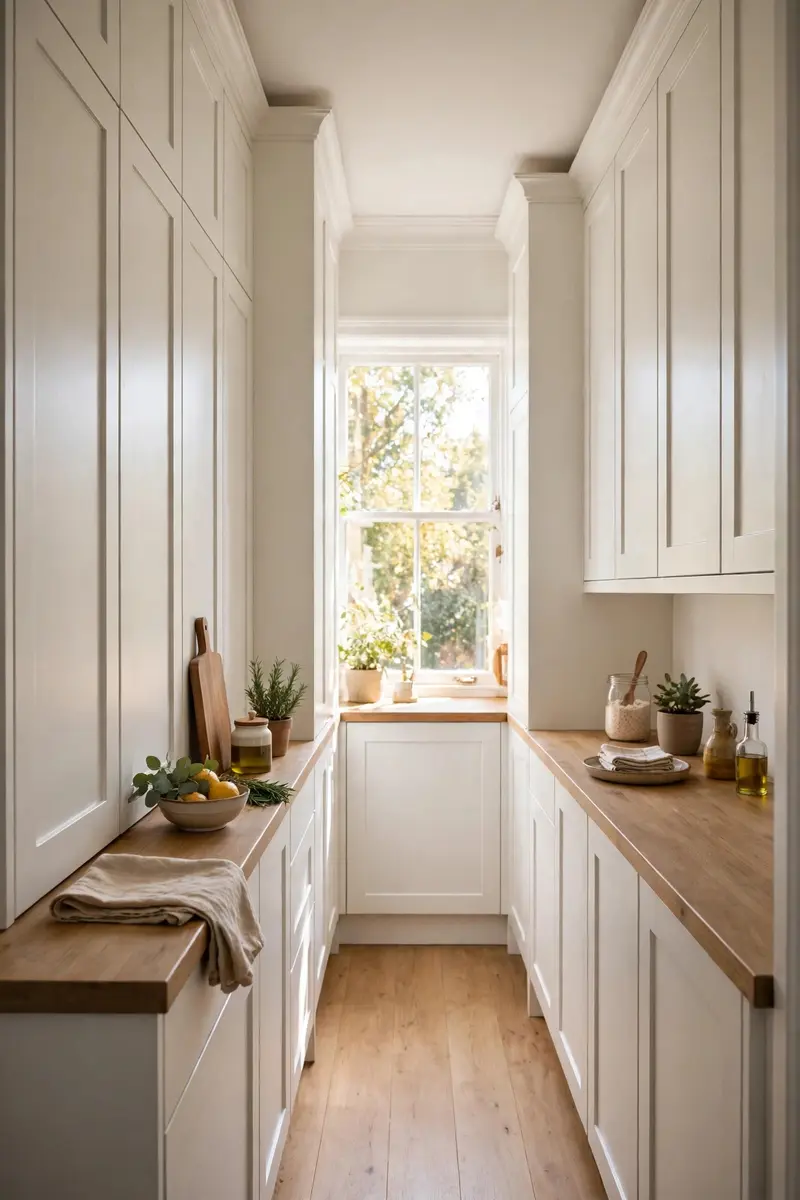
1. Floor-to-Ceiling Cabinets
Standard upper cabinets stop short of the ceiling and leave a dusty gap that collects grease and clutter. Running cabinets all the way up gives you a whole extra row of storage for platters, holiday dishes and small appliances you only use sometimes, and it makes the ceiling look higher because the eye travels straight up without a break.
Materials and realistic cost: stock tall cabinets or cabinet extenders, $400–$1,200 for a small run if you match existing fronts; a step stool, about $30–$60.
Start by measuring from the top of your existing cabinets to the ceiling, then order matching doors or a simple painted filler panel for the gap. Keep everyday items at eye level and move seasonal pieces to the top row, labelled so you can find them without climbing up every time. If you are renting, a tall freestanding pantry at one end gives you almost the same gain without touching the cabinets.
Practical tip: Store the least-used items up top and keep a folding step stool tucked in the tall pantry so the high shelves stay genuinely useful.
Variation: If full-height cabinets feel too heavy, try a single tall pantry tower at the end of the run and open shelving above the rest.
2. Open Shelving on One Wall Only
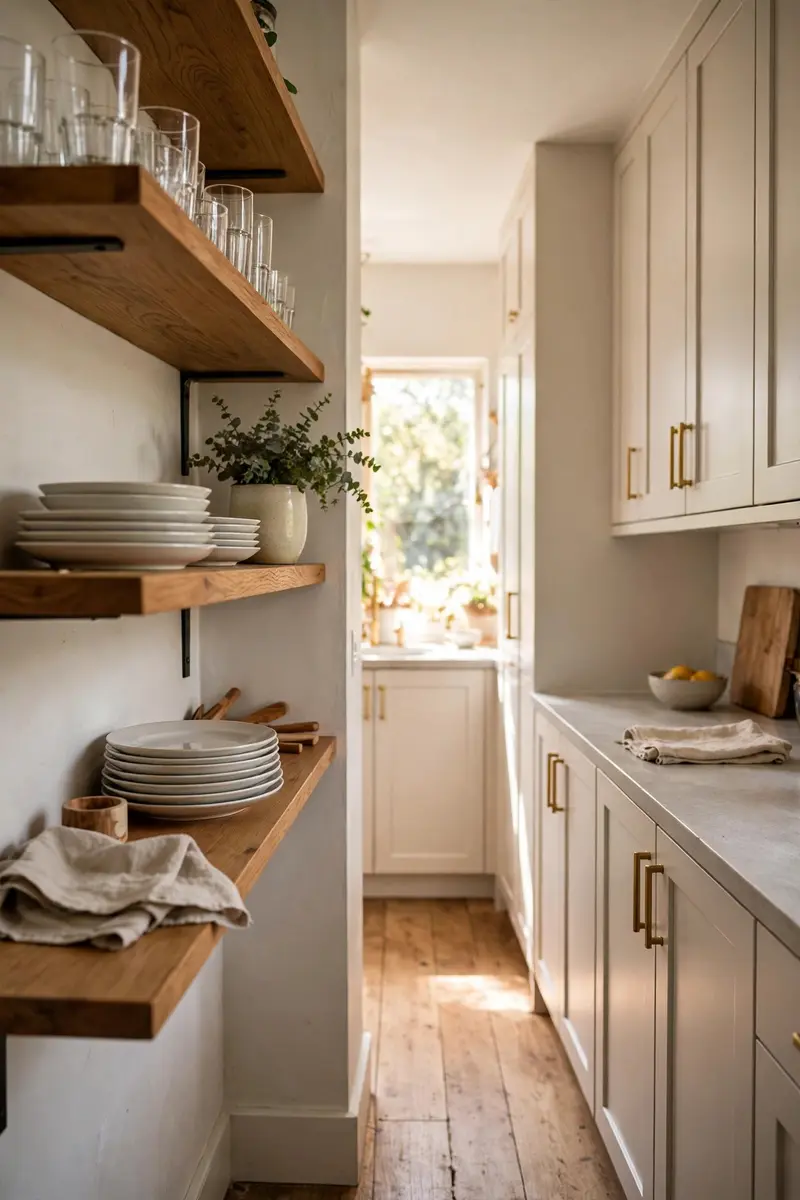
Removing the upper cabinets on just one side of a galley instantly opens up the room. Instead of two walls closing in on you, one side breathes, light bounces further, and your prettiest dishes become part of the decor. Keeping cabinets on the other wall means you still have plenty of closed storage for the less photogenic stuff.
Materials and realistic cost: two or three wood shelves with brackets, $80–$250; a stud finder and level if you install them yourself.
Choose the wall that gets the best light or faces the rest of your home, and keep the shelves shallow — about 10 to 12 inches deep — so they do not crowd the aisle. Style them lightly: everyday plates and bowls, a few glasses, one plant and one stack of cookbooks, with breathing room between groups. Edit ruthlessly; open shelves look airy only when they are not crammed.
Practical tip: Keep only items you use weekly on open shelves, and put anything dusty or rarely used behind closed doors.
Variation: Try a single open shelf above the sink or stove, with cabinets everywhere else, for the airy feeling without losing much storage.
3. A Light, Bright Palette
Color is the fastest way to change how big a narrow kitchen feels. White, cream, pale sage or soft warm gray on cabinets and walls reflects light from both sides of the corridor instead of absorbing it, so the room reads wider than it is. Pair light cabinets with a slightly darker floor or wood accents so the space still feels warm, not washed out.
Materials and realistic cost: a gallon of quality cabinet paint, $40–$70; primer, brushes and rollers, about $50; new hardware if you want a refresh at the same time, $2–$8 per pull.
Clean and lightly sand the cabinet fronts, prime, then apply two thin coats rather than one thick one for a smooth finish. Paint the walls a shade lighter or warmer than the cabinets so the two do not fight each other. If you love color, bring it in through a runner, bar stools or a kettle rather than painting every surface dark.
Practical tip: Test your paint color on a large board and prop it in the galley for a full day — narrow rooms shift color dramatically between morning and evening light.
Variation: Keep the lower cabinets a soft color and the uppers white for a two-tone look that still feels bright.

4. A Reflective Backsplash
A glossy or mirrored backsplash does quiet magic in a narrow kitchen: it bounces light down the corridor and visually doubles the depth of the wall. Subway tile with a glazed finish, glass tile or a sheet of polished stone all work, and they are far easier to wipe clean than painted drywall behind a stove.
Materials and realistic cost: glazed subway tile, $5–$12 per square foot; adhesive, grout and sealer, about $60–$100 for a small galley run.
Run the tile from the counter to the underside of the upper cabinets, or all the way to the ceiling behind open shelving for extra height. Choose a light grout color so the grout lines do not chop the wall into a grid, and keep the tile pattern simple — a straight stack or classic brick pattern reads calmest in a tight space. A mirrored or metallic accent strip can add sparkle, but use it sparingly.
Practical tip: Wipe glossy tile with a microfiber cloth once a week — a clean reflective surface brightens the room, while a greasy one dulls it fast.
Variation: If tiling feels like too much, a peel-and-stick glossy tile panel gives you the same reflective effect for a weekend and a fraction of the cost.

5. Under-Cabinet Lighting for a Brighter Small Galley Kitchen
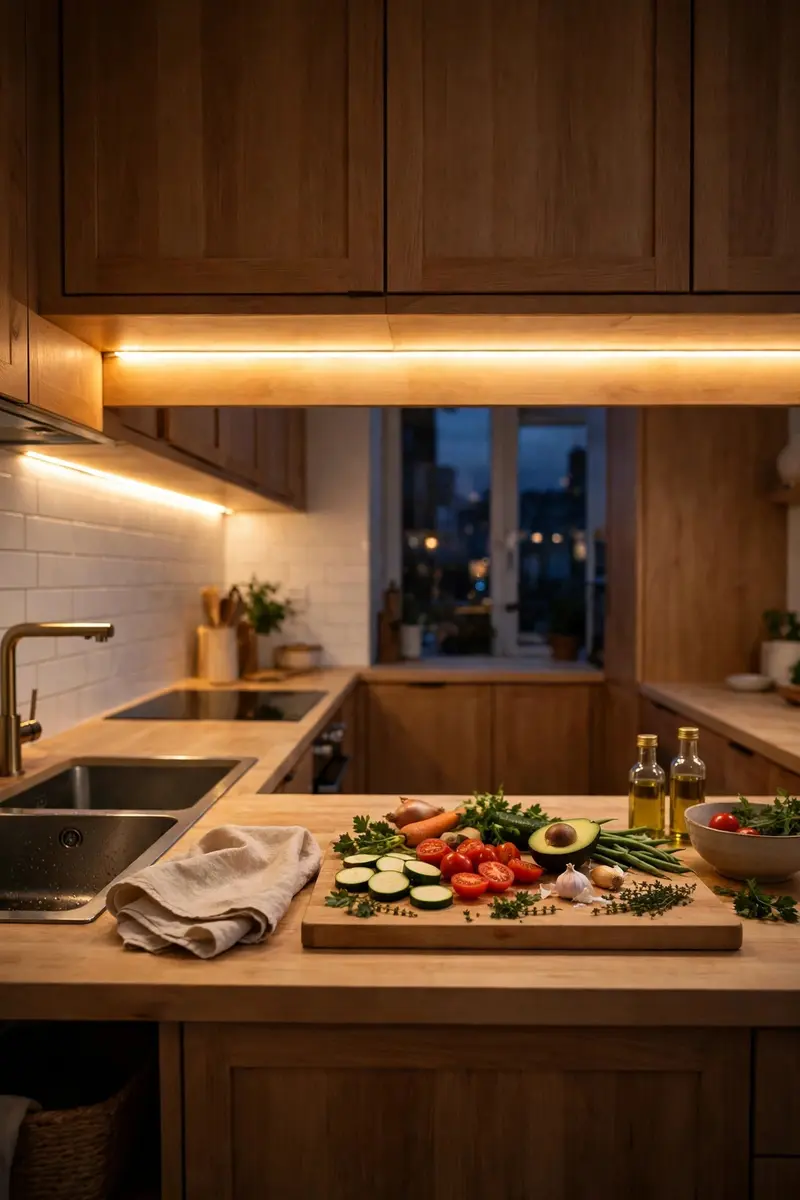
Overhead lights alone leave galley counters in shadow, because your body blocks the light as you stand at the counter. Under-cabinet LED strips fix that instantly: they light the exact surface you are chopping on, make the backsplash glow, and make the whole corridor feel warm and inviting after dark.
Materials and realistic cost: plug-in or battery LED strip kits, $25–$60 per run; hardwired bars, $40–$90 per run plus installation if you hire an electrician.
Stick or screw the strips to the underside of the upper cabinets, set back slightly from the front edge so you see light, not the strip itself. Choose warm white (around 2700–3000K) for a cozy feel, and put the strips on a dimmer or smart plug so you can drop them low in the evening. Add one strip inside a glass-front cabinet too, and the whole kitchen glows.
Practical tip: Run the LED strip the full length of the counter, with no dark gaps — one short dark patch is all it takes to make a galley feel uneven.
Variation: Battery puck lights under a single shelf or inside a pantry are a renter-friendly version that needs no wiring at all.
6. A Rolling Cart as a Movable Island
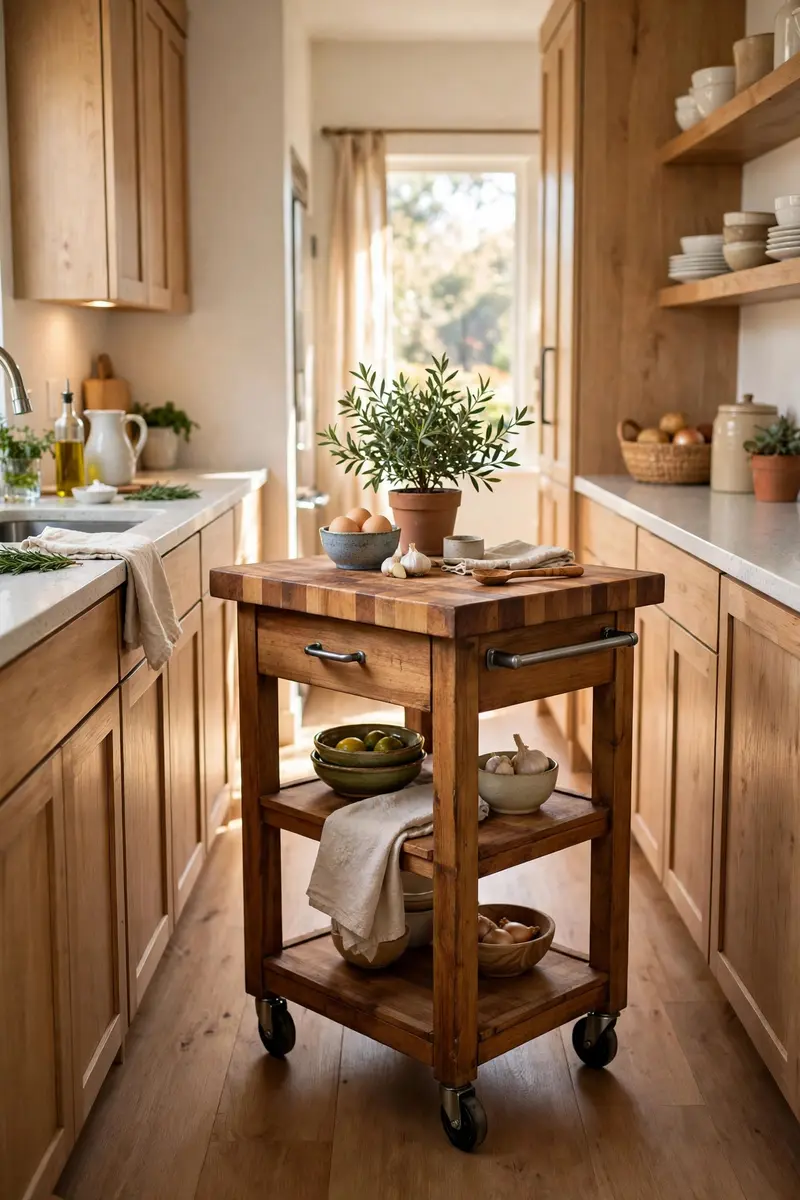
A fixed island would block a narrow galley, but a rolling cart gives you the same extra counter and storage — and then gets out of the way. Wheel it to the middle of the aisle while you prep, use it as a serving station when friends visit, then tuck it against the end wall or into a corner when you need the walkway clear.
Materials and realistic cost: a butcher-block rolling cart with shelves or drawers, $90–$300; locking casters are a must, so check they are included.
Measure your aisle first: you want at least 36 inches of clear walkway even with the cart parked, and enough room to pull it out without hitting cabinet doors. Choose a cart with a solid top you can chop on, a lower shelf for pots, and a towel bar or hooks on the side. Lock the wheels every time you chop so it does not drift mid-task.
Practical tip: Keep the cart stocked with your five most-used prep tools so rolling it out feels like gaining a whole extra workstation, not just another surface to clutter.
Variation: A slim console table on casters, or a vintage bar cart, works just as well and can double as a coffee station in the morning.
7. Pull-Out Pantry and Deep Drawer Organizers
Deep base cabinets are where galley storage goes to die — things slide to the back and disappear. Pull-out shelves, vertical dividers and a tall pull-out pantry change that completely, because everything glides out to meet you instead of hiding in the dark. This is one of the highest-impact upgrades you can make without changing a single cabinet box.
Materials and realistic cost: pull-out shelf kits, $30–$80 per cabinet; a tall pull-out pantry unit, $150–$400; drawer dividers and bins, $20–$50.
Start with the cabinet you open most — usually the one beside the stove or sink — and fit a pull-out shelf at its base. Use vertical dividers for baking sheets and cutting boards, and narrow bins for oils and spices so bottles do not topple. Label the front of each pull-out for the first month until the new system becomes habit.
Practical tip: Measure the inside width and depth of each cabinet before ordering — pull-outs are unforgiving if you guess, and returns are a hassle.
Variation: A freestanding narrow rolling pantry that slides between the fridge and the wall gives renters the same pull-out convenience with no installation.

8. Wall Rails and a Magnetic Knife Strip
Counter space is precious in a galley, so anything that lives on the wall instead of the counter is a win. A simple rail with hooks holds utensils, measuring cups and small pans, while a magnetic strip keeps knives sharp, visible and off the counter — and frees an entire drawer for other tools.
Materials and realistic cost: a stainless wall rail with hooks, $20–$45; a magnetic knife strip, $20–$40; wall anchors suitable for tile or drywall.
Mount the rail on the backsplash or the wall beside the stove, at a height where utensils hang without brushing the counter. Keep the knife strip on the wall opposite the main prep zone if possible, so you are not reaching across a hot pan to grab a blade. Hang only the tools you reach for daily; the rest can stay in a drawer.
Practical tip: Leave one empty hook on the rail at all times — it is the landing spot for the spoon you are using right now, and it stops clutter from creeping onto the counter.
Variation: A pegboard panel on the end wall, painted to match the cabinets, holds even more tools and can be rearranged as your cooking changes.

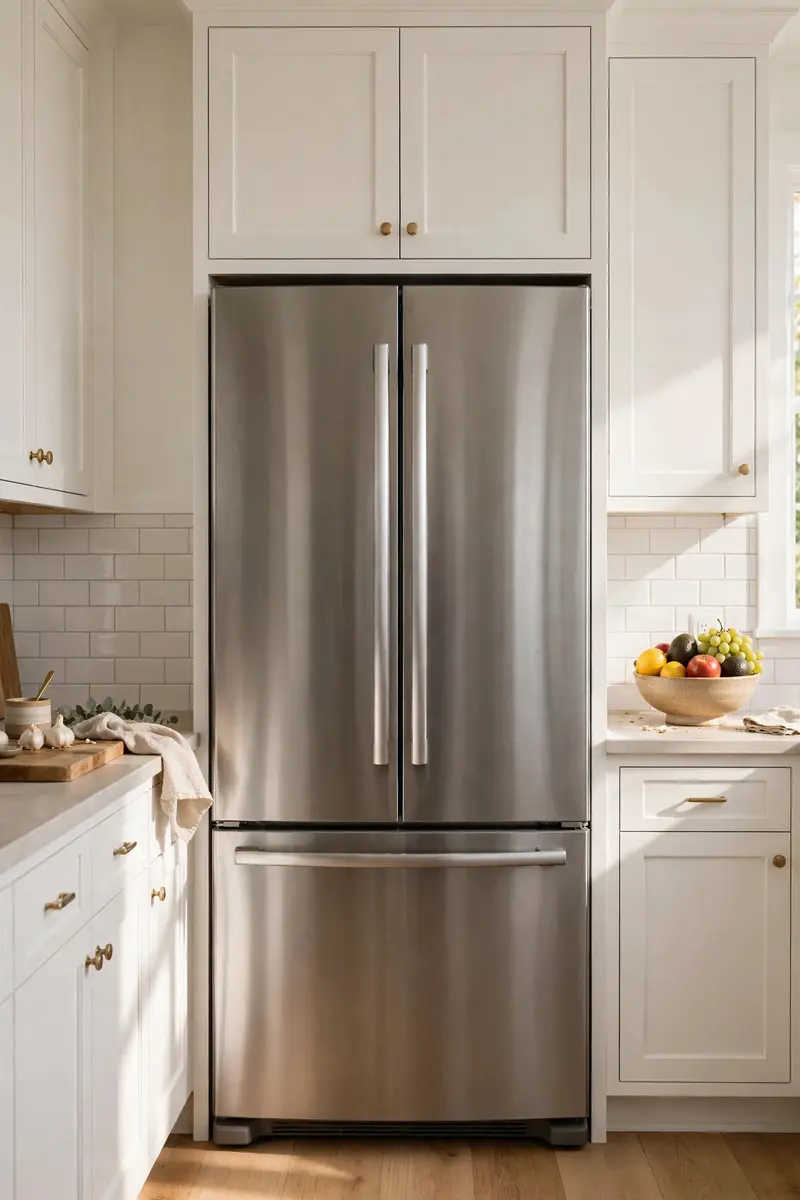
9. A Counter-Depth, Panel-Ready Fridge
A standard fridge can stick out six inches past the counter and steal that much from an already tight aisle. A counter-depth model sits almost flush with the cabinets, so the walkway stays clear and the whole run looks custom and intentional. Panel-ready fronts that match your cabinets make the fridge visually disappear altogether.
Materials and realistic cost: a counter-depth fridge, $1,200–$2,500 depending on size and features; panel-ready models add $300–$800 plus panel costs.
Before you buy, measure the width, height and depth of the opening — including door swing — and check that the fridge doors can open fully without hitting the opposite counter. If a new fridge is not in the budget, simply removing bulky magnets and photos from the front and keeping the top clear makes an existing fridge look slimmer and calmer.
Practical tip: Choose the smallest fridge that genuinely fits your household — in a galley, every inch of depth you save is an inch of aisle you get back.
Variation: A slim under-counter fridge drawer for drinks, paired with a smaller main fridge, frees the tall fridge spot for a pantry tower.
10. A Slim Breakfast Bar at the End of the Run
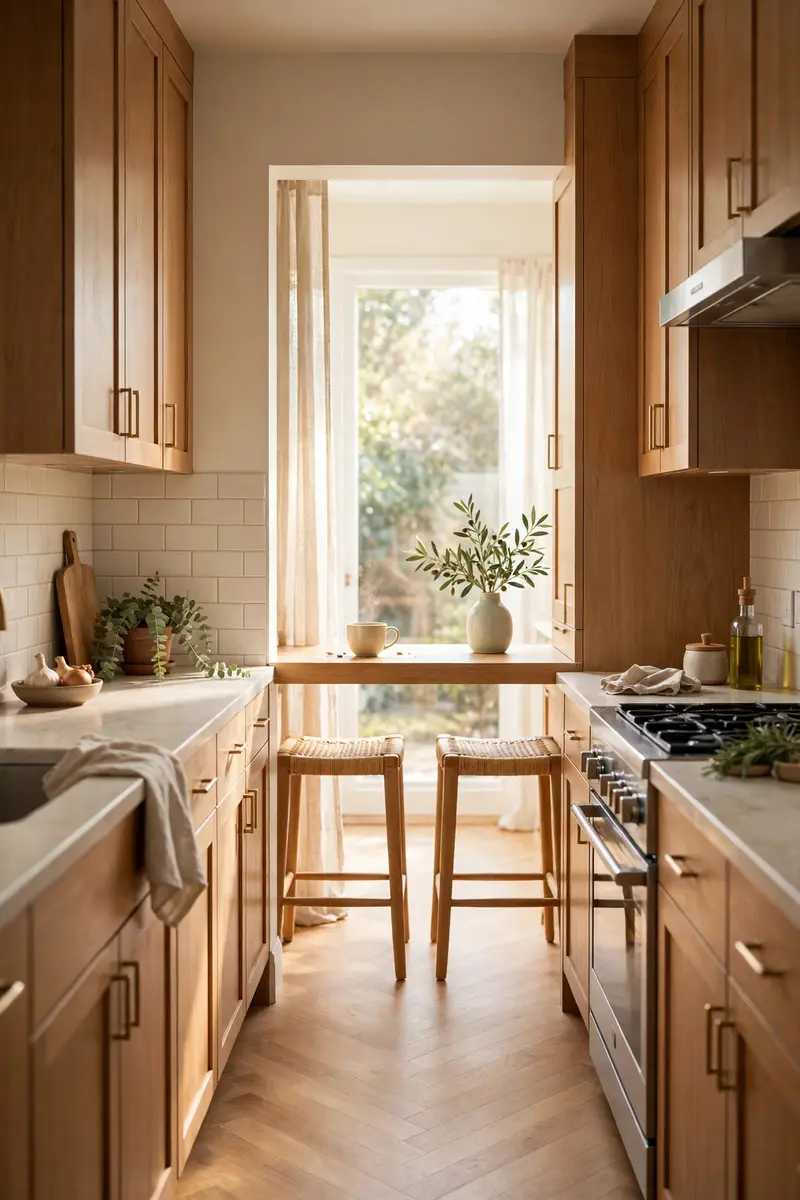
The dead end of a galley is often wasted space, but it is the perfect spot for a slim breakfast bar. A narrow counter with two stools turns the end of the kitchen into a morning coffee spot, a homework station and a serving ledge when you entertain — without blocking the cooking corridor at all.
Materials and realistic cost: a wall-mounted fold-down counter or a narrow console, $100–$350; two backless stools that tuck fully underneath, $40–$120 each.
Fix the bar at standard counter height (36 inches) and keep it no deeper than 15 to 18 inches so it does not eat into the room beyond. Backless stools are essential: they slide completely underneath and keep the sightline open. If the end wall has a window, put the bar there — breakfast with daylight makes even the smallest kitchen feel generous.
Practical tip: Keep the breakfast bar clear by rule — no mail, keys or chargers live there — so it is always ready for coffee or a quick meal.
Variation: A windowsill-depth shelf with two stools works in the tiniest galleys, and a fold-down version disappears entirely when you need the space.
11. A Fold-Down Table for Extra Prep Space
When counter space runs out mid-recipe, a fold-down table is the backup plan that does not permanently take up room. Mounted to the wall or the end of a cabinet run, it flips up to give you an extra two feet of prep or dining surface, then folds flat when dinner is done.
Materials and realistic cost: a wall-mounted fold-down table kit, $60–$180; sturdy brackets rated for at least 50 pounds.
Mount it at counter height on a solid stud, not just drywall, and test it with a heavy pot before you trust it with dinner. A butcher-block top looks beautiful and handles hot dishes, while a laminate top wipes clean in seconds. Pair it with a folding stool that hangs on the wall beside it so seating never clutters the aisle.
Practical tip: Store a cutting board and a tea towel on the folded table's underside hooks, so flipping it up instantly creates a ready-to-use prep station.
Variation: A pull-out cutting board built into a base cabinet gives you the same hidden extra surface with no wall mounting at all.

12. Glass-Front Upper Cabinets
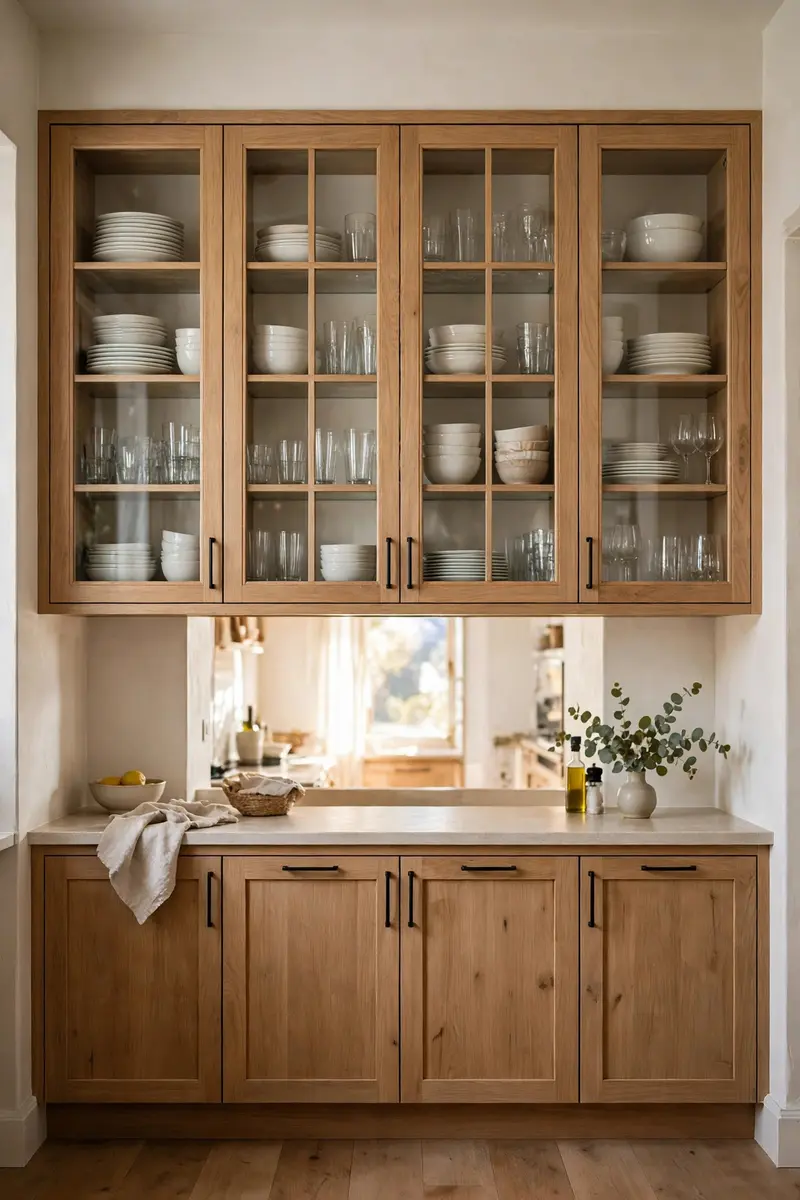
Solid upper doors on both walls can make a galley feel like a tunnel, but swapping just a few for glass fronts breaks up the wall without giving up storage. Light passes through, your dishes add color and texture, and the room feels deeper — especially if you add a small light inside the cabinet.
Materials and realistic cost: replacement glass-front doors, $80–$200 per door; or a DIY route with glass inserts and new hinges, about $40–$90 per door.
Start with the cabinets nearest the window or the end of the run, where the eye naturally lands. Keep what is inside tidy and color-coordinated — white dishes, clear glasses and a few wooden bowls photograph beautifully and look calm in real life too. Frosted or reeded glass is a forgiving middle ground if perfectly styled shelves feel like too much pressure.
Practical tip: Put glass fronts only on cabinets holding pretty, everyday items — keep mismatched plastics and food storage behind solid doors.
Variation: Remove the doors entirely from one upper cabinet for instant open shelving, and live with it for a month before committing to glass.
13. A Statement Runner for Your Small Galley Kitchen
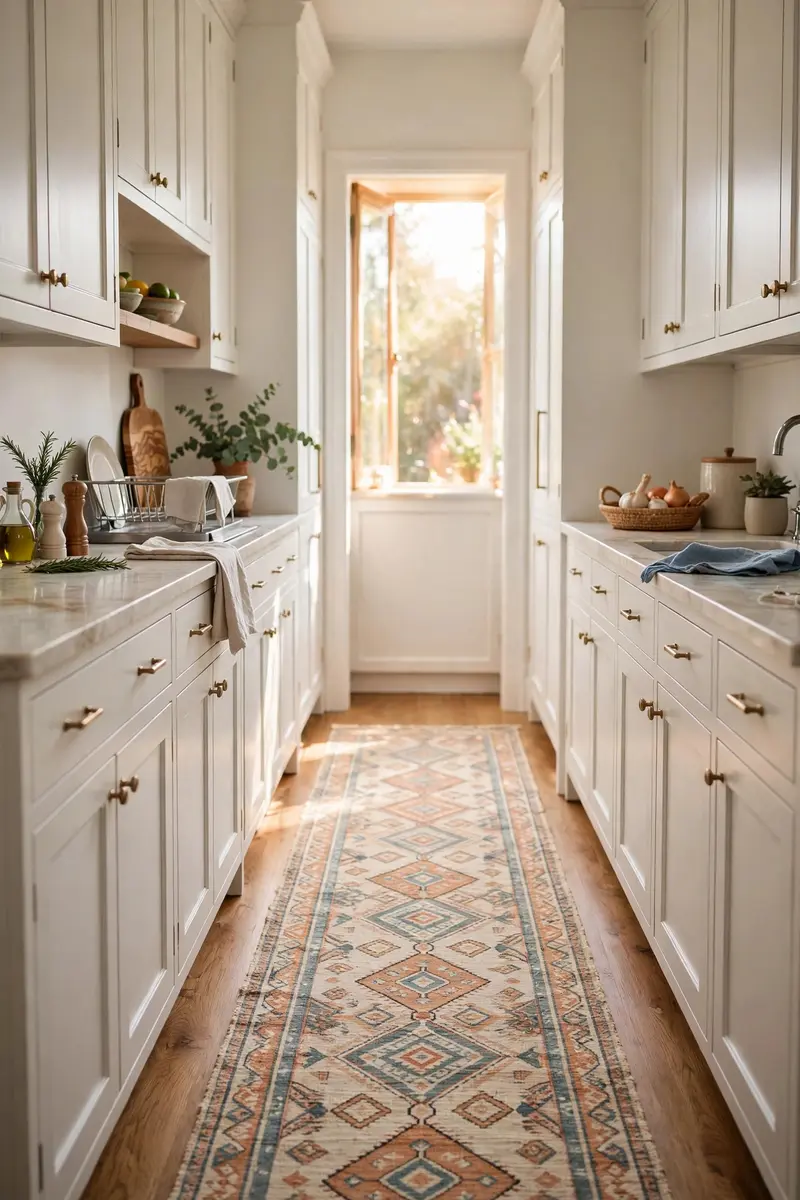
A long runner is the galley's best friend: it draws the eye down the length of the room, adds pattern and warmth to a hard floor, and makes the corridor feel intentional rather than leftover. Because a runner is one of the cheapest changes you can make, it is also the easiest way to test a bold color before committing to it elsewhere.
Materials and realistic cost: a washable cotton or indoor-outdoor runner, $40–$120; a non-slip pad underneath, about $15–$30.
Choose a runner that leaves a few inches of floor visible on each side and stops short of the stove and sink splash zones where possible. A pattern with one color echoed elsewhere in the room — a kettle, a tea towel, a plant pot — ties the whole kitchen together. Washable runners are worth every penny in a kitchen; anything else will show every spill.
Practical tip: Buy a runner pad even if the rug claims to be non-slip — in a narrow aisle, a rug that creeps is a tripping hazard, not just an annoyance.
Variation: Layer two shorter runners with a small gap between them if one long runner is hard to find, or if you want to define a cooking zone and a dining zone.
14. One Bold Cabinet Color
You do not have to paint everything white to make a small kitchen feel bigger. One bold run of cabinets — deep green, navy or warm terracotta on a single wall — gives a galley a focal point and a designer feel, while the other wall stays light to keep the room balanced. The contrast actually distracts from the narrowness because the eye has something interesting to land on.
Materials and realistic cost: cabinet paint for one run, $40–$70 plus primer; new brass or matte black hardware to complete the look, $2–$8 per piece.
Paint the wall that faces you as you enter the kitchen, or the lower cabinets on one side, and keep the uppers and the opposite wall light. Test the bold color in the galley's actual light first — deep colors can look muddy under warm bulbs and rich under daylight. Keep the backsplash and counters neutral so the bold cabinets stay the star.
Practical tip: Limit bold color to one run and repeat it in one small accessory — a kettle, a vase or a stool cushion — so it reads as a choice, not an accident.
Variation: If paint feels permanent, try bold color on a freestanding piece instead: a painted pantry, a colorful fridge or a vibrant island cart.
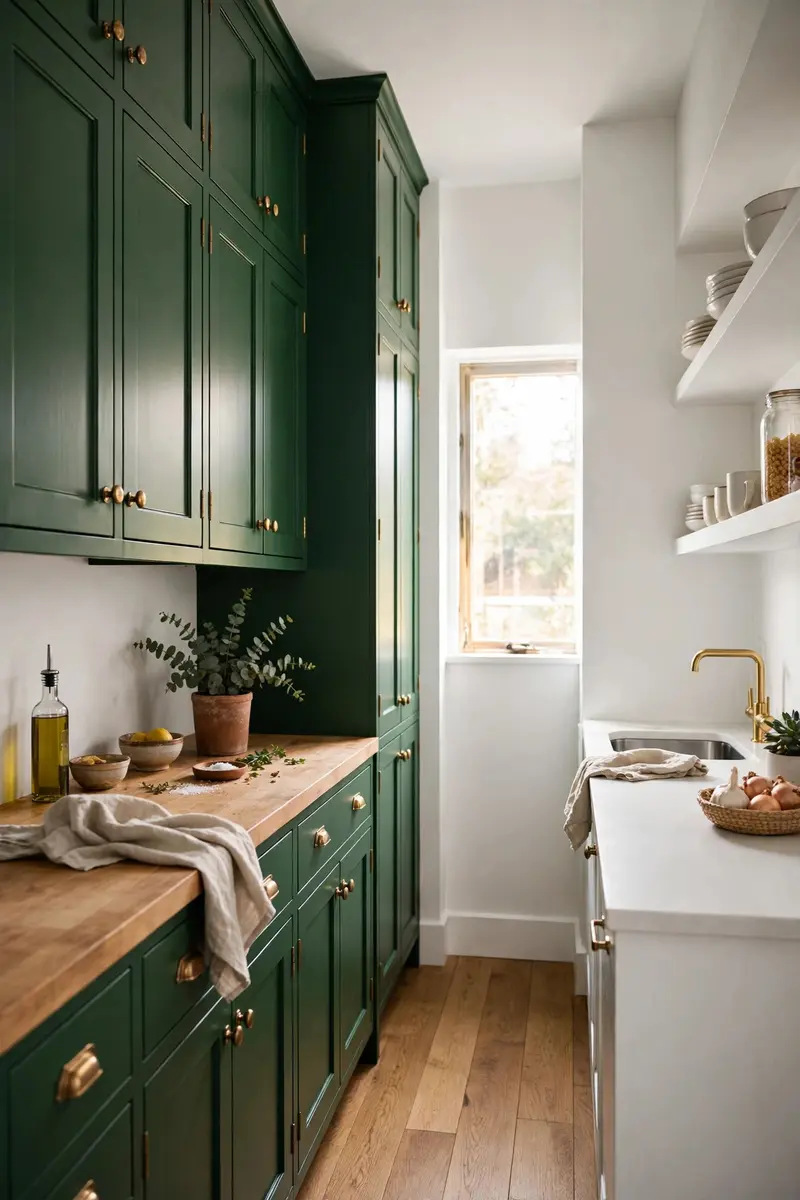
15. Split-Depth Counters
Here is a clever layout trick from small-kitchen designers: use standard 24-inch-deep cabinets on the cooking wall and shallower 12- to 15-inch-deep cabinets on the opposite wall. The shallow side still holds dishes, small appliances and a prep ledge, but the aisle gains several precious inches — and in a galley, inches are everything.
Materials and realistic cost: shallow-depth base cabinets or a custom countertop over open shelving, $300–$900 for a small run, depending on materials.
Plan the cooking wall first — sink, stove and fridge all need full depth — then design the shallow side around storage and staging rather than heavy appliances. A shallow counter is perfect for a coffee station, a toaster and a fruit bowl, which frees the main counter for actual cooking. Keep the shallow side's upper cabinets shallow too, so nothing overhangs into the walkway.
Practical tip: Walk the planned aisle with a tape measure and a cardboard mock-up before ordering — 42 inches of clear aisle feels comfortable, while under 36 inches feels cramped for two cooks.
Variation: In a rental, a narrow console table or bookshelf along the shallow wall mimics split-depth storage with zero renovation.
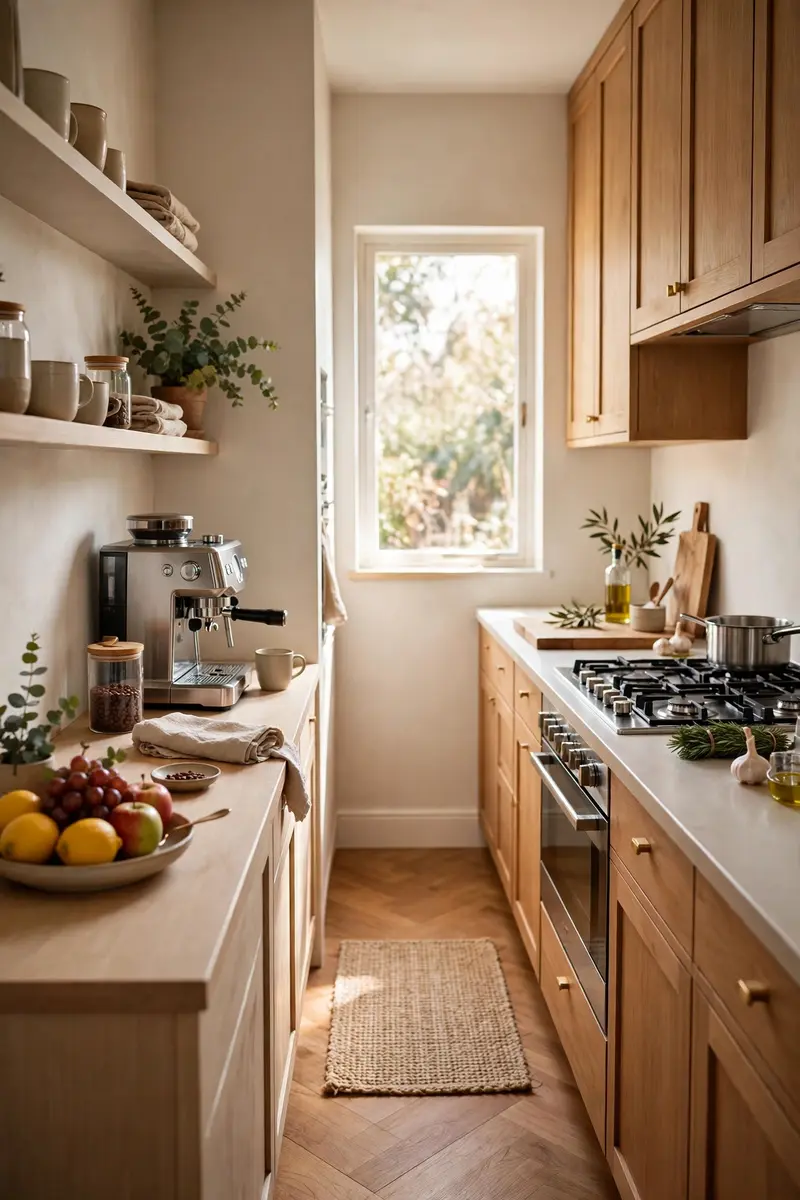
16. The Sink Under the Window
If your galley has a window at one end or along one wall, putting the sink beneath it is one of the oldest and best small-kitchen moves. Washing dishes with daylight and a view makes a chore feel pleasant, and the window breaks up the long run of cabinets so the room does not feel like a corridor.
Materials and realistic cost: relocating plumbing is a bigger job, $500–$1,500 with a plumber; if the sink is already there, a new faucet and a pretty windowsill treatment cost $80–$250.
Keep the windowsill clear except for one small plant or a soap dish, and choose a faucet that does not block the view when the window opens. A simple roller blind or cafe curtain gives privacy without cutting light, and taking the window treatment all the way to the ceiling makes the window — and the room — feel taller.
Practical tip: If your sink is not under a window, hang a mirror above it instead — it reflects light and gives you something pleasant to look at while you wash up.
Variation: A pass-through window to the dining room, even a small one, brings in borrowed light and conversation along with the view.
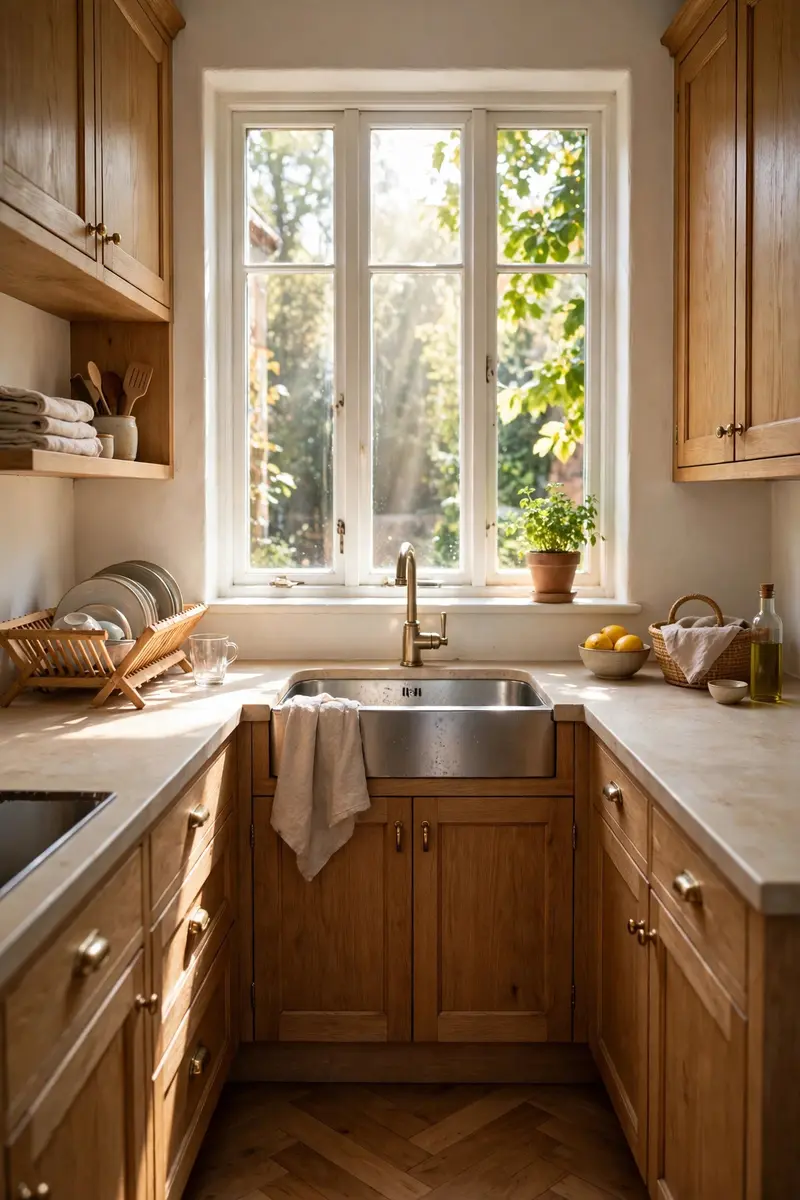
17. A Pegboard Wall on the End Wall
The end wall of a galley is often blank, which is a missed opportunity. A painted pegboard turns it into flexible vertical storage for pans, utensils, measuring cups and even small shelves — all without taking a single inch of counter or aisle space.
Materials and realistic cost: a pegboard panel, $25–$50; hooks and small baskets, $20–$40; paint to match your cabinets.
Mount the board on spacers so hooks have room behind it, and paint it the same color as the wall or cabinets so it reads as a design feature, not a workshop leftover. Arrange tools by how often you use them, heaviest at the bottom, and outline a few key items in pencil on the board so everything has a home to return to. Keep the arrangement tidy — a pegboard only looks good when it is curated.
Practical tip: Hang your most-used pan at shoulder height on the pegboard, and you will reach for it more often — and leave the stack of nested pans in the cabinet undisturbed.
Variation: A slatted wood panel or a simple rail system on the end wall gives you the same vertical storage with a warmer, more finished look.
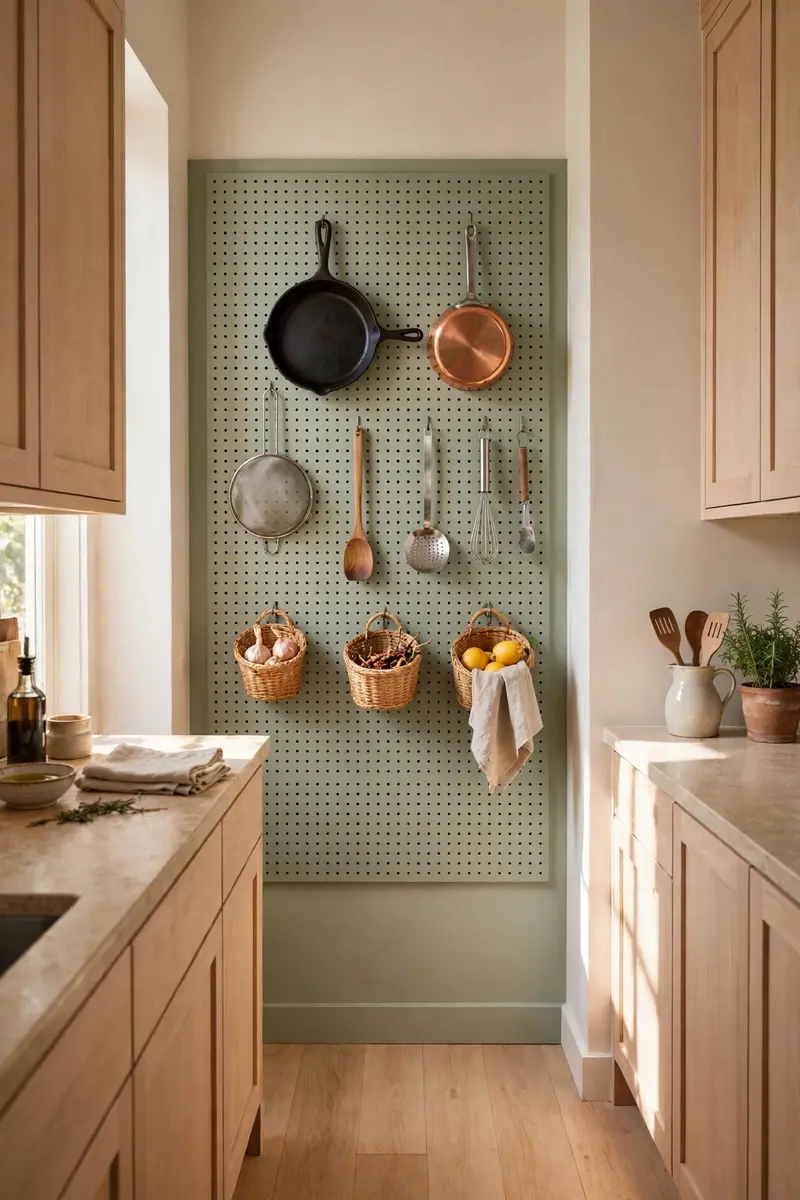
18. Corner and End-of-Run Pull-Outs
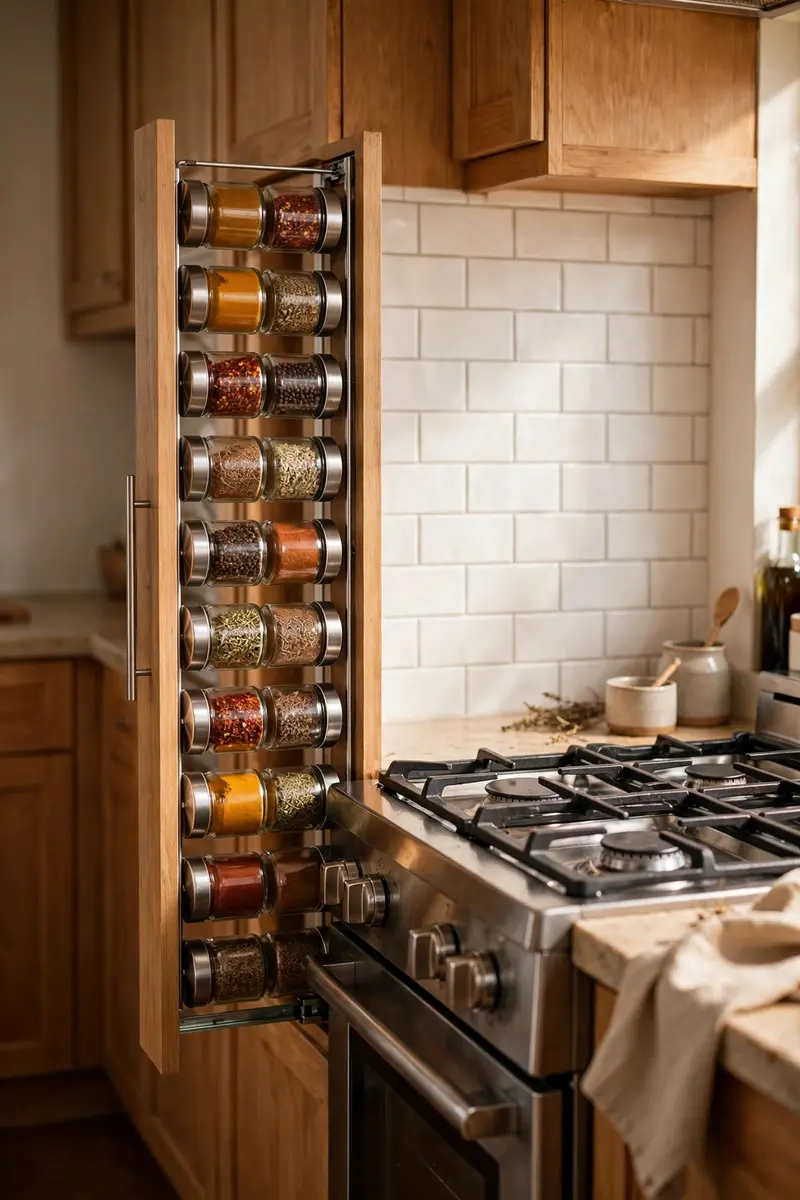
Galley kitchens rarely have true corners, but the ends of runs and the spots beside appliances are classic dead zones. Narrow pull-outs — for spices beside the stove, baking trays beside the oven, or cleaning supplies beside the sink — turn those awkward gaps into some of the most useful storage in the room.
Materials and realistic cost: slim pull-out units, $40–$120 each; spice pull-outs and tray dividers, $25–$60.
Measure every gap, including the often-wasted 6- to 9-inch space beside the fridge or stove, and fit a pull-out sized to it. Spices belong beside the stove, oils beside the prep zone, and cleaning supplies under or beside the sink — store things where you actually use them, not where there happens to be room. Label the pull-out fronts until the system is second nature.
Practical tip: Fill a new pull-out only halfway at first, and live with it for two weeks — you will quickly learn what truly belongs there versus what just happened to fit.
Variation: A rolling narrow cart that slides into the gap beside the fridge gives you the same pull-out access with no installation and no tools.
19. Handleless, Integrated Appliances
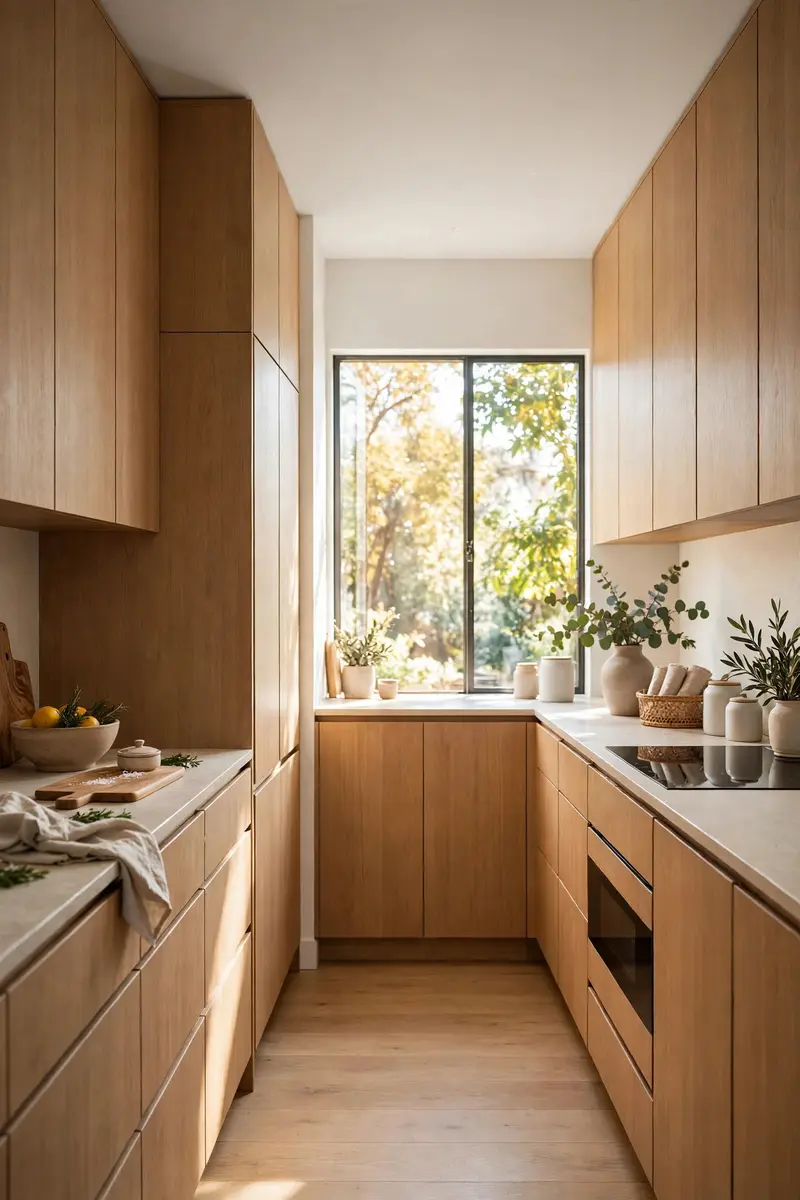
Nothing chops up a narrow kitchen visually like a row of protruding handles, knobs and mismatched appliance fronts. Handleless cabinet doors with push-to-open mechanisms, plus appliances integrated behind matching panels, create one smooth, continuous plane that makes the corridor look wider and calmer.
Materials and realistic cost: push-to-open hardware, $3–$8 per door; integrated appliance panels, $200–$600 per appliance when ordered with a remodel.
This idea works best during a remodel, but you can borrow the effect on a budget: swap chunky handles for slim recessed pulls, choose a dishwasher and fridge in the same finish, and remove anything that sticks out into the aisle. Keep one or two statement handles — on a pantry door, for example — so the room still has personality.
Practical tip: Test push-to-open doors before committing to a whole kitchen — some cooks love them, others miss the certainty of a handle when their hands are wet or messy.
Variation: Flat-front slab doors with slim edge pulls give you most of the streamlined look at a fraction of the cost of full integration.
20. Two-Tone Cabinets
Two-tone cabinets are a classic galley trick because they break the corridor into zones instead of one long tunnel. Dark or wood-toned lowers ground the room, light uppers keep it airy, and the horizontal line between them makes the walls feel wider rather than taller and narrower.
Materials and realistic cost: paint for one set of cabinets, $40–$70 plus primer; or two-tone ready-made doors during a remodel, $500–$1,500 for a small kitchen.
Choose colors with similar undertones — warm with warm, cool with cool — so the combination feels intentional. A wood-tone lower with cream uppers is warm and timeless; navy lowers with white uppers feel crisp and modern. Keep the backsplash simple and neutral so the two tones stay the focus, and repeat the lower color in a stool or a rug accent.
Practical tip: Paint the lowers first and live with them for a week before deciding on the upper color — the right pairing is much easier to judge in the real room than on a paint chip.
Variation: Try two-tone by material instead of color: wood lowers with painted uppers, or matte lowers with glossy uppers, for subtle contrast.

21. Borrowed Light With a Pass-Through or Half Wall
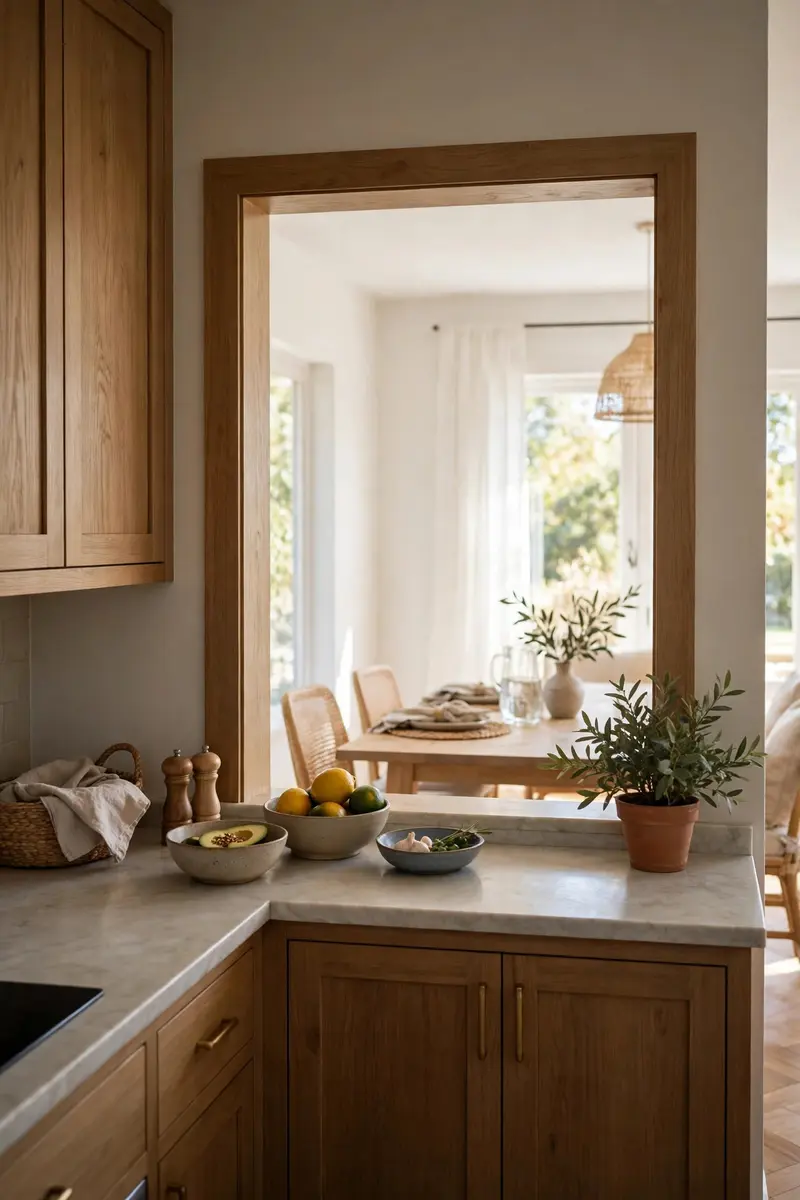
If your galley is enclosed by a wall on one side, opening even part of that wall transforms it. A pass-through window or a half wall with a counter ledge lets daylight and conversation flow in from the next room, so the kitchen feels connected instead of boxed in — and you gain a serving ledge in the bargain.
Materials and realistic cost: a pass-through opening, $800–$2,500 depending on whether the wall is load-bearing (always check with a professional first); a half-wall conversion is similar.
This is a structural change, so confirm the wall is not load-bearing and check for plumbing and wiring before cutting anything. A counter-height ledge on the opening gives you a breakfast spot and a place to pass dishes through, while keeping the kitchen's work zones intact. Even a small interior window high on the wall borrows surprising amounts of light.
Practical tip: Before you commit, live with a large mirror hung where the opening would go — if the reflected light and sense of openness delight you daily, the real opening is worth it.
Variation: Replacing a solid door to the kitchen with a glass-paneled door borrows light with no structural work at all.
22. One Tall Plant at the Bright End
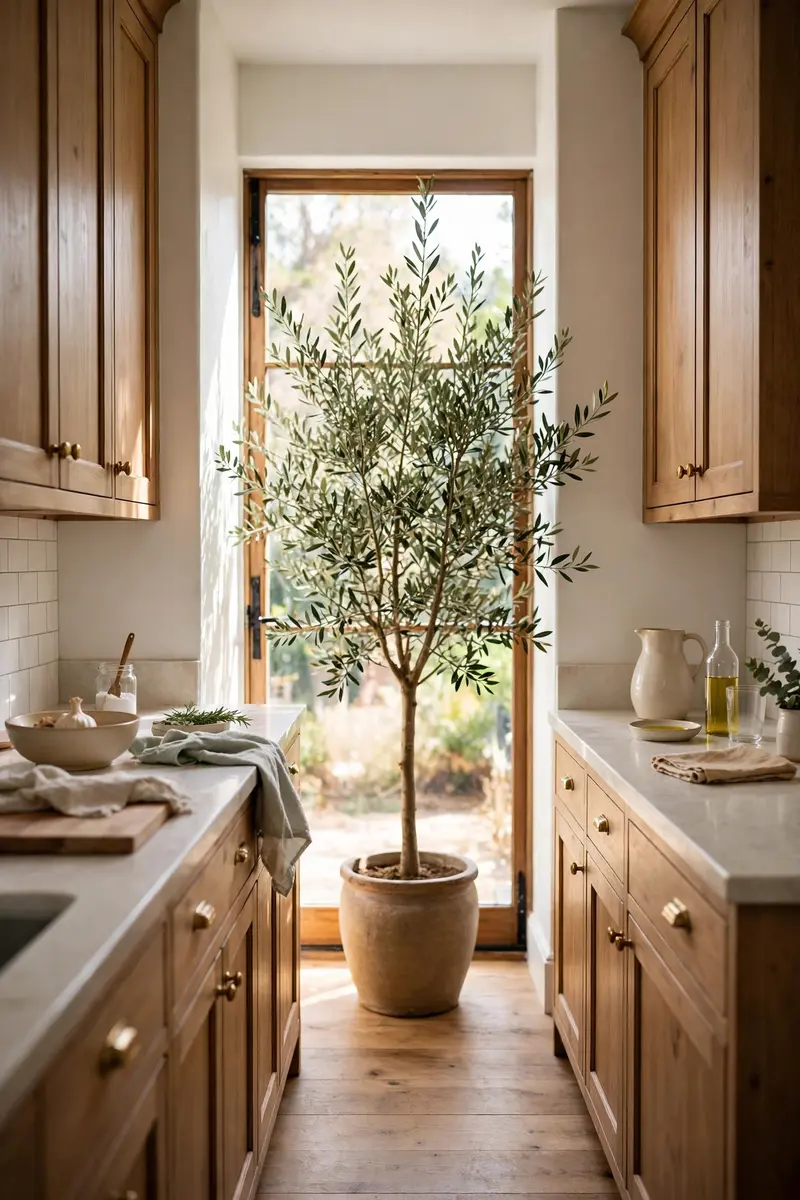
A dozen tiny plants scattered along every ledge makes a galley feel busy, but one tall plant at the bright end does the opposite: it gives the eye a soft, living endpoint, adds height, and finishes the long corridor beautifully. A fiddle-leaf fig, olive tree or tall snake plant in a simple pot is all you need.
Materials and realistic cost: a tall houseplant, $30–$80; a simple ceramic or terracotta pot, $20–$50.
Place the plant where it gets the light it needs — usually near the window at the end of the run — and keep it out of the main walkway so it never becomes an obstacle. One sculptural plant beats a crowded windowsill, and it is far easier to water and care for. If your kitchen gets little natural light, a high-quality faux olive tree gives you the same silhouette with no upkeep.
Practical tip: Choose a pot that matches your cabinet hardware or backsplash tone, so the plant reads as part of the kitchen design rather than an afterthought.
Variation: A wall-mounted planter or a hanging plant near the bright end gives you greenery with zero floor space used.
23. Flooring Laid Lengthwise
Flooring direction is a subtle trick with a big payoff in a galley. Planks or tiles laid with their long side running the length of the corridor draw the eye forward and make the room feel longer, while tiles laid across the room chop it into stripes and make it feel shorter and boxier.
Materials and realistic cost: luxury vinyl planks, $2–$5 per square foot; installation, $3–$7 per square foot if hired; herringbone or diagonal layouts cost more in labor.
If you are replacing floors, choose long planks and run them parallel to the long walls. A herringbone pattern also works beautifully because its diagonal movement keeps the eye travelling. If new floors are not in the budget, a long runner laid lengthwise gives you much of the same lengthening effect for a fraction of the cost.
Practical tip: Lay a few loose planks or tiles in both directions and stand at the kitchen entrance — the lengthwise direction will feel instantly calmer and more spacious.
Variation: Large-format tiles with minimal grout lines reduce visual chopping and make a small floor read as one continuous surface.
24. A Streamlined Work Triangle in a Small Galley Kitchen
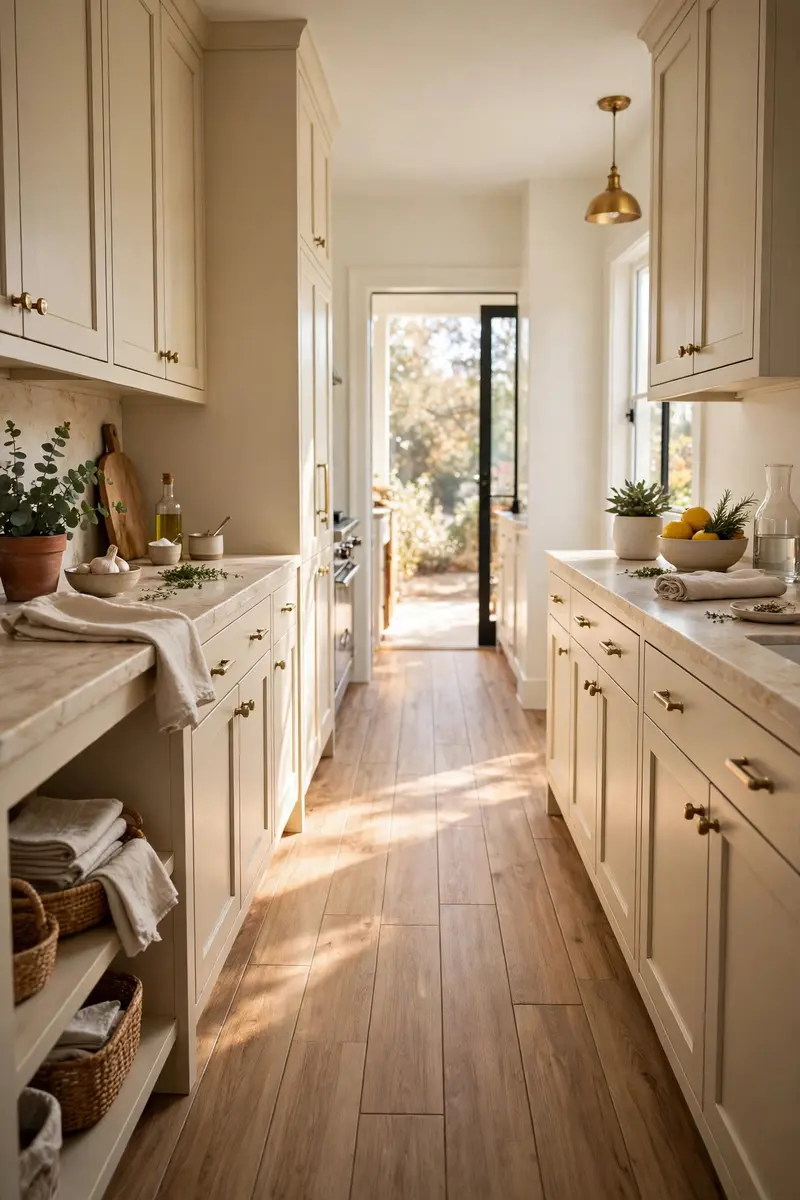
The best galley kitchens are not just pretty — they work. Plan your sink, stove and fridge as a tight, clear triangle (or a straight line in a single-wall galley) with no obstacles between them, and keep at least 24 inches of clear counter beside the sink and stove as landing zones for hot pans and wet dishes.
Materials and realistic cost: this idea costs nothing if you are just rearranging — move small appliances, not plumbing; a remodel that moves the sink or stove runs $1,000–$3,000 with a plumber and electrician.
Start by watching how you actually cook for a week: where do you chop, where do you land hot pans, where does clutter collect? Then move the coffee maker, toaster and knife block to the spots that support that flow, not the spots that look neat in a photo. Keep the aisle itself as a dedicated work zone, not a hallway through to another room, and the whole kitchen will feel calmer and faster.
Practical tip: Clear one landing zone beside the stove and one beside the sink, and defend them fiercely — no mail, no keys, no drying rack creeping into the cooking zone.
Variation: In a single-wall galley, put the fridge at one end, the sink in the middle and the stove at the other end, with continuous counter between them, for the same efficient flow.
Frequently Asked Questions
How wide should a small galley kitchen aisle be?
Aim for at least 42 inches between opposing countertops for comfortable movement, and never less than 36 inches if two people cook together. If your aisle is under 36 inches, treat it as a one-cook kitchen, use shallower counters on one side, and choose counter-depth appliances to win back precious inches.
How do you make a narrow galley kitchen look bigger?
Light colors, glossy or reflective surfaces, under-cabinet lighting and open shelving on one wall all help a narrow kitchen feel wider. Keep the aisle clear, run flooring lengthwise, and use a long runner to draw the eye down the room. A mirror or a window at the end of the run also stops the corridor feeling like a dead end.
What is the best layout for a small galley kitchen?
The classic two-wall galley, with the sink and stove on one run and storage and the fridge on the other, is the most efficient layout for a narrow space. Keep the work triangle tight — sink, stove and fridge within a few steps of each other — and put the fridge at one end so it does not block the middle of the aisle.
Can you put an island in a small galley kitchen?
A fixed island usually blocks a narrow galley, but a slim rolling cart or a narrow table works beautifully instead. You get the extra prep surface and storage of an island, and you can wheel it away when you need the full aisle. Only consider a fixed island if your aisle is wider than about 60 inches with the island in place.
How much does a small galley kitchen update cost?
A cosmetic refresh — paint, hardware, a new runner and LED strips — can cost $300–$800 and transform the room in a weekend. Mid-range updates with new pull-outs, a backsplash and open shelving run $1,500–$4,000, while a full remodel with new cabinets and appliances typically starts around $10,000–$20,000 for a small galley. Start with the cheapest ideas first and add bigger changes as your budget allows.
Conclusion
A small galley kitchen is not a compromise — it is one of the most efficient layouts you can cook in, once the storage, lighting and flow are right. Start with the quick wins: a runner, under-cabinet lights and a rolling cart. Then add the bigger moves — ceiling-height cabinets, a reflective backsplash or a breakfast bar at the end — as time and budget allow. Your narrow kitchen will feel brighter, calmer and far more enjoyable to use every single day.
If you found an idea you love, save this post to Pinterest so you can find it again when you start your project — and share it with anyone wrestling with a narrow kitchen of their own. Your dream galley is closer than you think, and it starts with a single small change.
For more kitchen inspiration, see our white and gold kitchen backsplash ideas, our dark wood kitchen cabinets and our rustic sage green kitchen cabinets. For a broader gallery of narrow-kitchen designs, The Spruce's galley kitchen ideas is a genuinely useful reference.



Leave a Reply